DIY Wooden Lamp Base with the Beatiful Emily of Merrypad!
Hi Friends! It's been busy. You know the story! Our friend Emily from Merrypad did an awesome job on transforming some reclaimed wood into lamp bases and making DIY paper shades! You know how we love a good wood lamp base! Give her a nice warm welcome, and don't forget to check out her site. The girl has mad DIY skills.
Hey friends of Joey & Lana! Happy to have been invited to play whilst miss Lana's away (at NYIGF, lucky girl). Hope you enjoy this little tutorial (it's one of my favorite pieces).
In my cozy real-life merry pad, I'm frequently scheming new ways to provide adequate lighting; the ceiling lights in every room are most often attached to fans and don't produce much light, so I've slowly-slowly been building my own little lamps to illuminate the space from the ground up (I'm talkin' desk lamps, floor lamps, anything that will make the place look brighter than the overhead lighting). I thought it might be fun to share one of my favorite how-to's, making a wooden lamp base and DIY paper shade from scratch:
The inspiration started when I found a large piece of driftwood ashore on my local beach; the lumber is clearly something that had been used in real construction at some point in its history, it was well-weathered and had had a lot of potential thanks to rusted nails and sheer size. No, it's not something you come across every day in this condition, but yes, you could pretty easily find a piece of lumber this size and manually stain/weather/beat it into submission with a hammer until it's a comparable condition. Or submerge it in Lake Ontario for 6 months with an anchor.
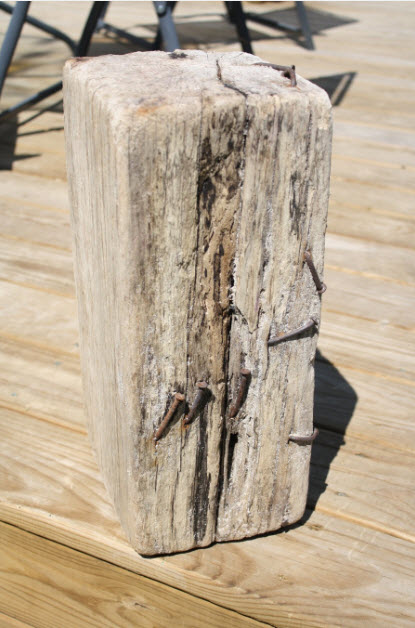
Originally, I envisioned it as a 20" tall lamp base, but after weighing my options and considering the scale of the lamp compared to the rest of the decor in the living room, I eventually cut it in half to create a matching set of driftwood lamps.
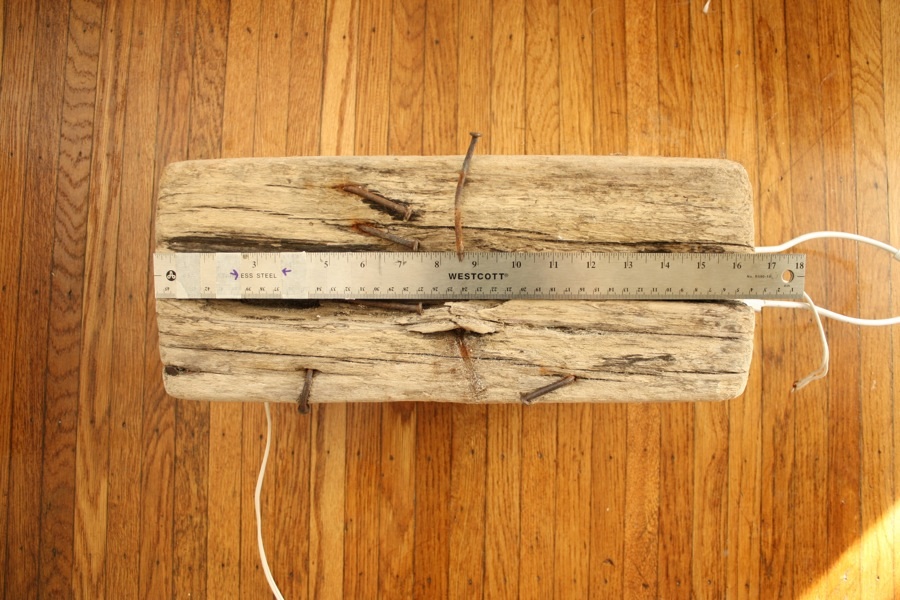
Cutting a hole all the way through the wood with a drill and a long paddle bit, I created an access hole for new wires to be run through.

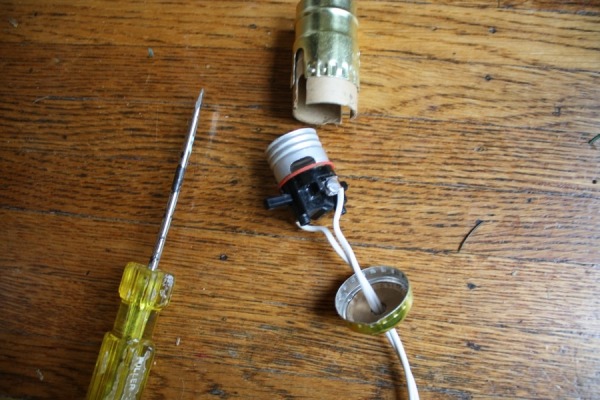
I saved a few dollars by using the electrical system from a lamp I found at a garage sale, laying out all of the components to re-thread them into one of the new lamp bases. You can find the same components at the store pretty easily for <$15.
Running the cord up through the bottom hole in the wood block, I quickly had one lamp hooked up and lighting the room. (There’s an extra channel along the base of the wood block too, BTW, the wire isn’t being crushed at all.)
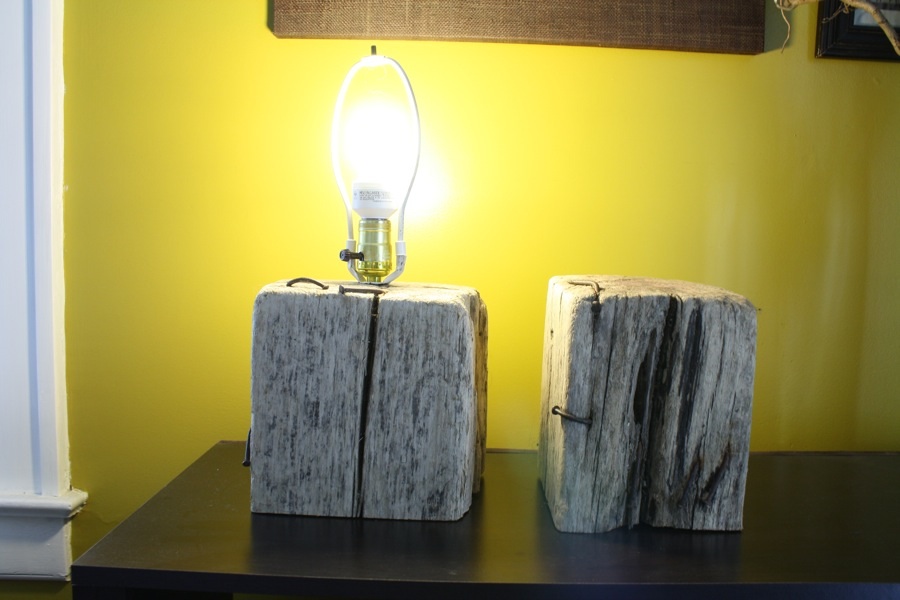
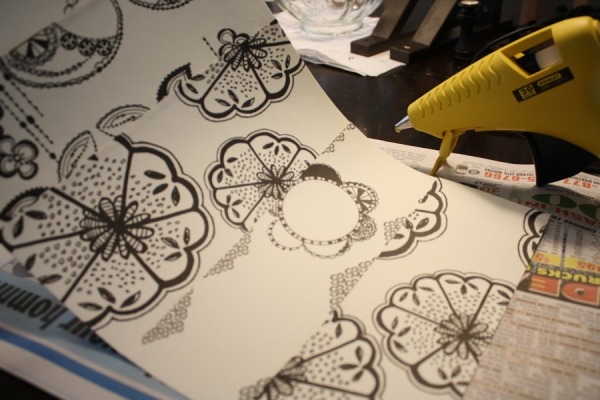
Following suit with the second block of wood, I now had a matching set of lamps to flank my couch and provide much needed light to the living room. They needed shades too, of course, and after considering a few store-bought drum shade options, I decided to create something myself, a low-cost decision that was worth trying; after all, if the DIY plan flopped or the shade eventually got destroyed, it could easily be replaced. You can use any heavy stock you want for a DIY shade like this, but I chose pages from a well-designed coloring book (literally, something I bought at Anthropologie and and been using sparingly over the last few months, like in projects like this). Because the pages were only 9x12, I chose a few of my favorite complementary pages and cut the pieces of paper into strips, only to hot glue them back together edge-by-edge in succession to create a more randomized effect.
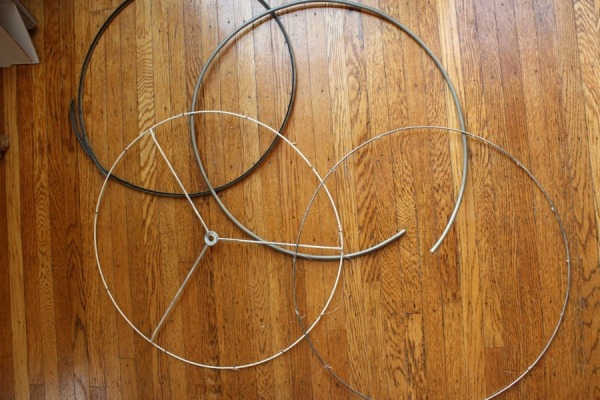
Using an assemblage of pieces from old junky lamp shades (thrift store and garage sale finds), I began to craft something that would be a sturdy frame for the new paper shade to be affixed to.
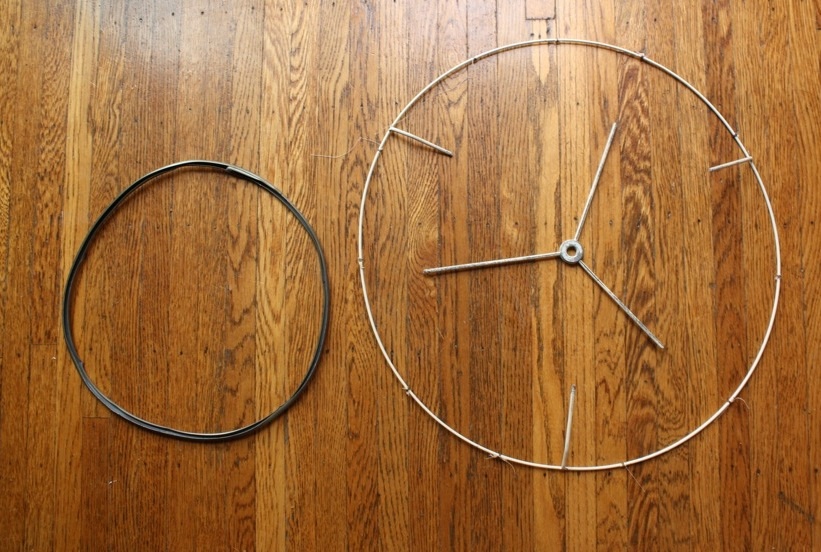
Cut, chop, e-6000 and clamp together, the lamp shade structure was starting to come together nicely. Here's one example of how I created a form to rest on the lamp halo.
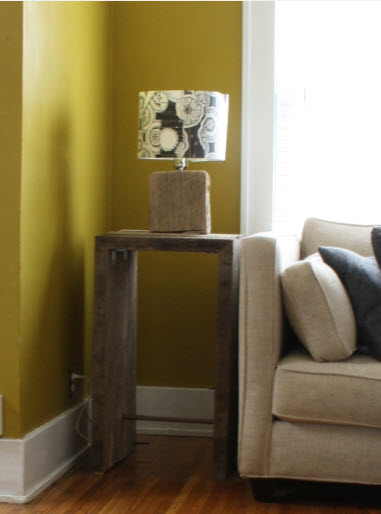
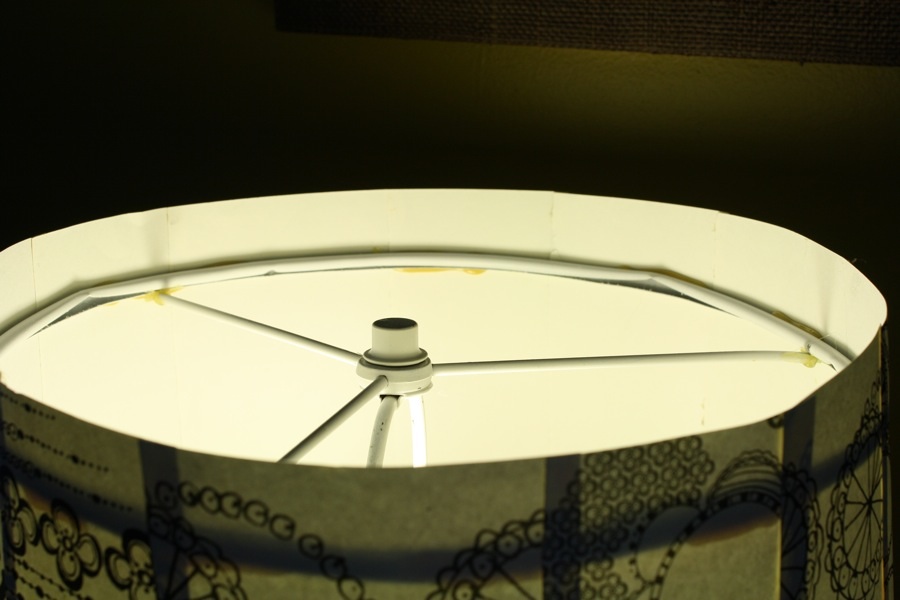
I spray painted the frame components white, and once they were dried, looped the paper shade around it's circumference and hot glued it directly to the frame. The round frame keeps the paper shade holding its form, and also sits right on top of the lamp halo with ease:
The duo complete, I've really enjoyed the warmth that they bring to the room; the ivory and black paper complements the gold/yellow walls and soft wood ties in nicely to other natural and reclaimed pieces in my house.

Thanks again to Lana for inviting me to share a little tutorial in her absence! Check out merrypad.com to learn more about me and see projects I’ve been working on.
 Joey and Lana Make a House a Home