


The Kitchen, Part 1
Hi there lovelies! We have been knee deep in kitchen renovations and thought it about time to get you up to speed. The last time we really touched the kitchen was last Summer. We bought the house knowing that everything was in great condition except the kitchen and the four bathrooms needed to be renovated. We have no idea how to do this stuff, yet felt the need to own the challenge at hand, and give it the 'ok college try. So last summer we covered up the awful floors with some temp flooring we liked from Ikea. Then we had our major painting fail. Alas, a few months back we "updated" the fridge with some chalkboard paint, and that's where our kitchen "reno" stopped, until recently. I have moaned and groaned everyday about the gross yellow countertops for two years now. They are where so gross, I don't even have words.
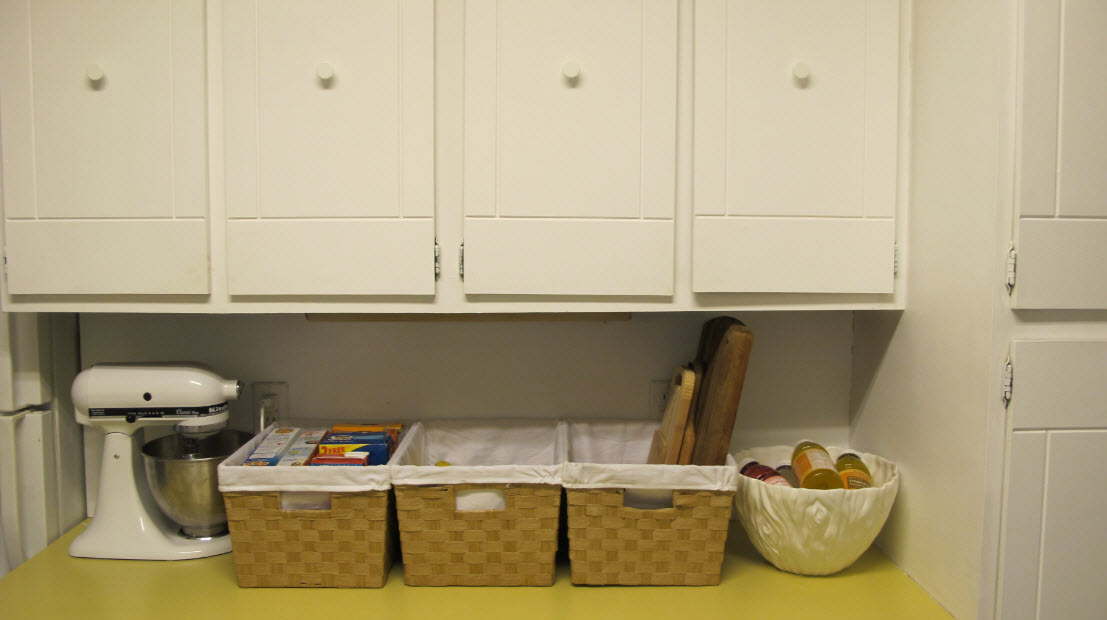
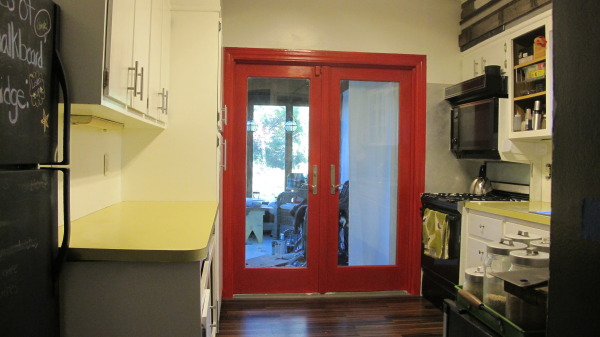
It makes me sad to look at. I don't know why, it just does. And, I want to feel good in my house. Especially my kitchen. I love to cook and I hate being in there. So for a while, things were looking like not-so-awesome, while looking into the joining finished back mudroom, which we think turned out awesome.
So step one was the floors, two was repainting everything white, again. Then Joey had the idea of painting the doors into the mudroom red, and I said "Go for it!".
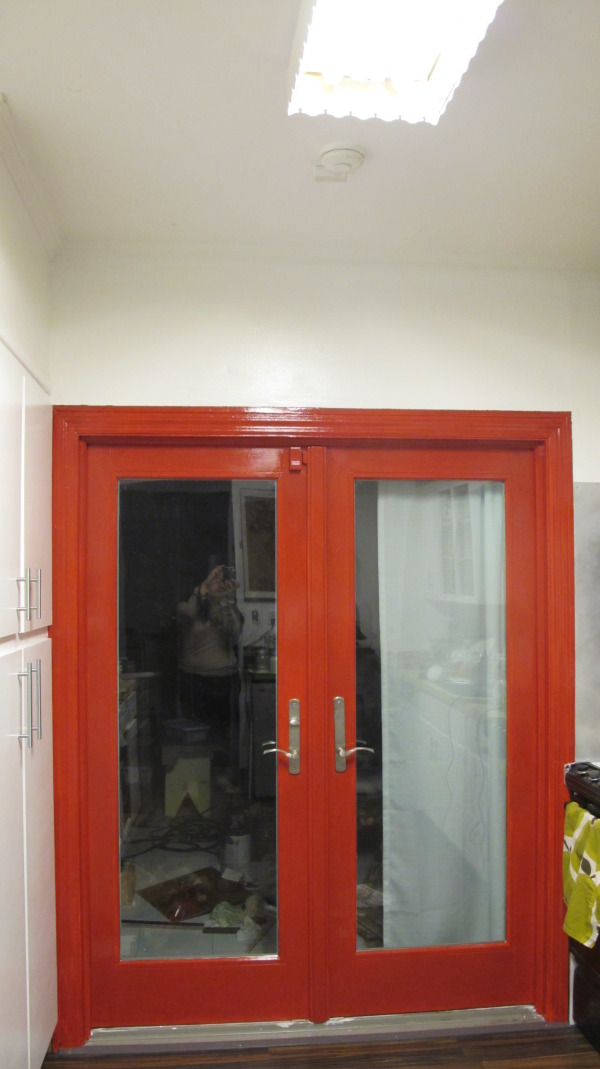
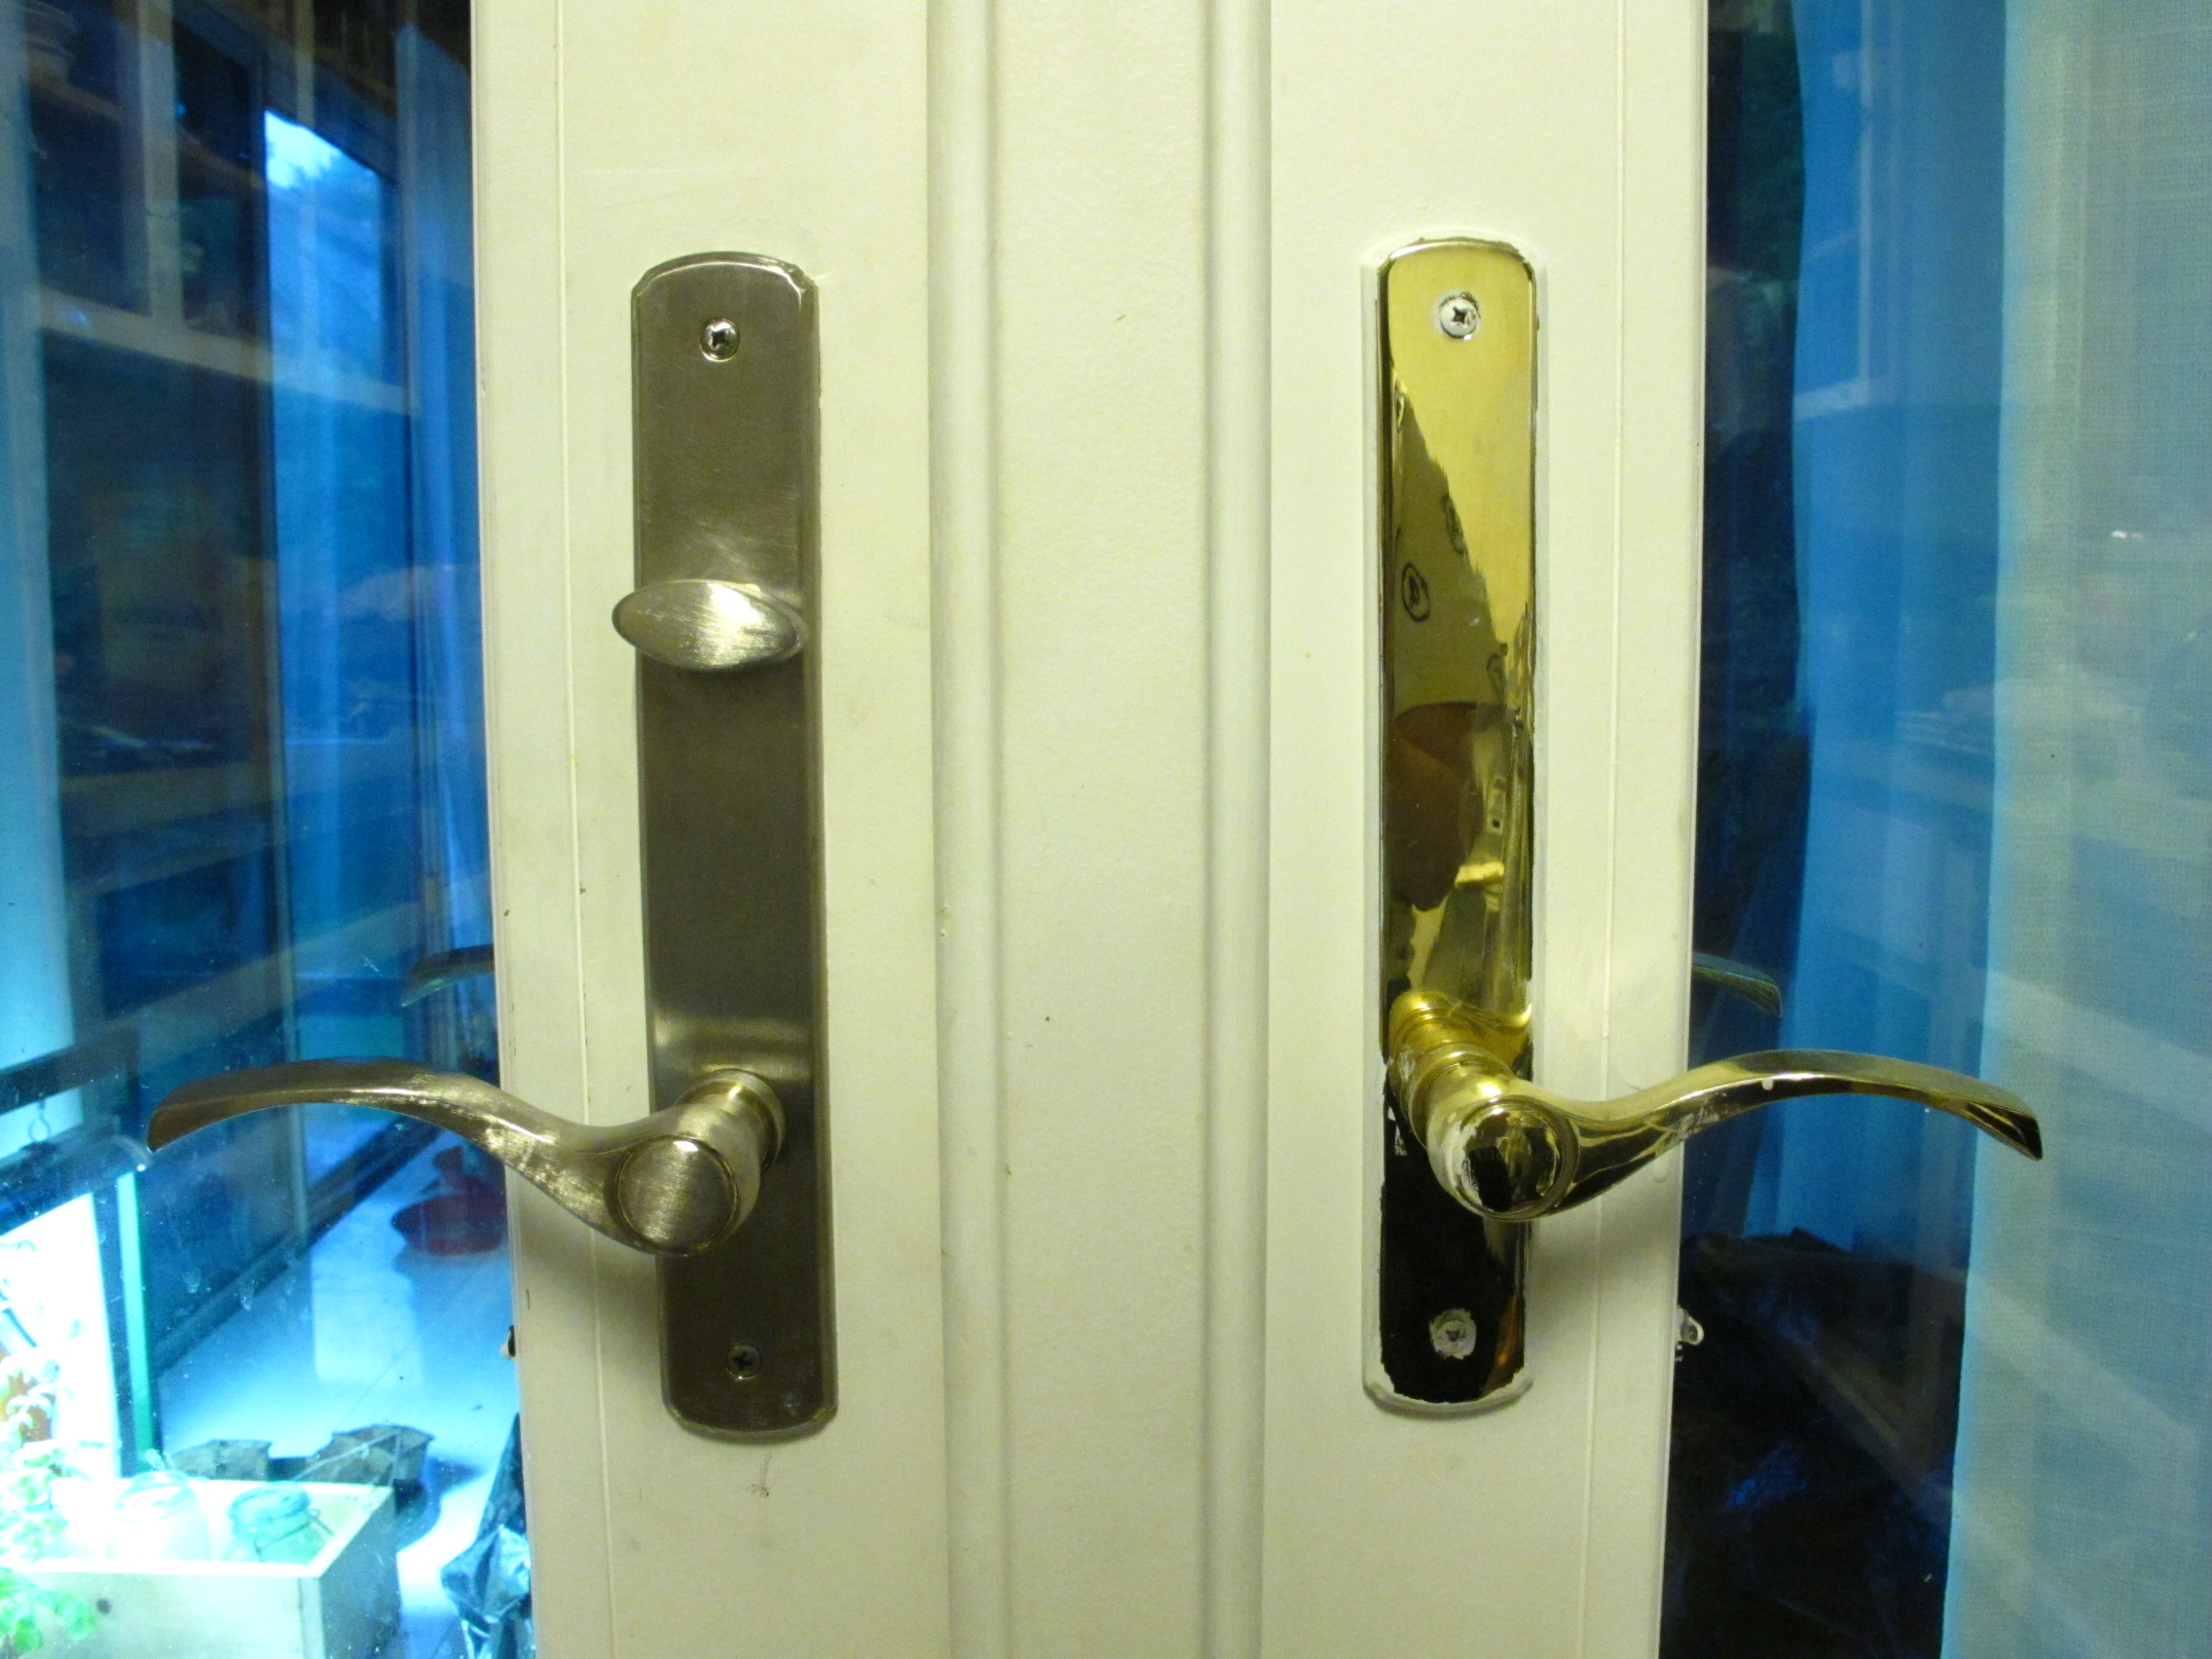
We kept the old hardware, and Joey just used a dremel to "brush off" the old finish.
So if you add everything together, this is where we started the official phase two of making-the-kitchen-something-to-smile-about.
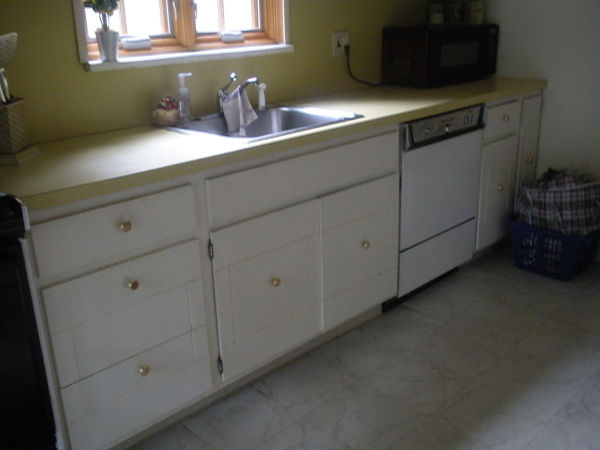
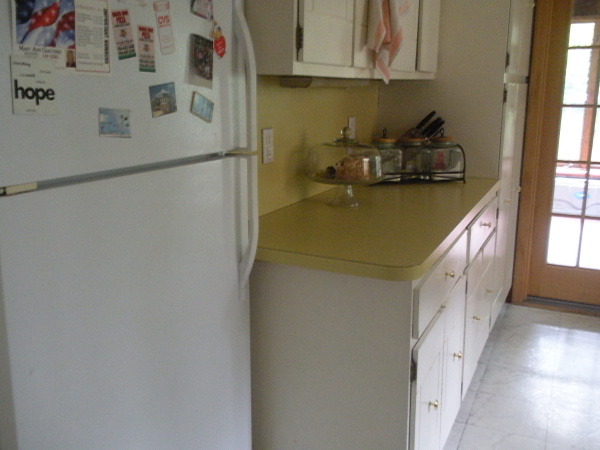
So what did we decide to do first? Countertops! Hello happy dance! So we went from this...
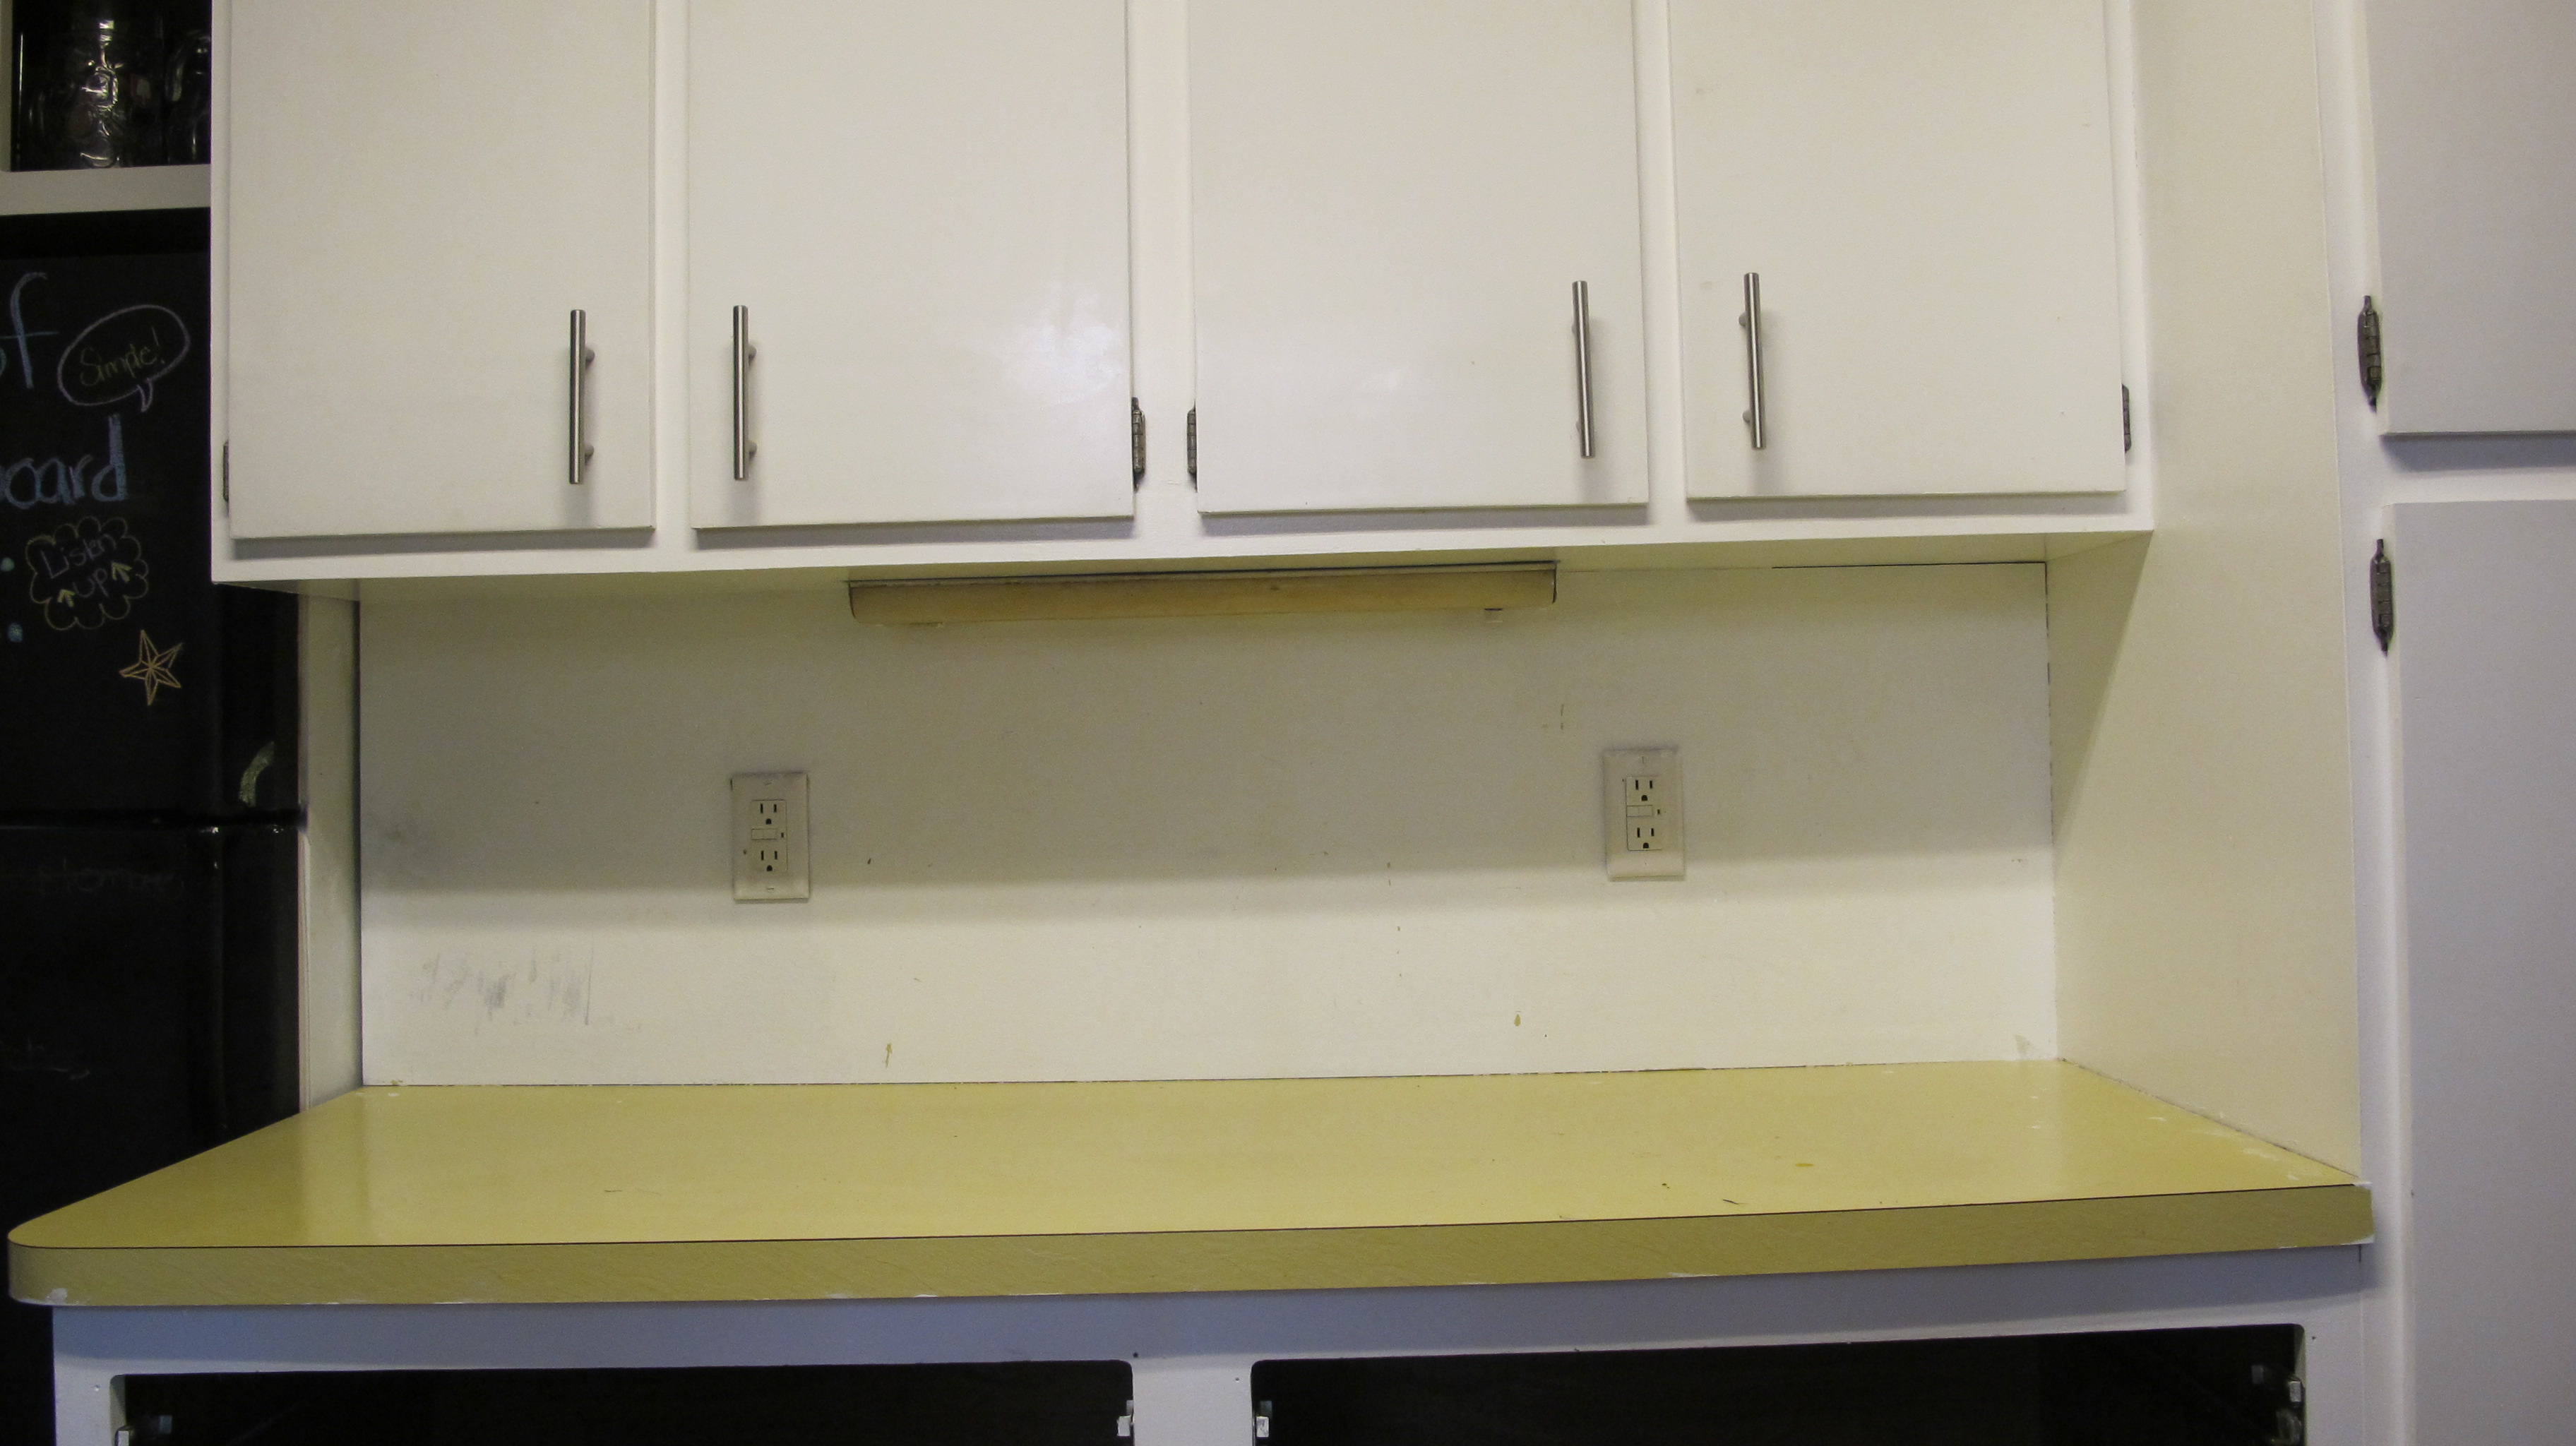
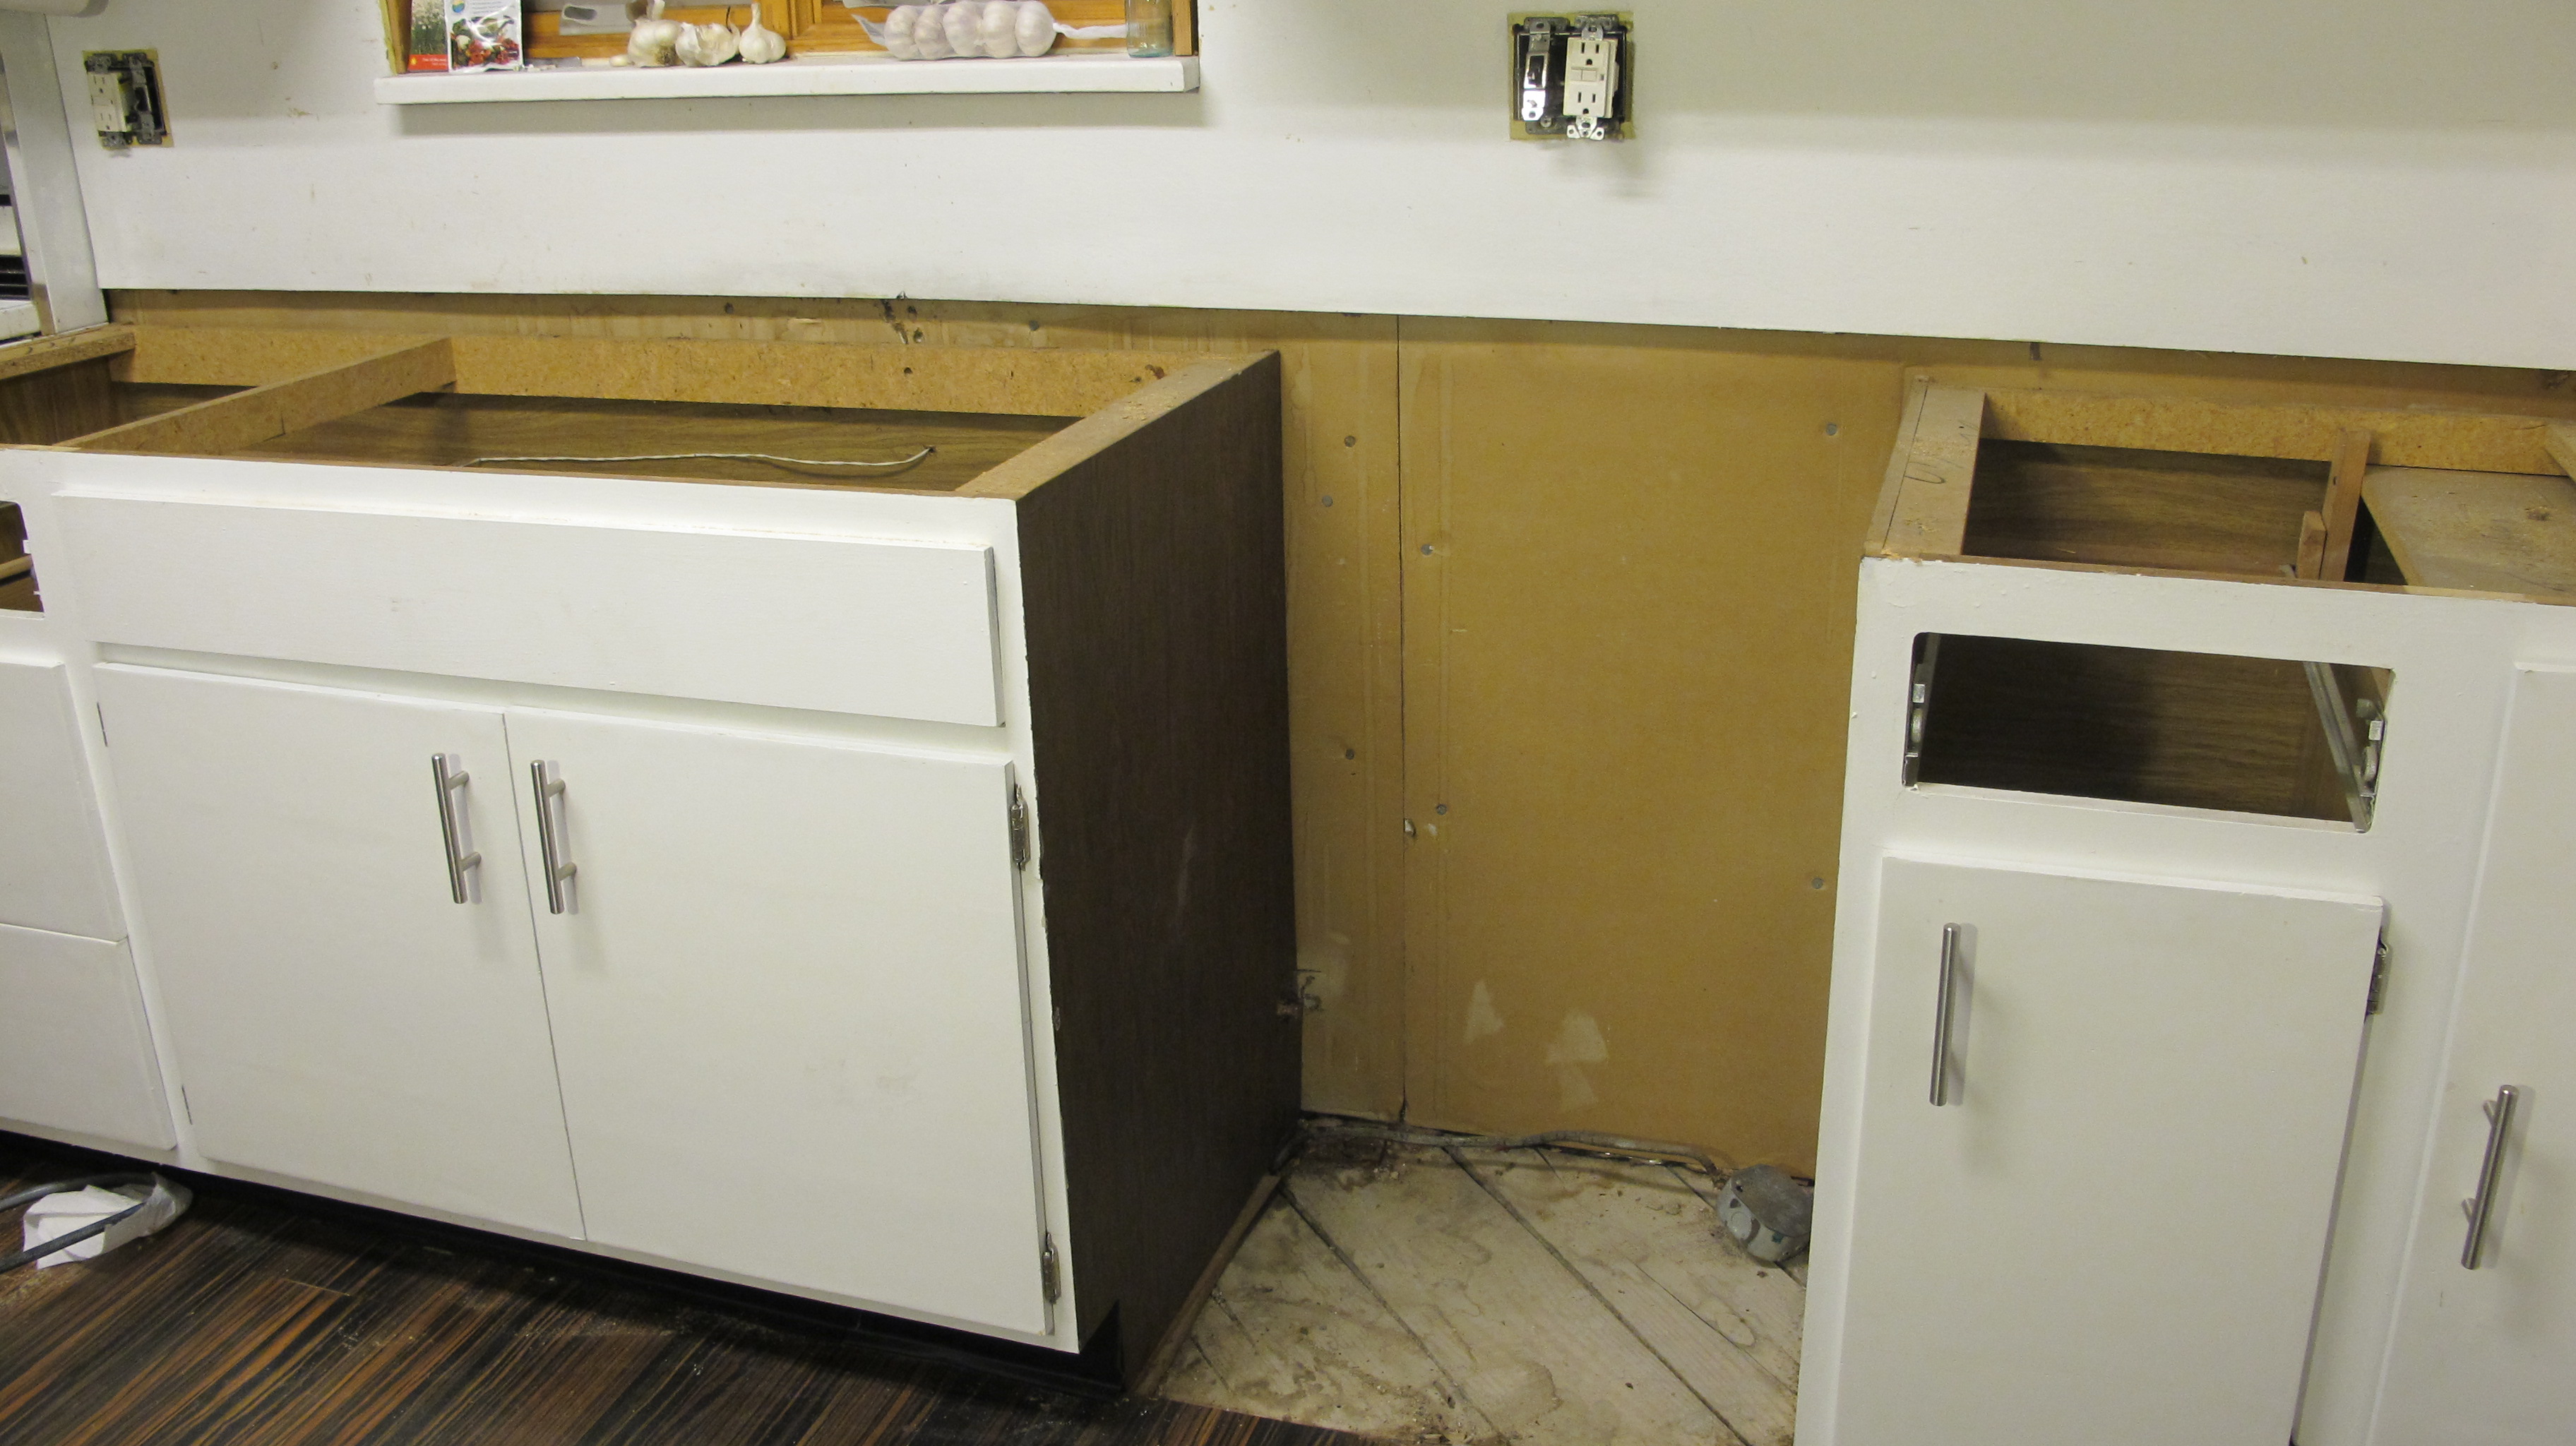
...to removing them
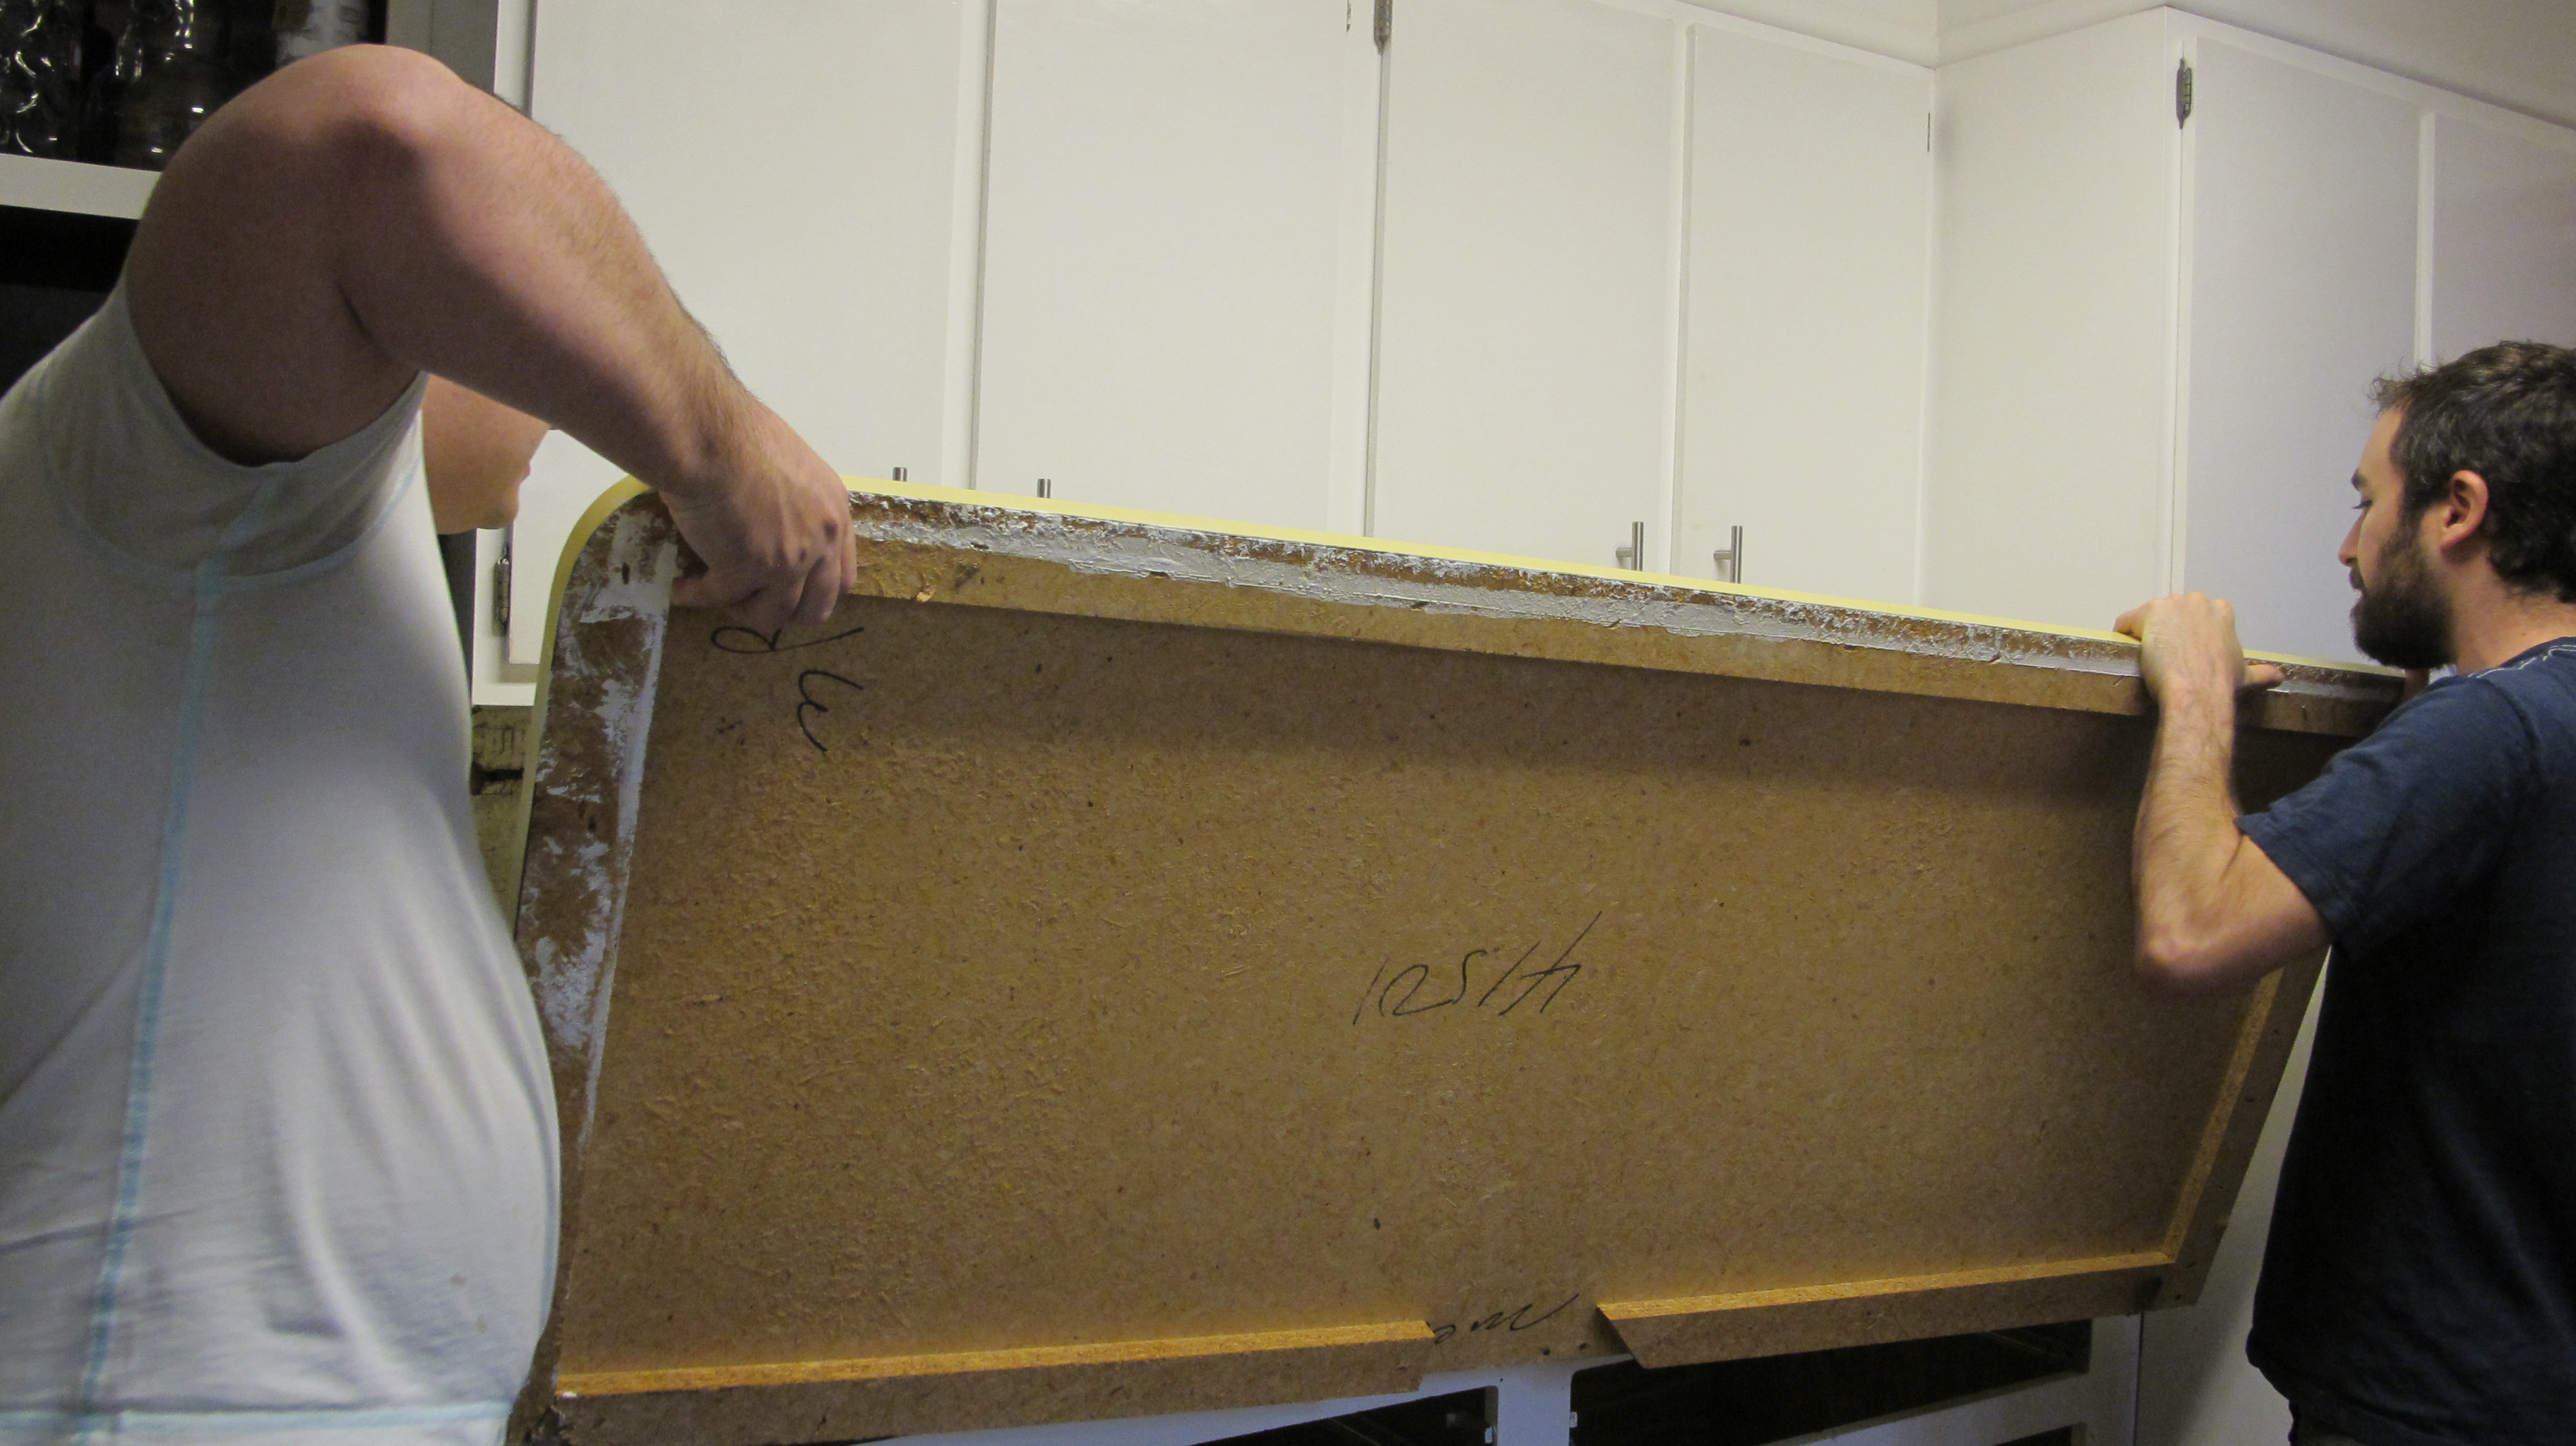
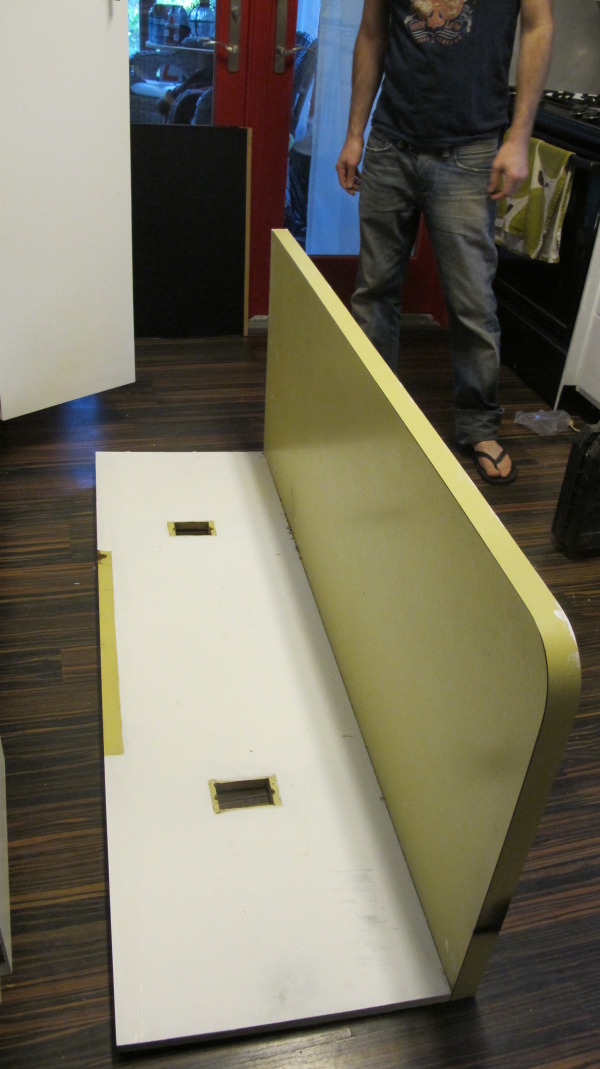
along with their connected backsplash. Classy, eh?
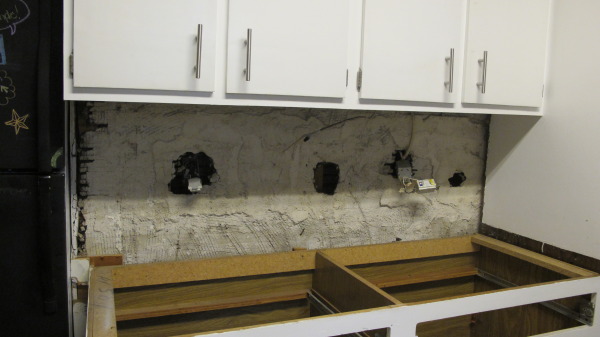
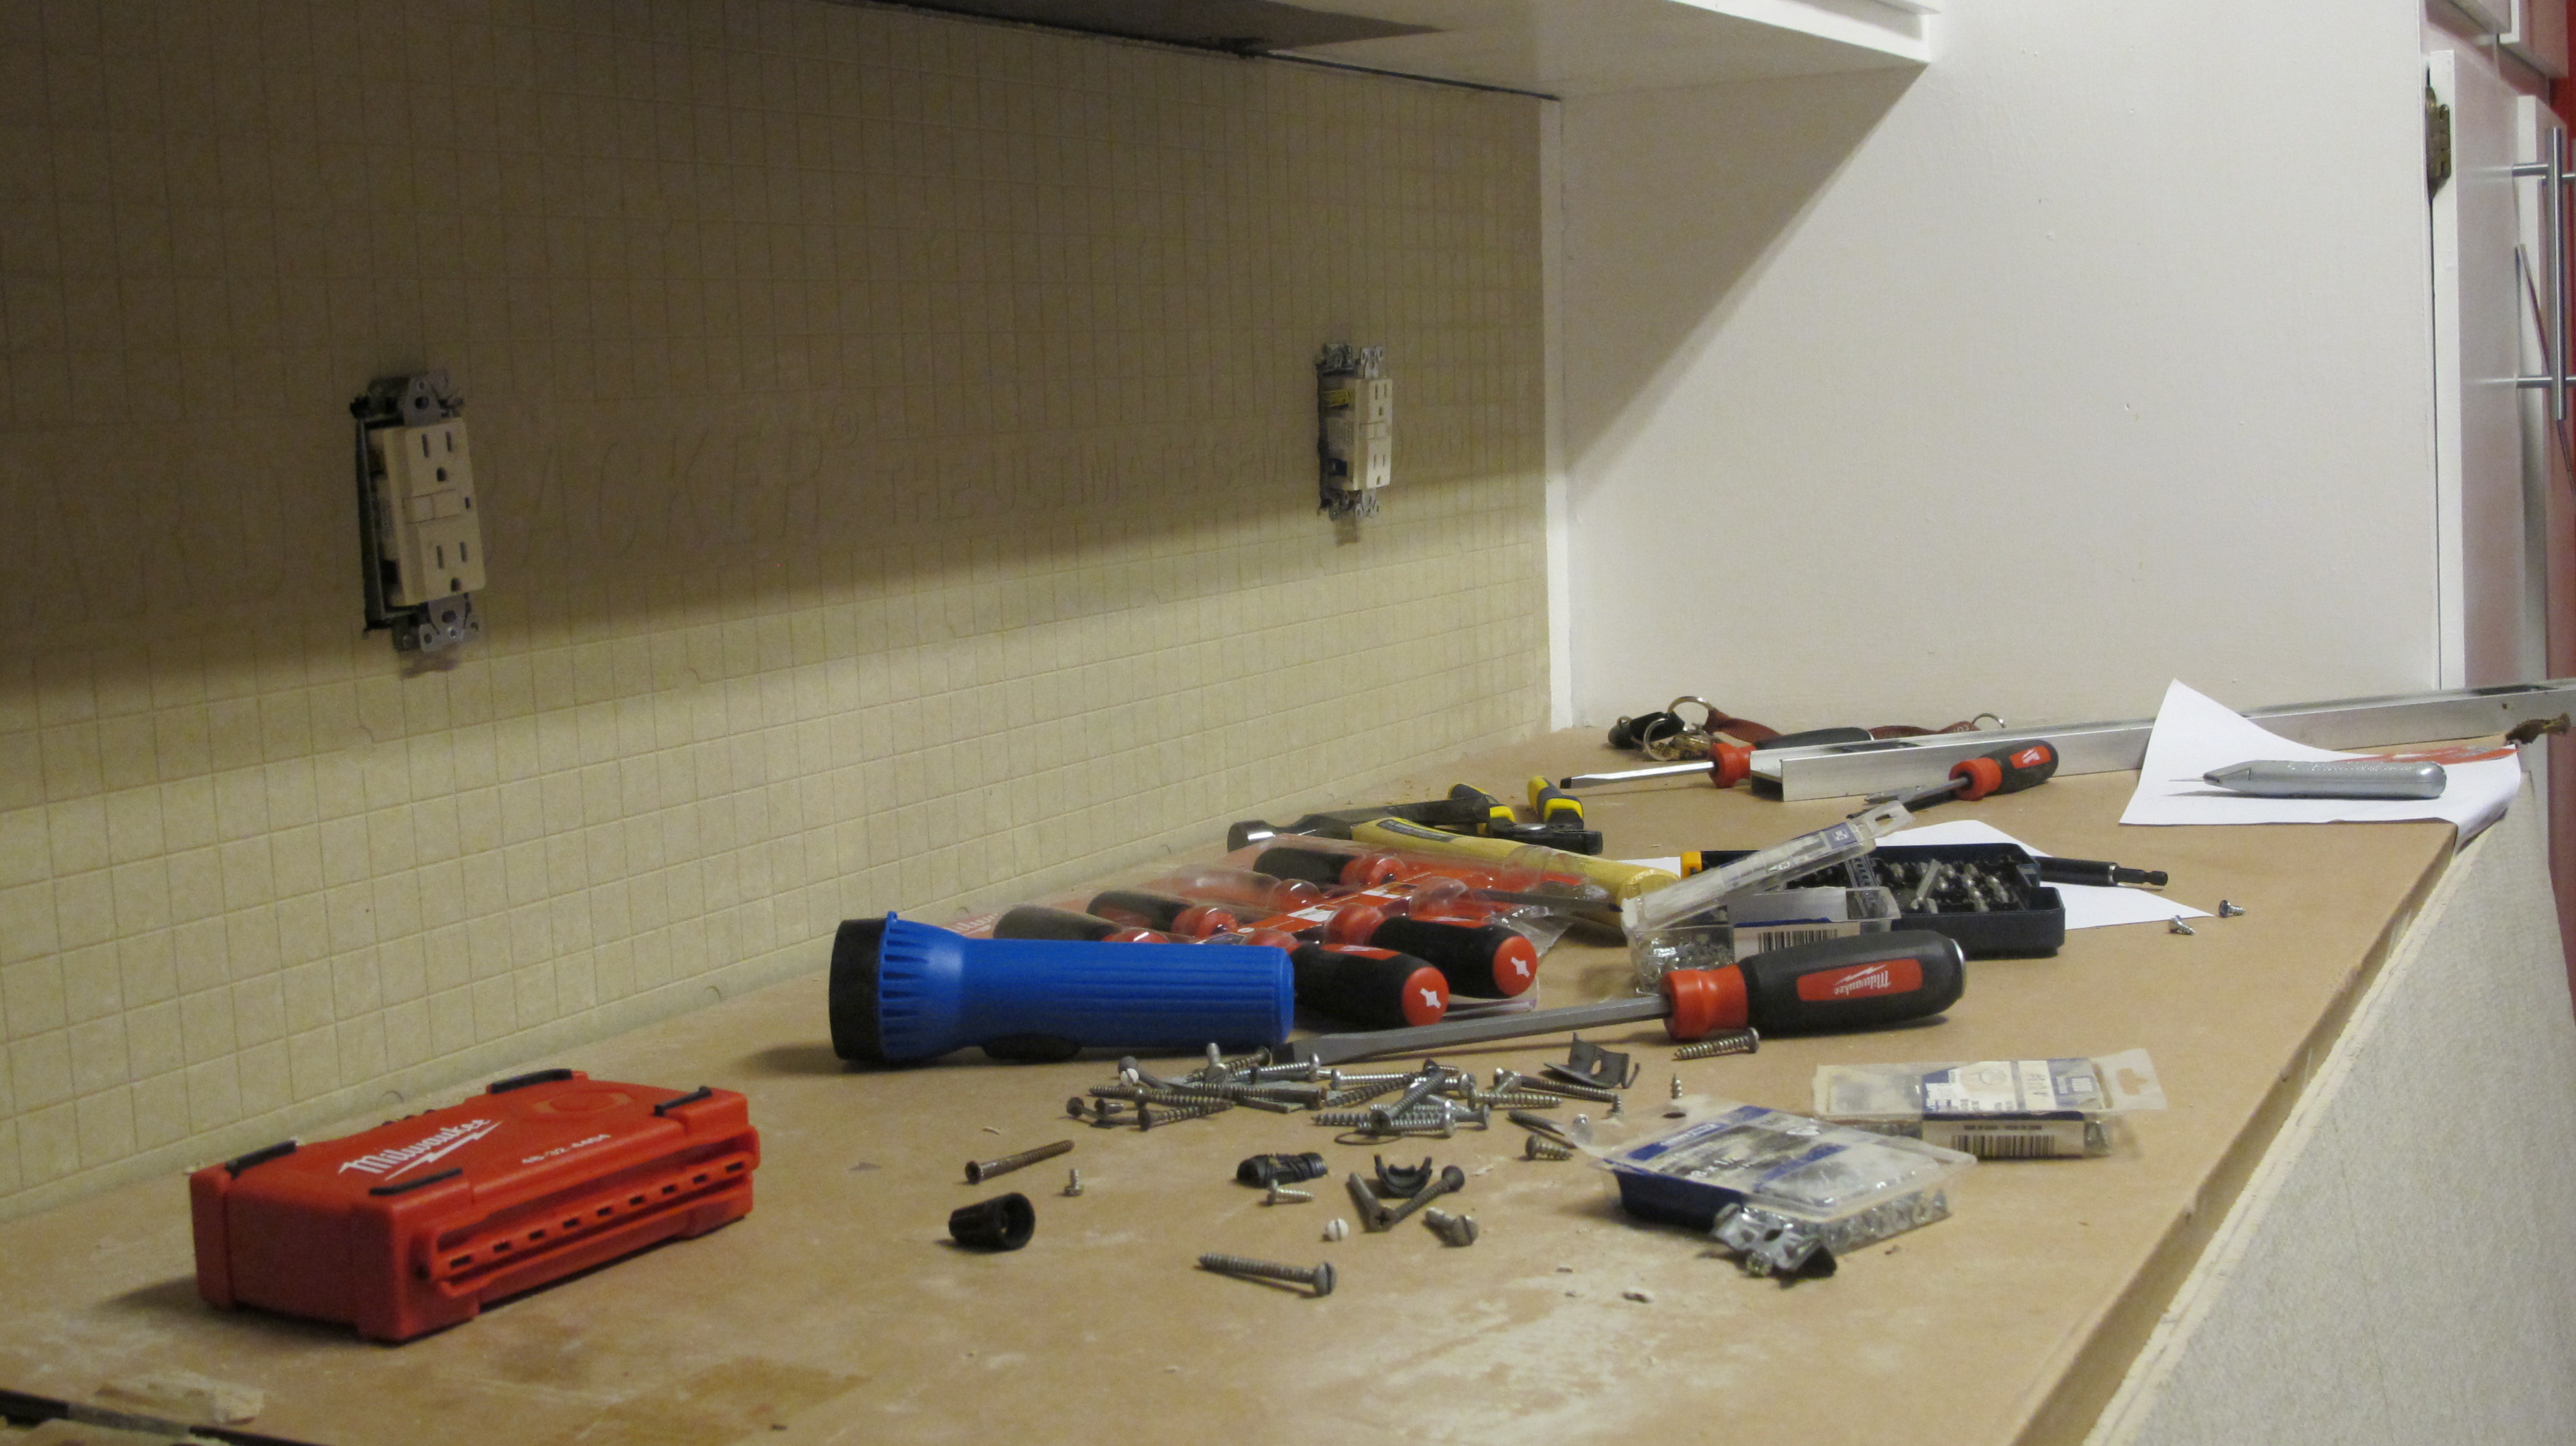
After the removal, this was a semi-shocker. Raw cement wall. We had to solve the counter issue before getting to this.
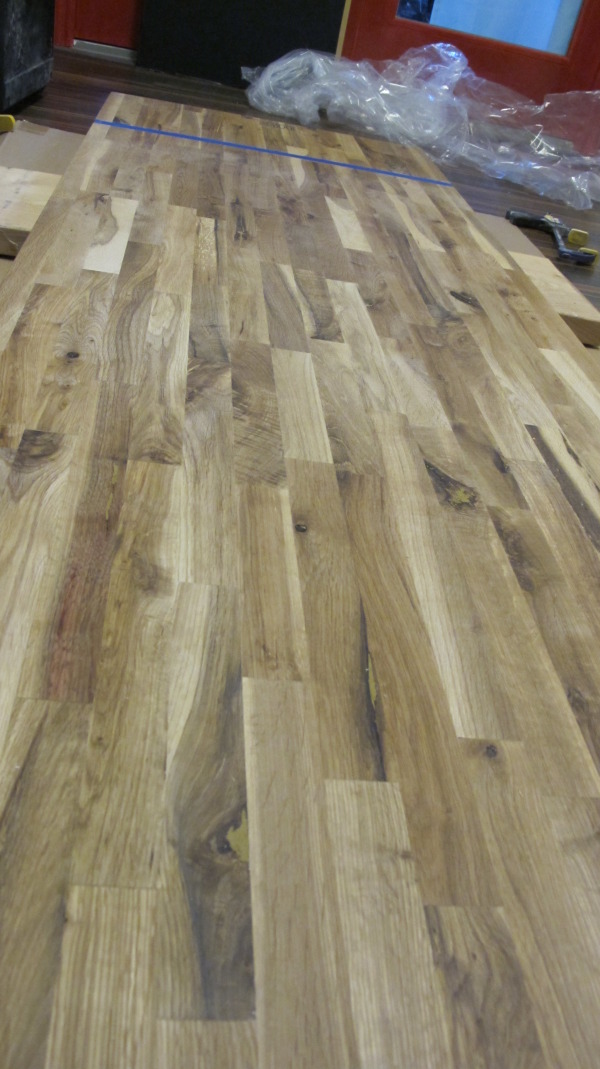
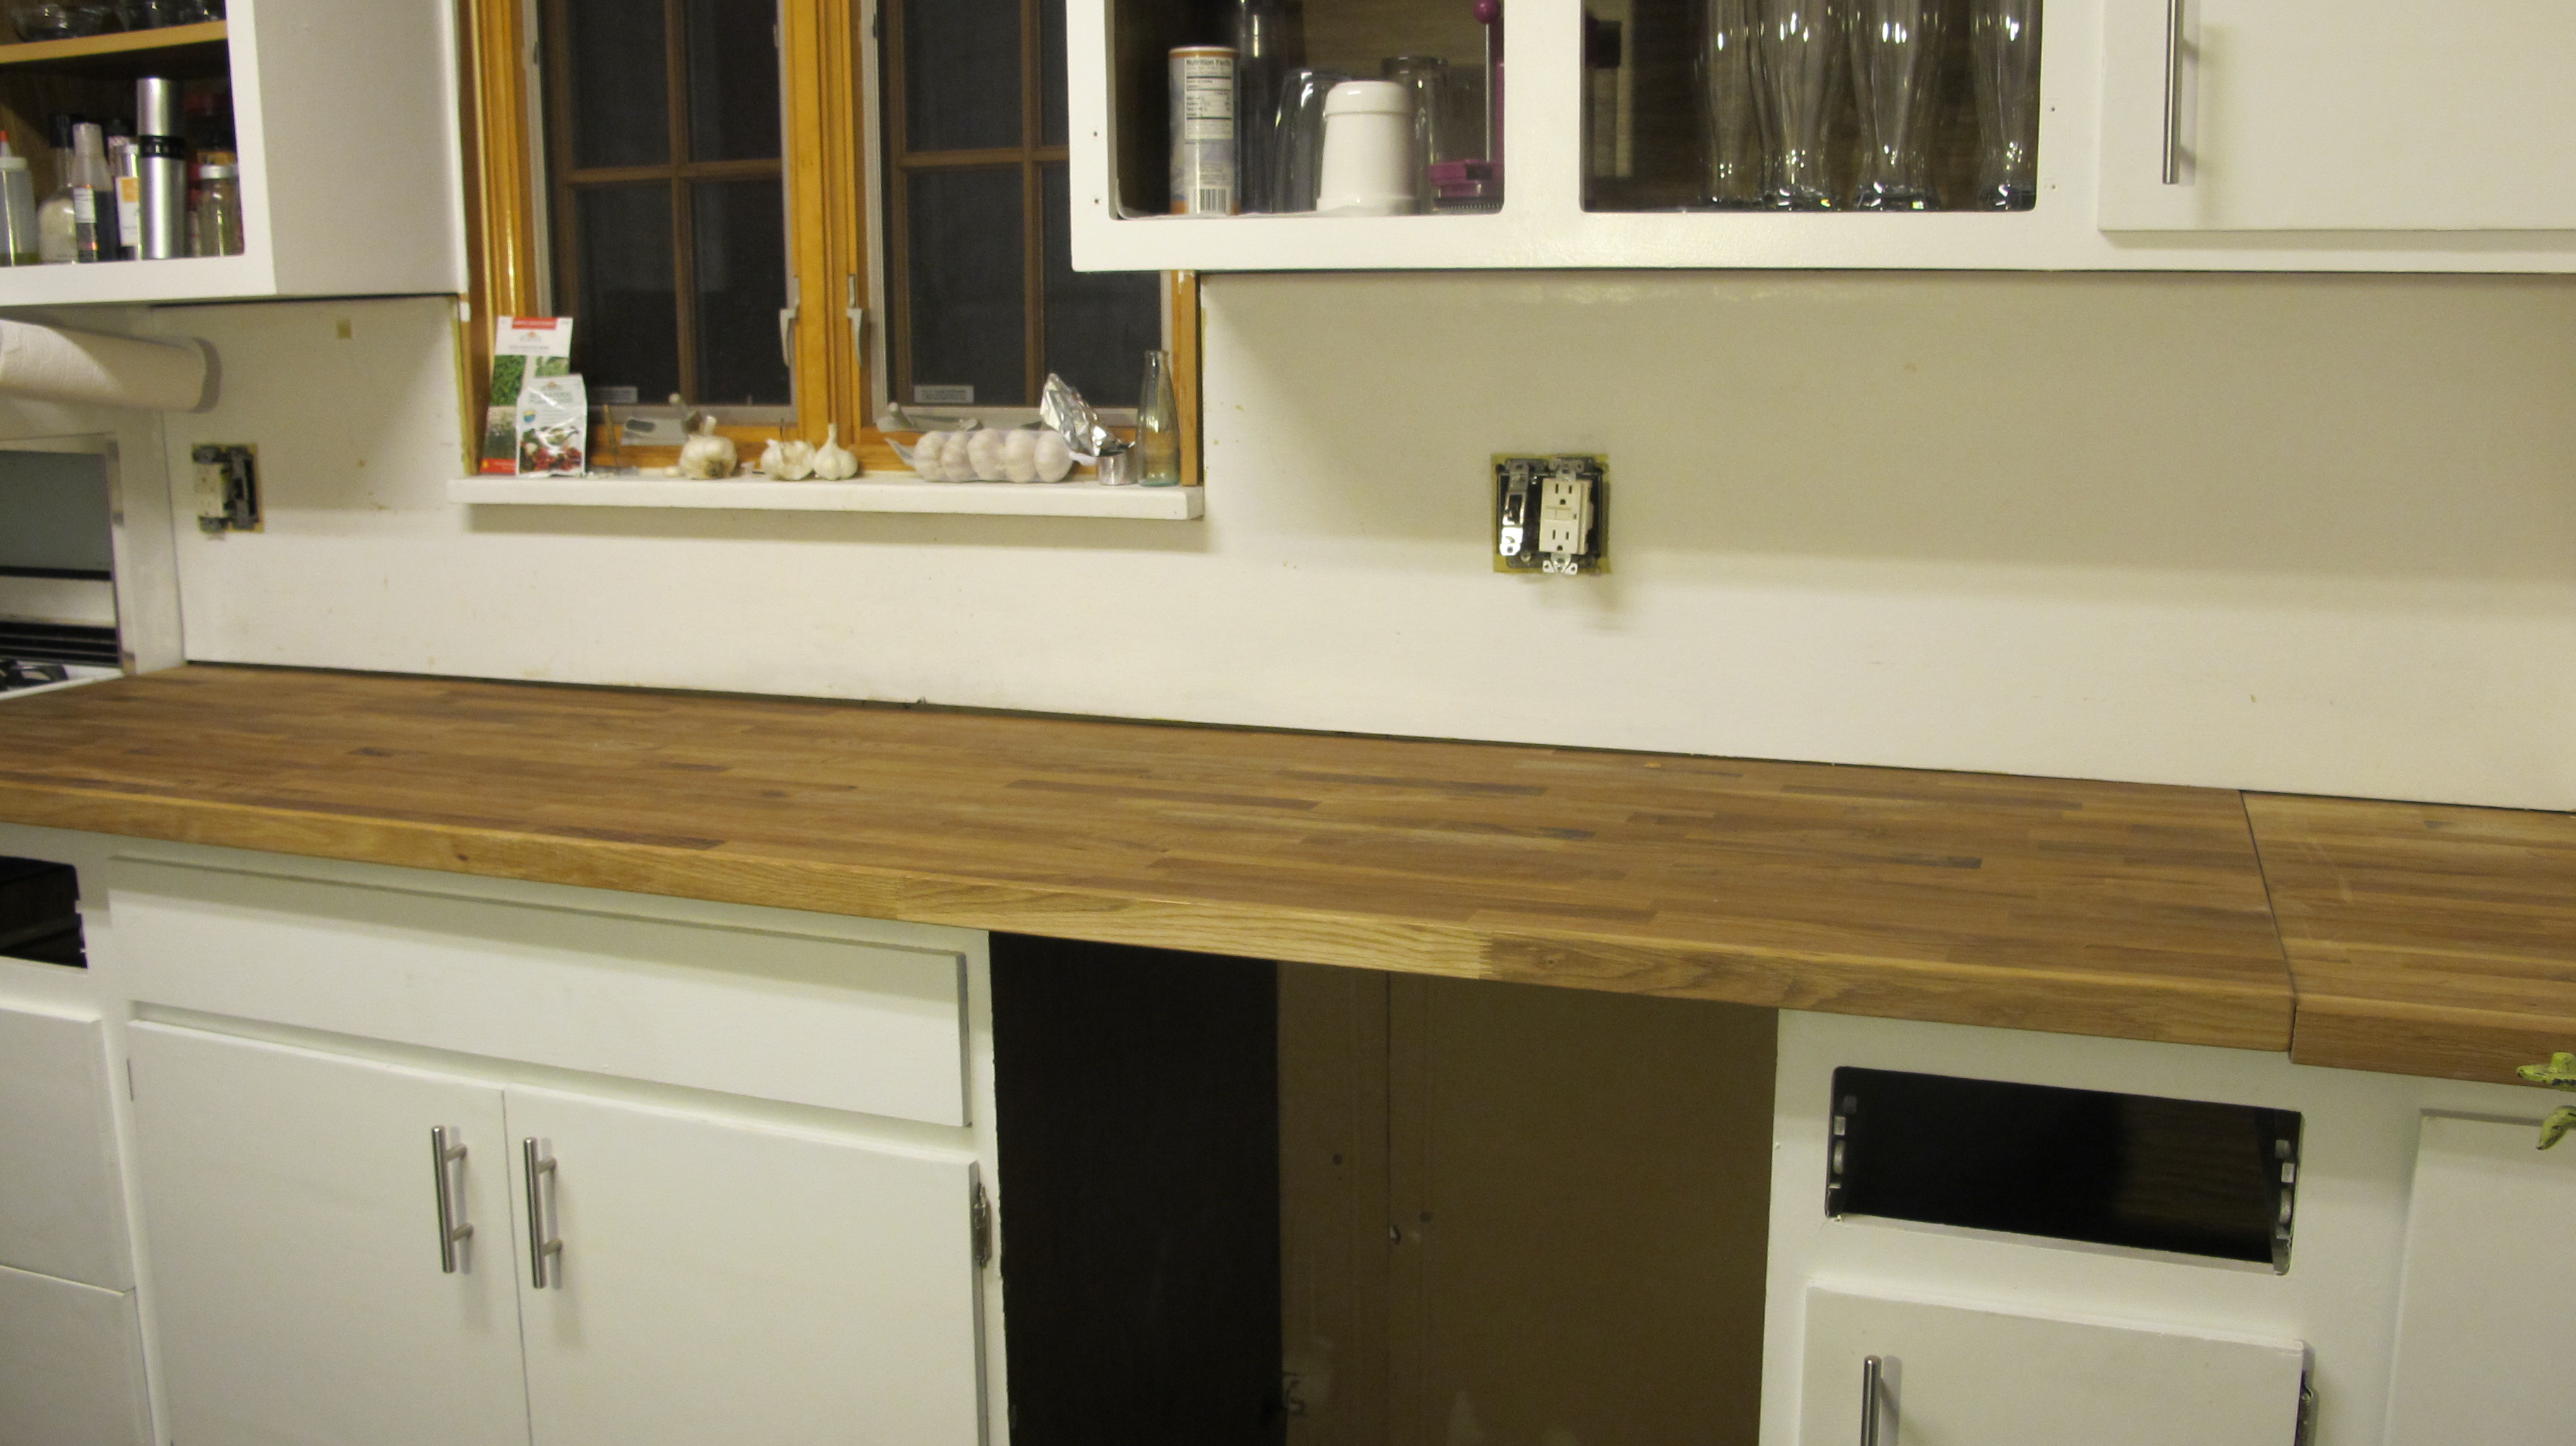
We decided to go with butcherblock countertops. We knew we really wanted to go with the wood option and Ikea has really great oak ones for a super reasonable price. We figure we like the way they look and we like the price, this is a super combo for our thought process of prepping for renting. They ran us $89 per 49 5/8X25 5/8, and we bought two. So for less than $180, we got new countertops we like a lot and add character to our home, and we kept the price sweet.
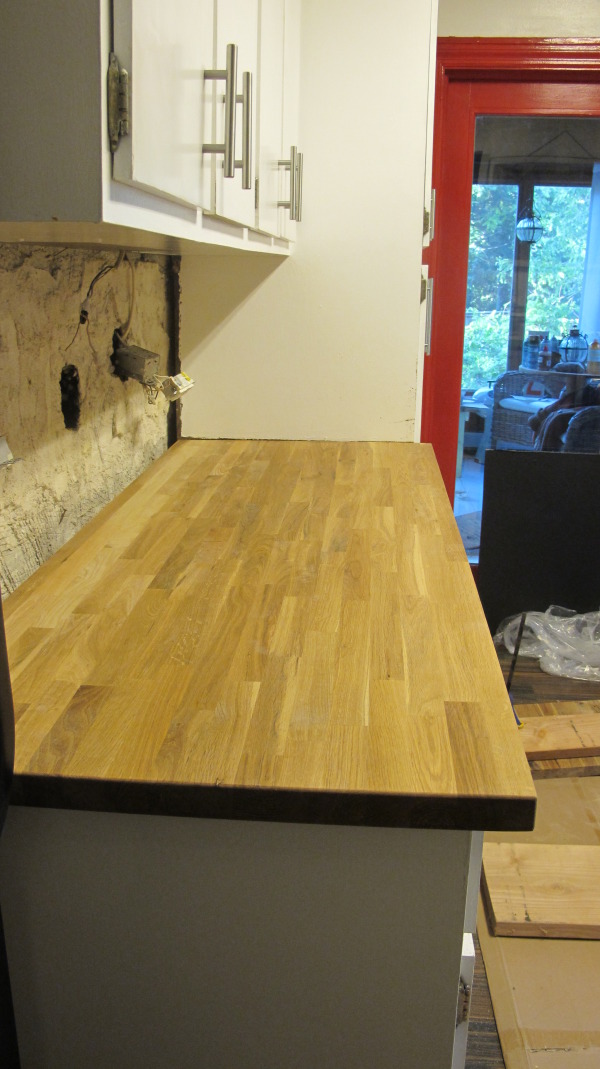
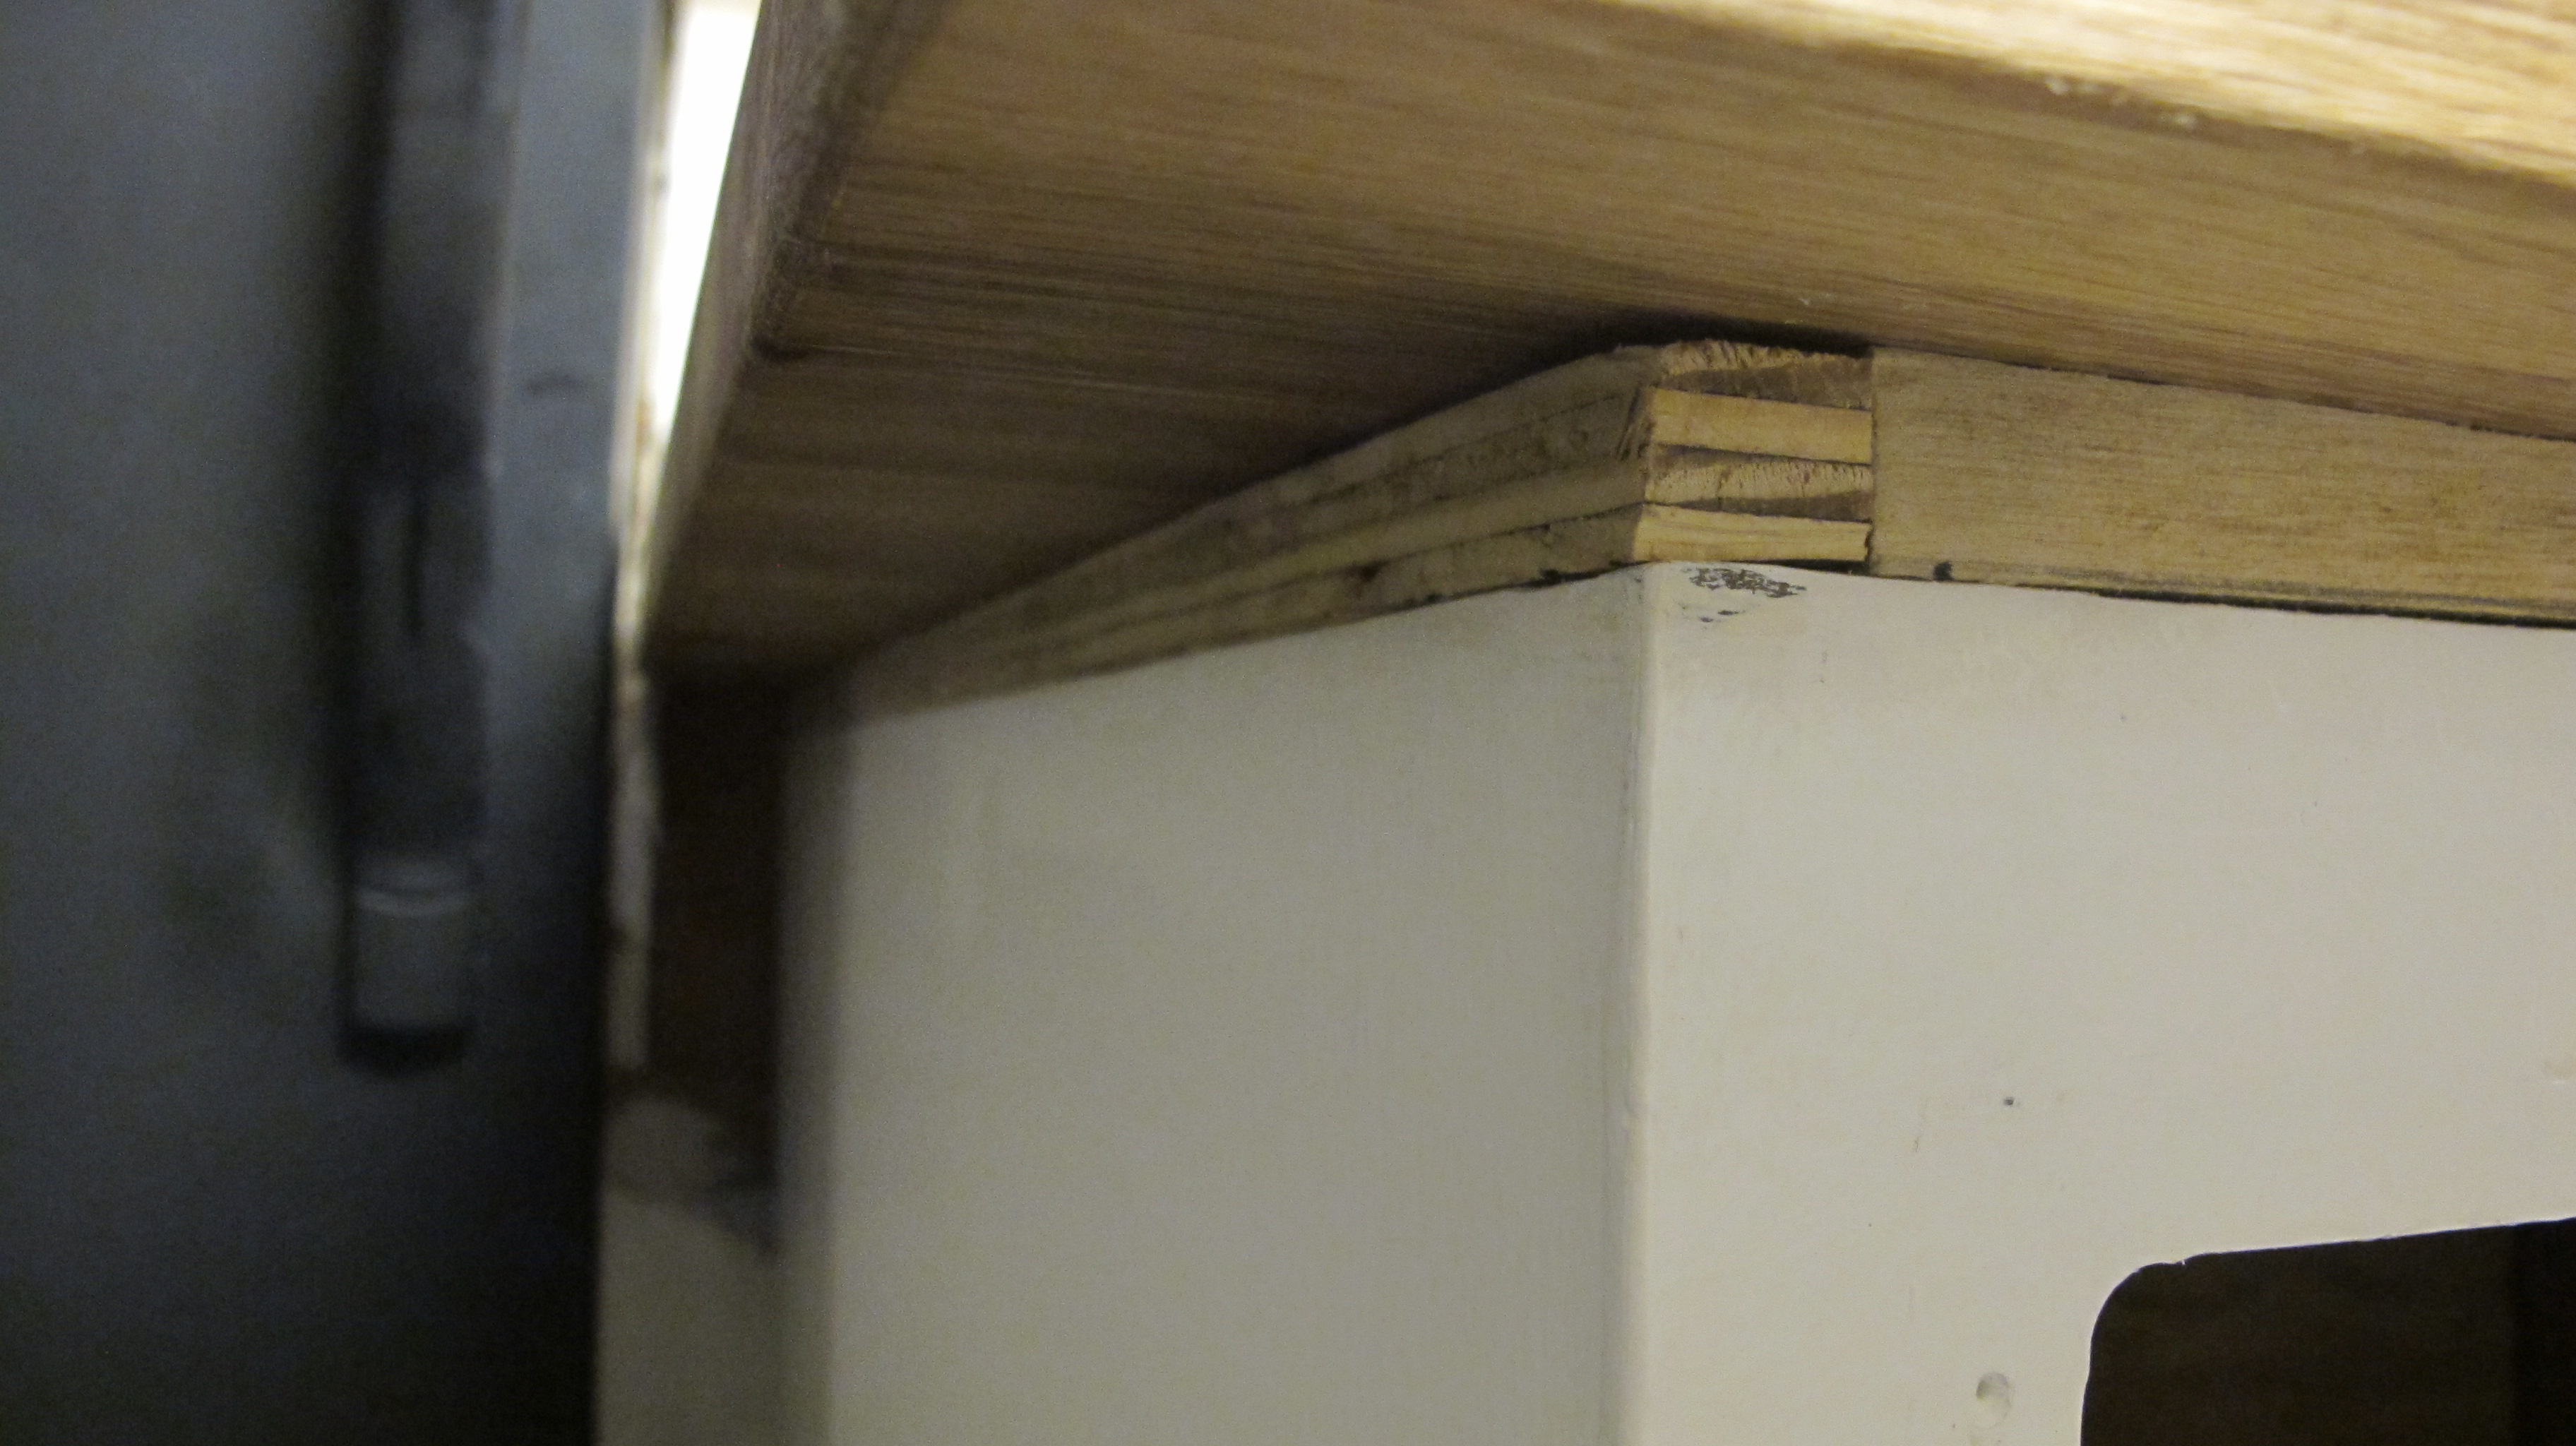
When we put them on the cabinets, we realized we were living an uneven counter life, and joey cut some wood to fill the gap. We were good to go after that.
So, to solved the problem of the exposed cement, we disassociated the wall part of the removed countertop combo and screwed it right into the wall. Our friend Todd (who helped with the whole process), suggested getting wonderboard (about $12 per sheet) to put between the "old" wall and the soon-to-be applied subway tiles.

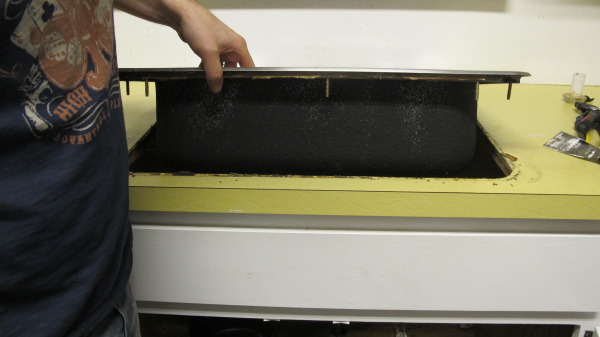
Next step was to do the other side of the kitchen. We decided to keep out sink and replace our faucet, so Joey carefully removed the sink and set aside before removing the countertops.
We also removed the dishwasher, now seemed good-as-time as any.
It's crazy to see your home in this condition!
So we have a little project we have going on a little later, but take note there is about a two foot slab of wood which looks removable.
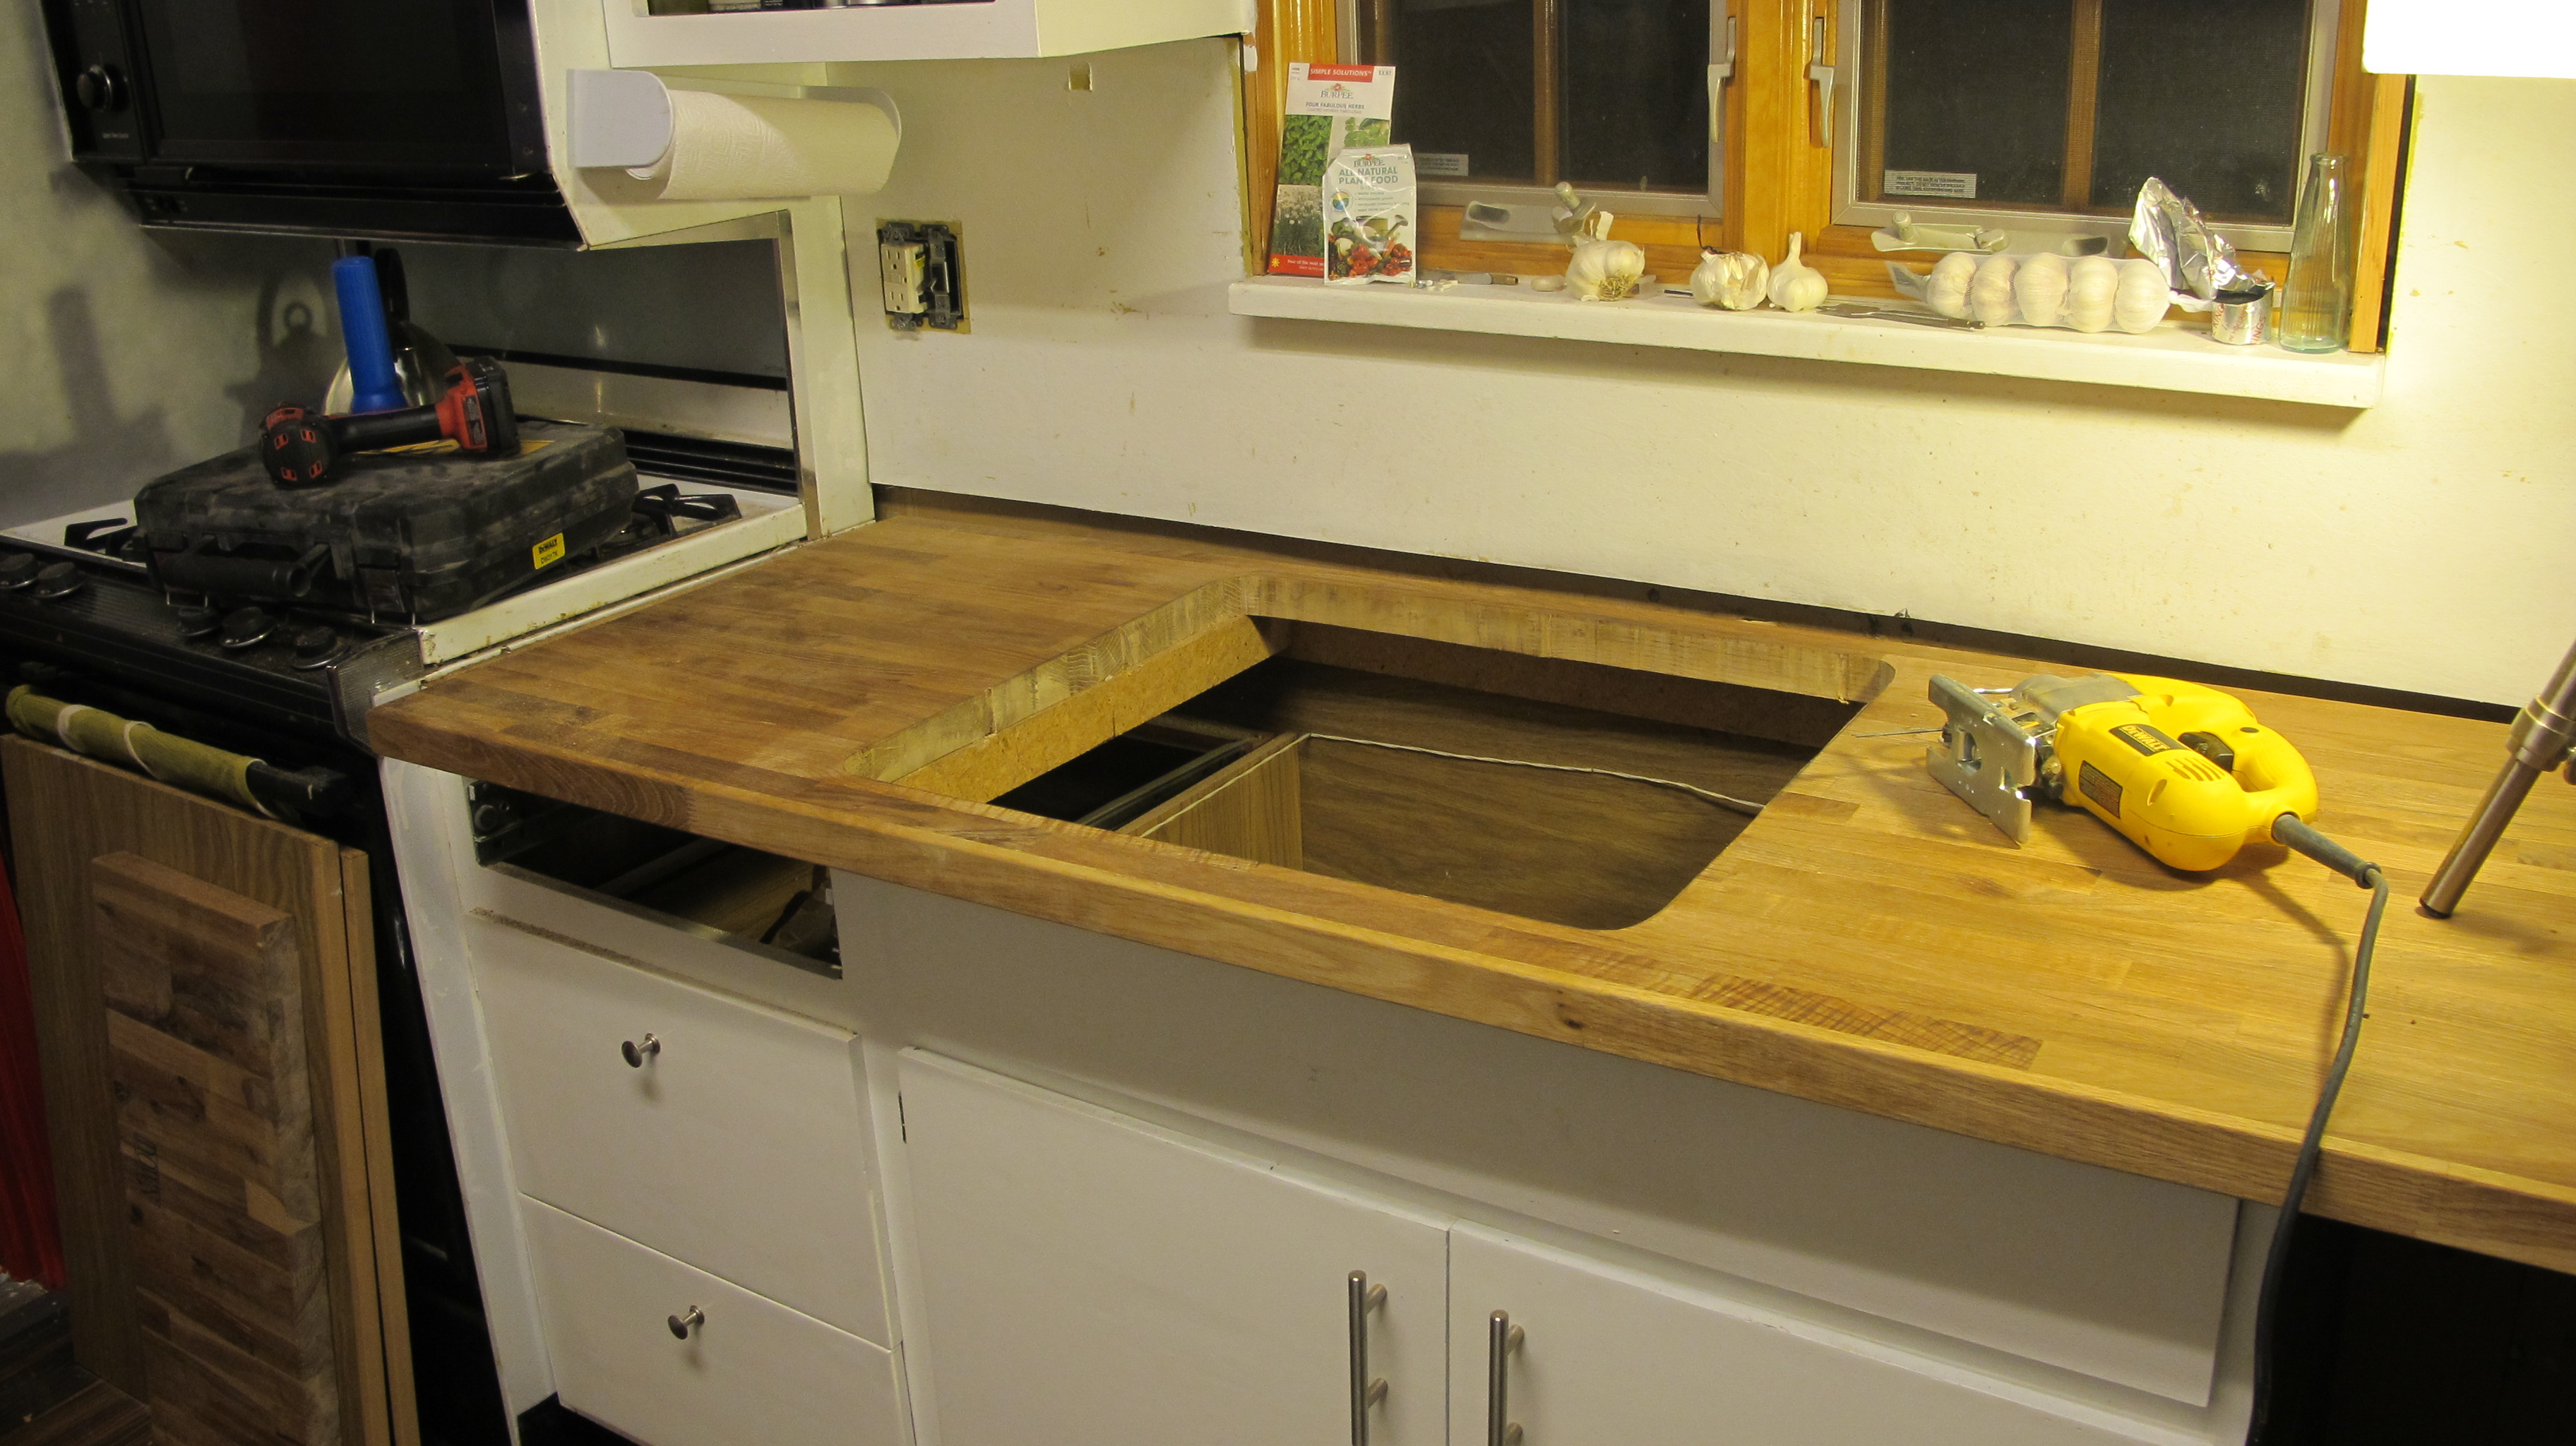
We used the old counter (you could use a sink too!) as a stencil to draw the shape of the sink on the new counter. A simple jig-saw made it easy to cut the sink hole. That extra wood is so turning into a cutting board!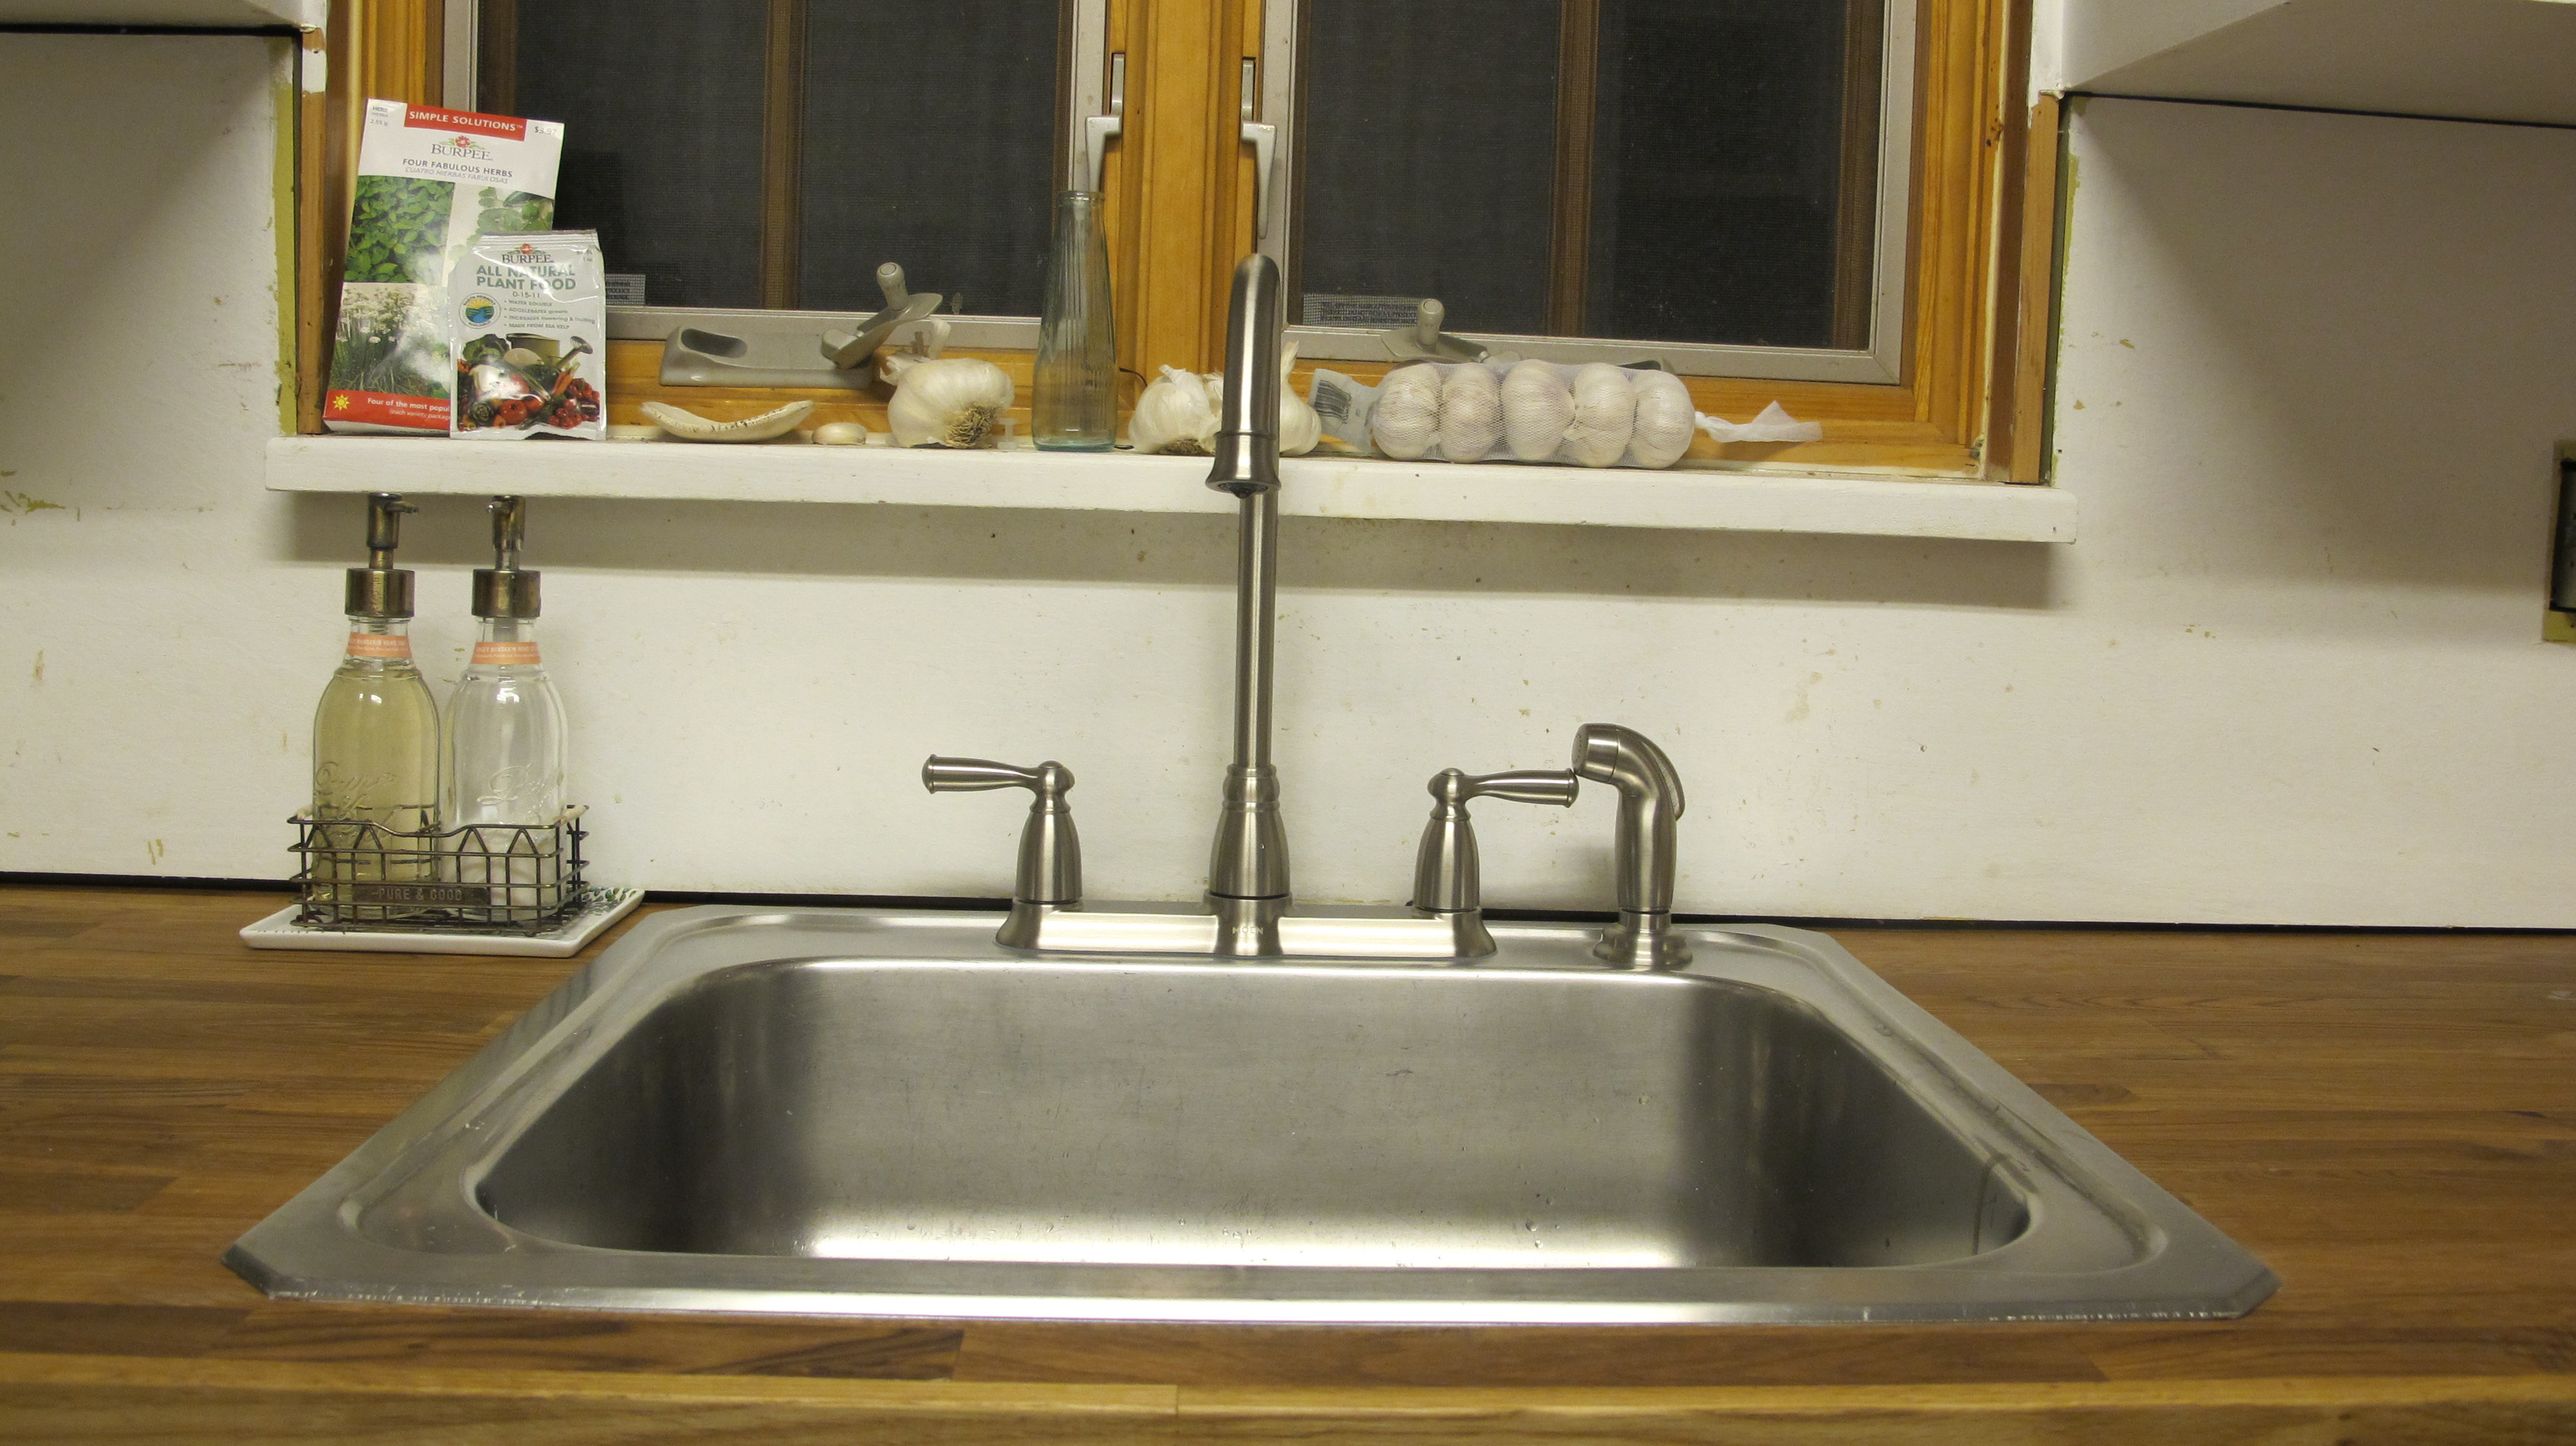
This side is also getting the subway tile treatment, but not until after we install the dishwasher. Just in case we need to lift the counters to install it! So right now, this very moment, we are knee deep in this here below! We'll be posting all about it!
 Joey and Lana Make a House a Home
Reader Comments (8)
Oh I love it! I'm enjoying my new kitchen and newly renovated home. It's a bit sparse with furniture but that will come in time at least we are back home!
Amazing. I love the butcher block, guys, Do you have many creases? It looks like one's there pre-sink but gone once you cut the hole; did it just mush together and vanish?
Guys you are fantastic! This is so impressive. I know this is a lot of work.....well done!
@adalita congrats on your reno!! enjoy it!
@emily one side is totally seamless, the sink side has a two foot "extension" next to the sink. What we are going to do is replace that with a different material next to the sink later on so i don't burn the wood! I don't think there is a way to make the crease disappear, but it doesn't look bad!
@linda thanks so much! it's a killer, but worth it :)
Wow, this is going to come out so lovely! Those counter tops are nice. I bet you will be excited to have this done for the holidays :-)
@jessica thanks so much! yes, we are super excited to get it done! just in time for thanksgiving!