Related Posts Plugin for WordPress, Blogger...

                   Follow Me on Pinterest


photo cards


OpenSky

Freckled Nest - Design by Kelly Ann

Home & Garden Blogs
BLOG DIRECTORY
Online Marketing
Home Improvement Blogs - BlogCatalog Blog Directory

Entries in tips (5)

Monday
Jan232012

5 Things I've Learned from Working With Emily Henderson, so far

Happy Monday! Did you get hit with the snow storm this weekend? It was a weird relief to finely get some seasonally appropriate action. It snowed here before Thanksgiving, then nothing! We didn't mind it so much. So today I am doing a little post about what I have learned so far, from working with Miss Emily Henderson. Ya know, HGTV Design star Winner? Host of Secrets from a Stylist, your favorite HGTV show. Personally I think she's the most relevant design on TV. She gets it. She knows how to make a room look like a million bucks, while looking lived in, while not breaking the bank. So what have I picked up in the 7 months I have been on board? 


1. Sometimes a turban and a Red Bull is all you need. This pic was taken after a Fashion Week Party. I learned something this past September while working with Emily. This girl wakes up early and stays up late in order to get things done, and she's always doing it in style. I once heard "We as people are only good at either fashion or interiors, never both". Emily is defiantly the exception to this rule. Cram as much as you can into a day, you'll be surprised what you can get done. 

2. Options. When we get a new client, it's all about sourcing options. I know it's easy to think designers know exactly what the room will look like as soon as they set eyes on it. I kinda did, but in reality that doesn't make any sense. I have learned that sourcing options is probably the most crucial thing you can do in the whole design process. You may know a perfect couch for the living room, but that couch can be 10K! Knowing how to source and having enough options something similar is way more important than I thought!

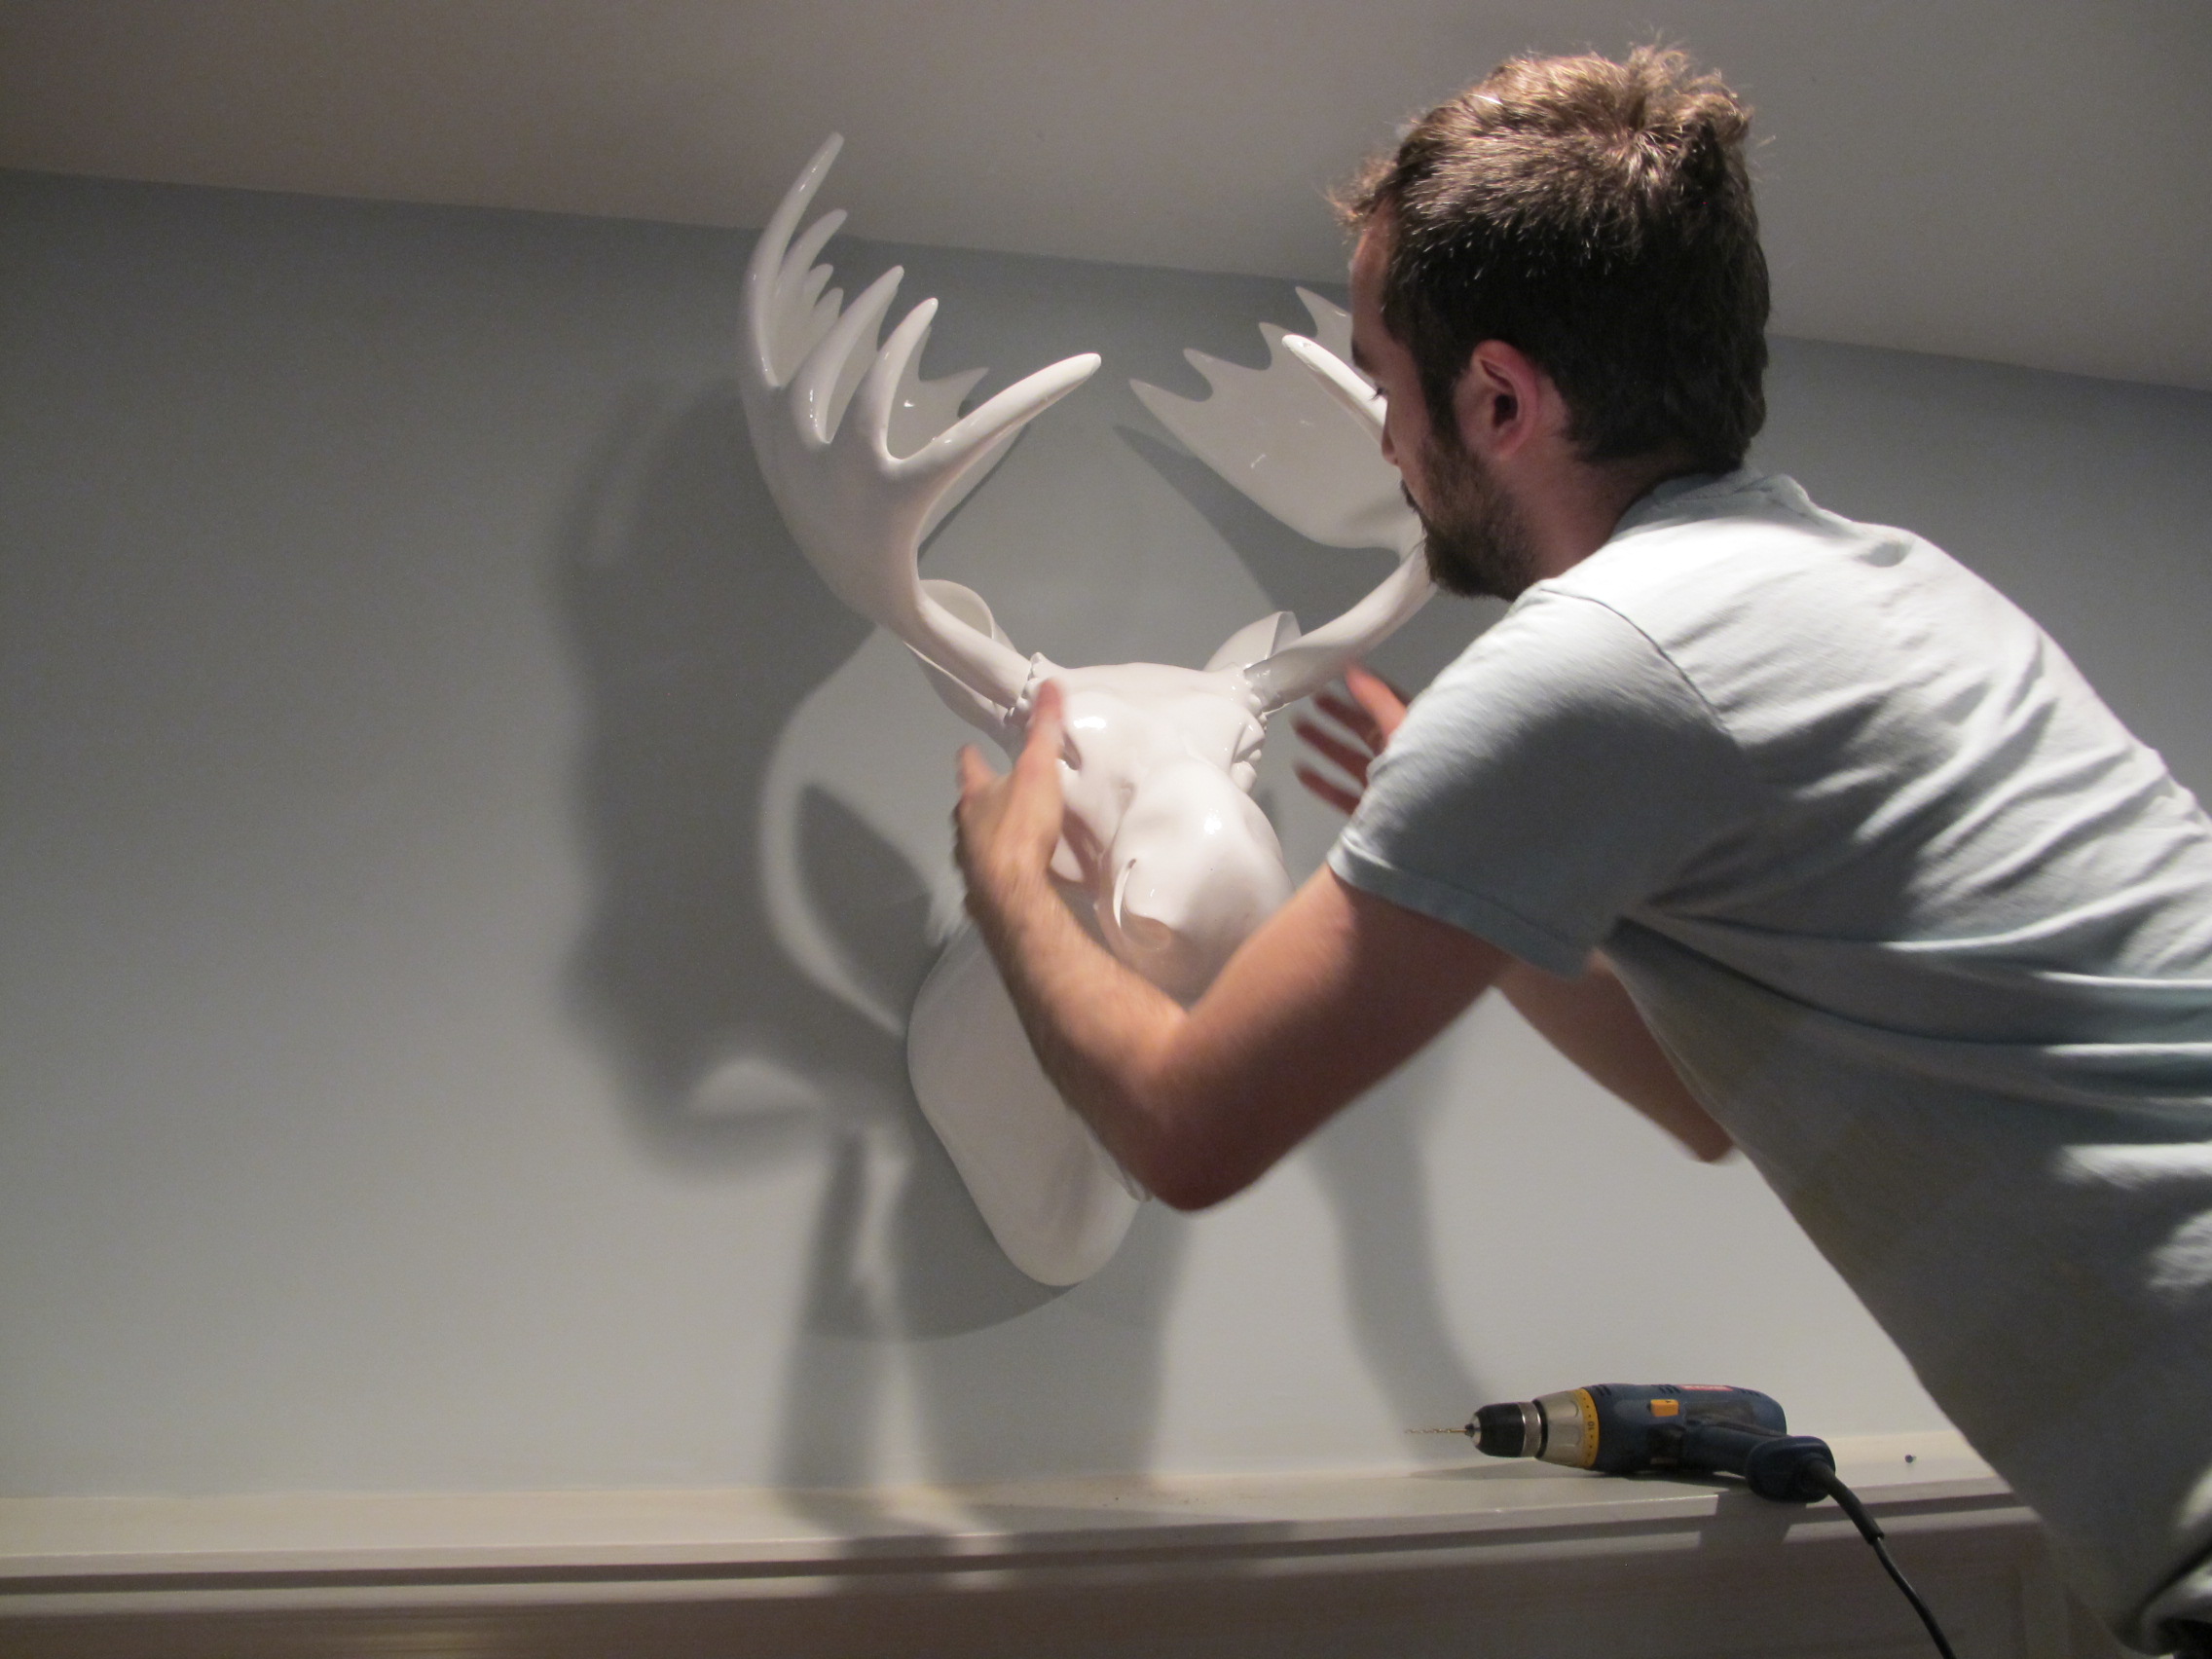
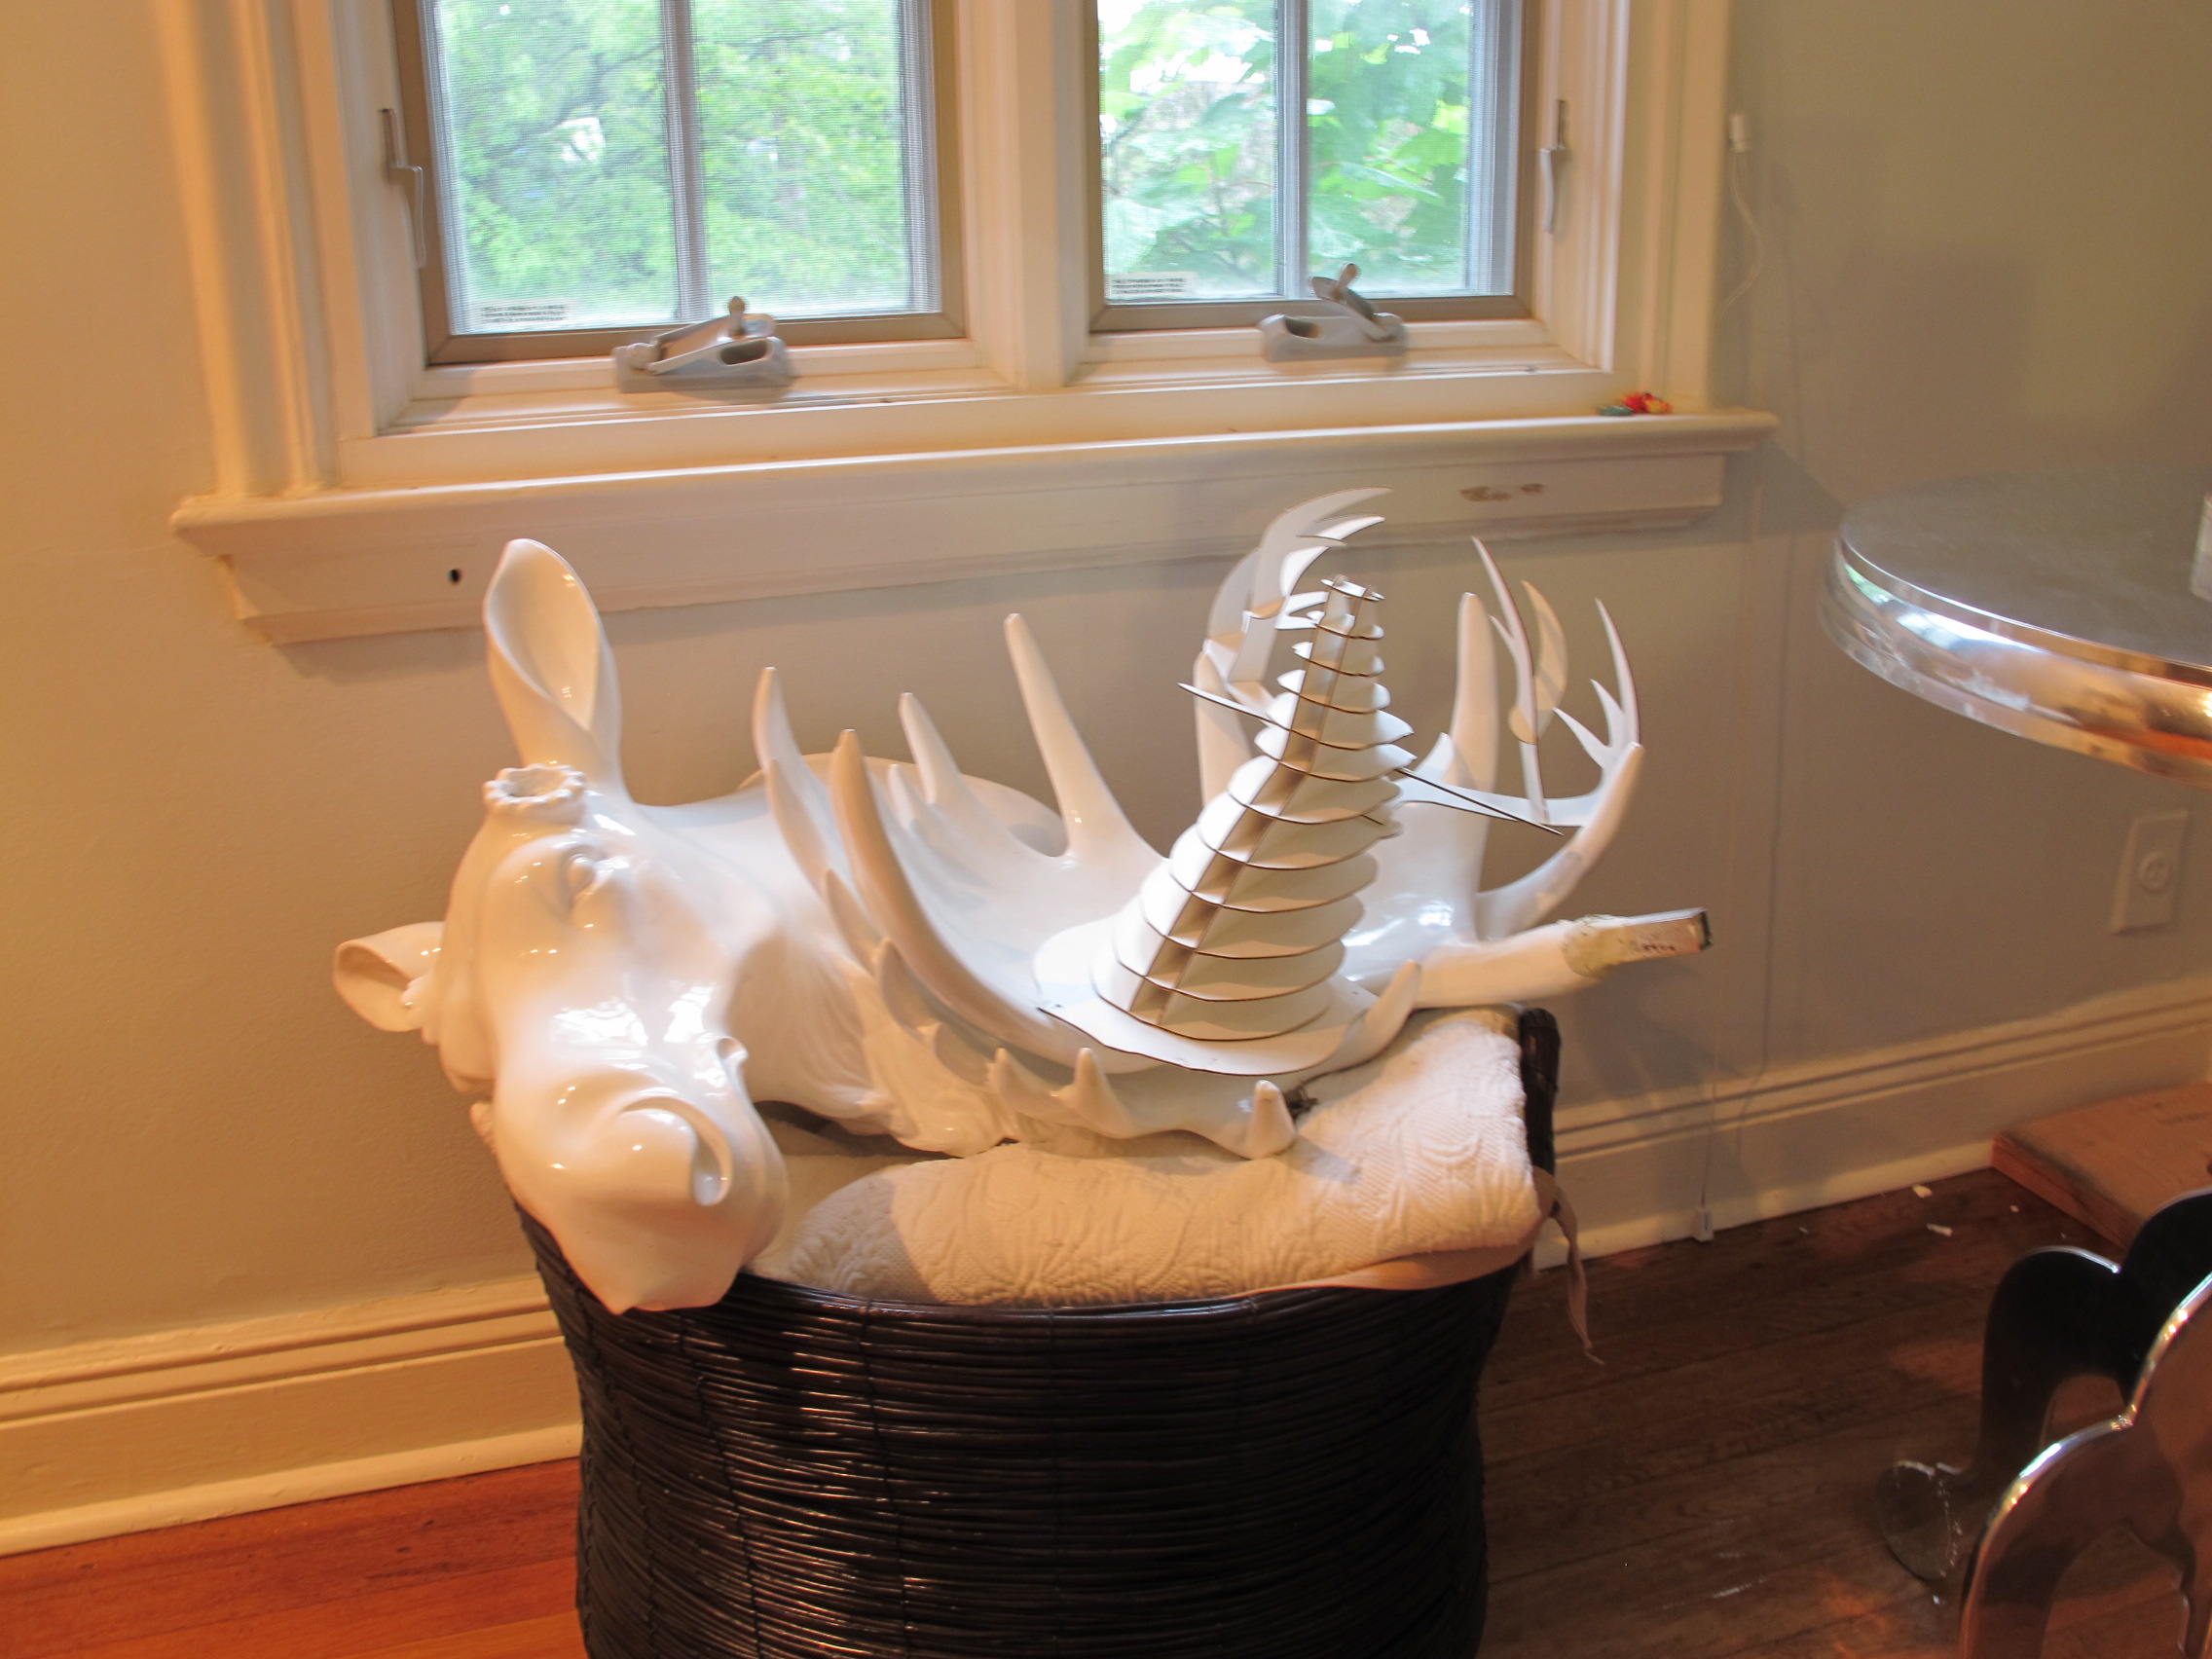
3. Ugly can be pretty. You know when you shop junk or vintage you pass by 99% of stuff and think "no way!"? Emily has defiantly taught me to look more deeply at objects. Shape, quality, scale. It can be transformed into something beautiful that works. Finding unique spots beyond the big box stores, and knowing how to find a gem has been so much fun!

4. You don't have to be one thing. People often compartmentalize themselves into a specific style, and it's OK to be attracted to two, three, or even four styles at the same time. We have a client that's Lake House with Japanese flair, in an un kitchy way - and one would think that's strange - but it's looking insanely amazing. 


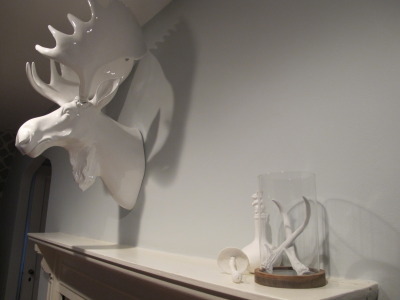
5. Mixing is vital. Yes, we buy stuff from West Elm, CB2, and Room and Board like the best of them, but the majoity of styling is done with way off the beaten track items. This is where Emily sets herself apart. She takes the extra step to find those unique items the clients totally connect with and is a master at grouping them.


Sometimes you don't get it right on the first try. If you watched Design Star when Emily is on it, you remember this:

So don't beat yourself up. Try, try again. It's been a blast so far, and I am so excited to share finished projects. Emily and Orlando have been doing the majority of the designing (I don't want any confusion!), but just being around them is so inspiring. 


Friday
Jul222011

Joey Has Something to Say...

Ah, the moose head... Let me tell you a bit about how it took a year of waiting for the right deal, a few months of waiting for it to arrive, and then finally another year before we could find a suitable
place to hang his shiny head.

Lana had her eye on this guy for quite a while. Periodically reminding me how much she loved him and knew exactly where he was going to live in our home. I agreed, we probably needed a stately white moose head. So, Lana kept watch from her shopping blind, waiting patiently to pull the trigger. Then, one day, without warning, she announced he was ours.

We unwrapped our newest prize to find... a broken antler. Oh joy of joys!


Luckily, we had ordered some weirdo, fix all, putty off the TV. I mashed it together with a rubber mallet, (I didn't feel like my hands were mashing adequately) and jammed it into and around the offending antler. 60 minutes or so later, a little light sanding and a quick pass with some glossy white spray paint, and our moose was worthy of a place in ol' Teddy Roosevelt's collection!


But where to put him. We had recently done a little work on our mud room, and with the cedar interior, we thought it would make a fitting home. So, I took some measurements, decided he wasn't going to fit, and proceeded to try and hang him anyway. After exhausting myself and drilling 4 unnecessary holes in our wall, I took him upstairs, removed his antlers and placed him gently in a wicker basket full of sheets.


And there he lay until a few days ago when we sat up in our chairs and declared that we would not be beaten by a lacquer moose head!

Lana and I made a decision that right above our fireplace, on our newly painted wall would be a perfect place to display our once again beloved friend. So I got my drill and some screws that I very scientifically tested in the hanging brackets on the back of his head.


And then I hit a snag.

On my first attempt hanging him up I just did some guess work on where the holes needed to be drilled into the wall. Hence I ended up with twice as many holes as mounting brackets. I needed to find a way to mark where the mounting brackets fell on the wall without x-ray vision.

And believe me I tried a few ridiculous things (like cramming a pencil in the bracket and pretending it would stay level and true while I marked the position).

I ended up getting some painters tape and laying one strip the full length of his neck and another one right over the mounting brackets. I poked some holes where the screws would eventually need to land, removed the tape, and placed it on the wall carefully remembering to check my placement with a level. The tape very kindly told me where to drill and I only ended up with two holes in the wall and a level moose!

And yes, I know that anyone with any experience (or keeps instruction booklets) would probably have a better/quicker/less contrived way of marking the wall, but this made my day.

And I wish to pass it on to you, dear reader, to use as you see fit.

Wednesday
Mar232011

Five Things to do Right Now to Redesign Any Room for Almost FREE!

Happy Hump Day! Is it me, or is this week moving awfully fast? With Spring being all the buzz and Spring cleaning being on the top of everyones list, don't you think a little revampping is in order? I love opening windows and playing around with a room for a whole day. It's quite rewarding to get a whole new look and feel on the cheap! Here are some tips to get you started.

1.) Empty the room of everything small, and if you can handel it, the furniture too.

 We bet you can't even guess what room this is!

Cleaning out a room completely will give you an instant new perspective as what the room could be. When filled with your things, it's hard to see the potential it's hiding. It's also a good chance to scope out if you really love your wall color, fan selection, and window dressing. When you bring the stuff back in your room, play with new layouts. Make sure not to block windows, and the sun really does something special to a room.

2.) Take home paint samples, and play with them!

We all know paint is the cheapest way to transform any room (furniture, floors, and fireplaces for that matter!). I don't know about you but I get excited when I am at the hardware store in the paint section. I am little a little kid collecting shiny new jewels every time I pass by the paint samples, and it's served me well. It's always good to have the samples on hand, but it's even better when you can envision them up on your wall. It's free. It's fun. And it will  motivate you to change things up!

3.) Make some art

We are FAR from artists in this house. I am not going to lie, I am a fine arts major switched to markeing because I had a professor tell me I was so bad at it. Dreadful, I know. So then, how do I make "art"? Easy! I don't need to be Picasso to make something pretty I love. We are big on shadow boxes, found object art, doily lamps, and photography in this house.

4.) Let the light in

Ohhhh. My fave. Sunshine all the time! Can you tell I'm a Florida girl? A sunfilled room is a glorious room as far as I am concearned. If you have small windows or big windoes, it doesn't matter - let the light in.

5.) Go shopping in  your other rooms

I love to shop. And I even have fun shopping in my own home. One thing I like to do is pull a bunch of stuff from a variety of rooms that hold a common feel or theme and use those things to decorate a whole room. It cuts the clutter down, and gives new life to already loved objects.

Pretty easy, right? We really do love "shopping" from our other rooms. It's probably our favorite thing to do when we don't feel like spending cash.