


TRUE VALUE BLOG SQUAD CHALLANGE - A BED FIT FOR A KING! PART Duce
We hope everyone had an amazing and yummy Thanksgiving! We had a blast! As some of you know, I am a vegetarian, and Joey is a bona-fide meat eater. So I thought it was sweet when he helped me make a vegan "turkey" out of wheat gluten! It turned out really great, and everyone was happy with "both birds". More importantly, we have been moving along with our True Value Blog Squad projects as well as getting the house Christmas ready!
We have been getting a lot of requests for the next steps with the "making of the bed" so we thought we would push this post in front of others we had planned out to get you all rolling on making a bed of your own!
So if you haven't been keeping up with the bed making progress, take a peek at the last post to get you up to date.
And now, we officially begin part two!
Your True Value Shopping List will include:
for the legs:
Six "feet" $6-$8 each
An electric screwdriver, we like Ryobi
The left over 2X12 wood you already used for the sides
Wood Screws $4
Stain, we like Minwax gel stain, A LOT $15
for upholstering the sides of the bed:
Staple gun $28
Plenty of sharpies and pencils
Scissors
spray glue (optional, but you will need it for the headboard)
Don't forget:
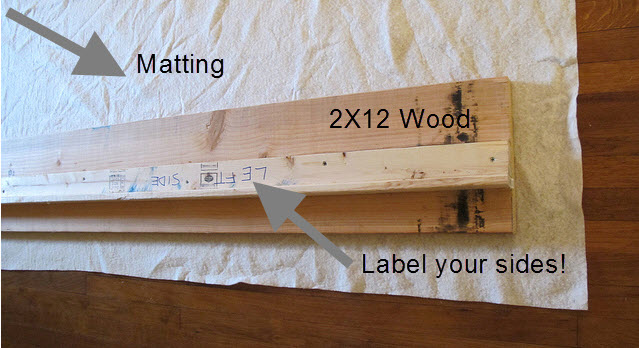
Fabric and matting
After you collect the few things you need to make this awesome DIY bed, make sure to review your plan. Make sure the fabric looks good with the stain you picked out, and you KNOW the shape of the headboard you are going to use, etc. Having a plan upfront is key to a successful bed.
We left off here last time:
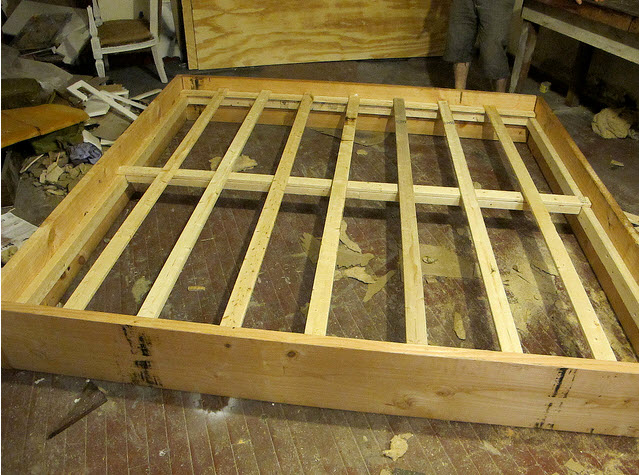
After you get to this point, dismantle the bed. Yes, we know you are probably asking "Why on earth would I undo all that hard work?!" Well, there are a few reasons. Reason one is because building it in your bedroom will be much easier than getting it though a door way. Or in our case, up two flights of stairs. Number two, it's much easier to upholster the sides one by one. Label your sides! Decide now what side you want to be what.
You will not have to finish this wood in anyway, unless of course you do not plan on upholstering your bed. If that's the case, finish, paint or stain now. If that's not the case, just finish the feet.
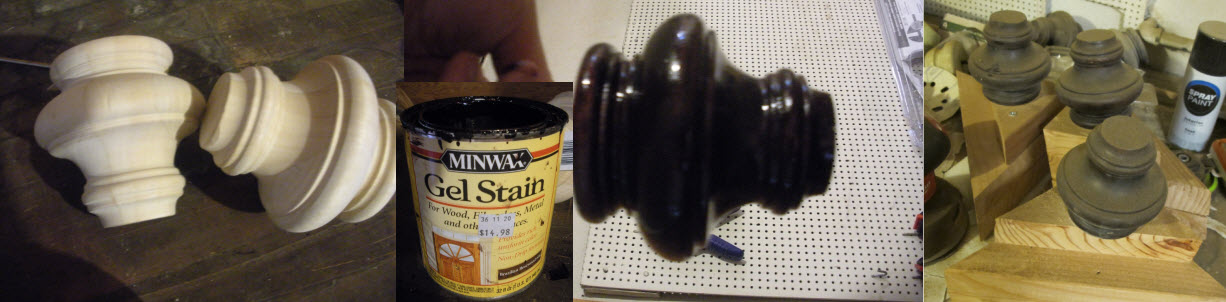
We used a dark Minwax gel stain. We really love the gen stain and totally suggest trying it out if you never have. We would gel stain everything in our house if we could. It's just so painless and rewarding.
After the six legs are stained and let dry for 24 hours, we used the left of scrap wood from the 2X12 pieces we used to make the frame to give the legs height and have the feet double as braces for extra support. We cut 2 large triangles and 1 small triangle, everything was connected with 2 1/2 in. wood screws. Set these aside for now.
Now that the frame is dismantled, you can upholster the sides with the fabric of your choice. We selected 1940 German grain sack. We bought sixteen yards in case we mess up, and to make pillow shams. Cut your batting about 6 inched extra on each side of your 2X12 wood.
The reason you want to use matting before you staple your fabric to the wood is to add a uniformed smoothness as well as an extra layer of cozy. Simple staple with a staple gun tightly around the wood. Then do the same with the fabric.
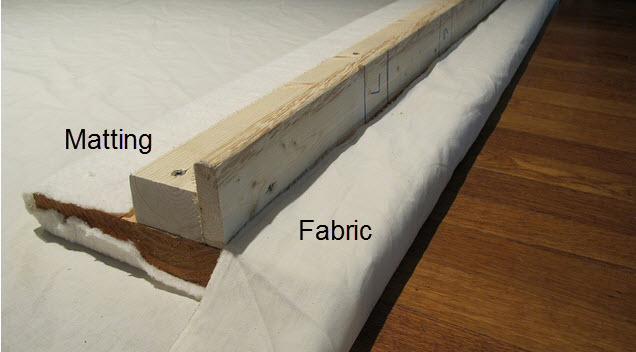
Repeat for the left side, right side and food of the bed. Take a break! This is a lot of hard work. All the fabric must be stretched tight in order for it to look its best. It's good to do with a friend to help out. When you have completed these steps, you should wind up with this:
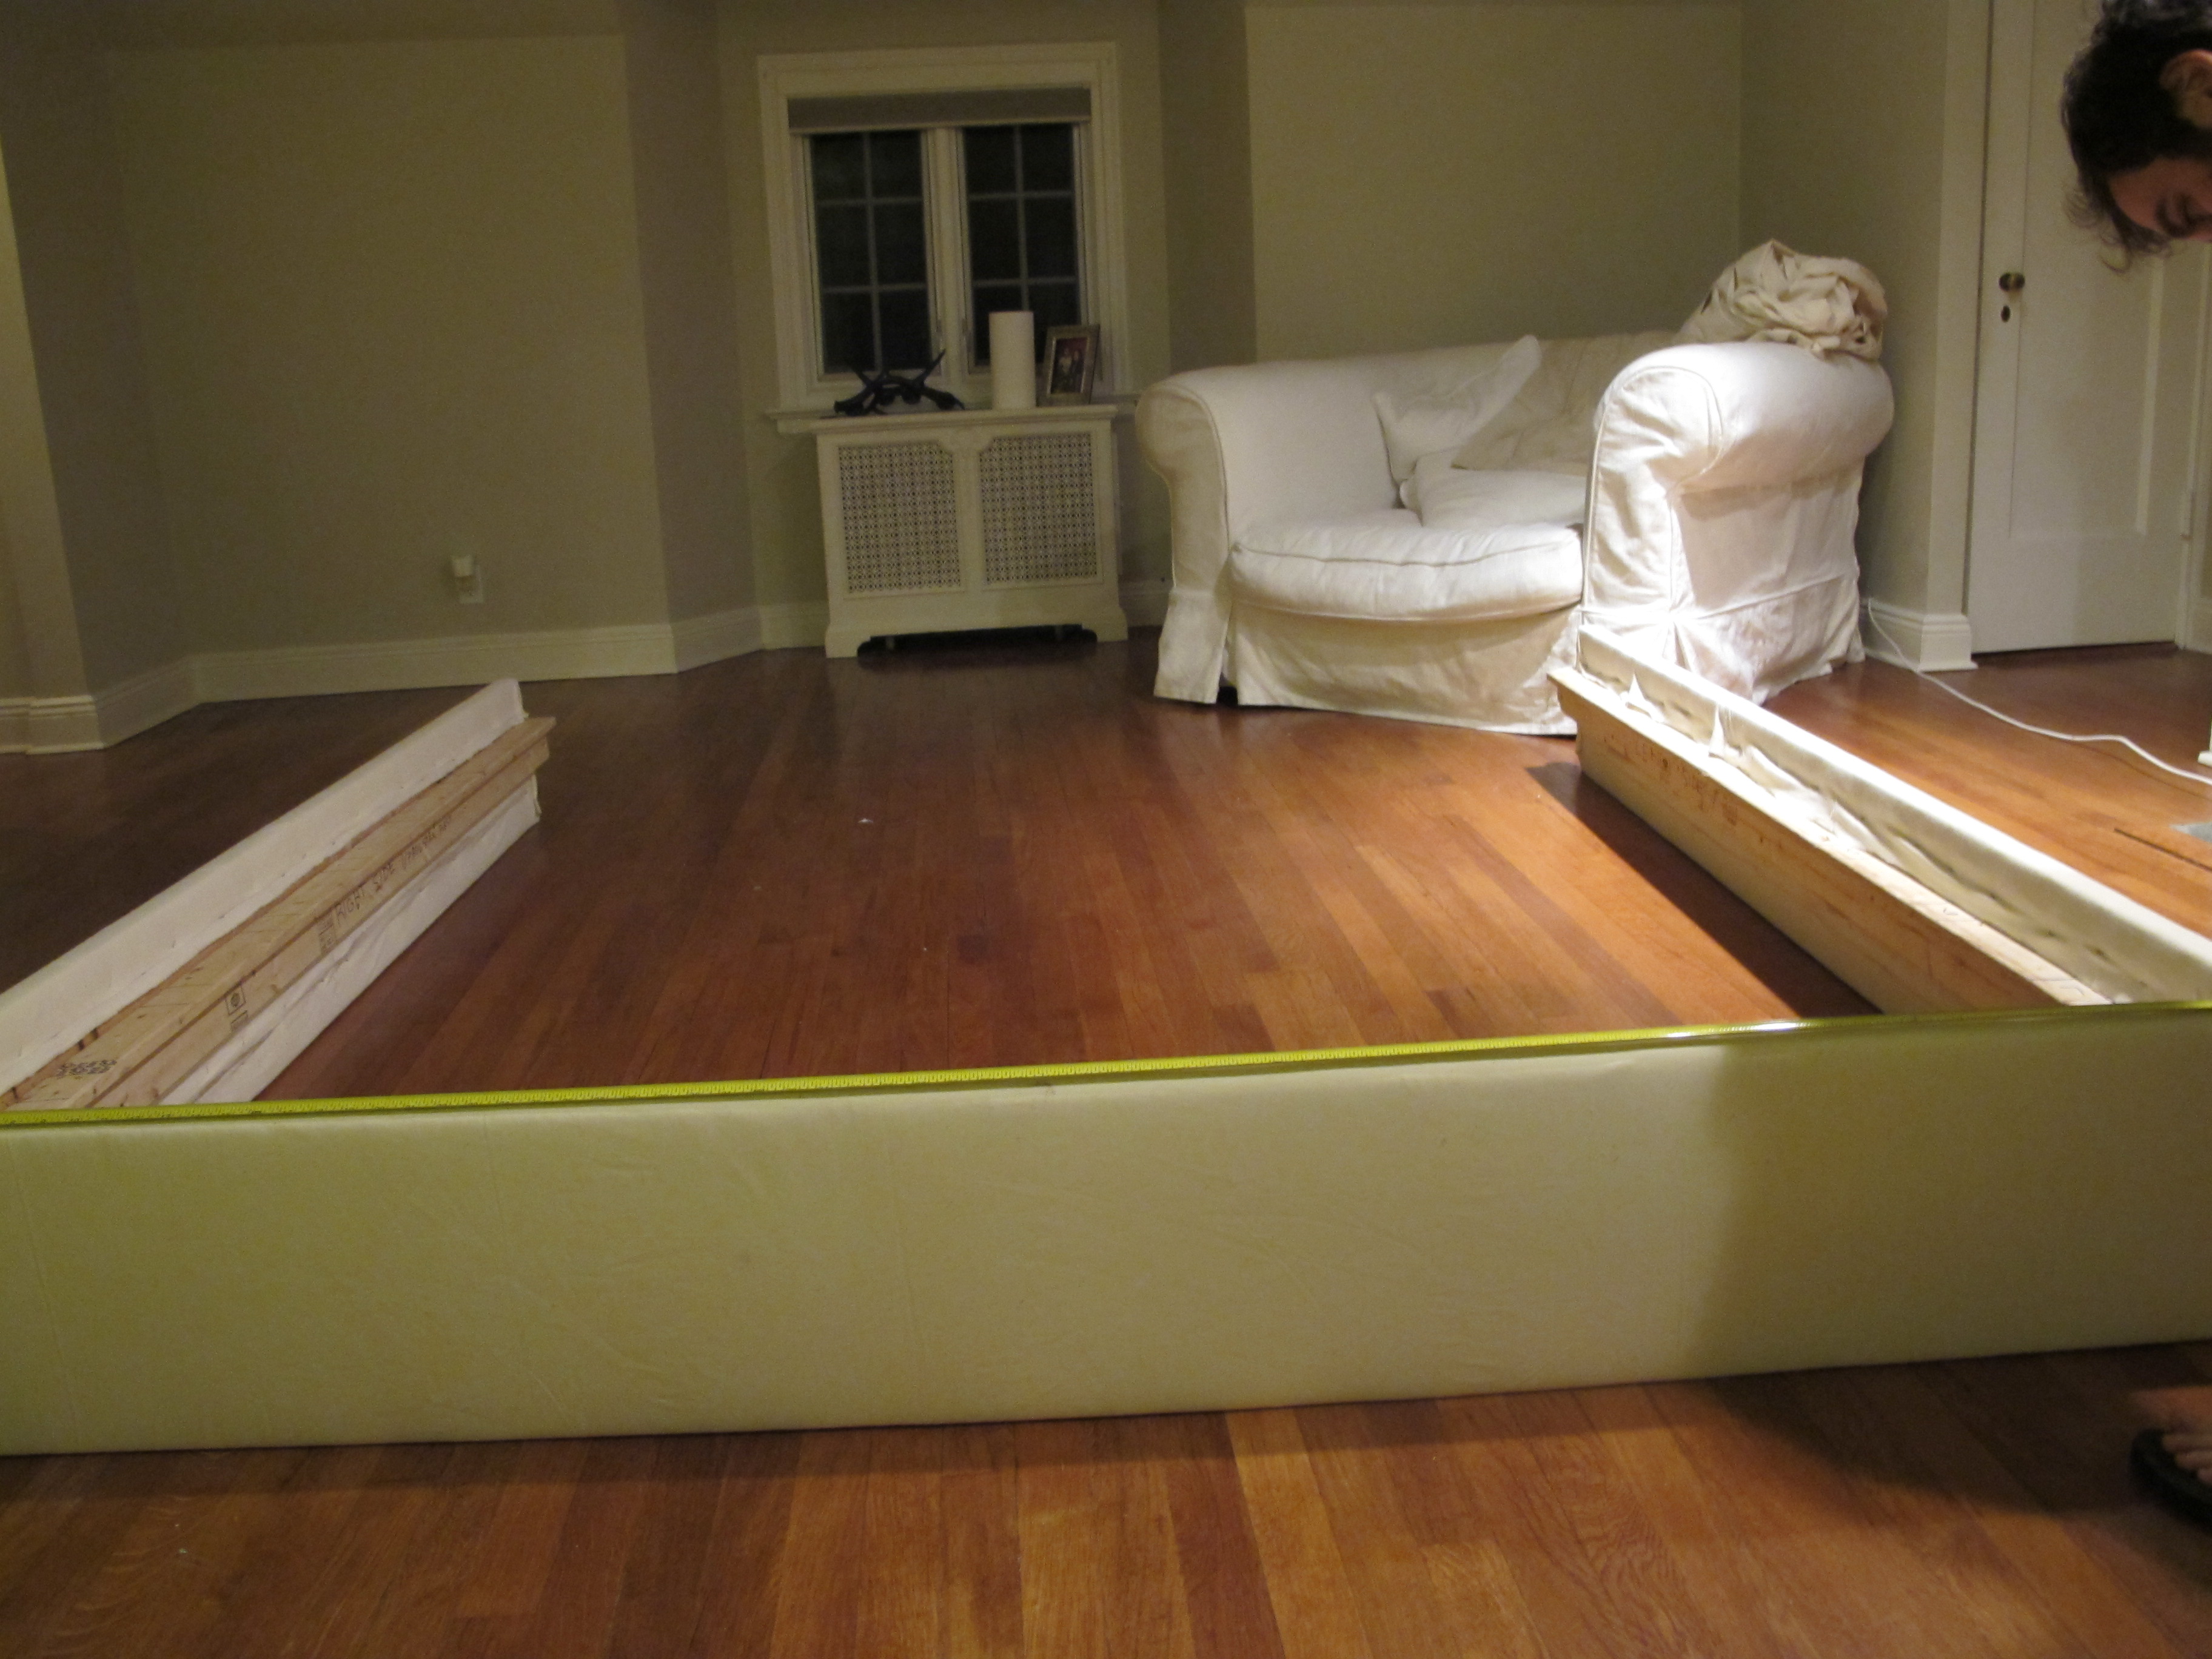
It's kinda looking like a bed, eh?! This is the part where is starts to get exciting! Can't wait to show you what's next!
 Joey and Lana Make a House a Home
Reader Comments