


TRUE VALUE BLOG SQUAD CHALLANGE - A BED FIT FOR A KING! PART Trois!
Helllllooo pretty people! We have resolved to complete this massive bed project before 2010 is over, and we are here to present Part Three (or a happy little trois!). If you missed Part One or Part Duce, check them out for a refresh. If you feel like staying put, here is a quicky break down of where we are up to. We bought our supplies, build our frame, stained the feet, and upholstered the sides and foot of the bed. Today we will share...drum roll please....the almighty headboard! Got it? Great, let's go!
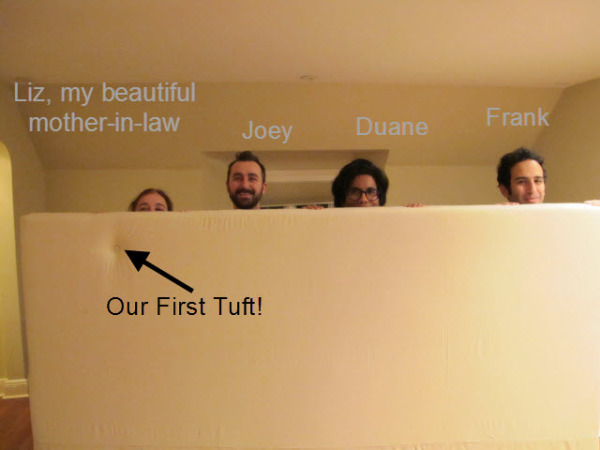
The headboard required a small army because of it's massive size and weight. This time we were lucky enough to have some family and friends in town, so we put them to work, stat!
So here is how we upholstered the bed, before we get to the tufting (which is hard work, let us tell ya!).
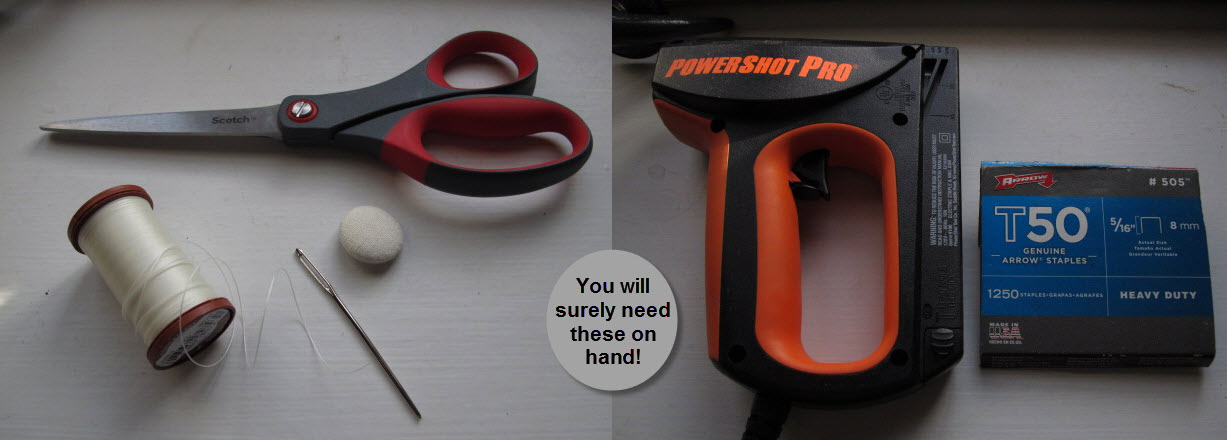
You will need:
Foam
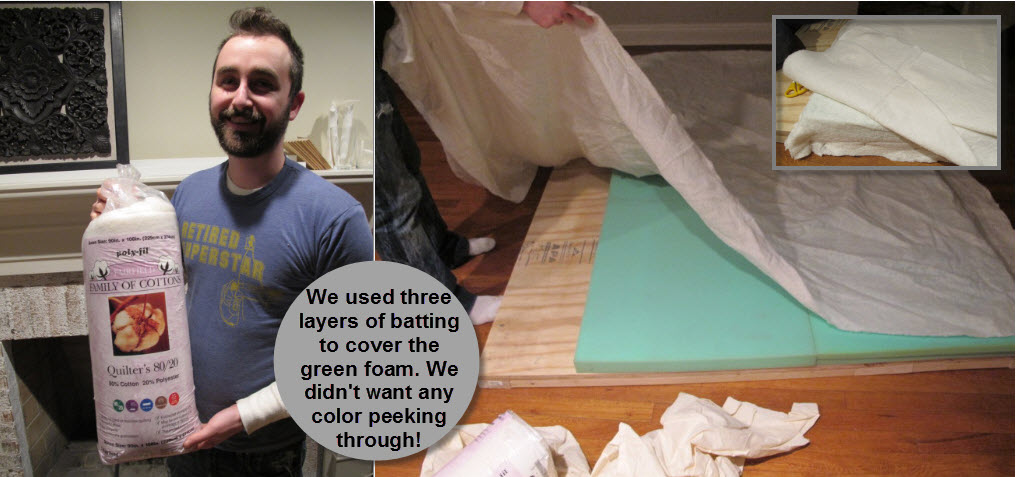
Batting
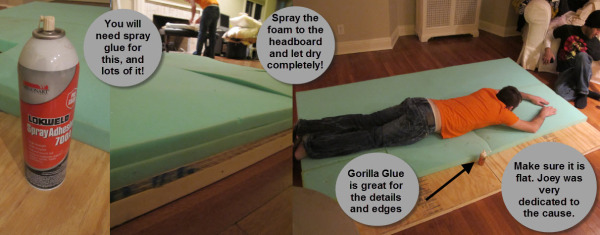
Spray Glue (one-two cans)
Gorilla Glue (just a little)
The headboard you built from wood
Fabric
Buttons (we made our own from the upholstery fabric using a kit from here)
Upholstery Thread & Needle
Staple Gun
Rubber Hammer
Sharpie
Scissors
Drill
You can find everything at True Value except the batting, fabric, and upholster thread!
First you are going to attach your foam to the front of the headboard you built. Make sure if you are tufting you pre-drilled holes before you glue the foam to the headboard. We found spray glue is way easier to use and works great! The Gorilla glue is pretty great too, but you have to account for more drying time. We used the Gorilla glue to make sure corners of the foam were super flat on the surface of the wood.
Once you have a super secure (no sagging!) base to work with you can start batting. We loved the cotton based batting. It's 80% cotton and 20% polyester. We bought two "Queen Size" rolls to cover the foam three (yes, three) times. We were paranoid the greem foam would peek through our light fabric, so we played it safe.
We think the trick to having the professional look when upholstering is clean straight lines from the start. We smooth out the matting several times before stapling it. We hammered loose staples to keep the smoothness going.
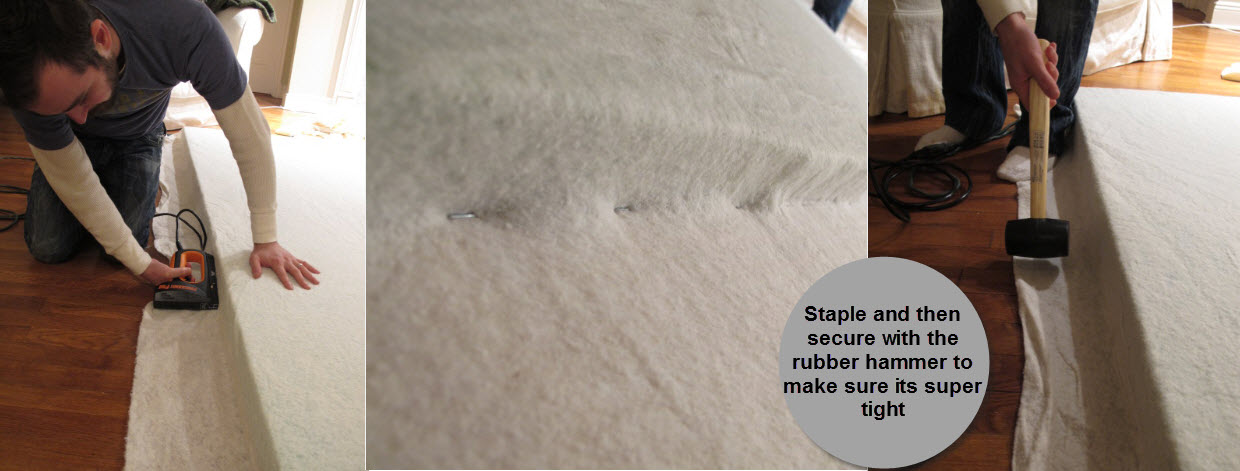
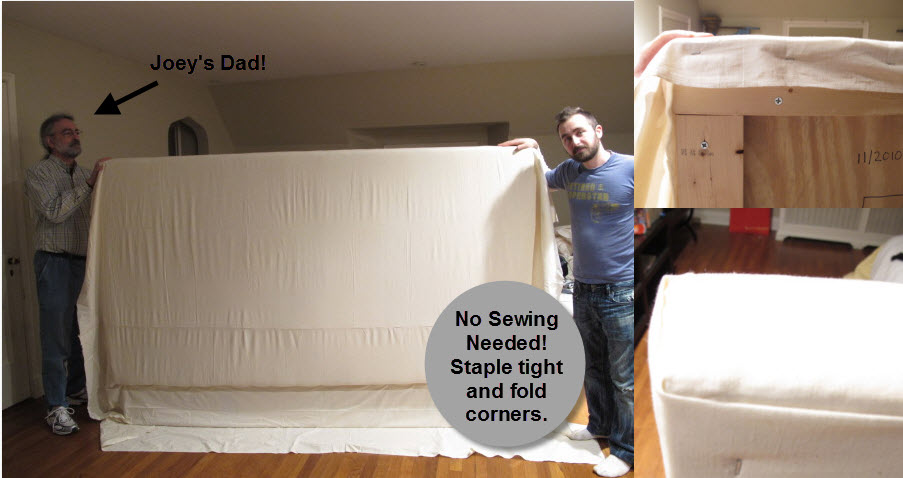
We didn't sew any of the fabric except to piece it together. Instead we stapled it tightly to the wood, and folded the corners like you see below. Easy peasy.
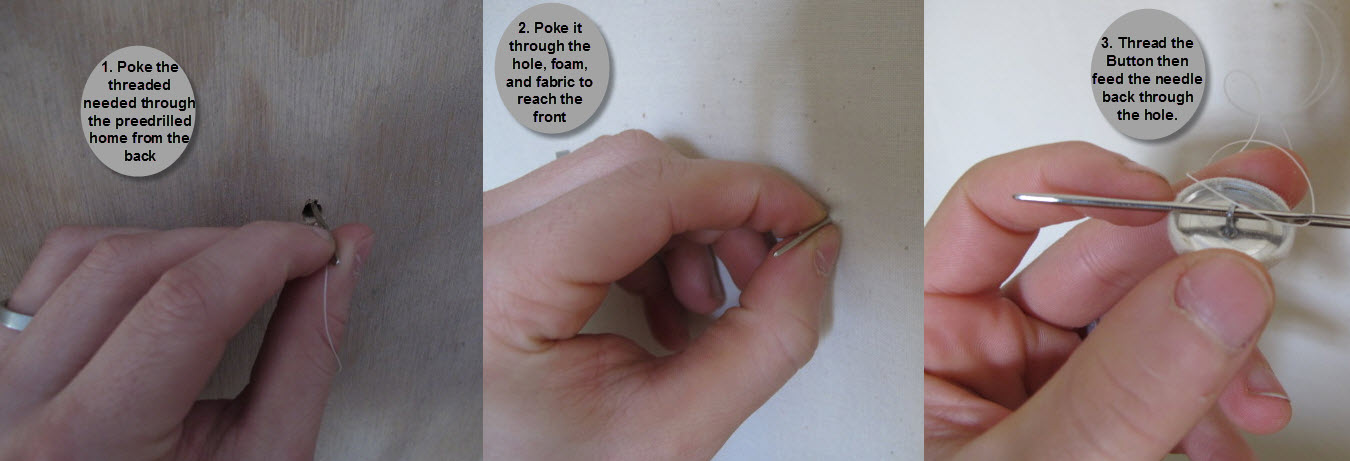
Tufting is what we were initially scared to do, but it wasn't so bad! Granted it's a good idea to have an extra pair (or two) of friendly hands to help and steady the bed as you work with the needle and thread to make sure the buttons are perfectly placed. We had to push the buttons against the foam really hard and secure the thread with staples from the staple gun. Want to see our genius mess?
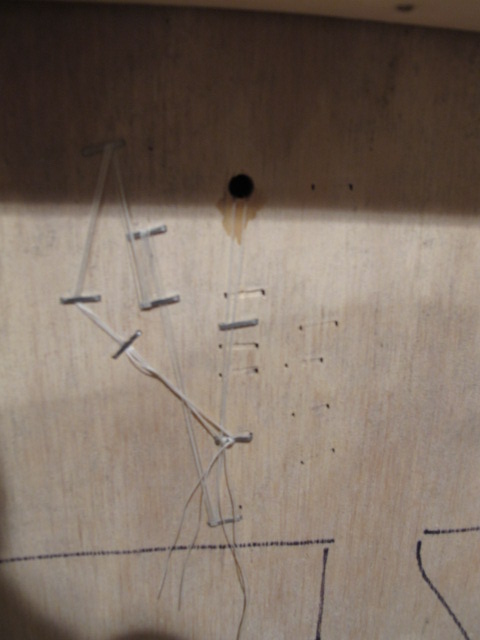
As you can see we made a bit of a crazy mess with super glue and staples to keep the upholstery thread secure in the back of the bed. Thank god this will be covered up (more on that next post!)
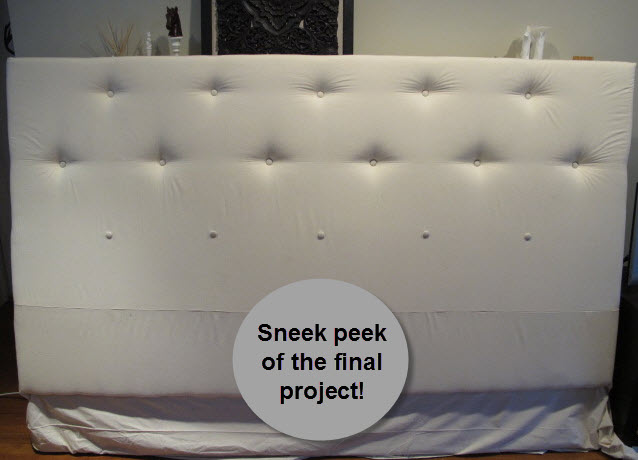
Speaking of our next and final bed post, check out how close we are to sharing the final product!
Have you made a bed? Know a great project about bed building? Please share! We are kinda obsessed with how affordable it is compared to buying.
 Joey and Lana Make a House a Home
Reader Comments (4)
LOVE! Thank you for the amazing detail you put into this post. It looks like its going to be gorgeous. Can't wait to see the final product :) Great work guys!
You guys are so amazingly talented. Seriously. When are you getting your own HGTV show! I would TOTALLY WATCH!!!
@Sarah - ahhhhh we love you and if you had your own show we would totally watch! Happy New Year!
@Monique thanks so much for the sweetness. Soon she will be complete - now we need to find a mattress!