


How Much Wood Would a Woodchuck Chuck....
...about 15 bucks worth! 'Morning all! We are super excited to share what $15 worth of wood did for us this weekend. Like I mentioned before, we took advantage of the long weekend, and really hit the ground running. Check this out.
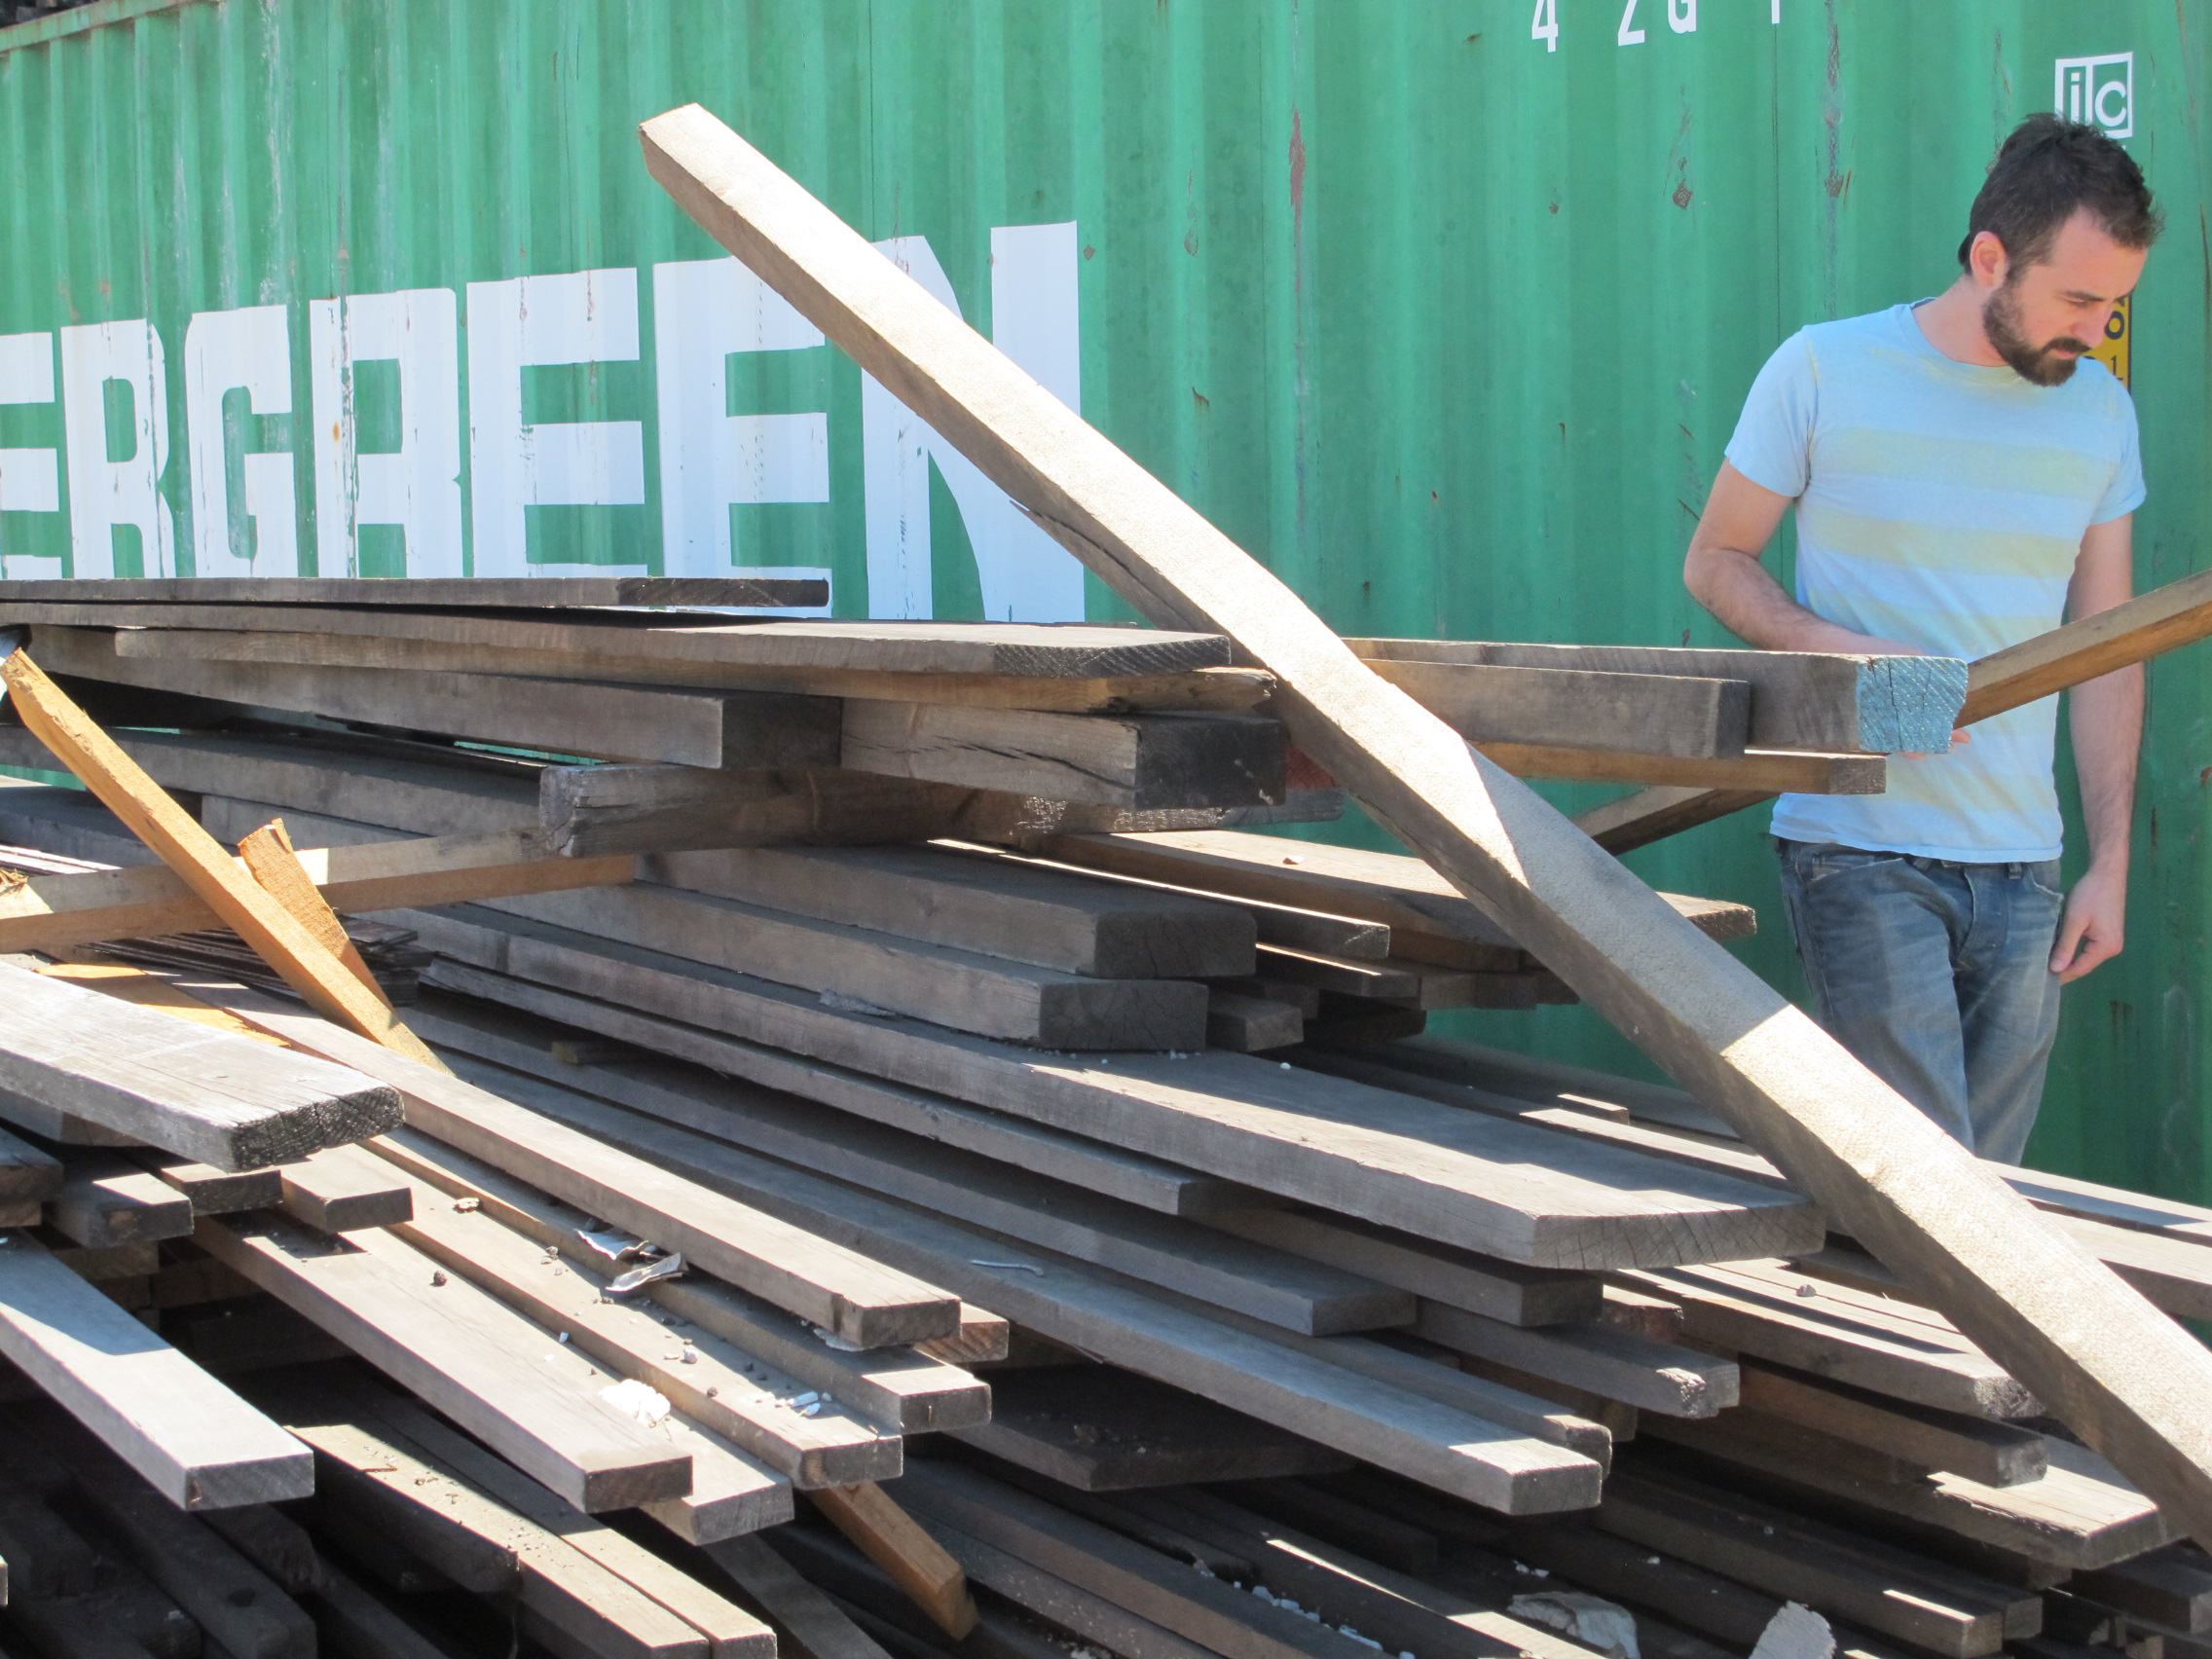
Joey, our friend Duane, and myself headed out to Queens to go to a little place we have mentioned before, Build it Green. It's a magical place where demo'ed building scraps go to find a new home, and we dig it.
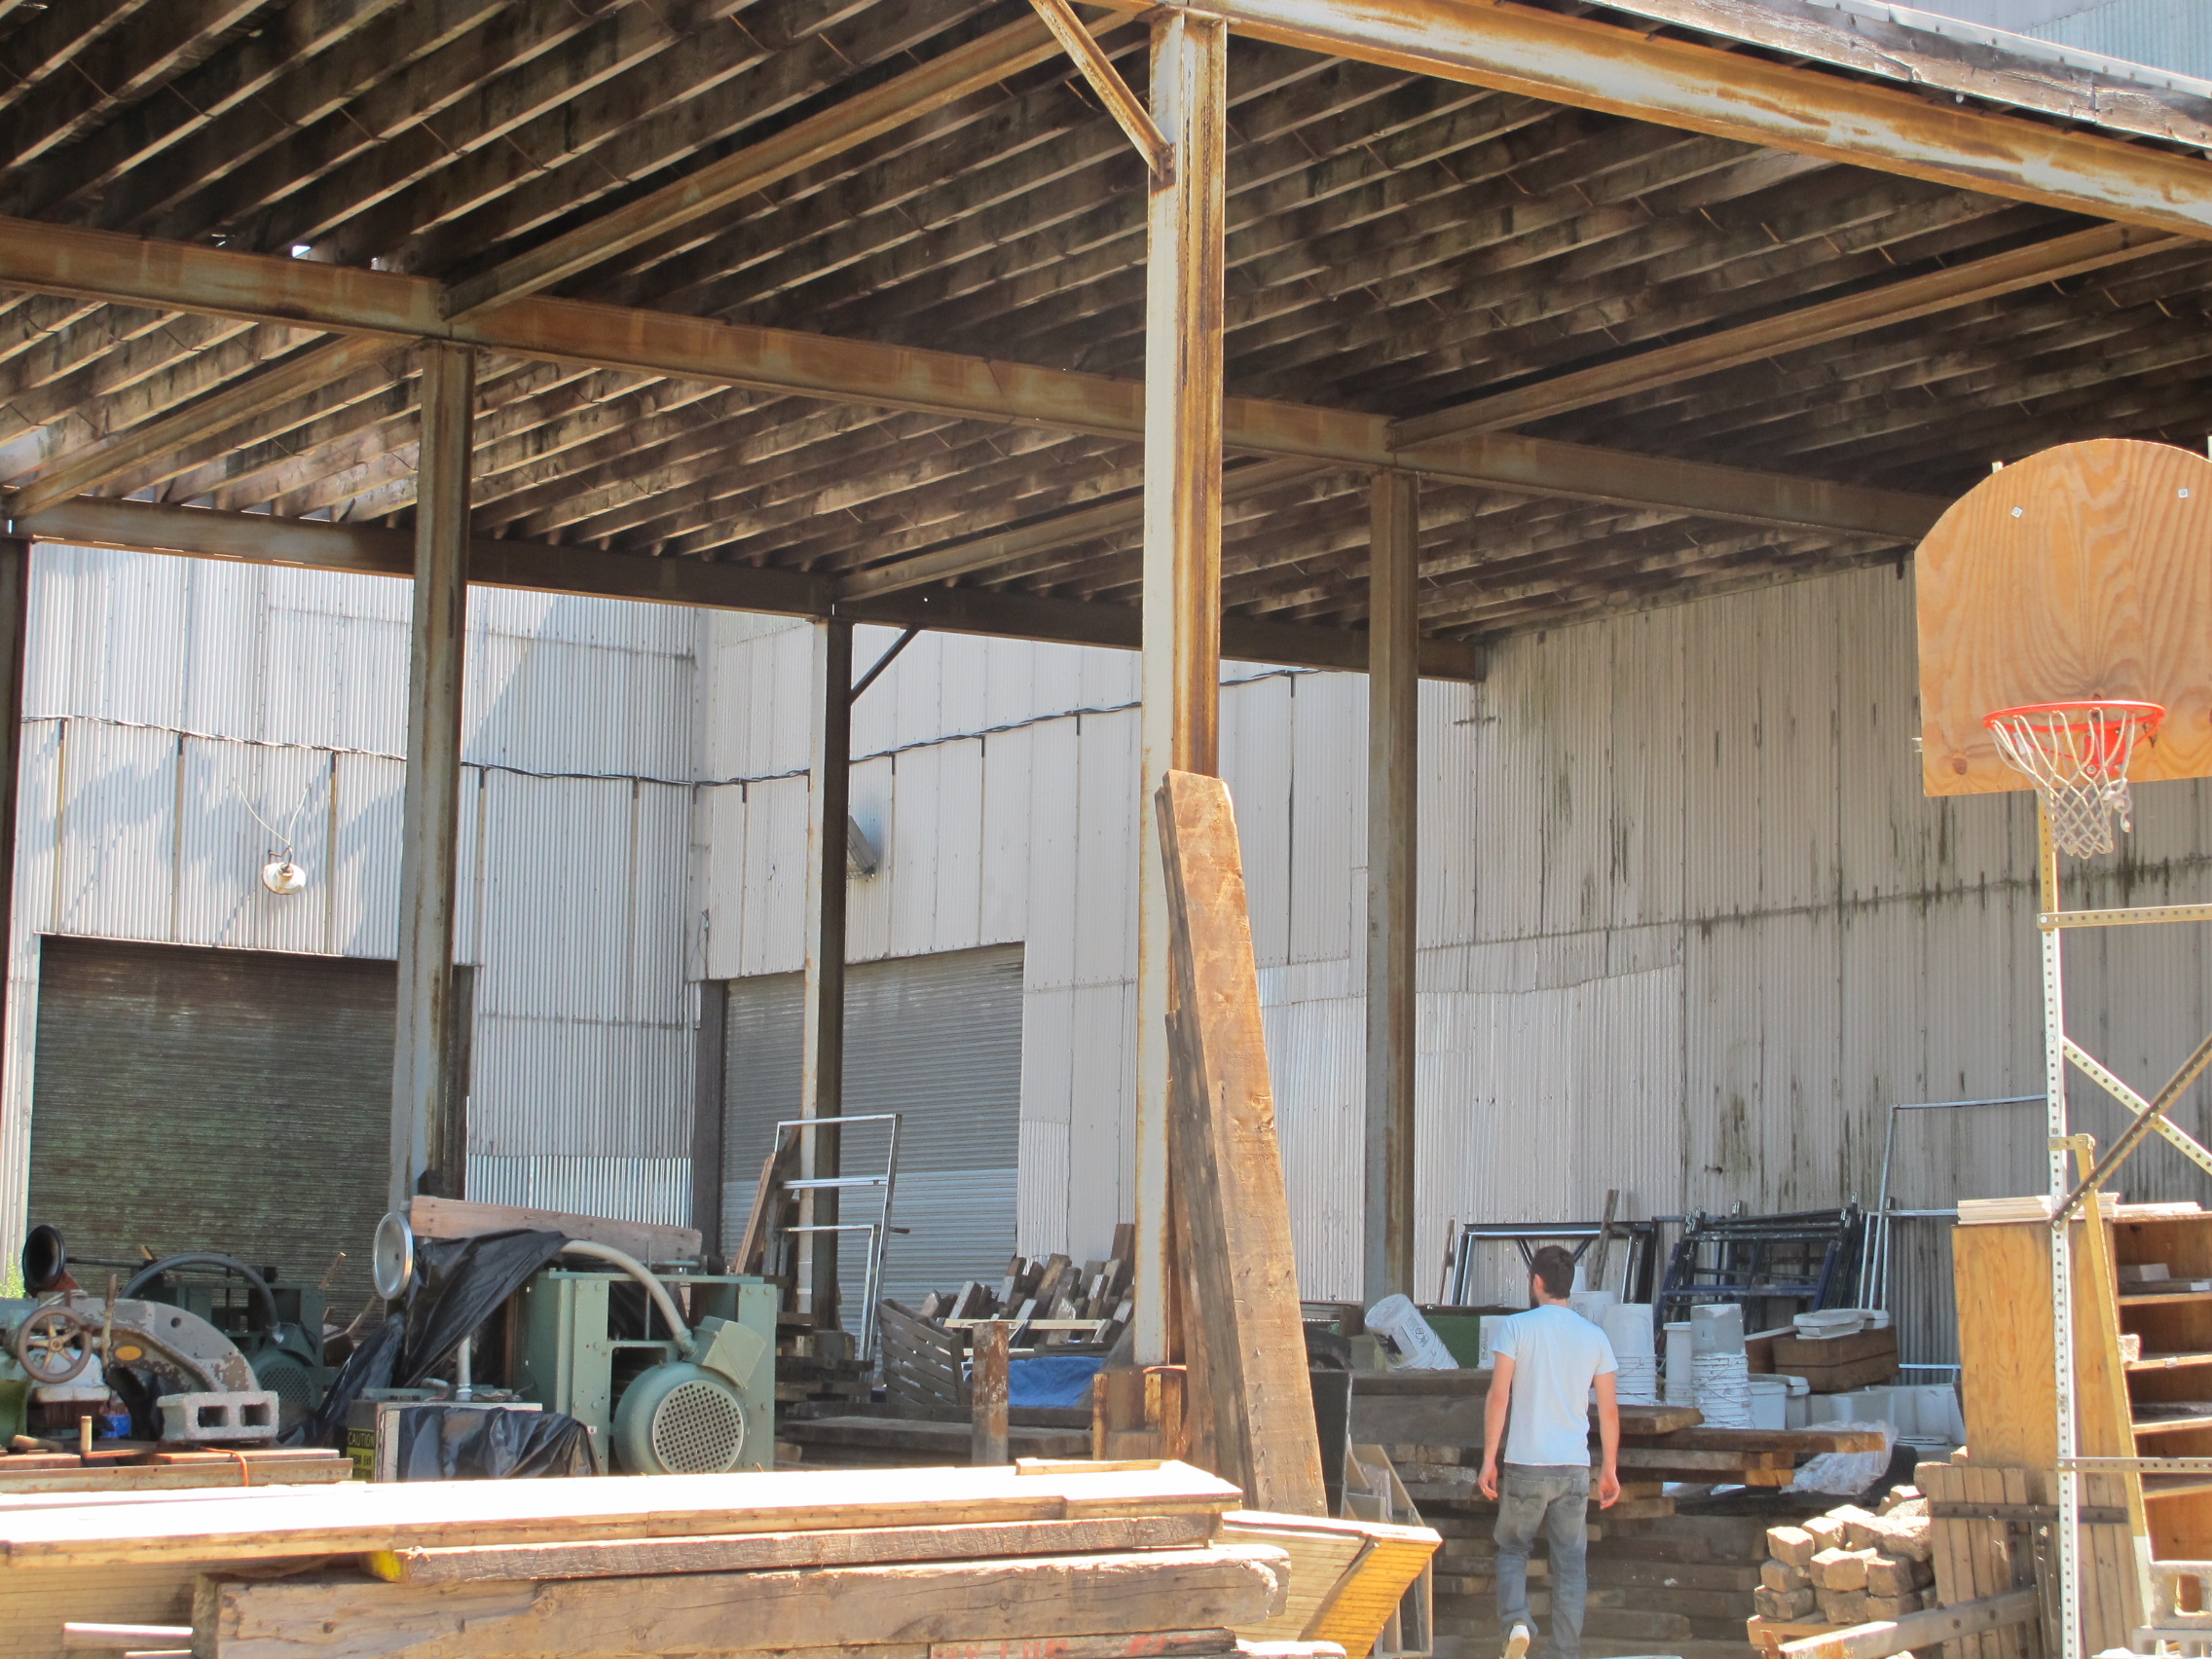
..and dig through it! After going through piles and piles of wood, we hand selected what we thought would work best in our kitchen.
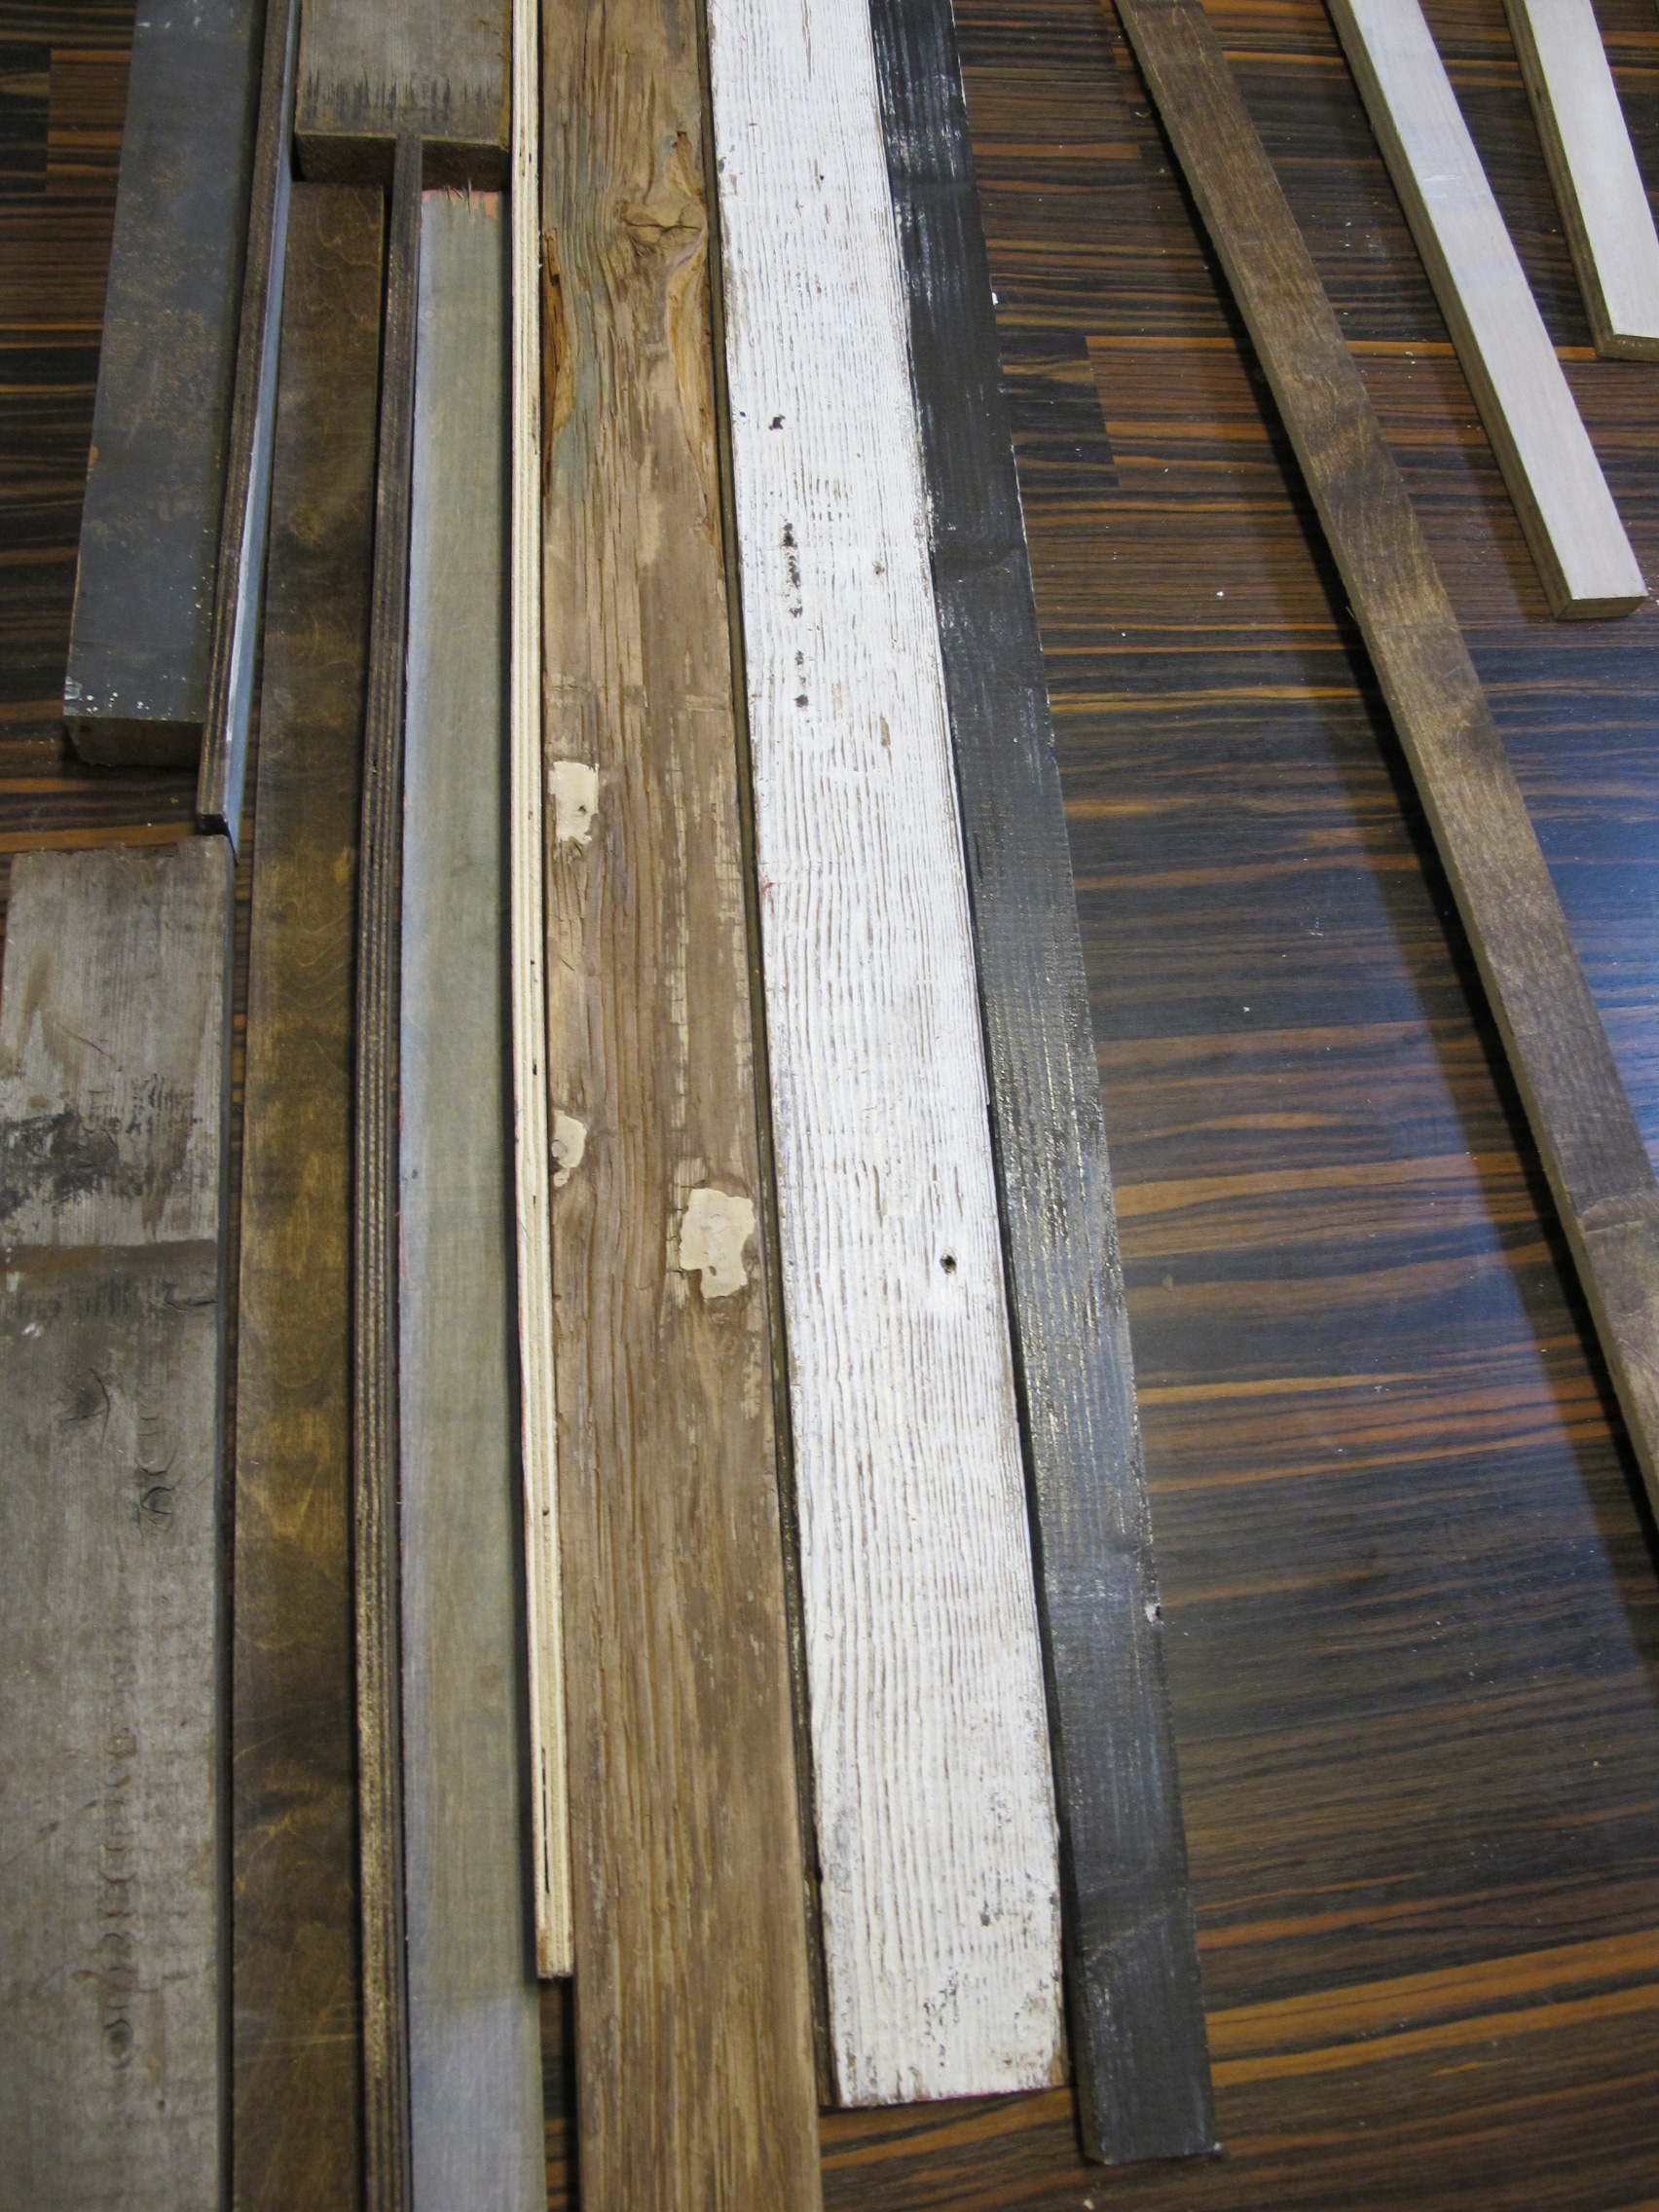
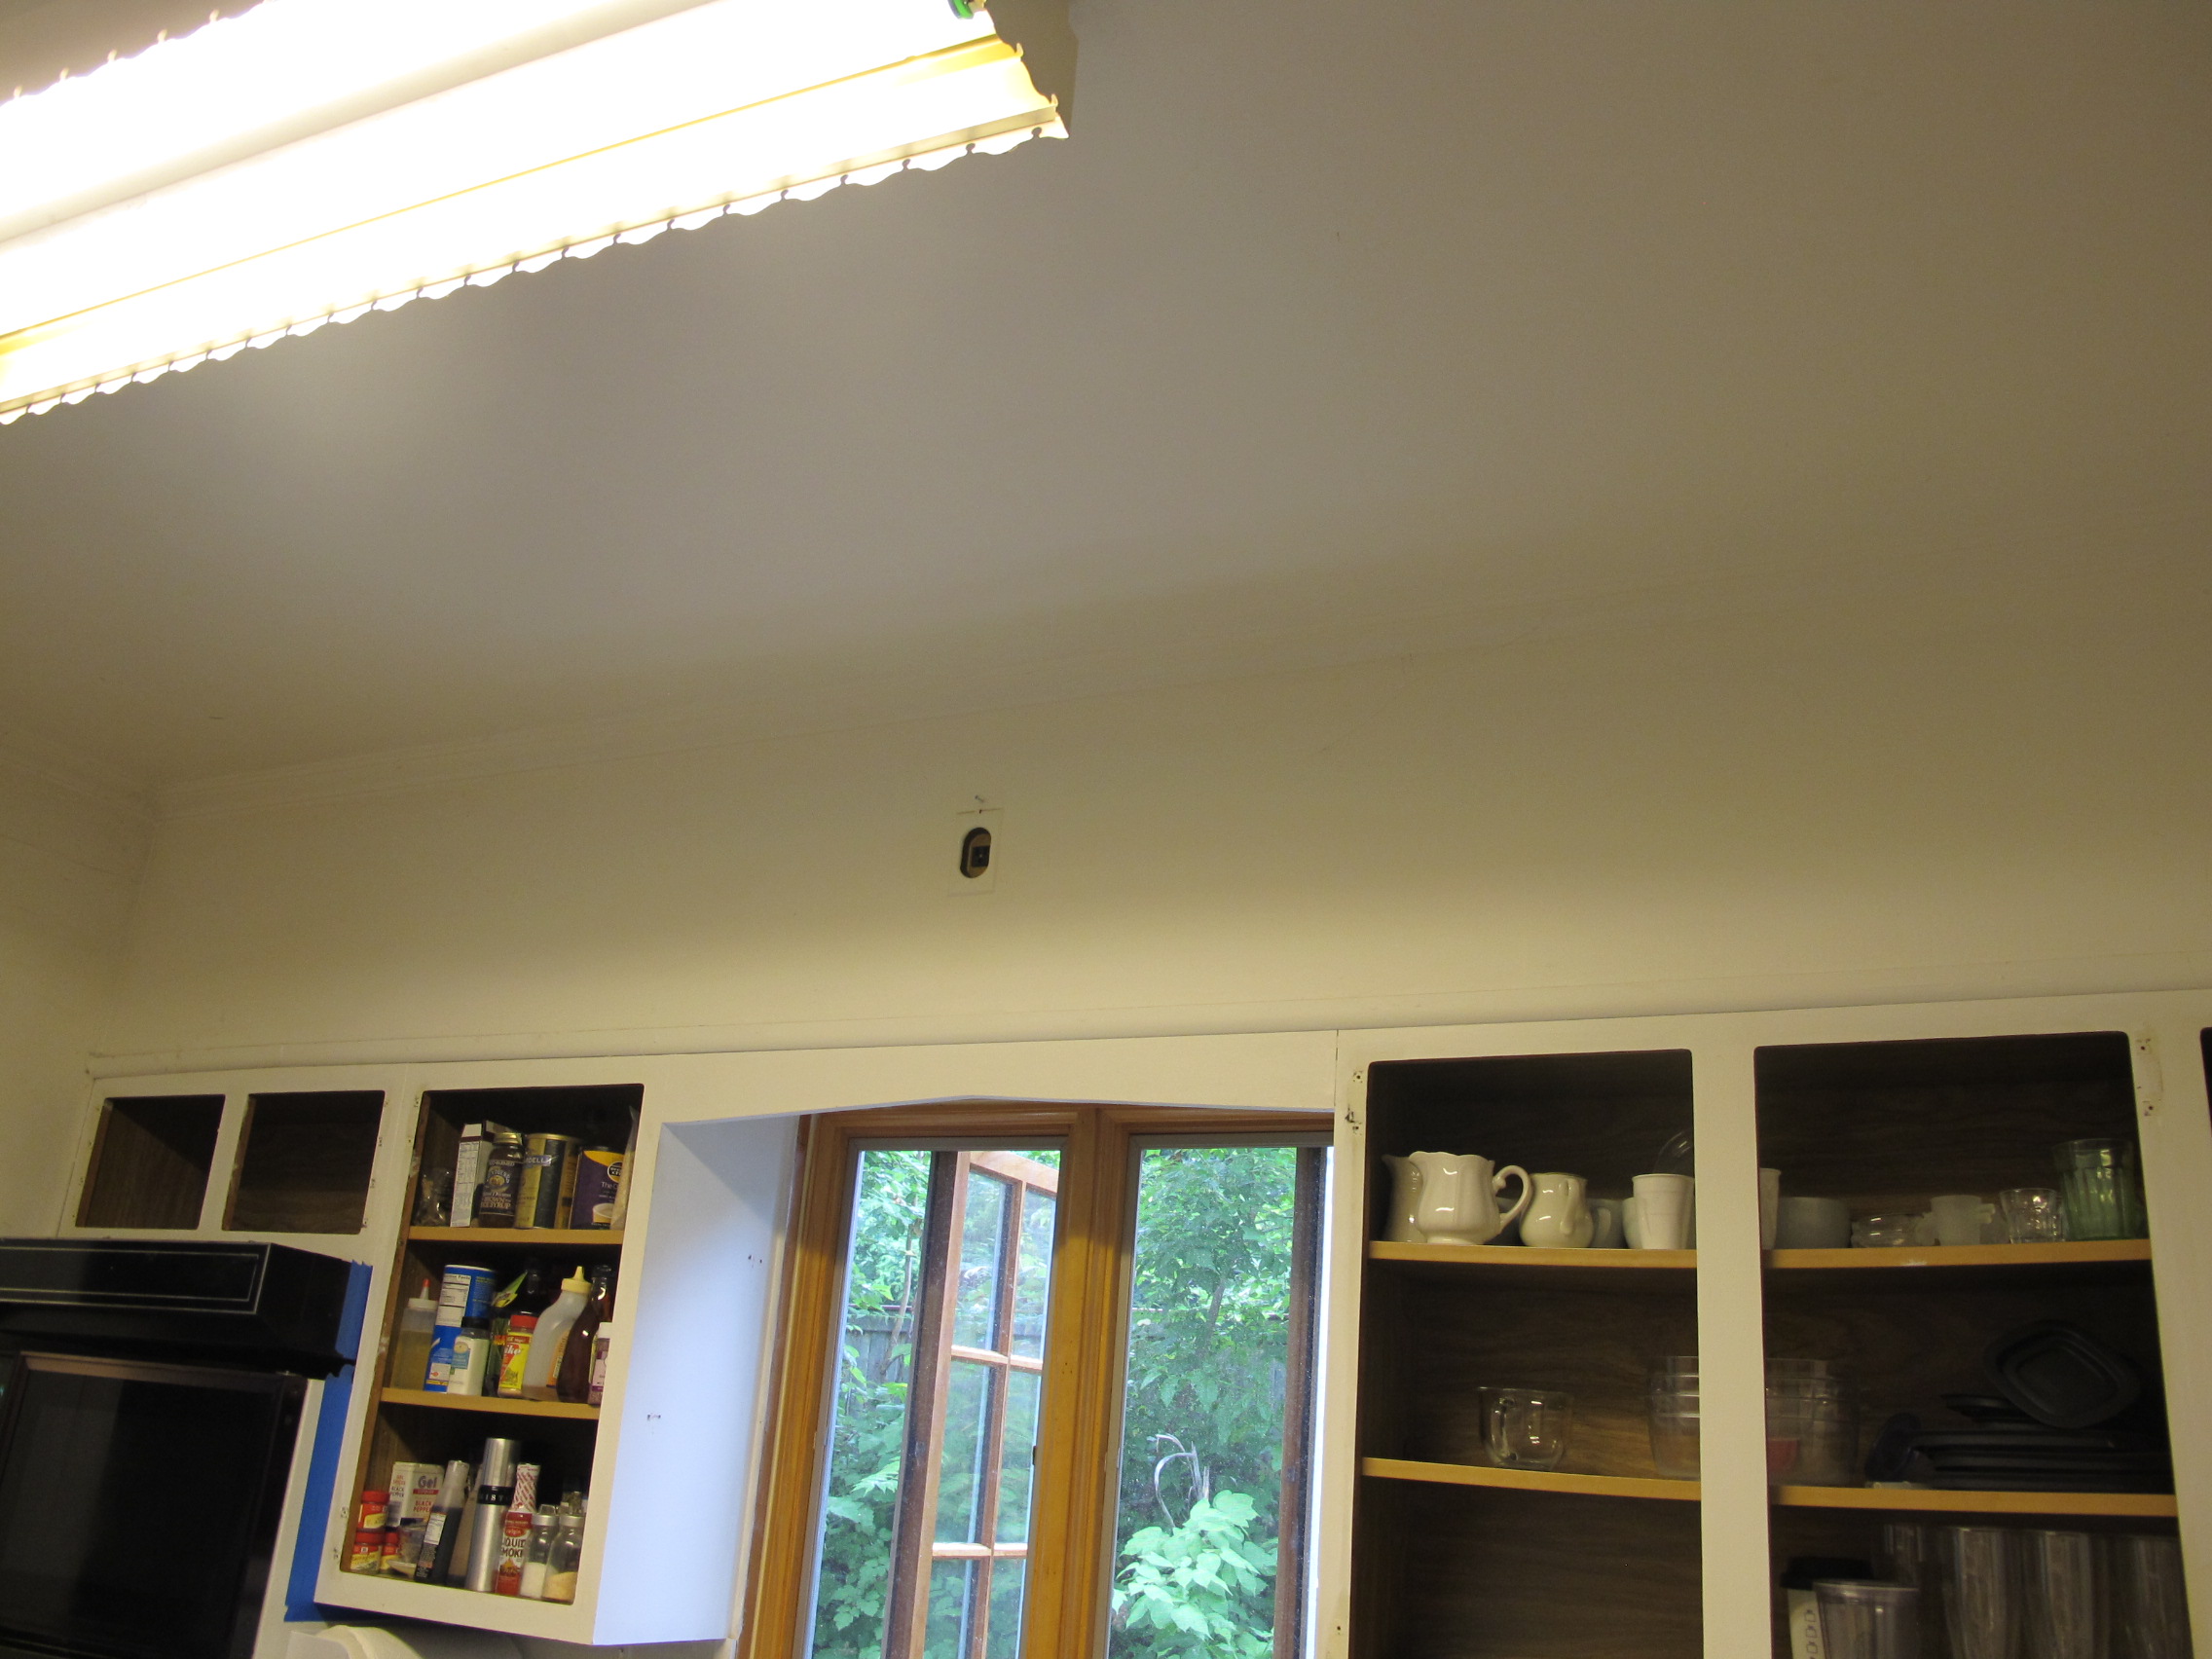
Just 15 smackers and about two hours of work later, we were grinning ear to ear. We prepped and measured the wood on the floor, and planned it out just how it would look on the wall before we used a nail gun to put it in place. Here is a shot of what our kitchen in progress looked like before:
Armed with a ladder and a nail gun, Joey transformed above the cabinets from the above to the below.
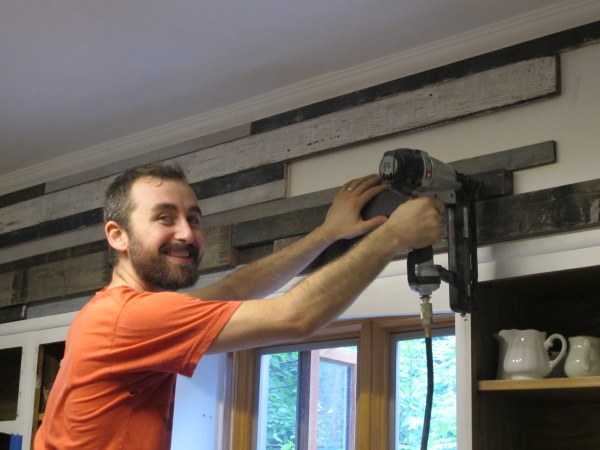

We had a weird snag in the installation, it was an outlet we needed to figure out what to do with.
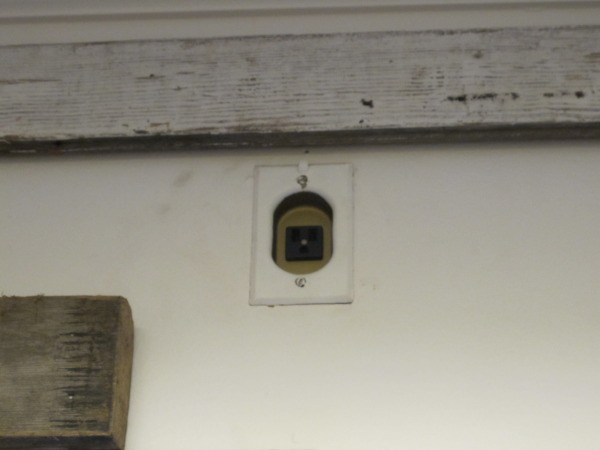
Joey wounded up routing out the back of those wood panels so they would fit over the outlet with out it bulging out. At the end of the day, we wound up with this:
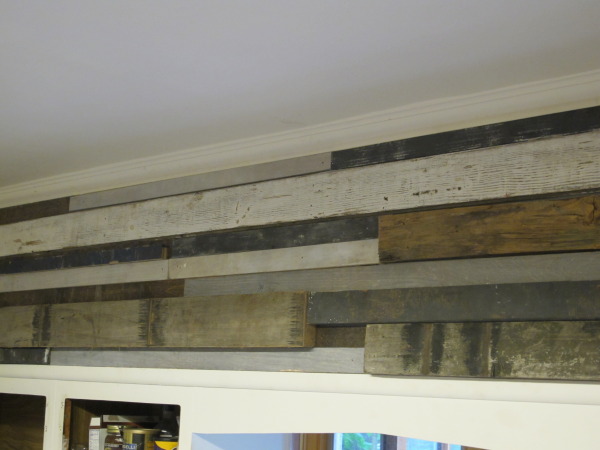
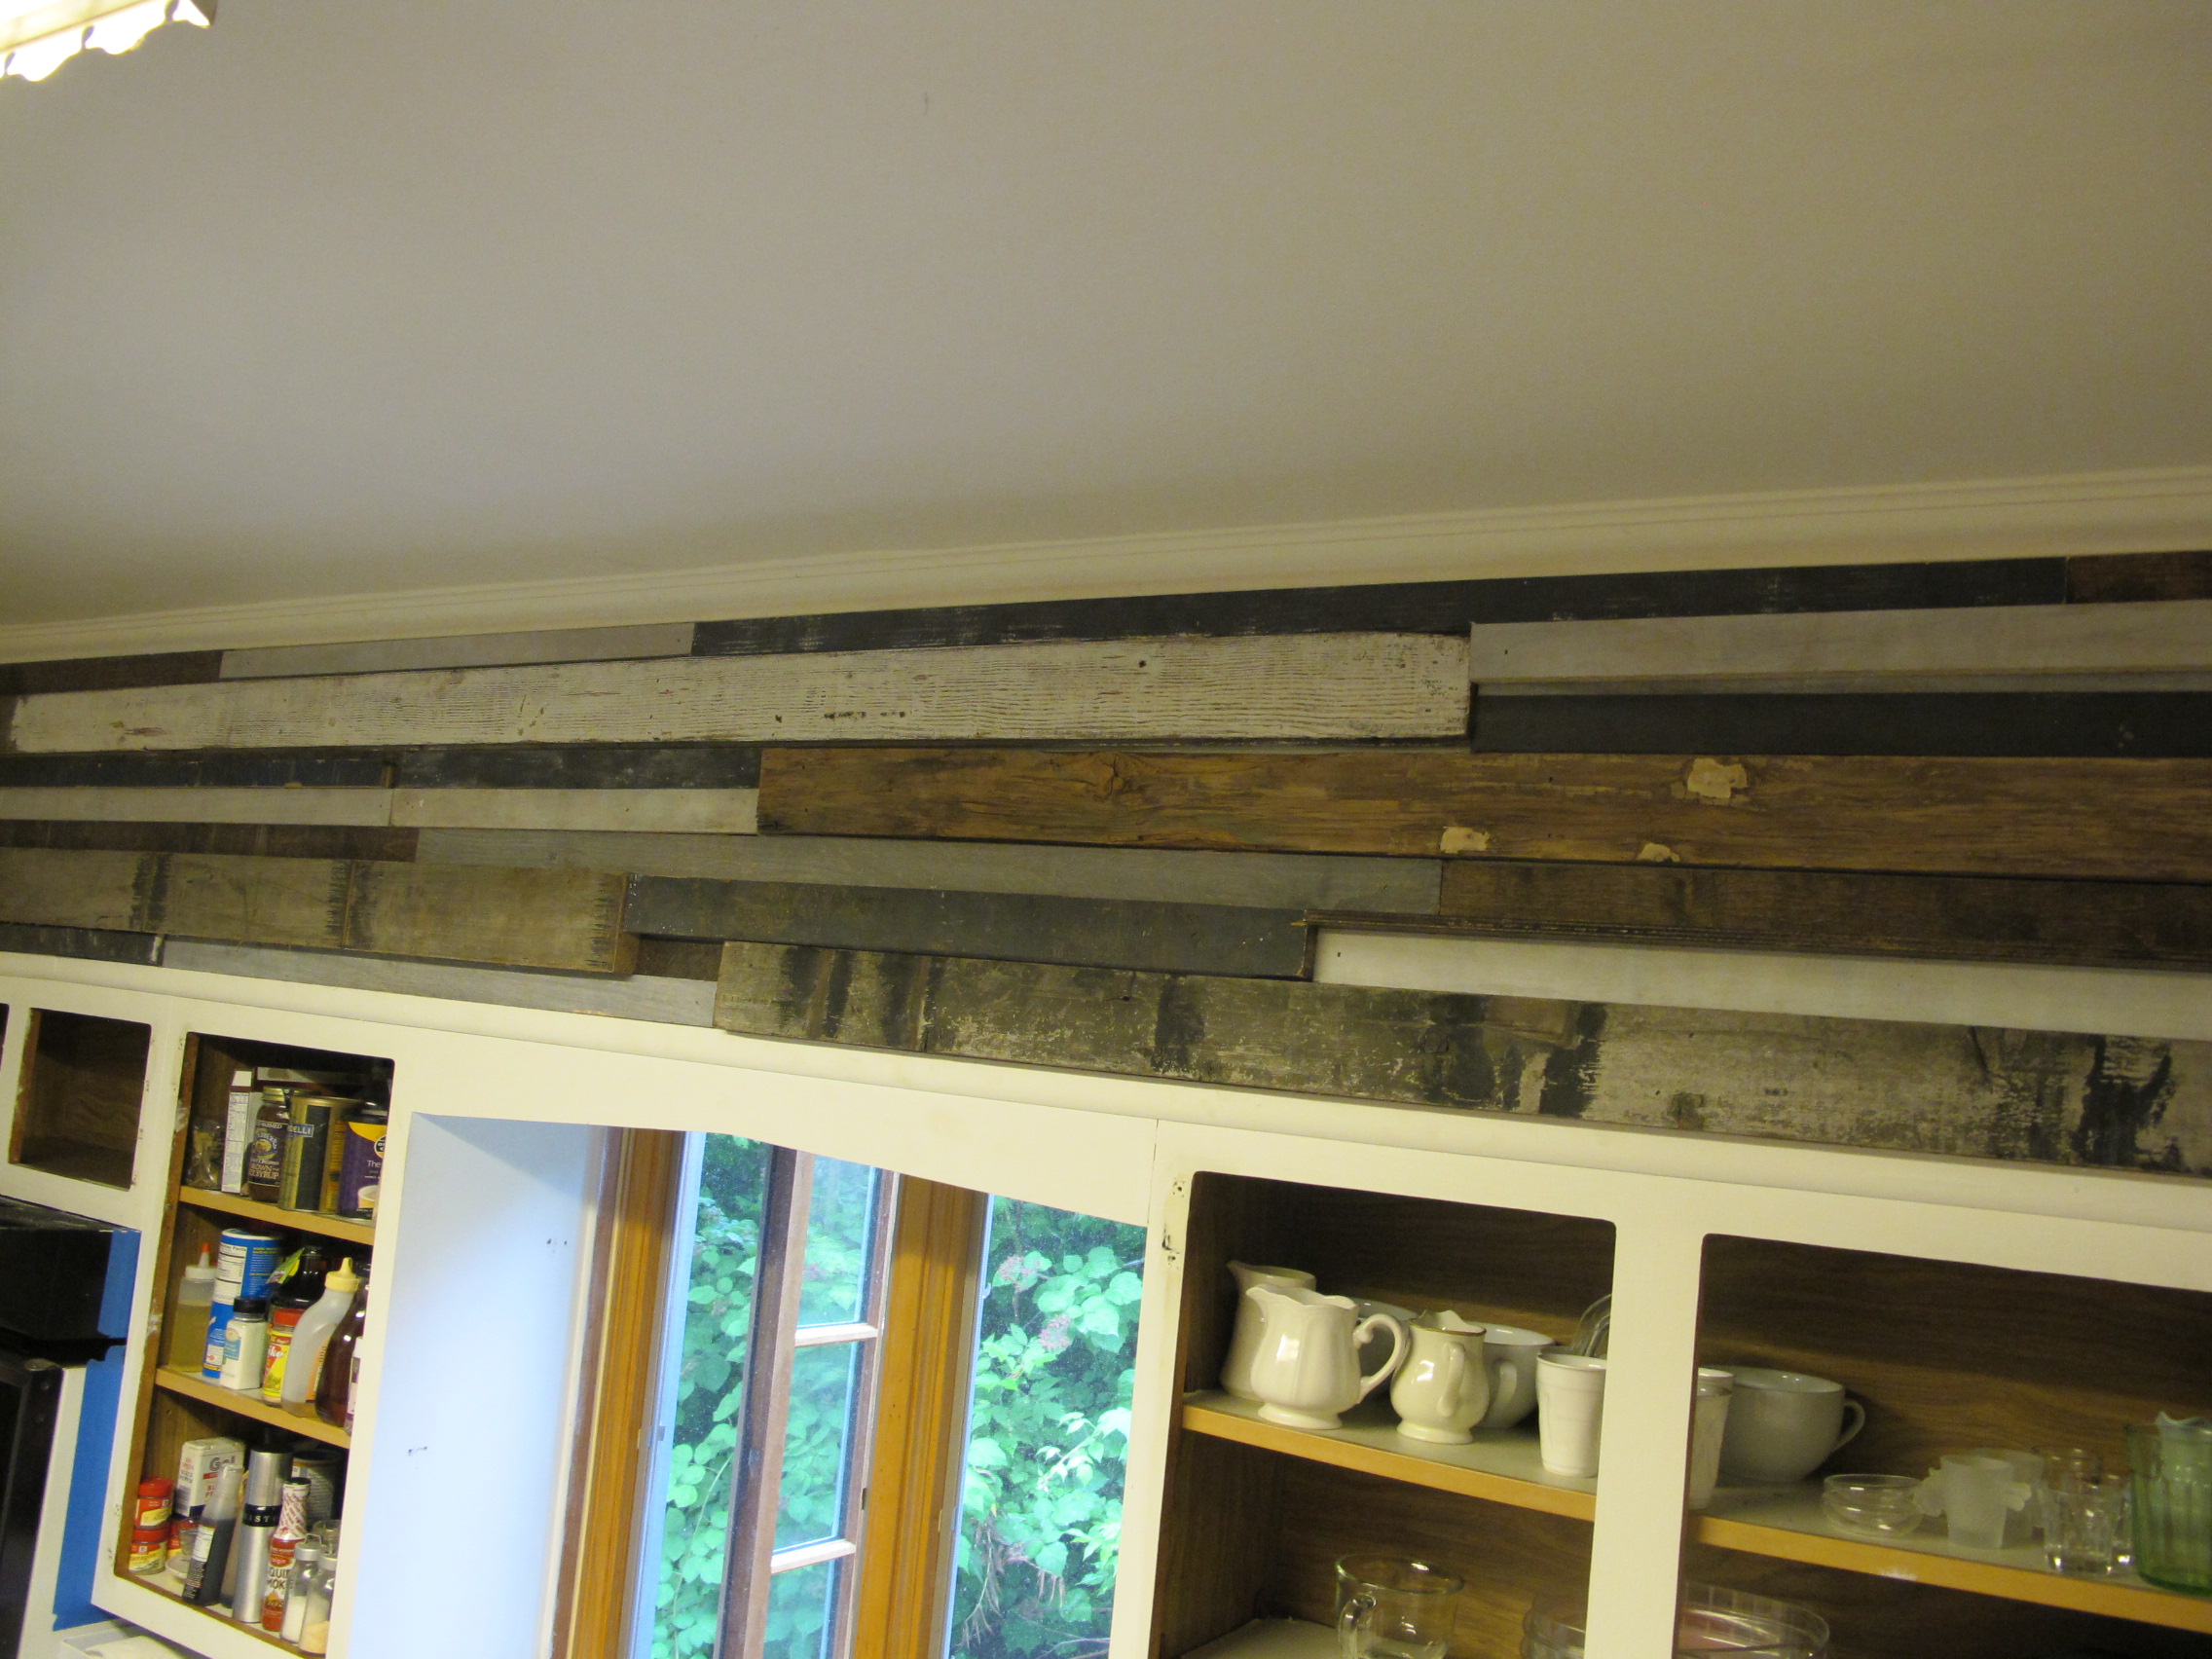
We likey! If you are wondering why we have no kitchen cabinets, it's because Joey is in the process if refinishing them! After our 10K estimate from Home Depot to refinish them, we thought it would be smart to at least give it a go and see how we do with some paint and spackle. We have had some kitchen drama in the past and are looking to overcome it. I think this is a really good start.
 Joey and Lana Make a House a Home
Reader Comments (7)
That looks great!! Are yall refinishing refinishing or Rustoleum refinishing?
@jami joey is using spackle and paint!
LOVE the wall. I wish we had a place building scapyard around here. We're planning to use some old barn wood on the wall that goes down the basement stairs, luckily we have an old barn to take down, so wood is free.
@kit - i dream of old barn wood! i drive miles and miles for it!! i want to see pictures when you are done! good luck - it's such a satisfying project!
Wow, I love that - totally cool! Can't wait to follow y'all. I found you from DIY Diva, one of these days I'm going to get off my bum & do some projects instead of reading about other's doing them, lol. I messed up the sheetrock in my dining room (that we use as a computer room) trying to get the wallpaper off. This would be a great looking cover-up. Thanks for sharing!
@Kelly no problem! yea we needed to cover that weird outlet with grace. this was so cheap and quick and looks so good! thanks for stopping by! We hope to inspire a project or two for ya!
I've seen wood used in bedroom walls but not in the kitchen wall. In my opinion though, it would have been nice if you used hand planes to smoothen the scrap woods to have them roughly at the same size. hand planes