


Pinterest Challenge Time!

Whoot, whoot! I can't explain it, but something about this pinterest challenge put a smile on my face every time I tweeted, typed, or worked on it! I love how everyone jumped on board and was inspired to knock something off their own to do list. If you have no idea what I am talking about, rewind and catch up.
So, what did we do and what on earth were we inspired by?

I knew we had to do this the second I pinned it! It's located in my Let's Make Something board.
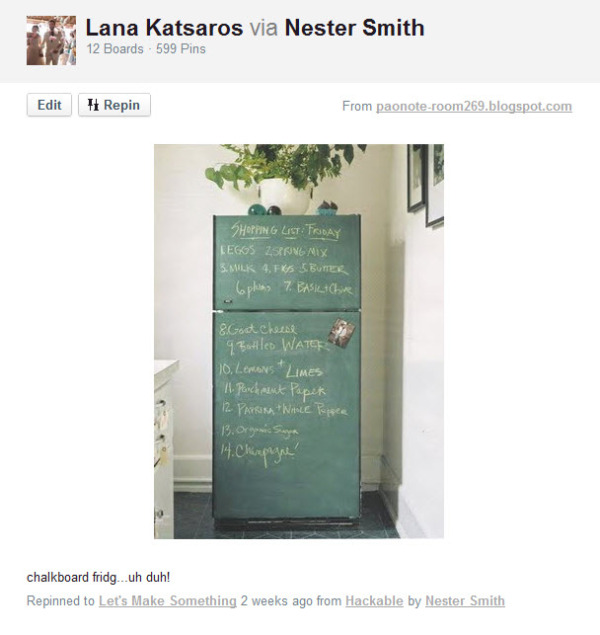
Isn't that a great idea! The original pin was sourced here and they found it from Country Home if you want to take a gander. So, let's get down to bid-ness....
Joey was a little "eh" about the whole idea. When we moved in the house came with one of those basic white fridges. Now we plan on doing a whole huge ($$$$) reno on the kitchen at some point, but for now was are doing a DIY update while we save the dough. We are cash money people. If we don't have the cash, we don't buy it. If you have renovated your own kitchen, or done any research you know it can cost $50K+. That's not French fry money!
So, I reminded him if all fails, we will have a new fridge someday soon when we do the big reno. To our surprise, we L-O-V-E the way it turned out. So if you have a basic white box, you are in luck! In a few simple steps, and $10 you can change things up in the kitch! Ready to break it down? Here we go...
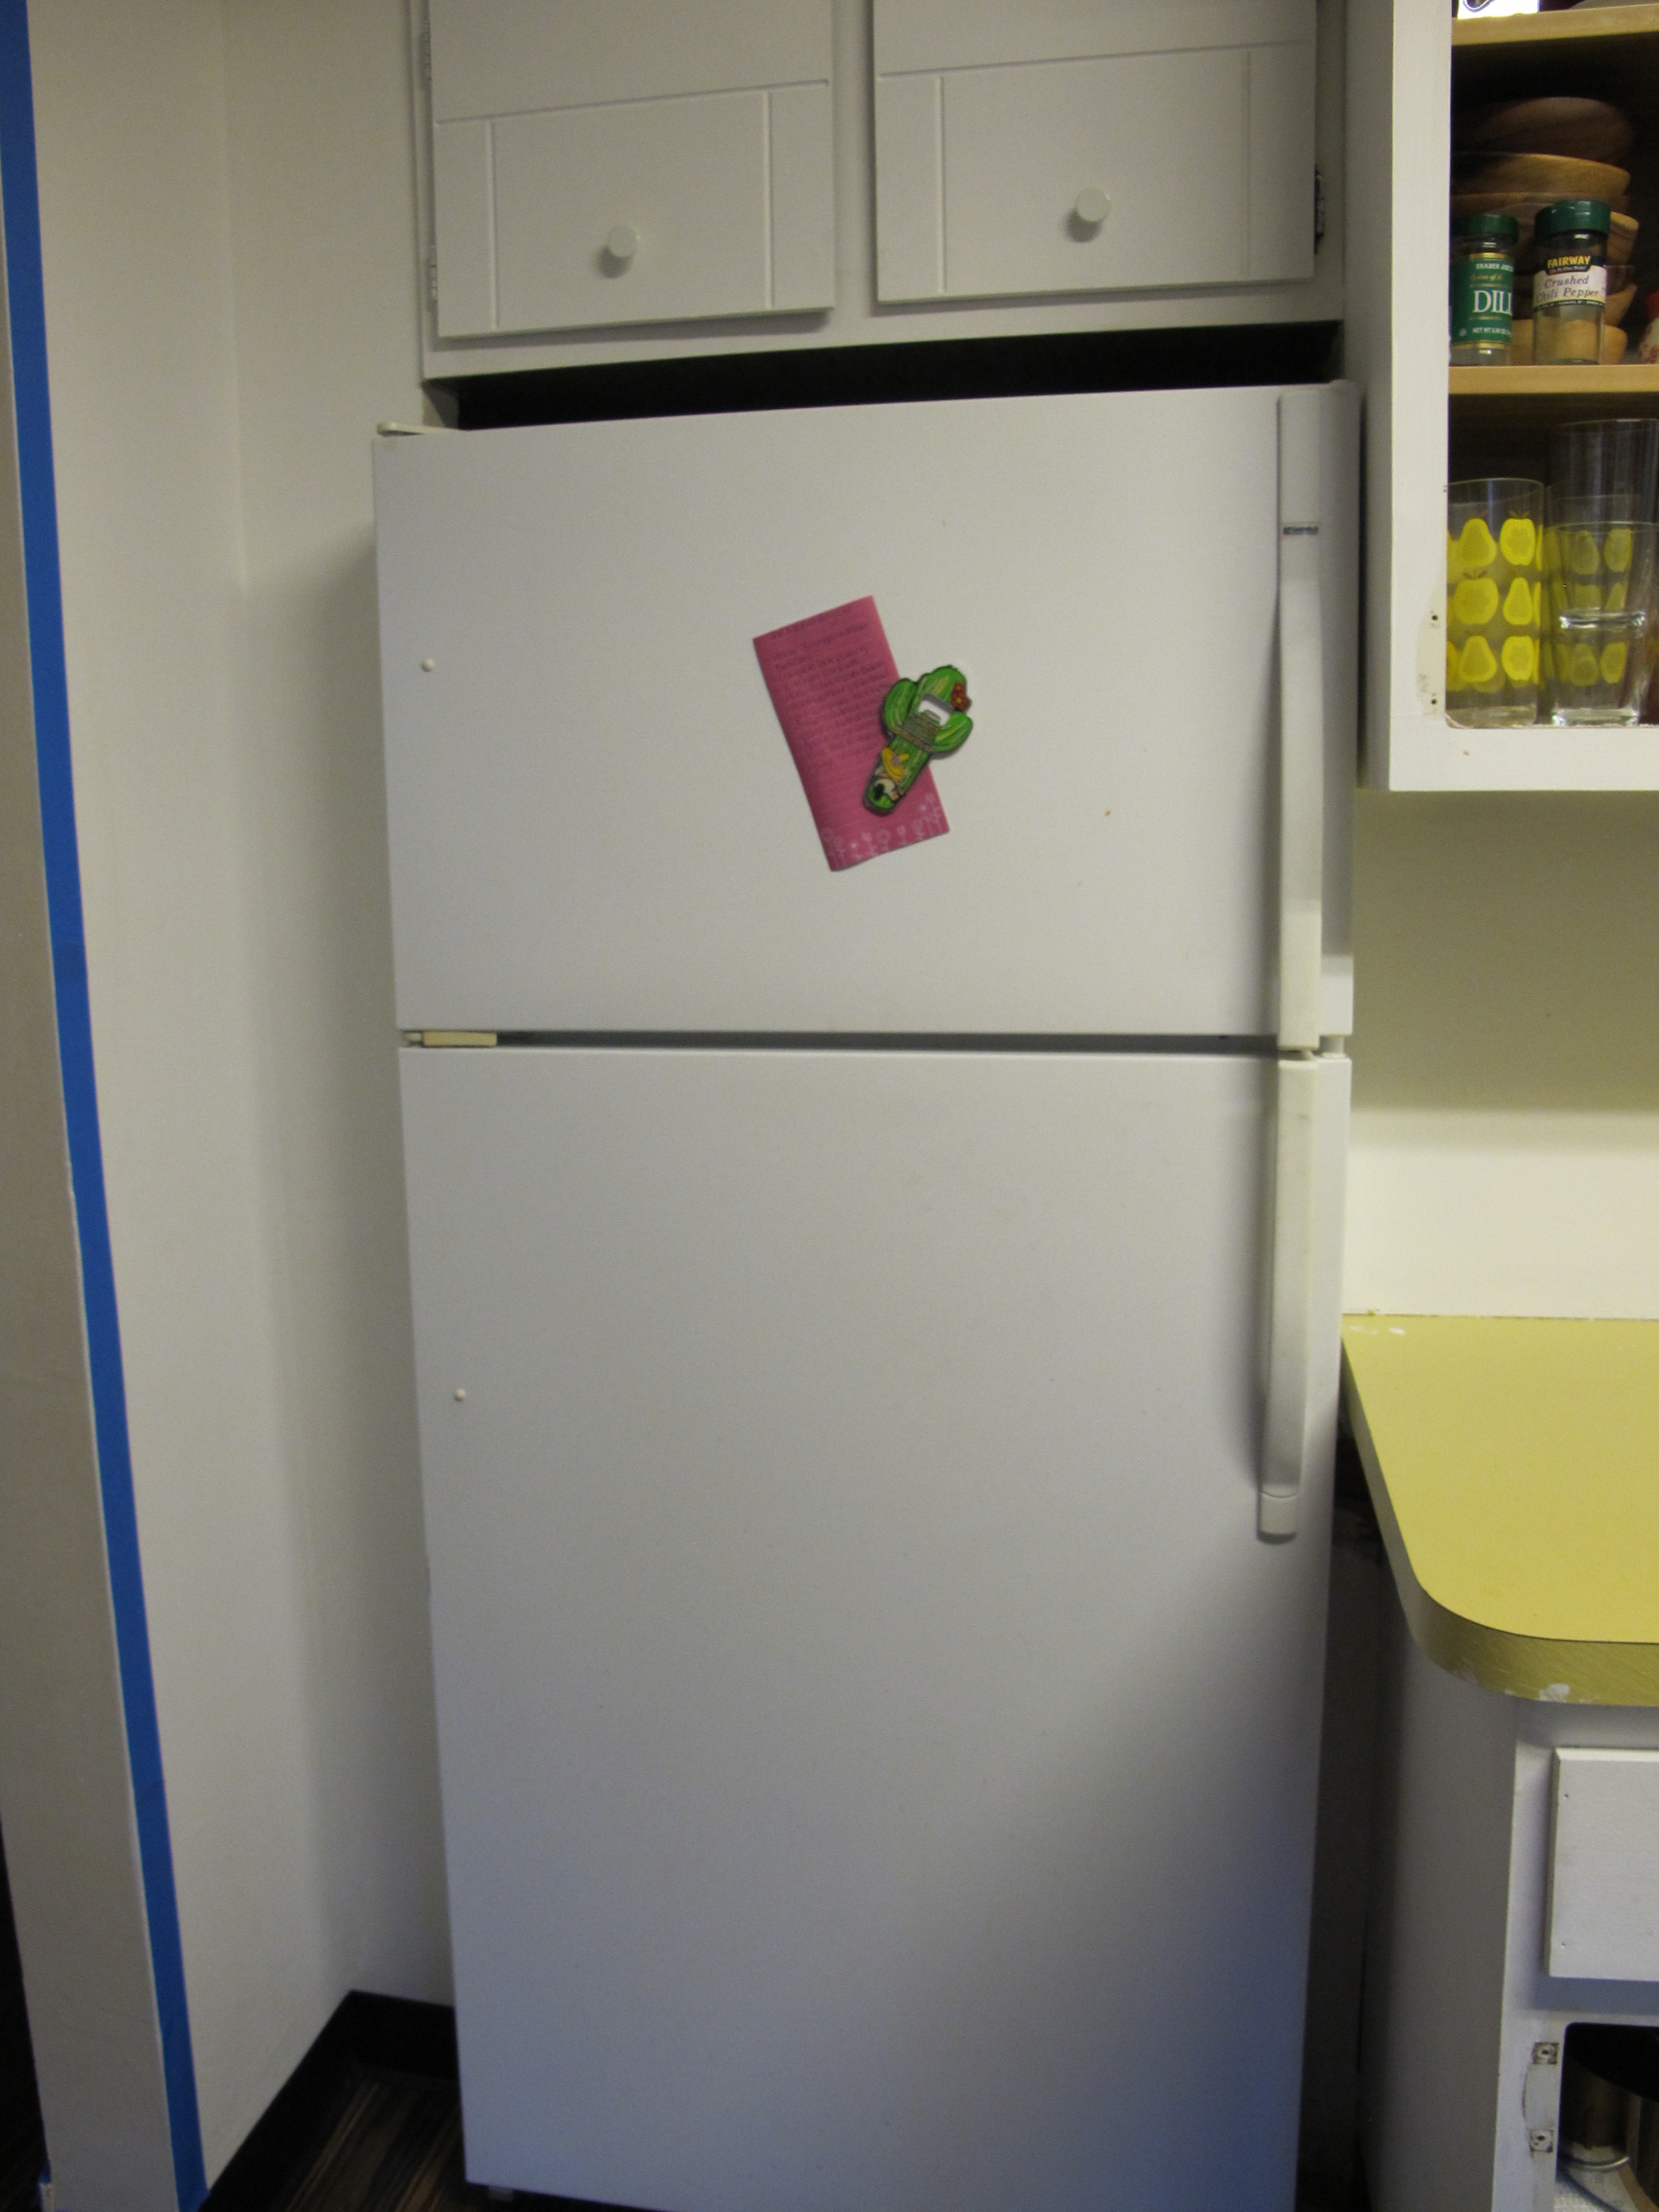
We started with a white box:
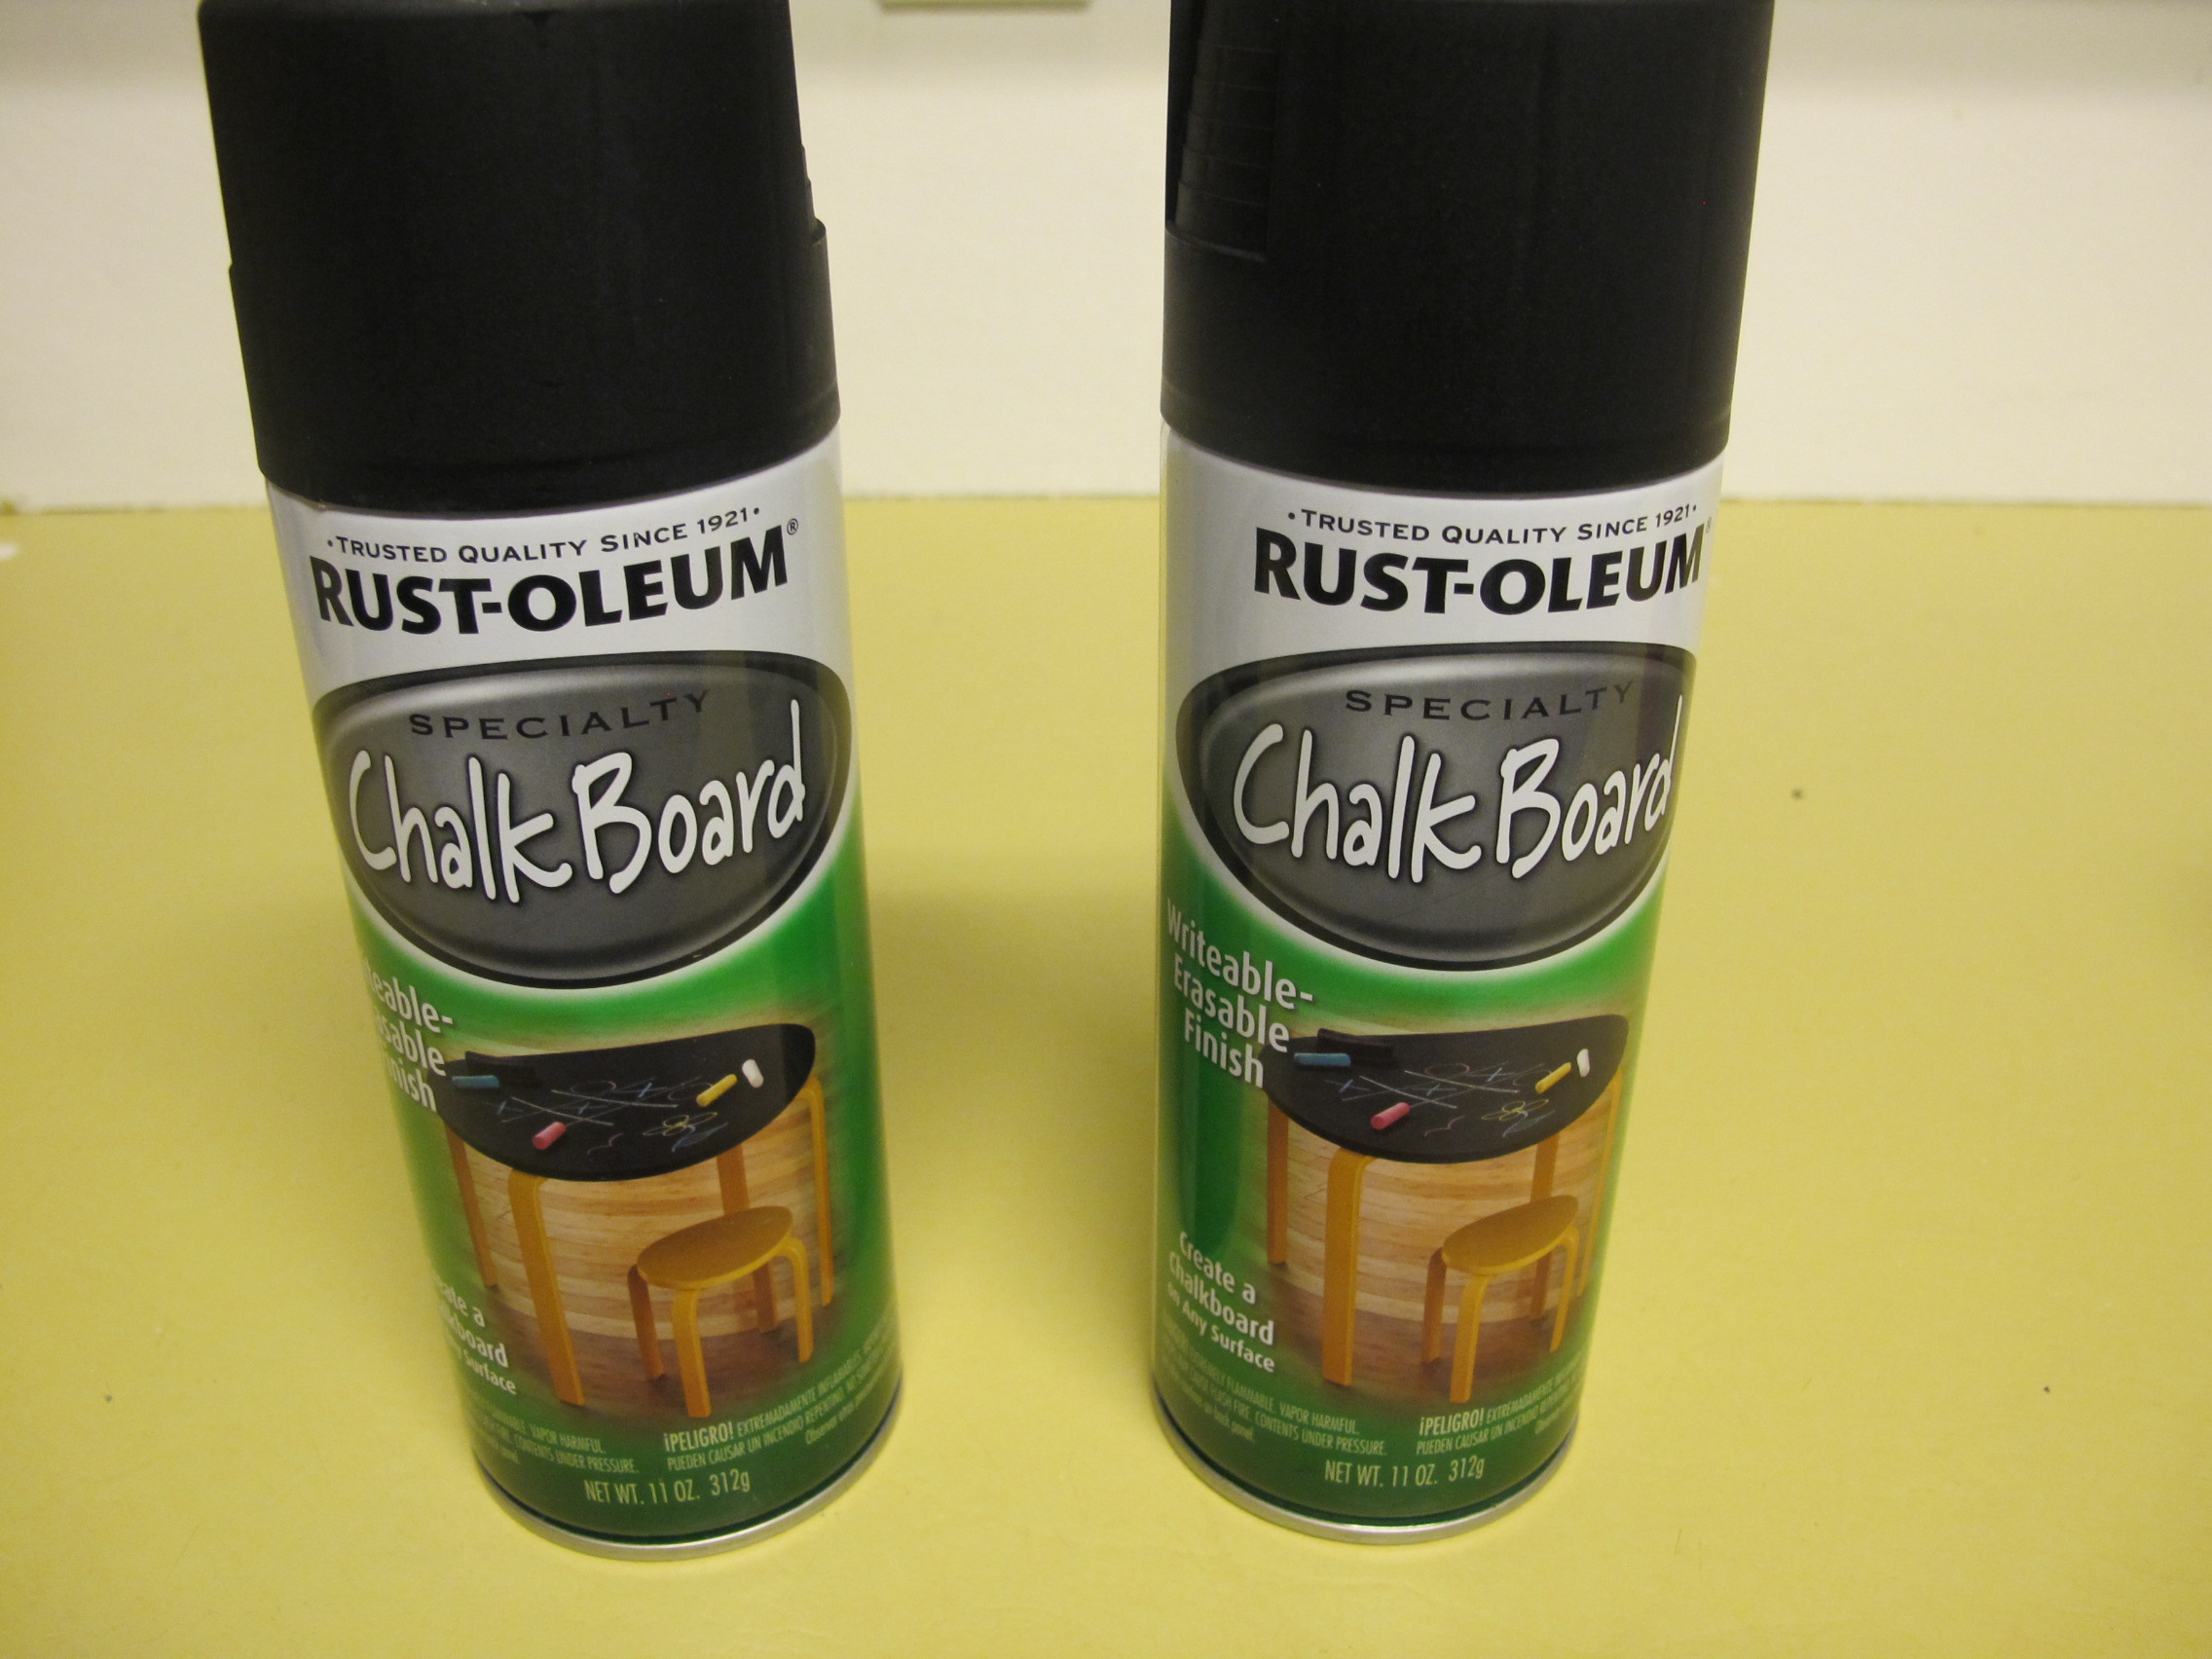
Grab some chalkboard paint, we got some spray cans:
And...spray!
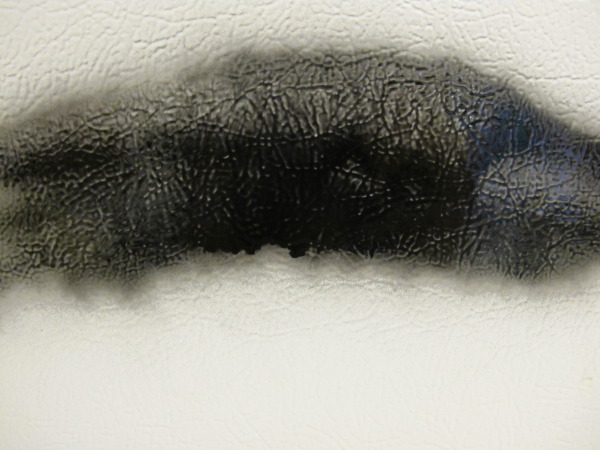
WAIT! Don't just spray. Kidding. Bad idea. The project was mildly more complicated than that, but not too much. The fridge is too slick to handle the paint. It will run and not be even. So, here is what we did.
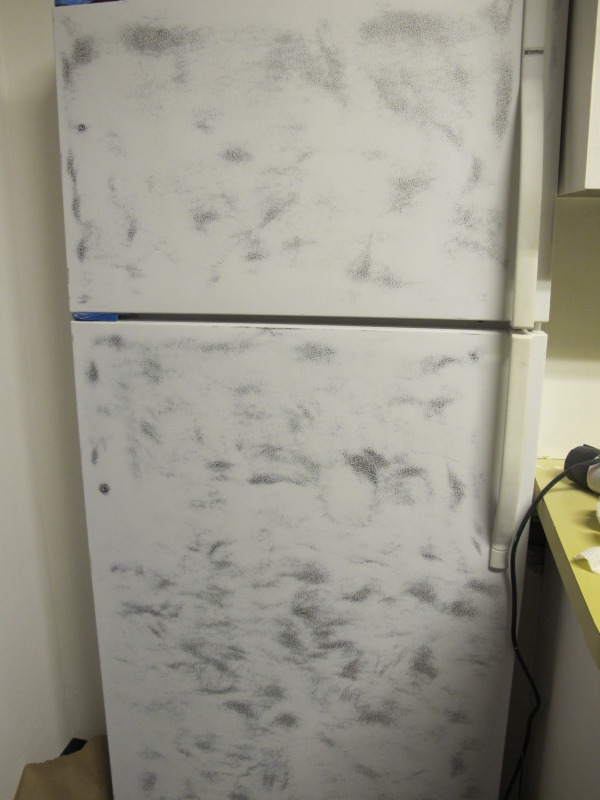
We sanded her down with an electronic sander, then decided it may be a good idea to protect the surrounding area with some brown paper we taped to the walls.
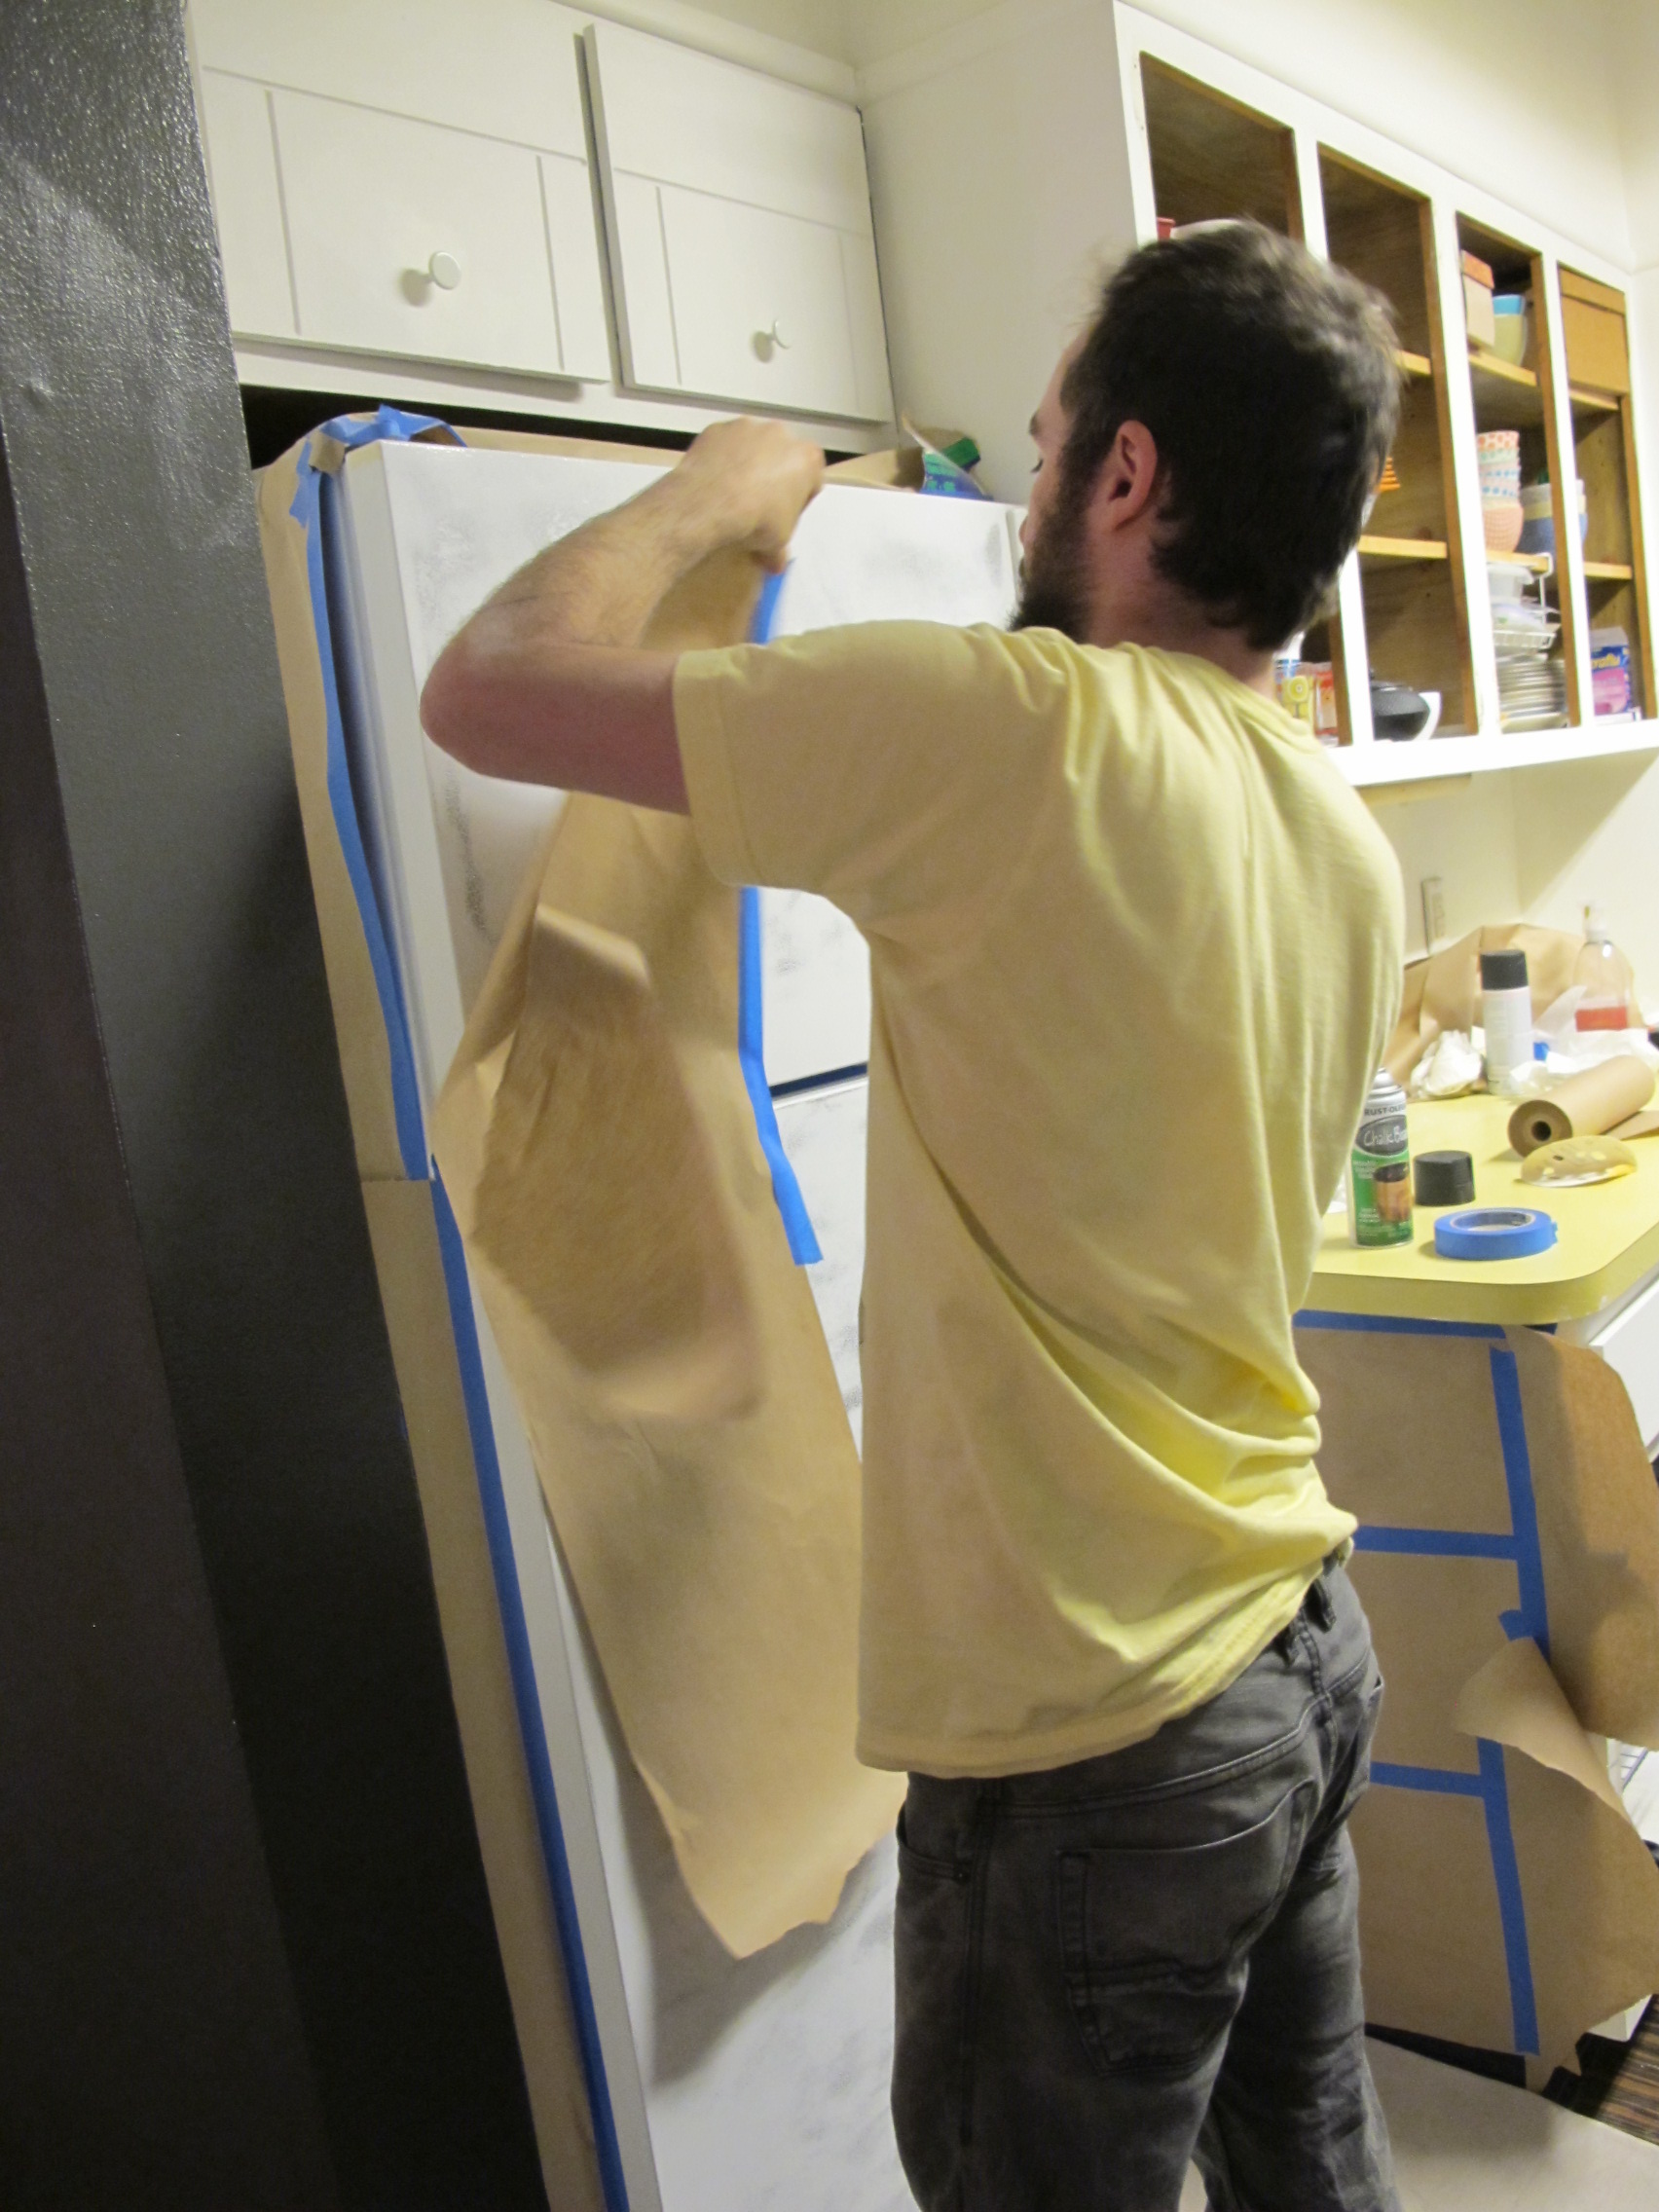
Then we painted two coats. It only took one can of paint to do the whole project, but it's good to have a second can around for touch ups.
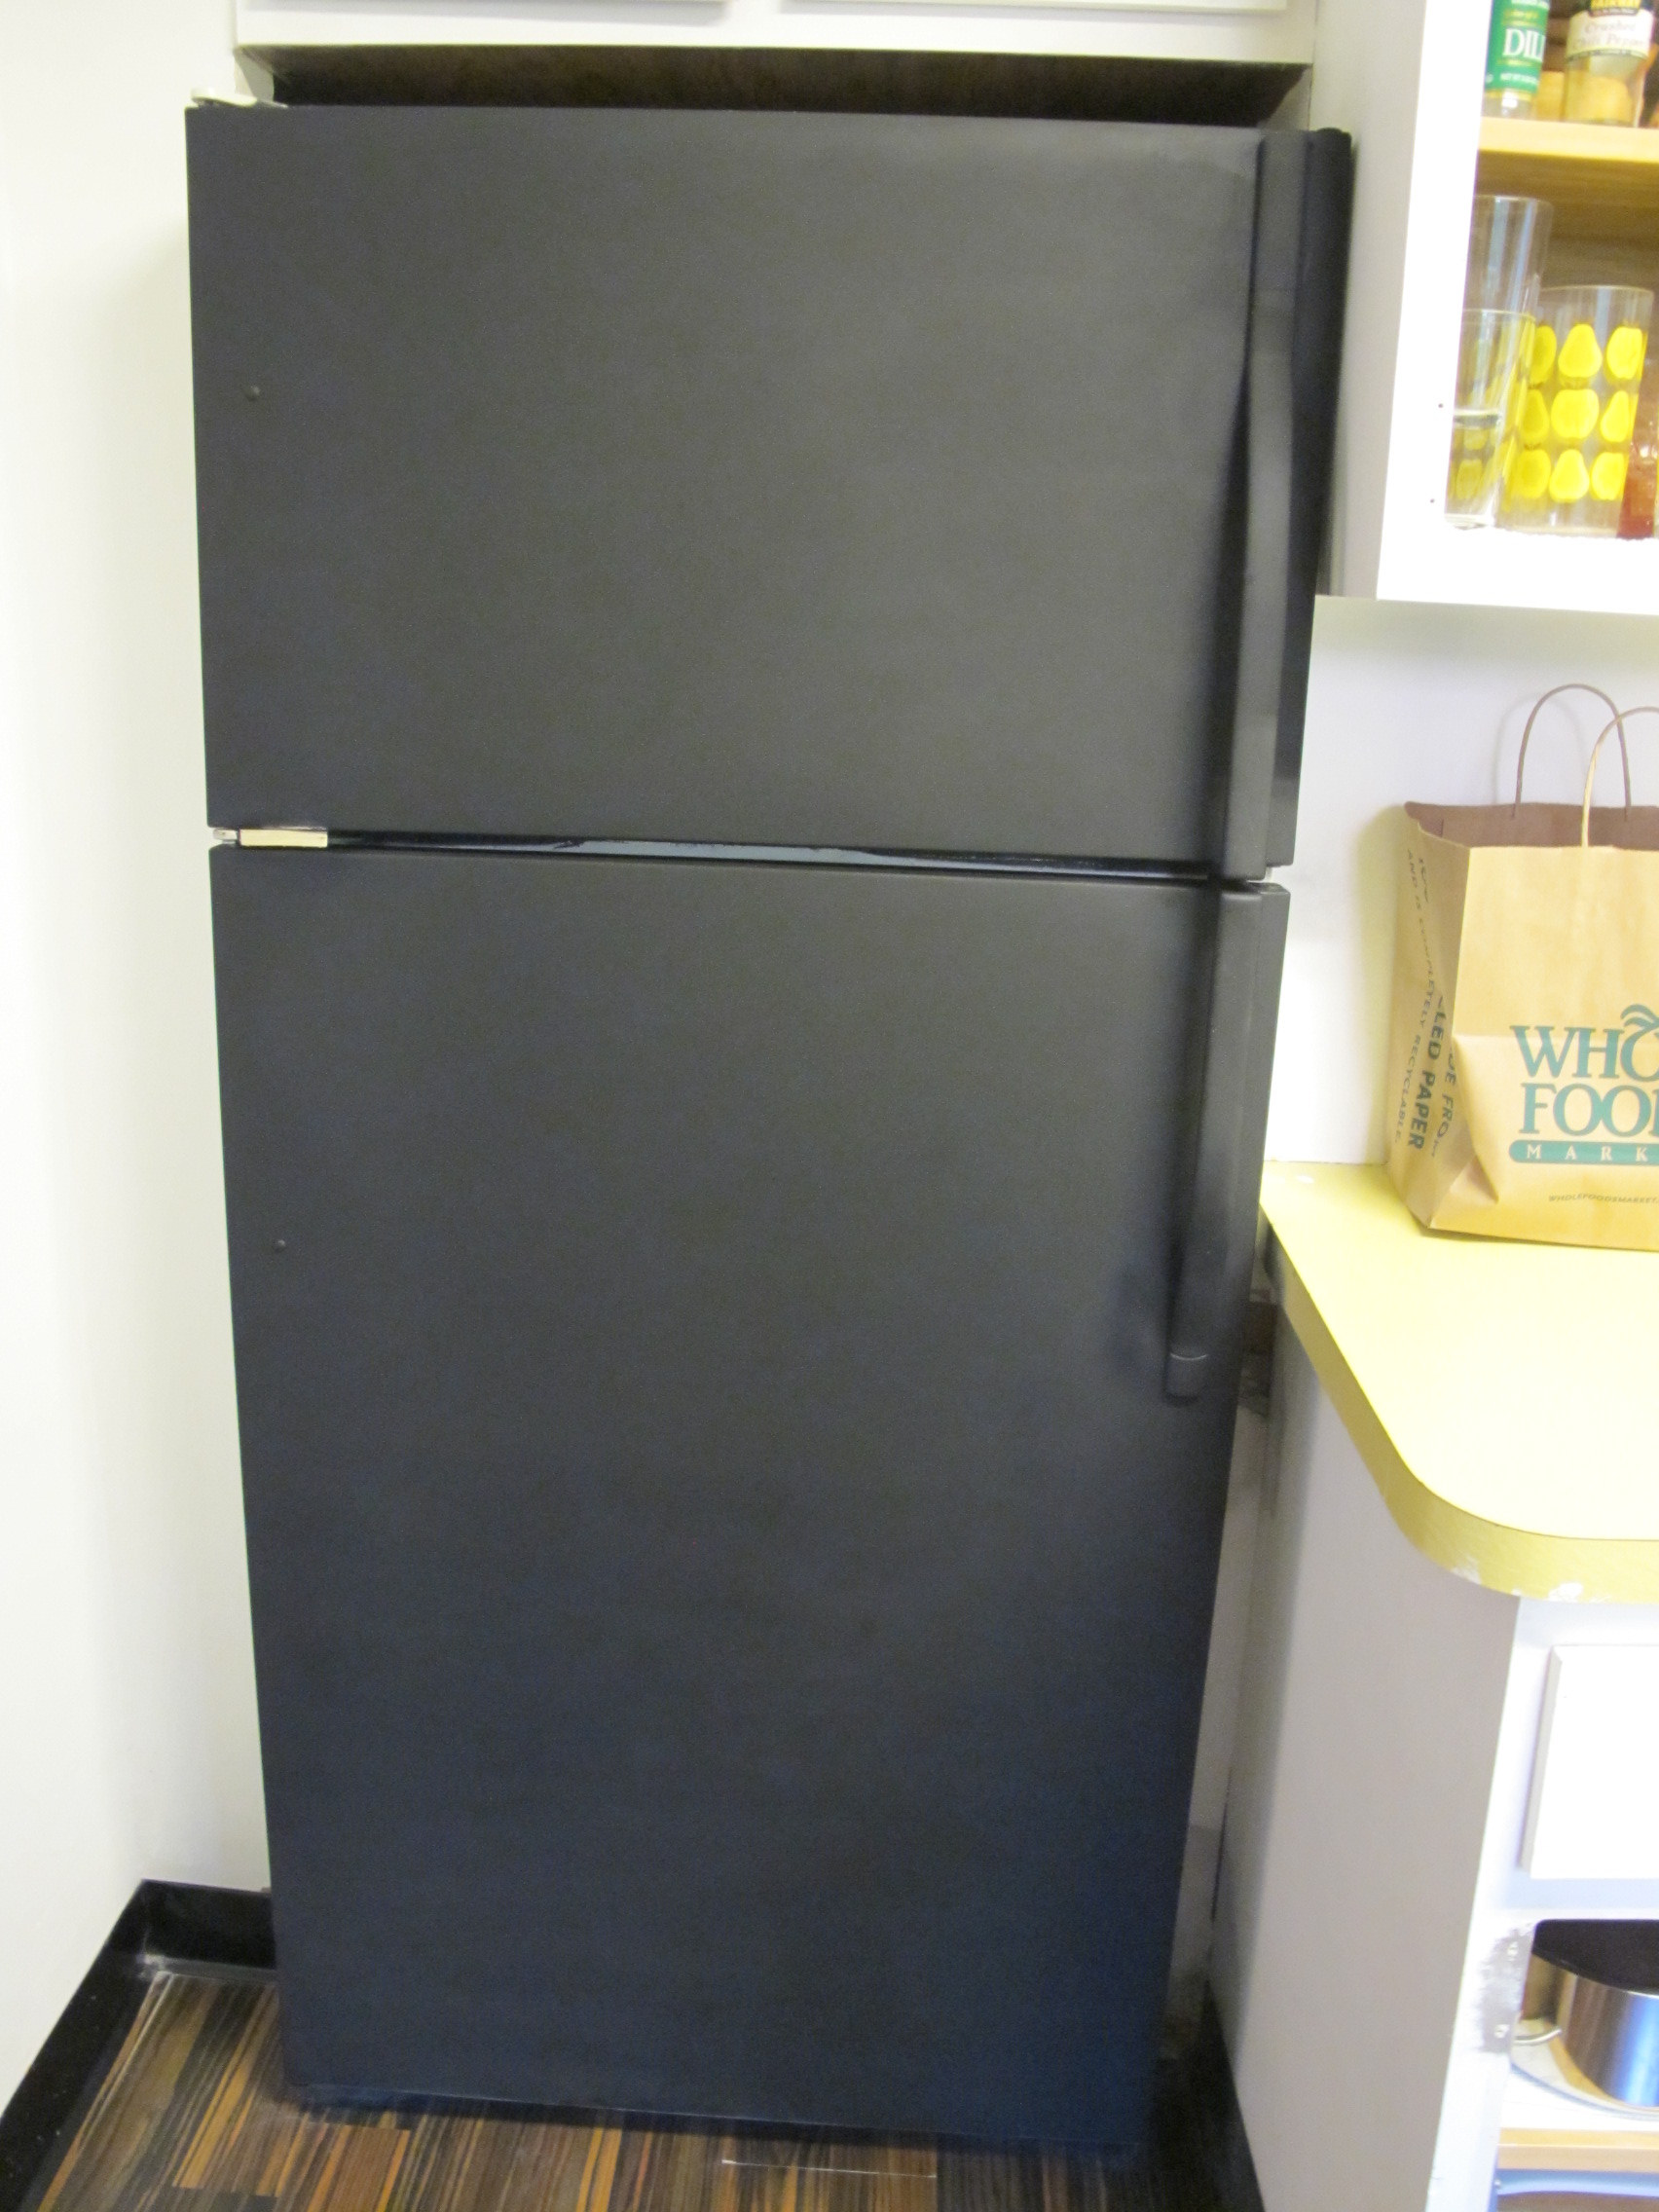
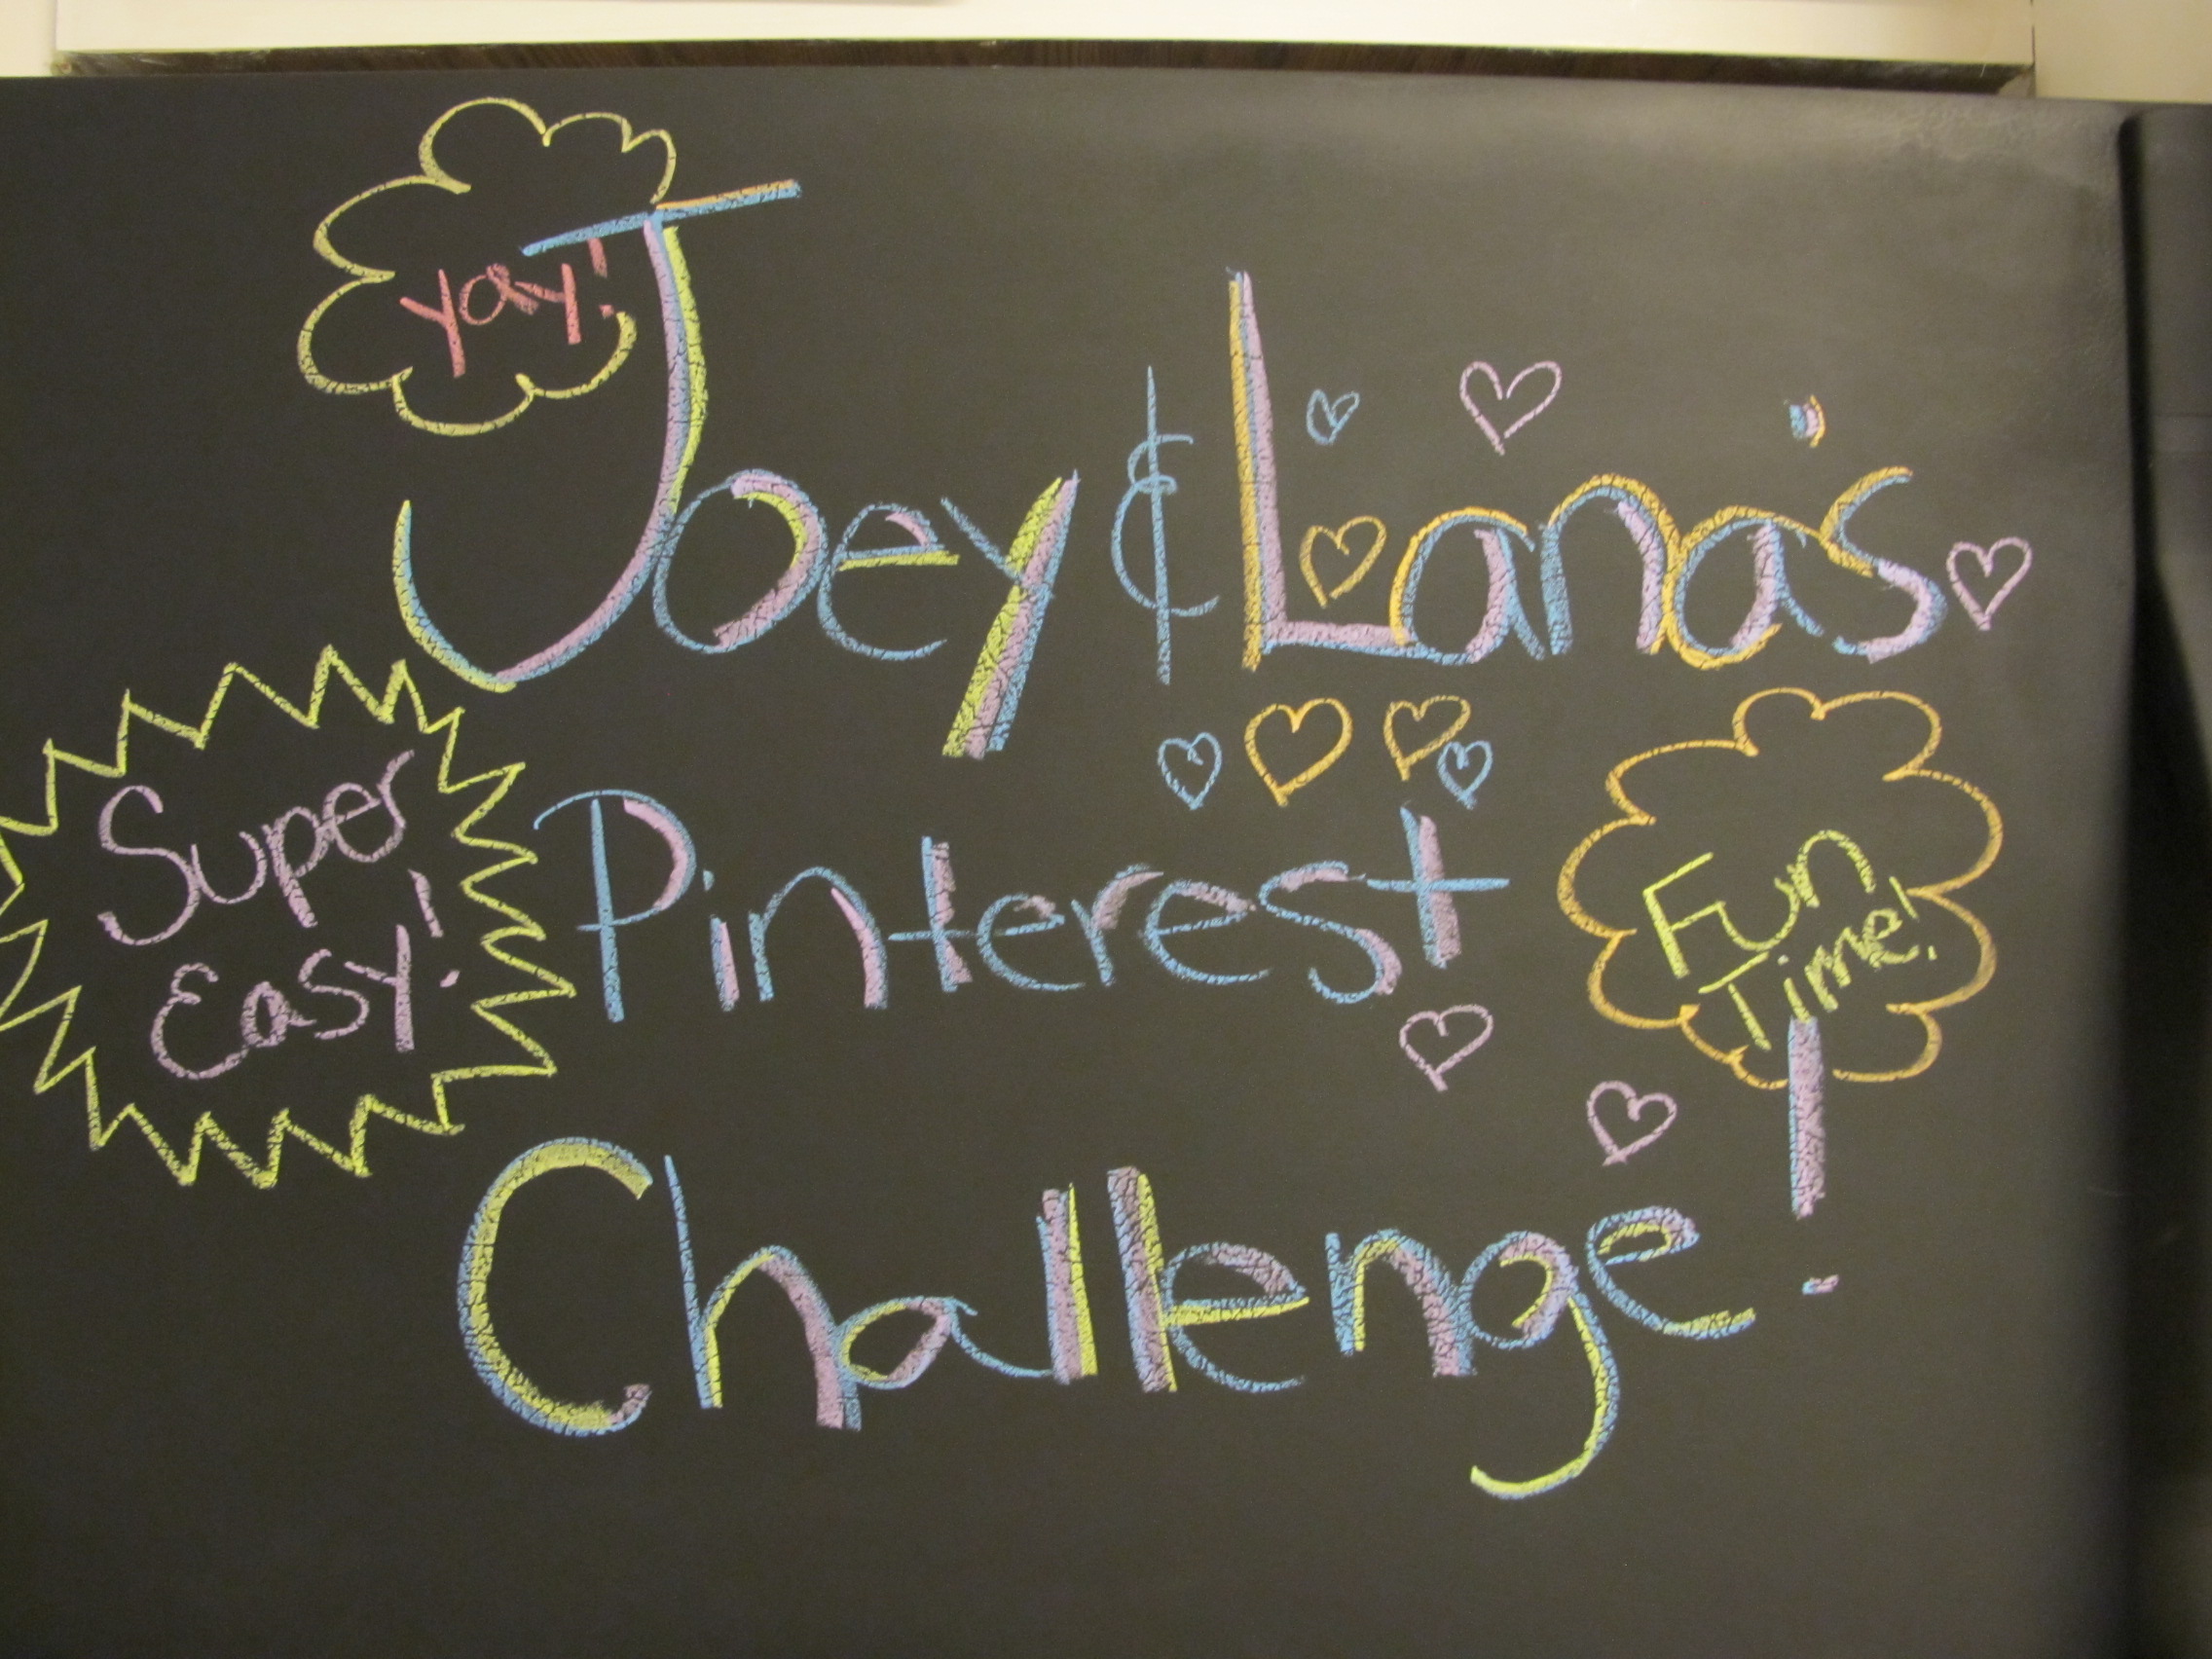
Perty neat, eh? It was scary to do, we aren't going to lie. But we love it! It's unexpected and totally fits in with what we are doing to the kitchen. Plus we get to be silly on our fridge!
So there was our challenge, and mission is accomplished! What did you do? Leave a comment to share your accomplishment! Also, don't forget to check out the other hosts of the Pinterest Challenge:

Sherry from YoungHouseLove.com Katie from BowerPowerBlog.com Emily from StyleByEmilyHenderson.com
Don't forget to check back for more kitchen DIY projects! We are finalllllly almost done DIYing our cabinets, have some killer plans for built in storage, and are about to install our backsplash and counter tops. Eeeesh, so much to do! But for now, link up and share what you did for the Pinterest Challenge!!
 Joey and Lana Make a House a Home
Reader Comments (42)
@Holyoke Home you totally should! we lurv it!
@crystal i see a basement fridge in your future!
@sarah in indiana - it was sooooooo scary to spray that first bit, but now it's shocking to see, in a lovely way.
@kate always happy to be a test monkey :) sometimes we fail, but as least we can save the rest of you, so it's totally worth it!
@elisa i had to convince joey. i told him if all else fails it's only $100 - however if you use a sander before hand - you should totally be cool!
Totally Love this! It makes me consider doing my fridge and maybe the dishwasher too so lil ones can have a low place to play (plus I'm not digging my 80's cream appliances). Did you think about priming first after sanding? I'm wondering about scuffs and chipped paint? <3 your work!
Awesome project, guys! I appreciate your willingness to do something so daring and semi-permanent. Amazing result!
Wowzers! What a great project! I love how it turned out - I don't think I would ever have the guts to do that to my frig. This is my first time stopping over at your blog (I participated in the Pintrest Challenge) and I'll be sure to check back more frequently!
@kelley b we didnt prime, and it's holding up well so far. we did it about a week ago. only snag so far is the handle which needs to be cleaned like every day!
@emily you are too kind! we held our breath and it was totally worth it. after all it's a super cheap fridge, why not?!
@corrie welcome! thanks for stopping by! look forward to getting to know you :)
I noticed that your fridge is bumpy, like mine. Is there anything special you did to smooth it out, or did the sanding help? How easy is it to write on?
Great job, it looks great!
@erica we sanded it only! no primer, nadda! it's super easy to write on and clean. it was seriously a $10 project soup to nuts!
LOVE LOVE LOVE the chalboard fridge! I painted a chalkboard wall calendar, but was unhappy with the result as the wall surface made writing quite difficult. I also updated my fridge my spraying the once white (now yellowish) plastic trims lime green! Love the blog.
@marius thanks so much! i love the idea of spraying the trim!
I painted my fridge a while back with chalkboard paint and love love it!! I write all my memos on it! Although most people though I was crazy for doing it.
@jackie i know you are not crazy! we are in love with it and don't regret it at all!