Related Posts Plugin for WordPress, Blogger...

                   Follow Me on Pinterest


photo cards


OpenSky

Freckled Nest - Design by Kelly Ann

Home & Garden Blogs
BLOG DIRECTORY
Online Marketing
Home Improvement Blogs - BlogCatalog Blog Directory

Entries in DIY Projects (36)

Tuesday
Aug022011

Pinterest Challenge Time!

Whoot, whoot! I can't explain it, but something about this pinterest challenge put a smile on my face every time I tweeted, typed, or worked on it! I love how everyone jumped on board and was inspired to knock something off their own to do list. If you have no idea what I am talking about, rewind and catch up

So, what did we do and what on earth were we inspired by? 

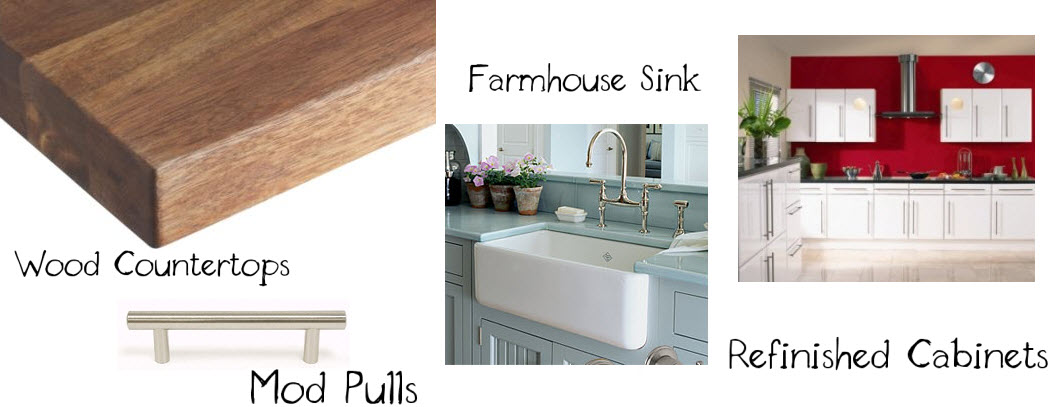
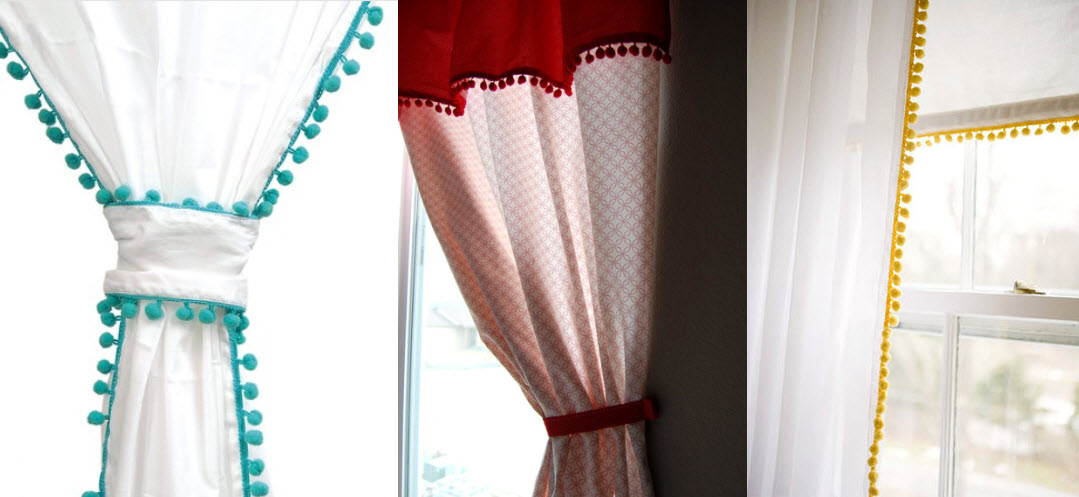
I knew we had to do this the second I pinned it! It's located in my Let's Make Something board.

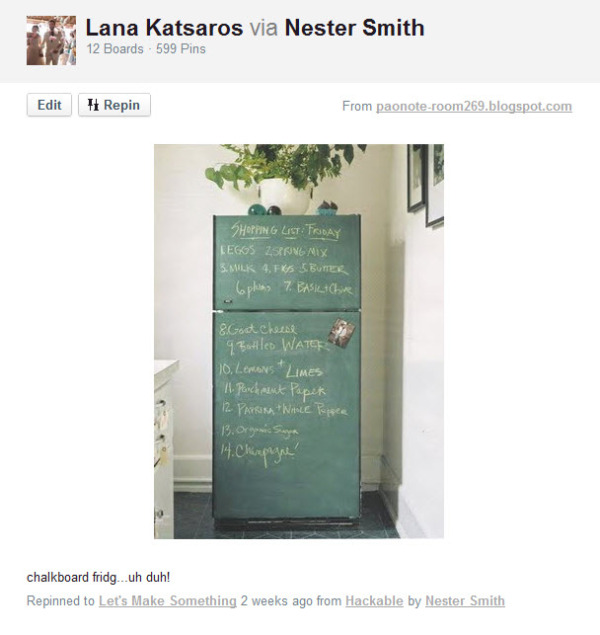
Isn't that a great idea! The original pin was sourced here and they found it from Country Home if you want to take a gander. So, let's get down to bid-ness....

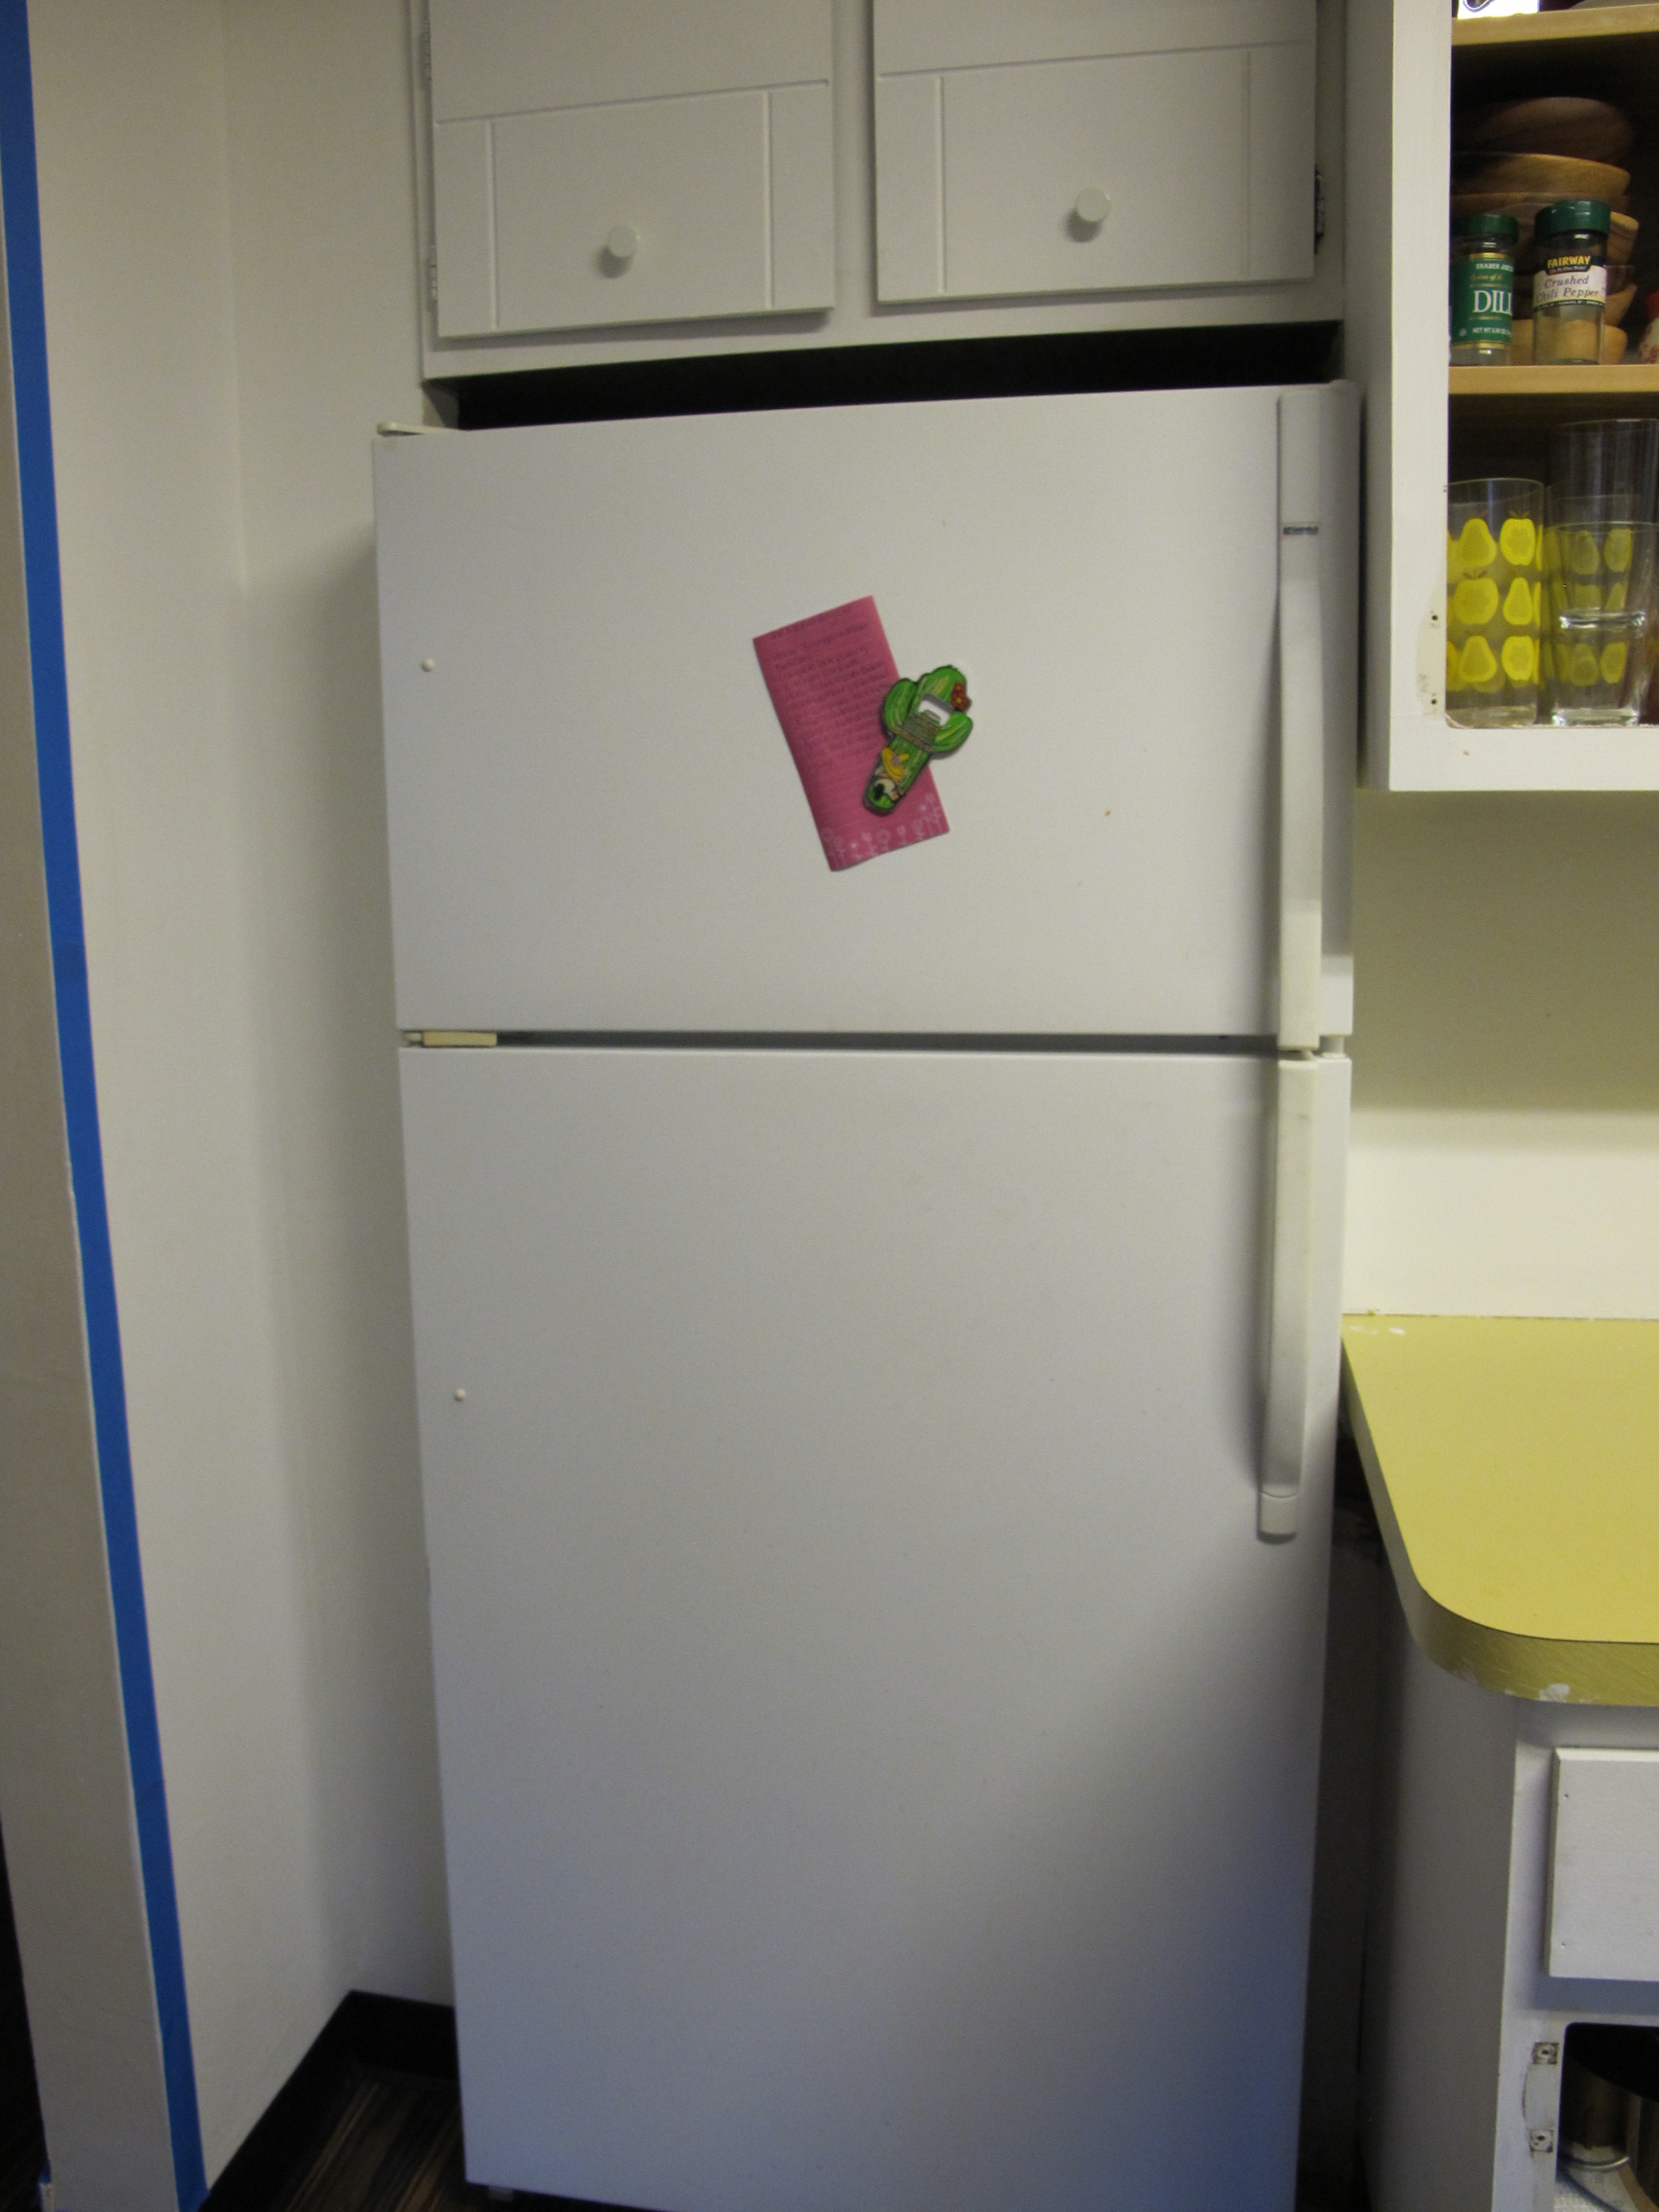
 Joey was a little "eh" about the whole idea. When we moved in the house came with one of those basic white fridges. Now we plan on doing a whole huge ($$$$) reno on the kitchen at some point, but for now was are doing a DIY update while we save the dough. We are cash money people. If we don't have the cash, we don't buy it. If you have renovated your own kitchen, or done any research you know it can cost $50K+. That's not French fry money!

So, I reminded him if all fails, we will have a new fridge someday soon when we do the big reno. To our surprise, we L-O-V-E the way it turned out. So if you have a basic white box, you are in luck! In a few simple steps, and $10 you can change things up in the kitch! Ready to break it down? Here we go...

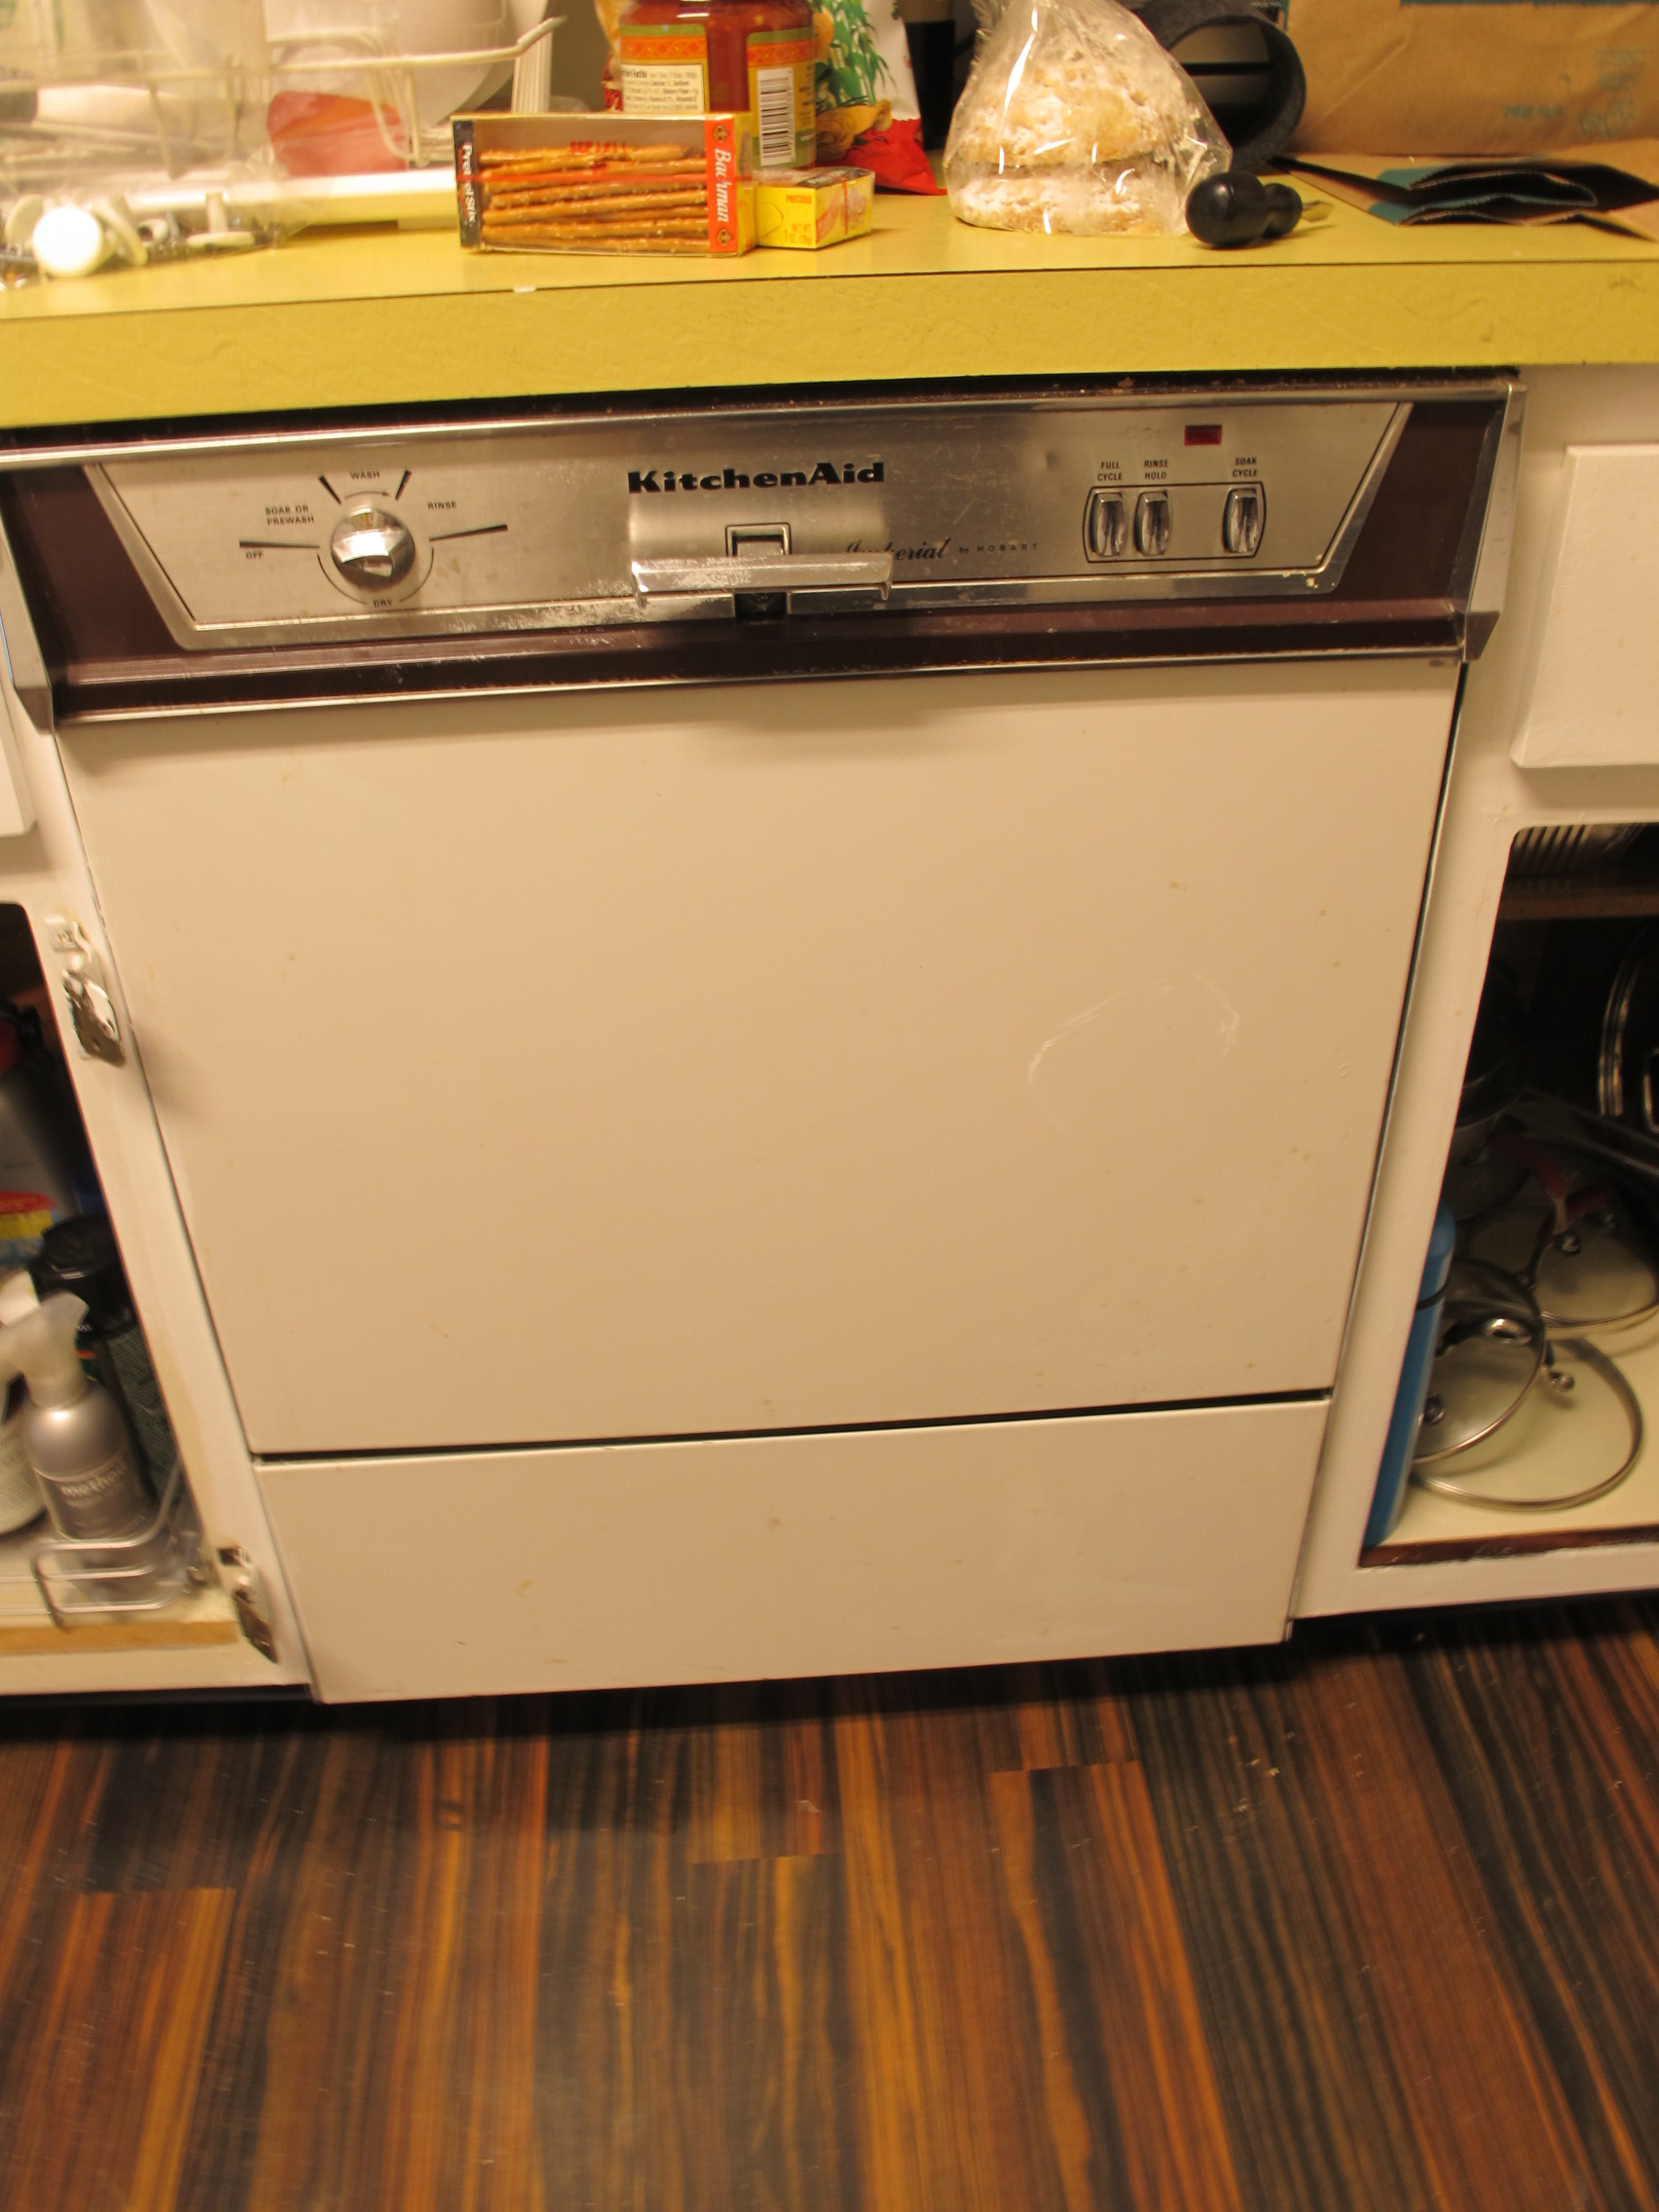
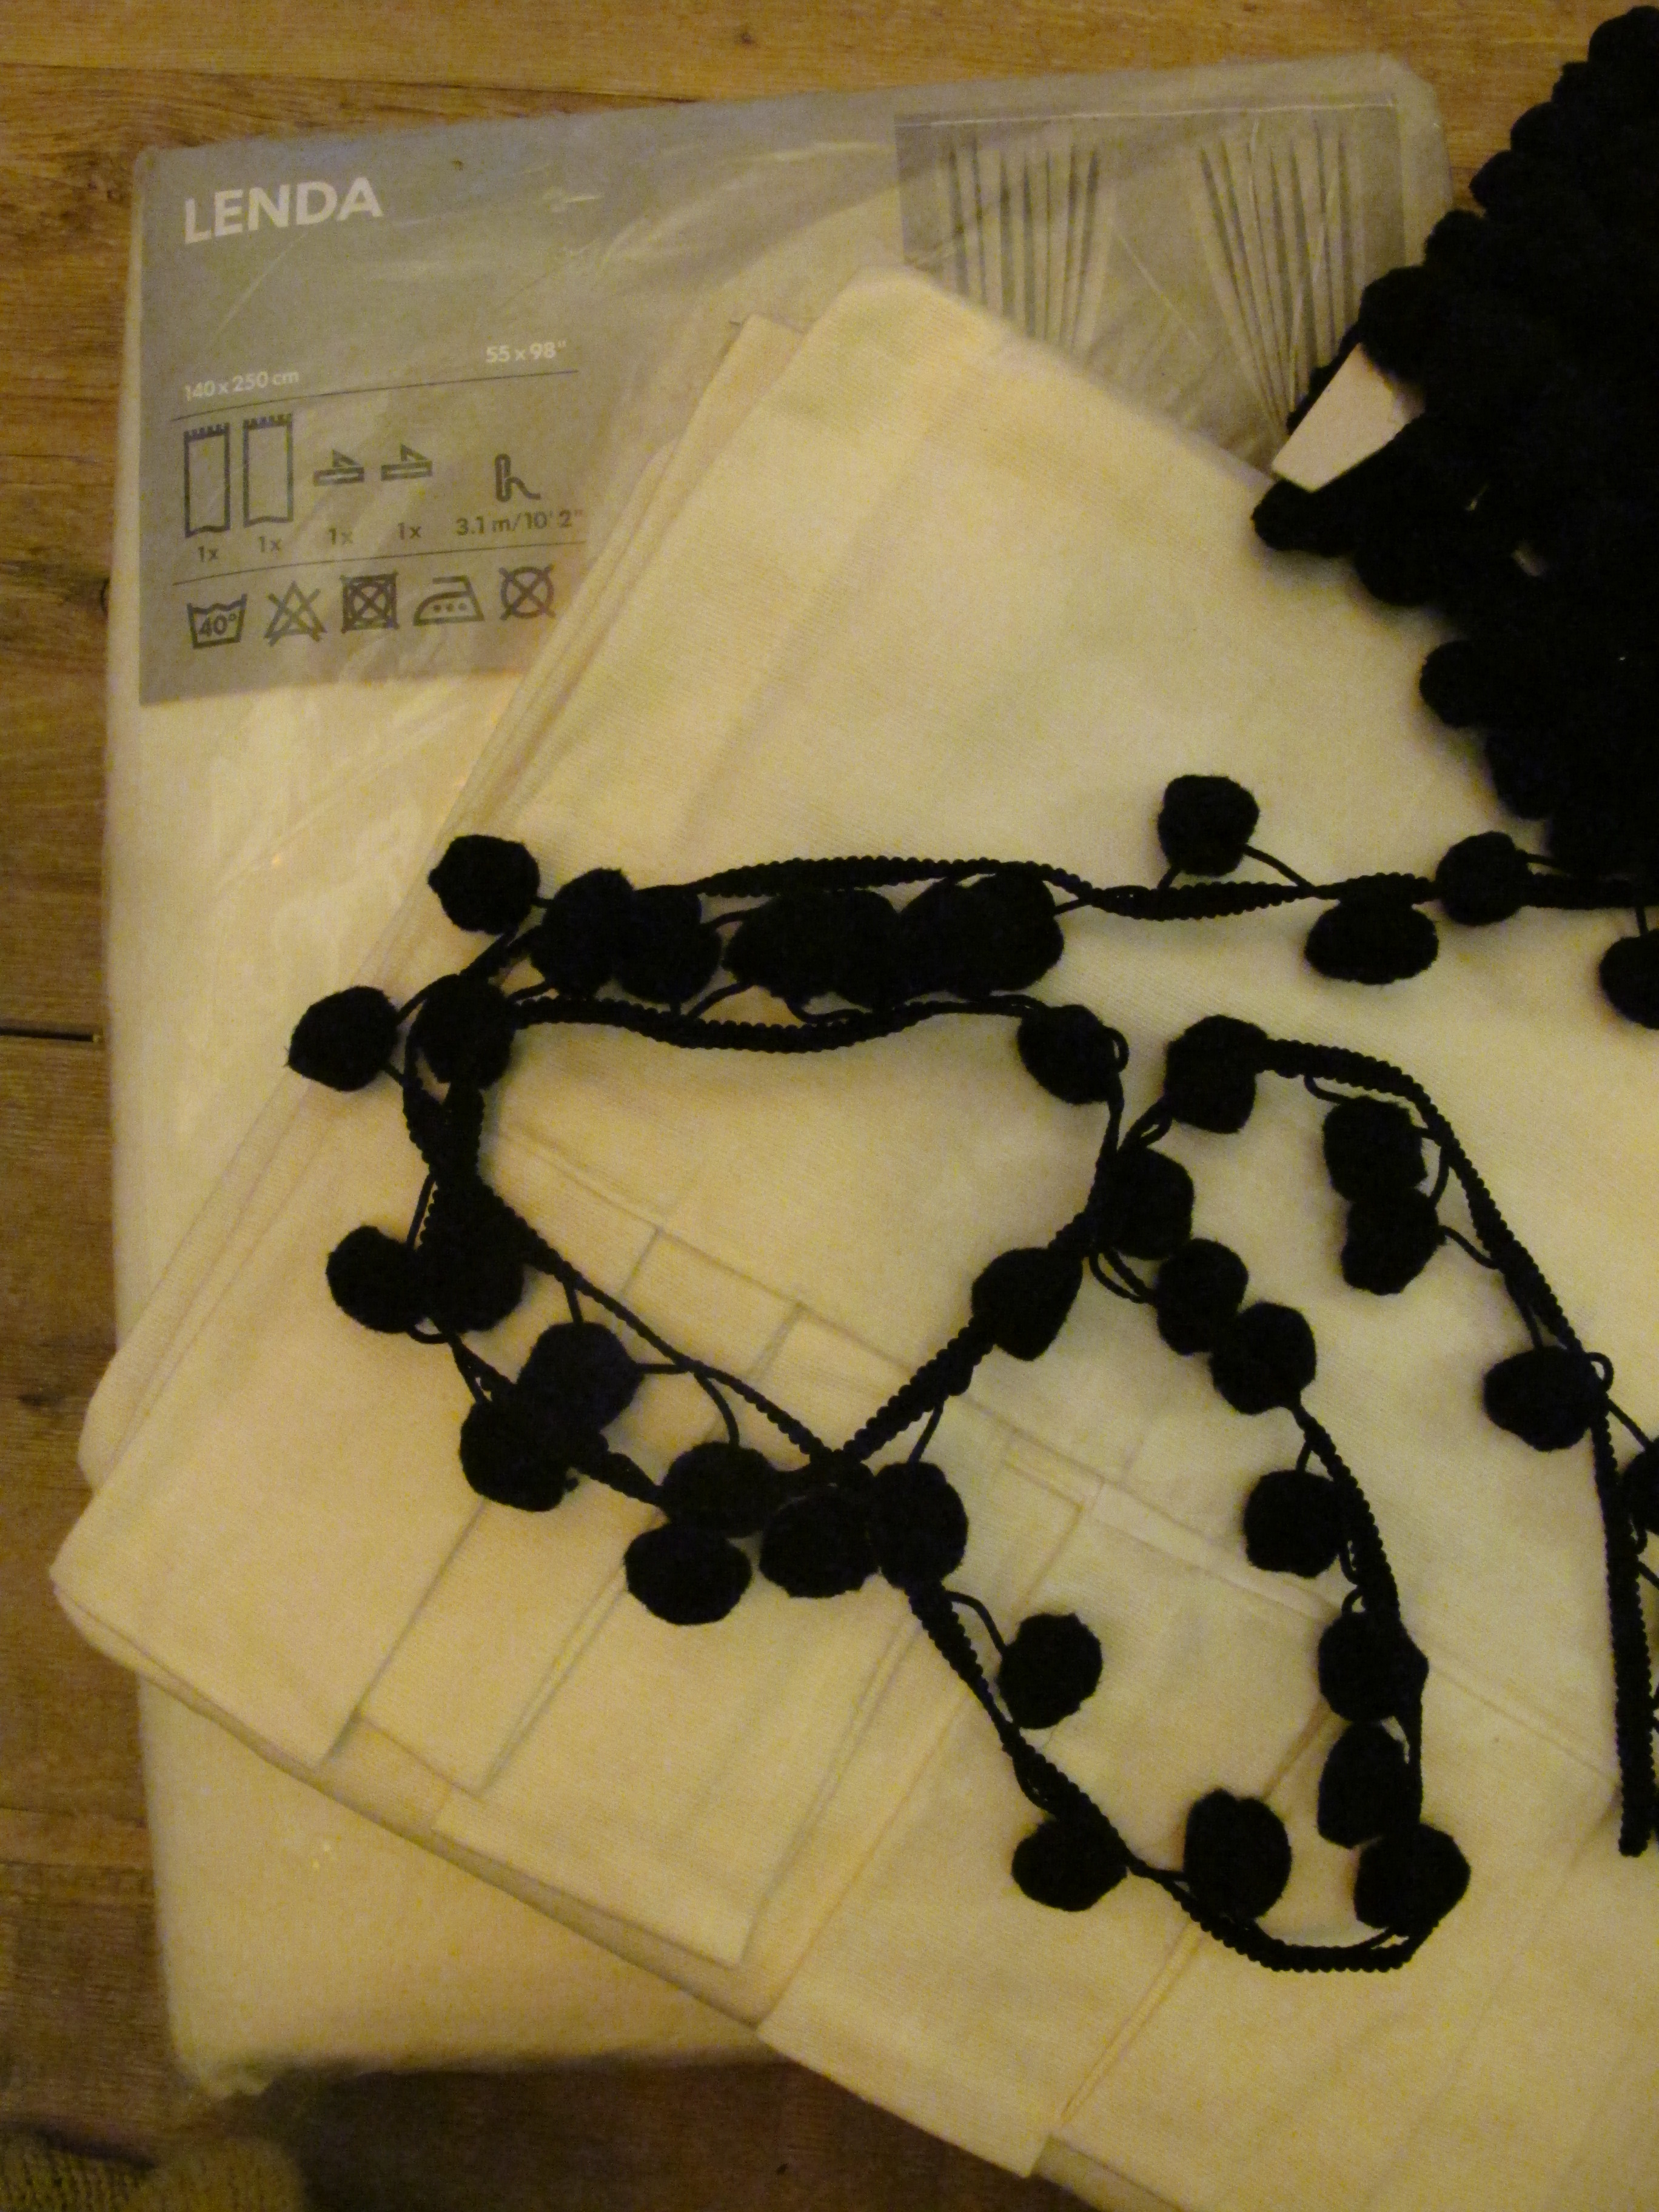
We started with a white box:

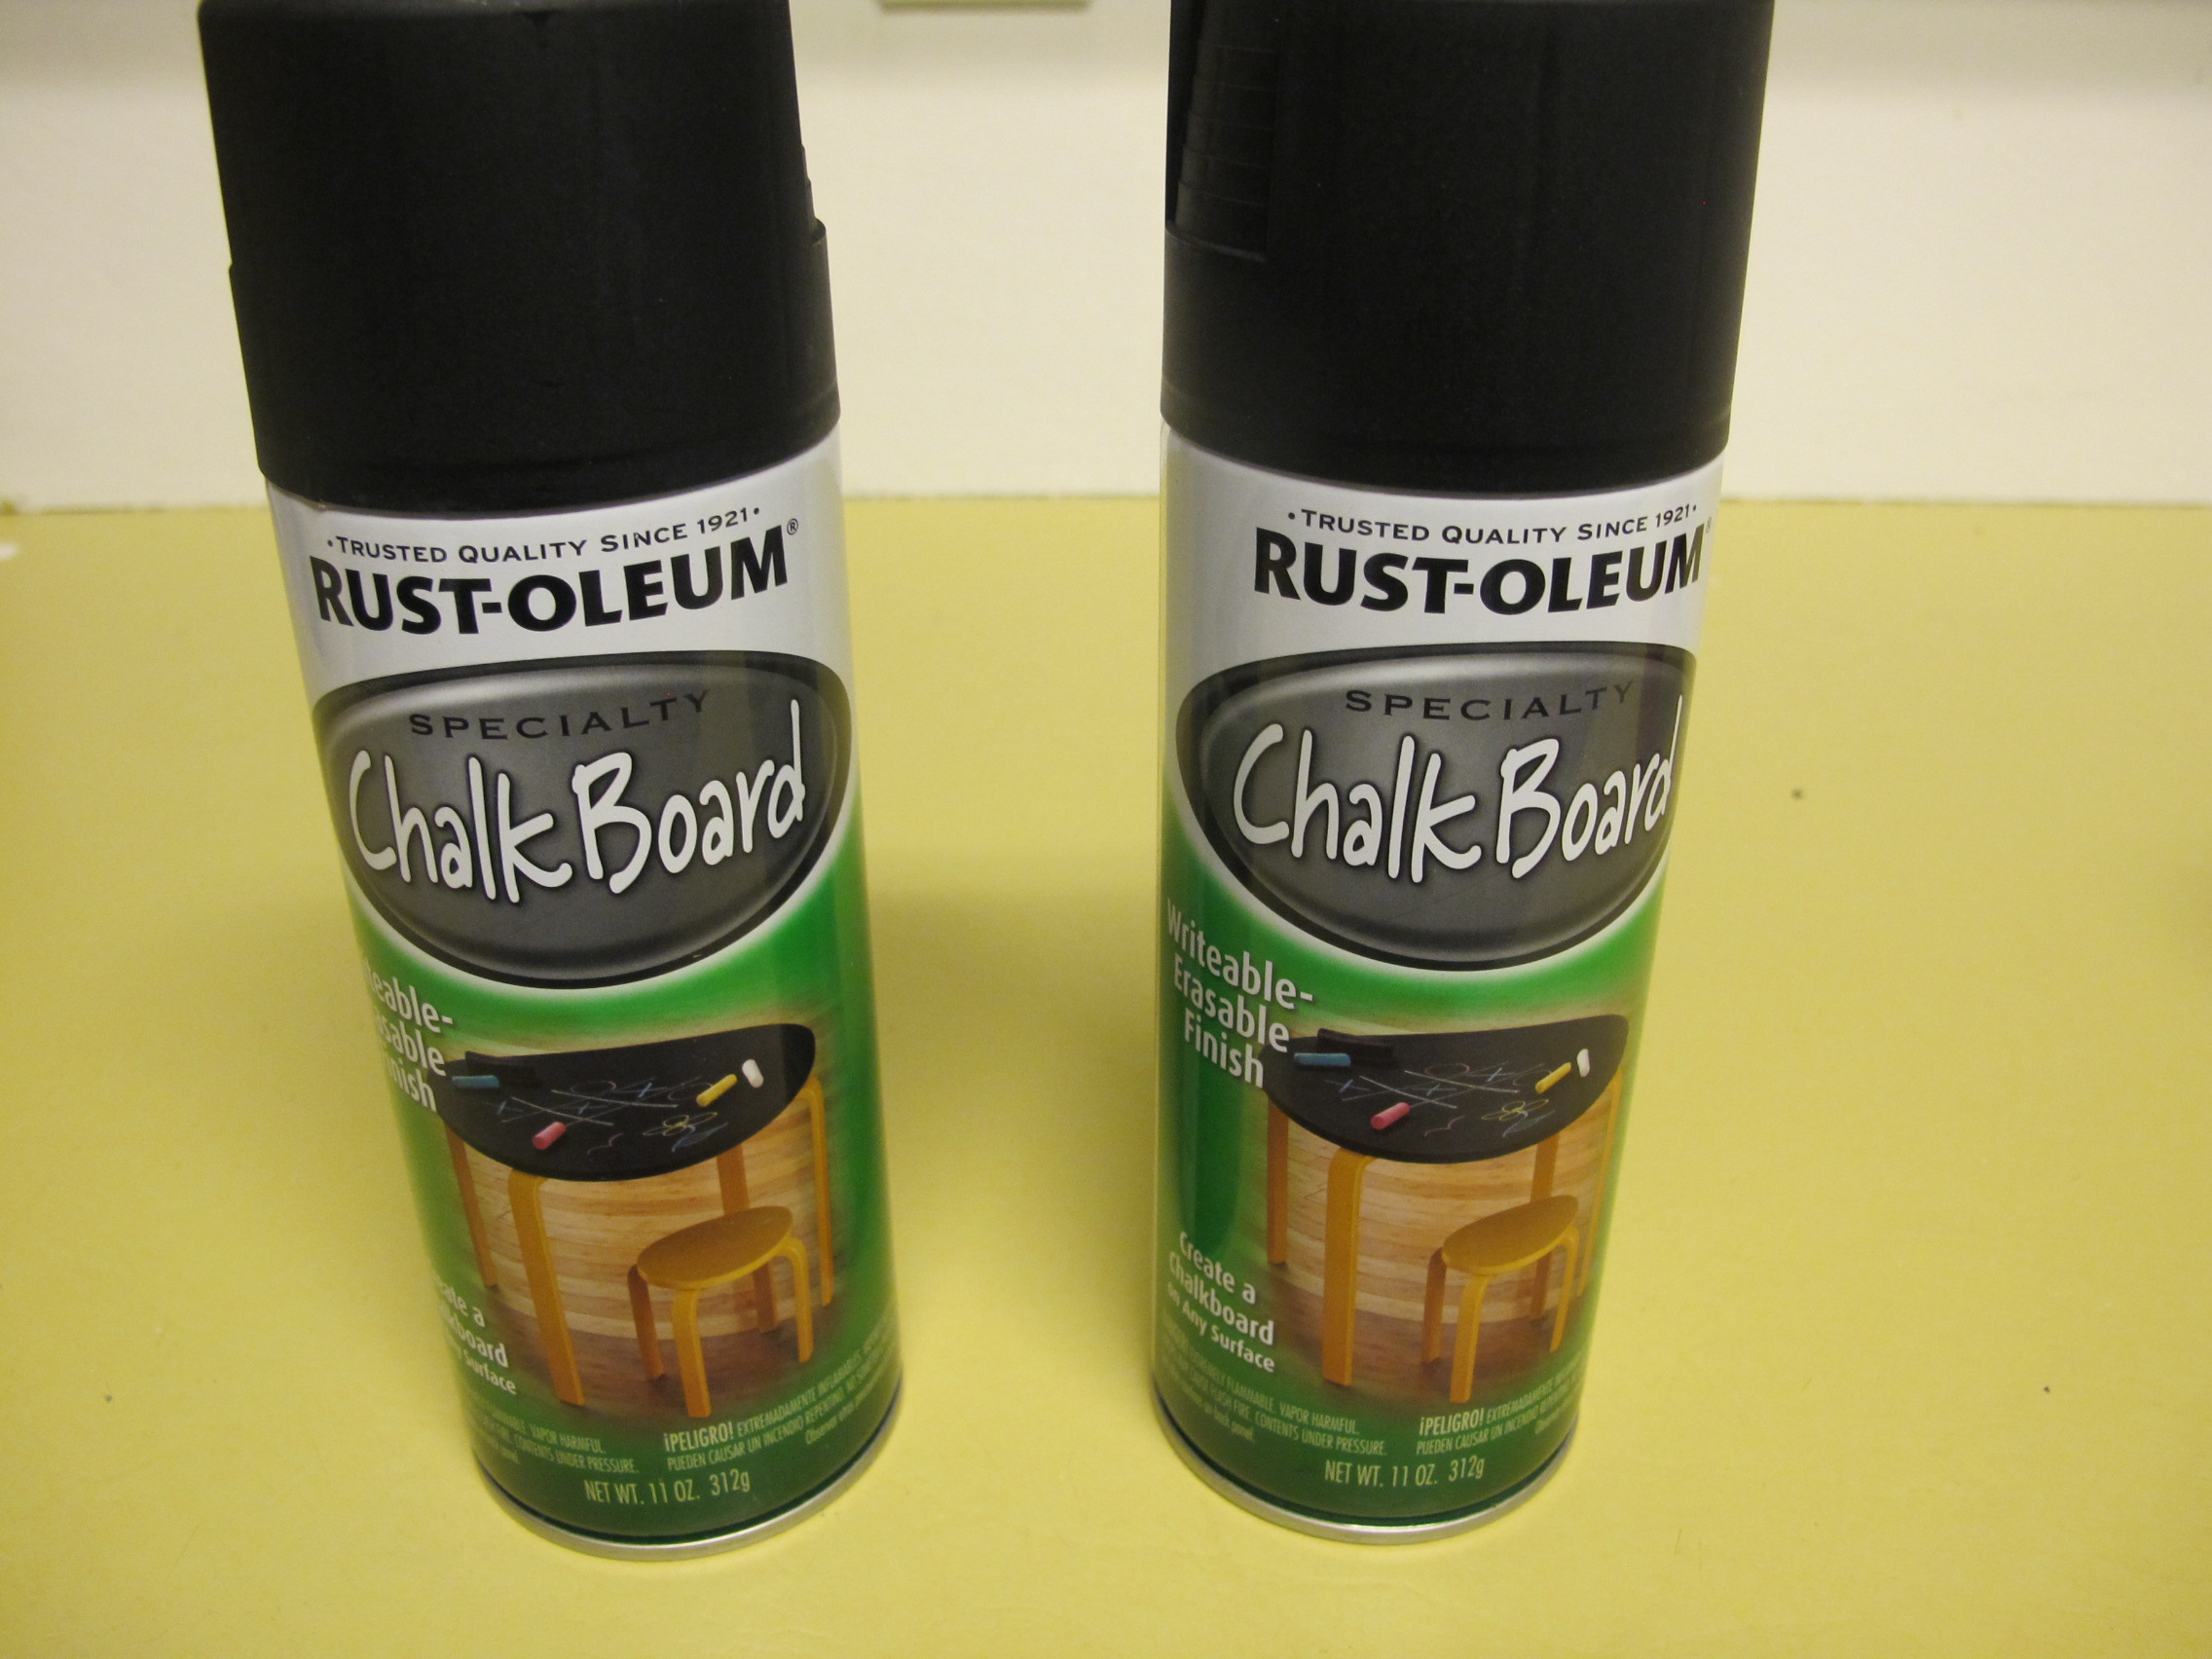
Grab some chalkboard paint, we got some spray cans:

And...spray!

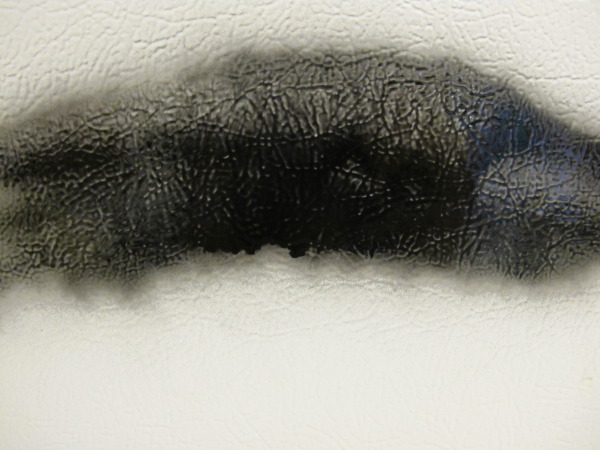
WAIT! Don't just spray. Kidding. Bad idea. The project was mildly more complicated than that, but not too much. The fridge is too slick to handle the paint. It will run and not be even. So, here is what we did. 

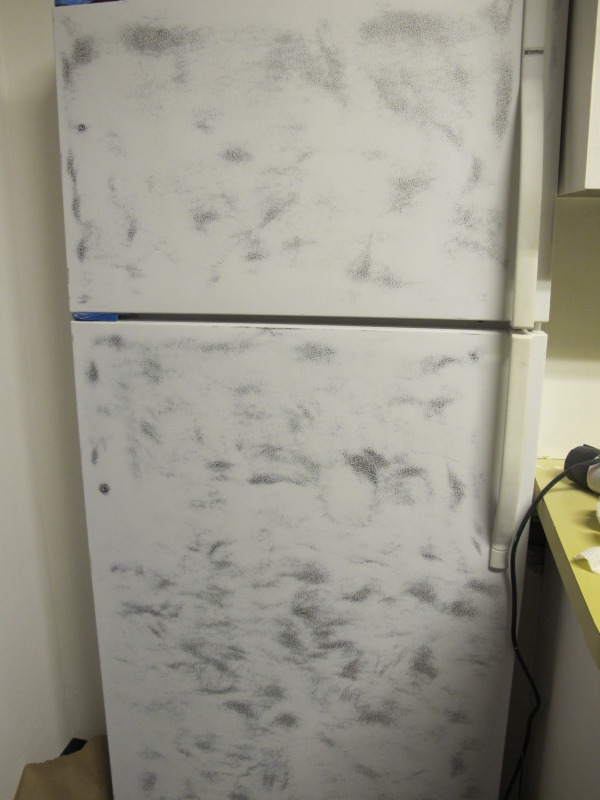
 We sanded her down with an electronic sander, then decided it may be a good idea to protect the surrounding area with some brown paper we taped to the walls.

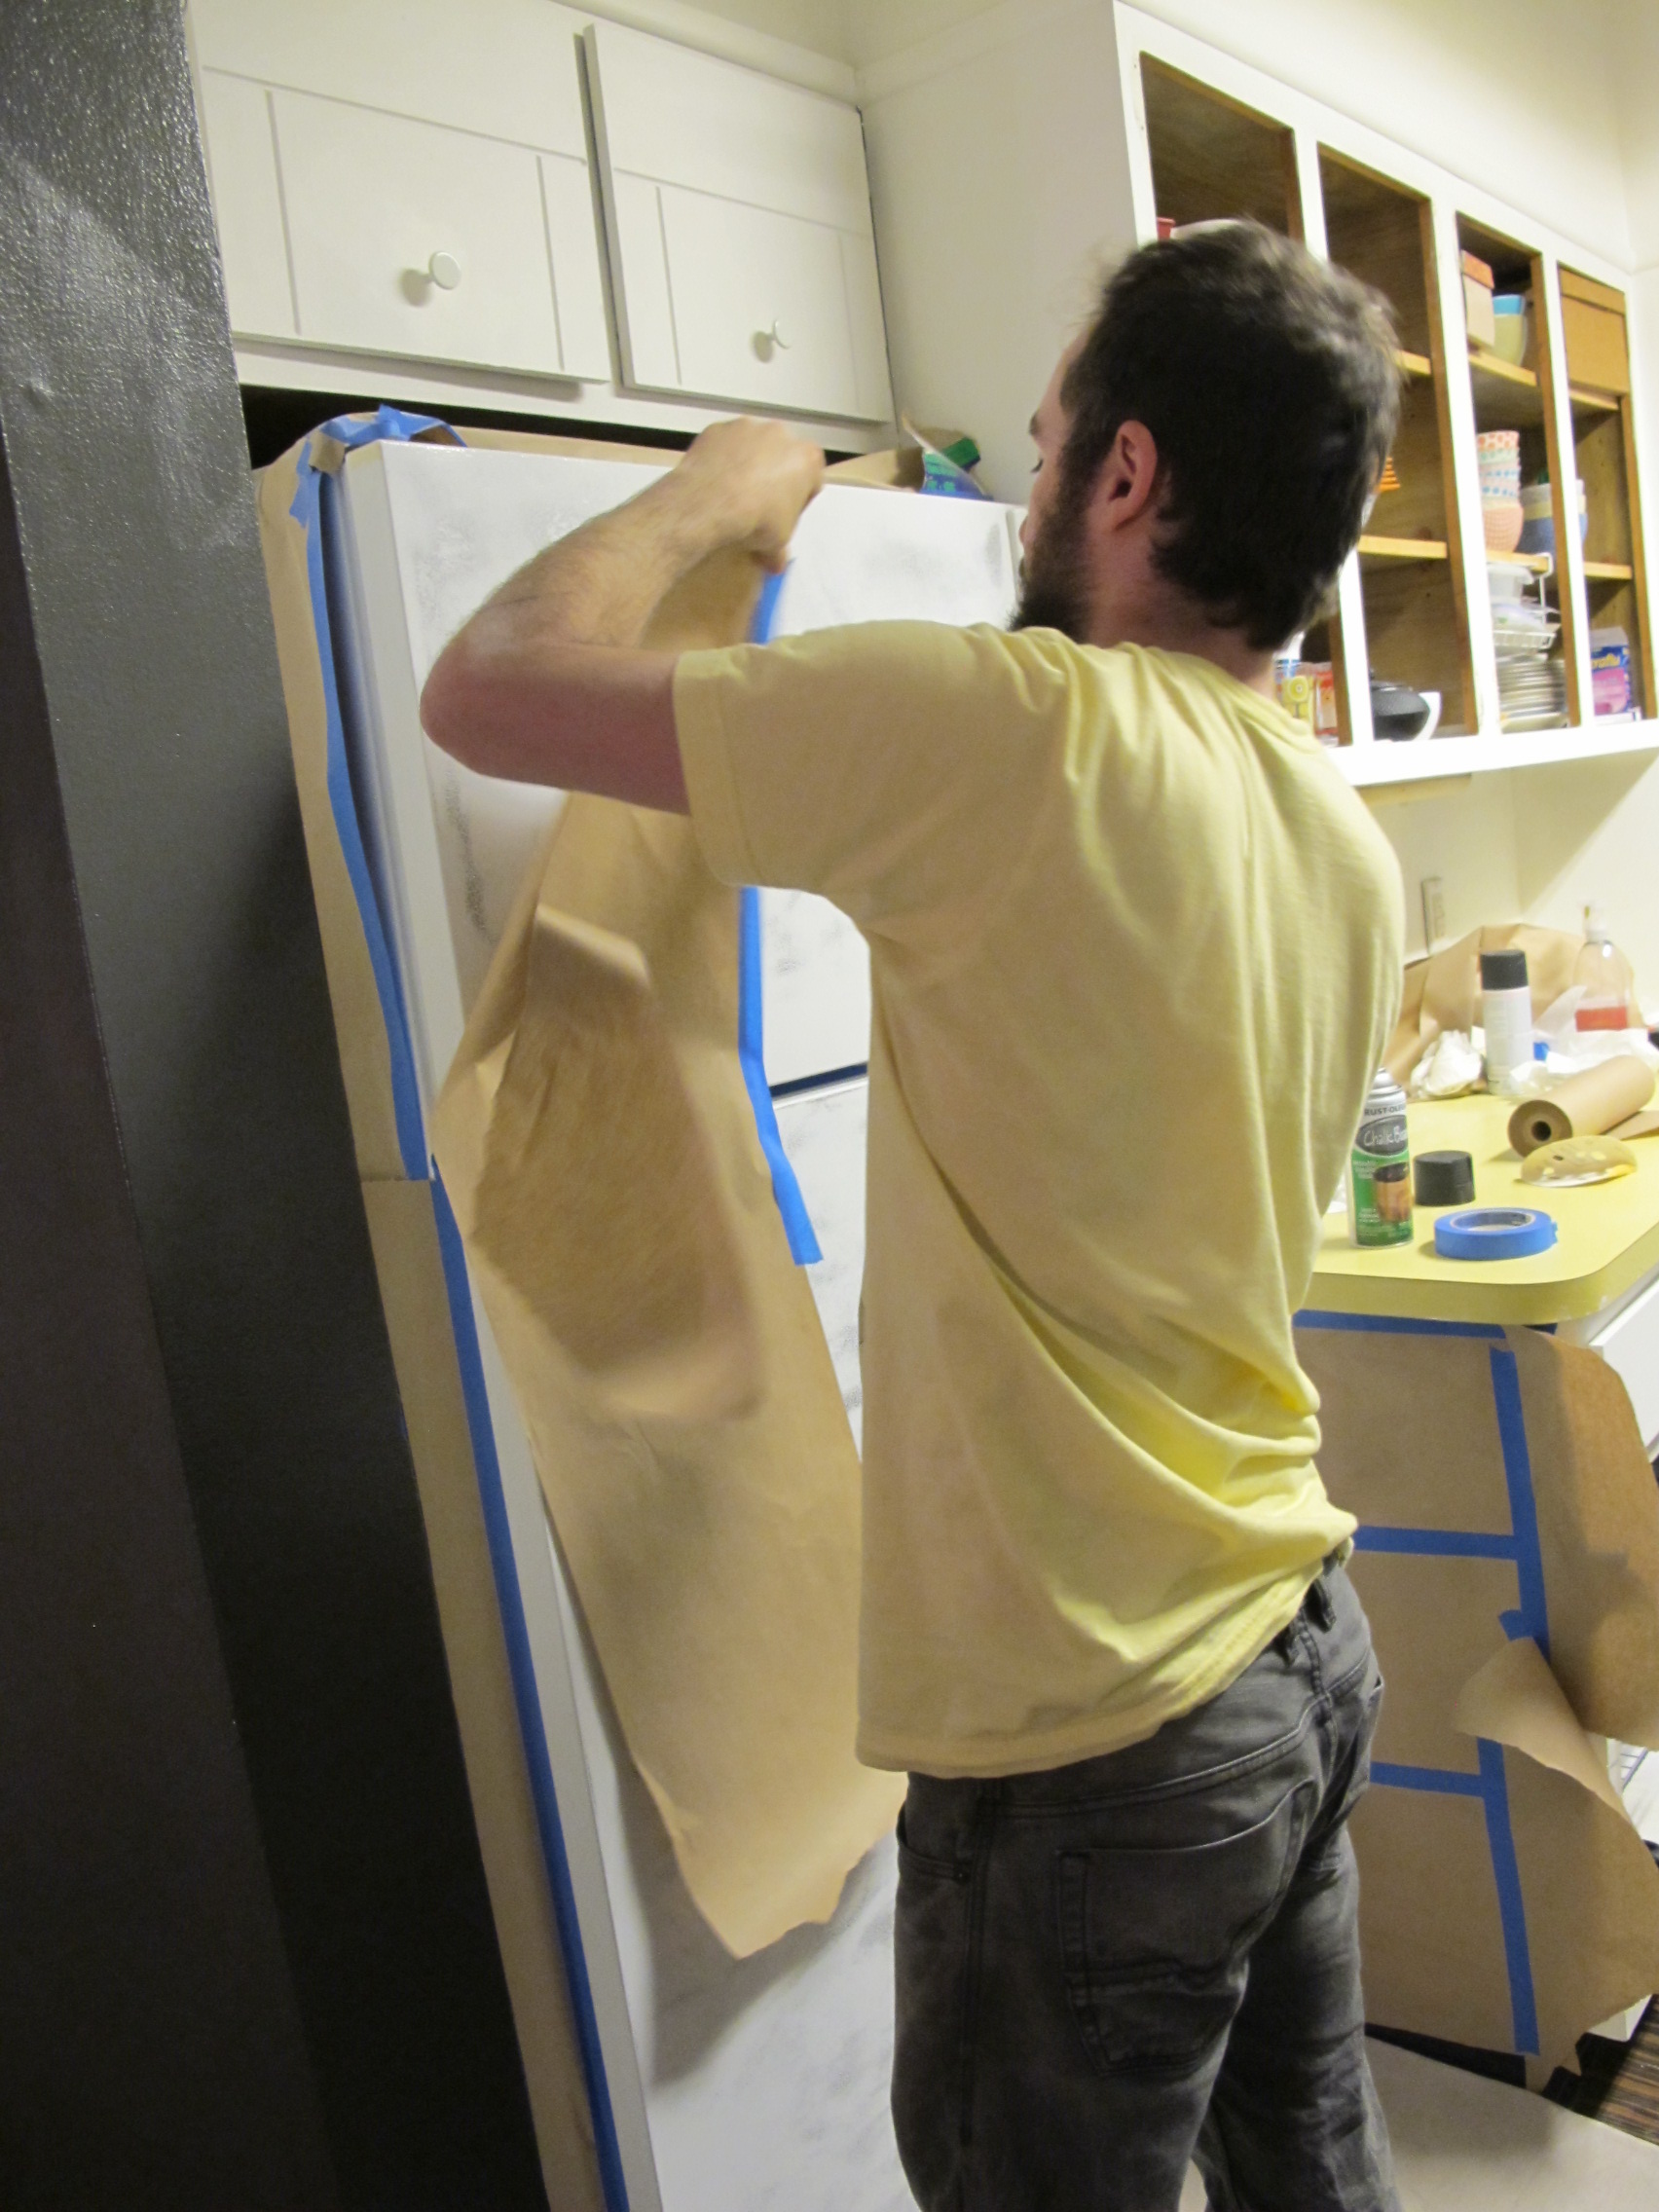
Then we painted two coats. It only took one can of paint to do the whole project, but it's good to  have a second can around for touch ups. 

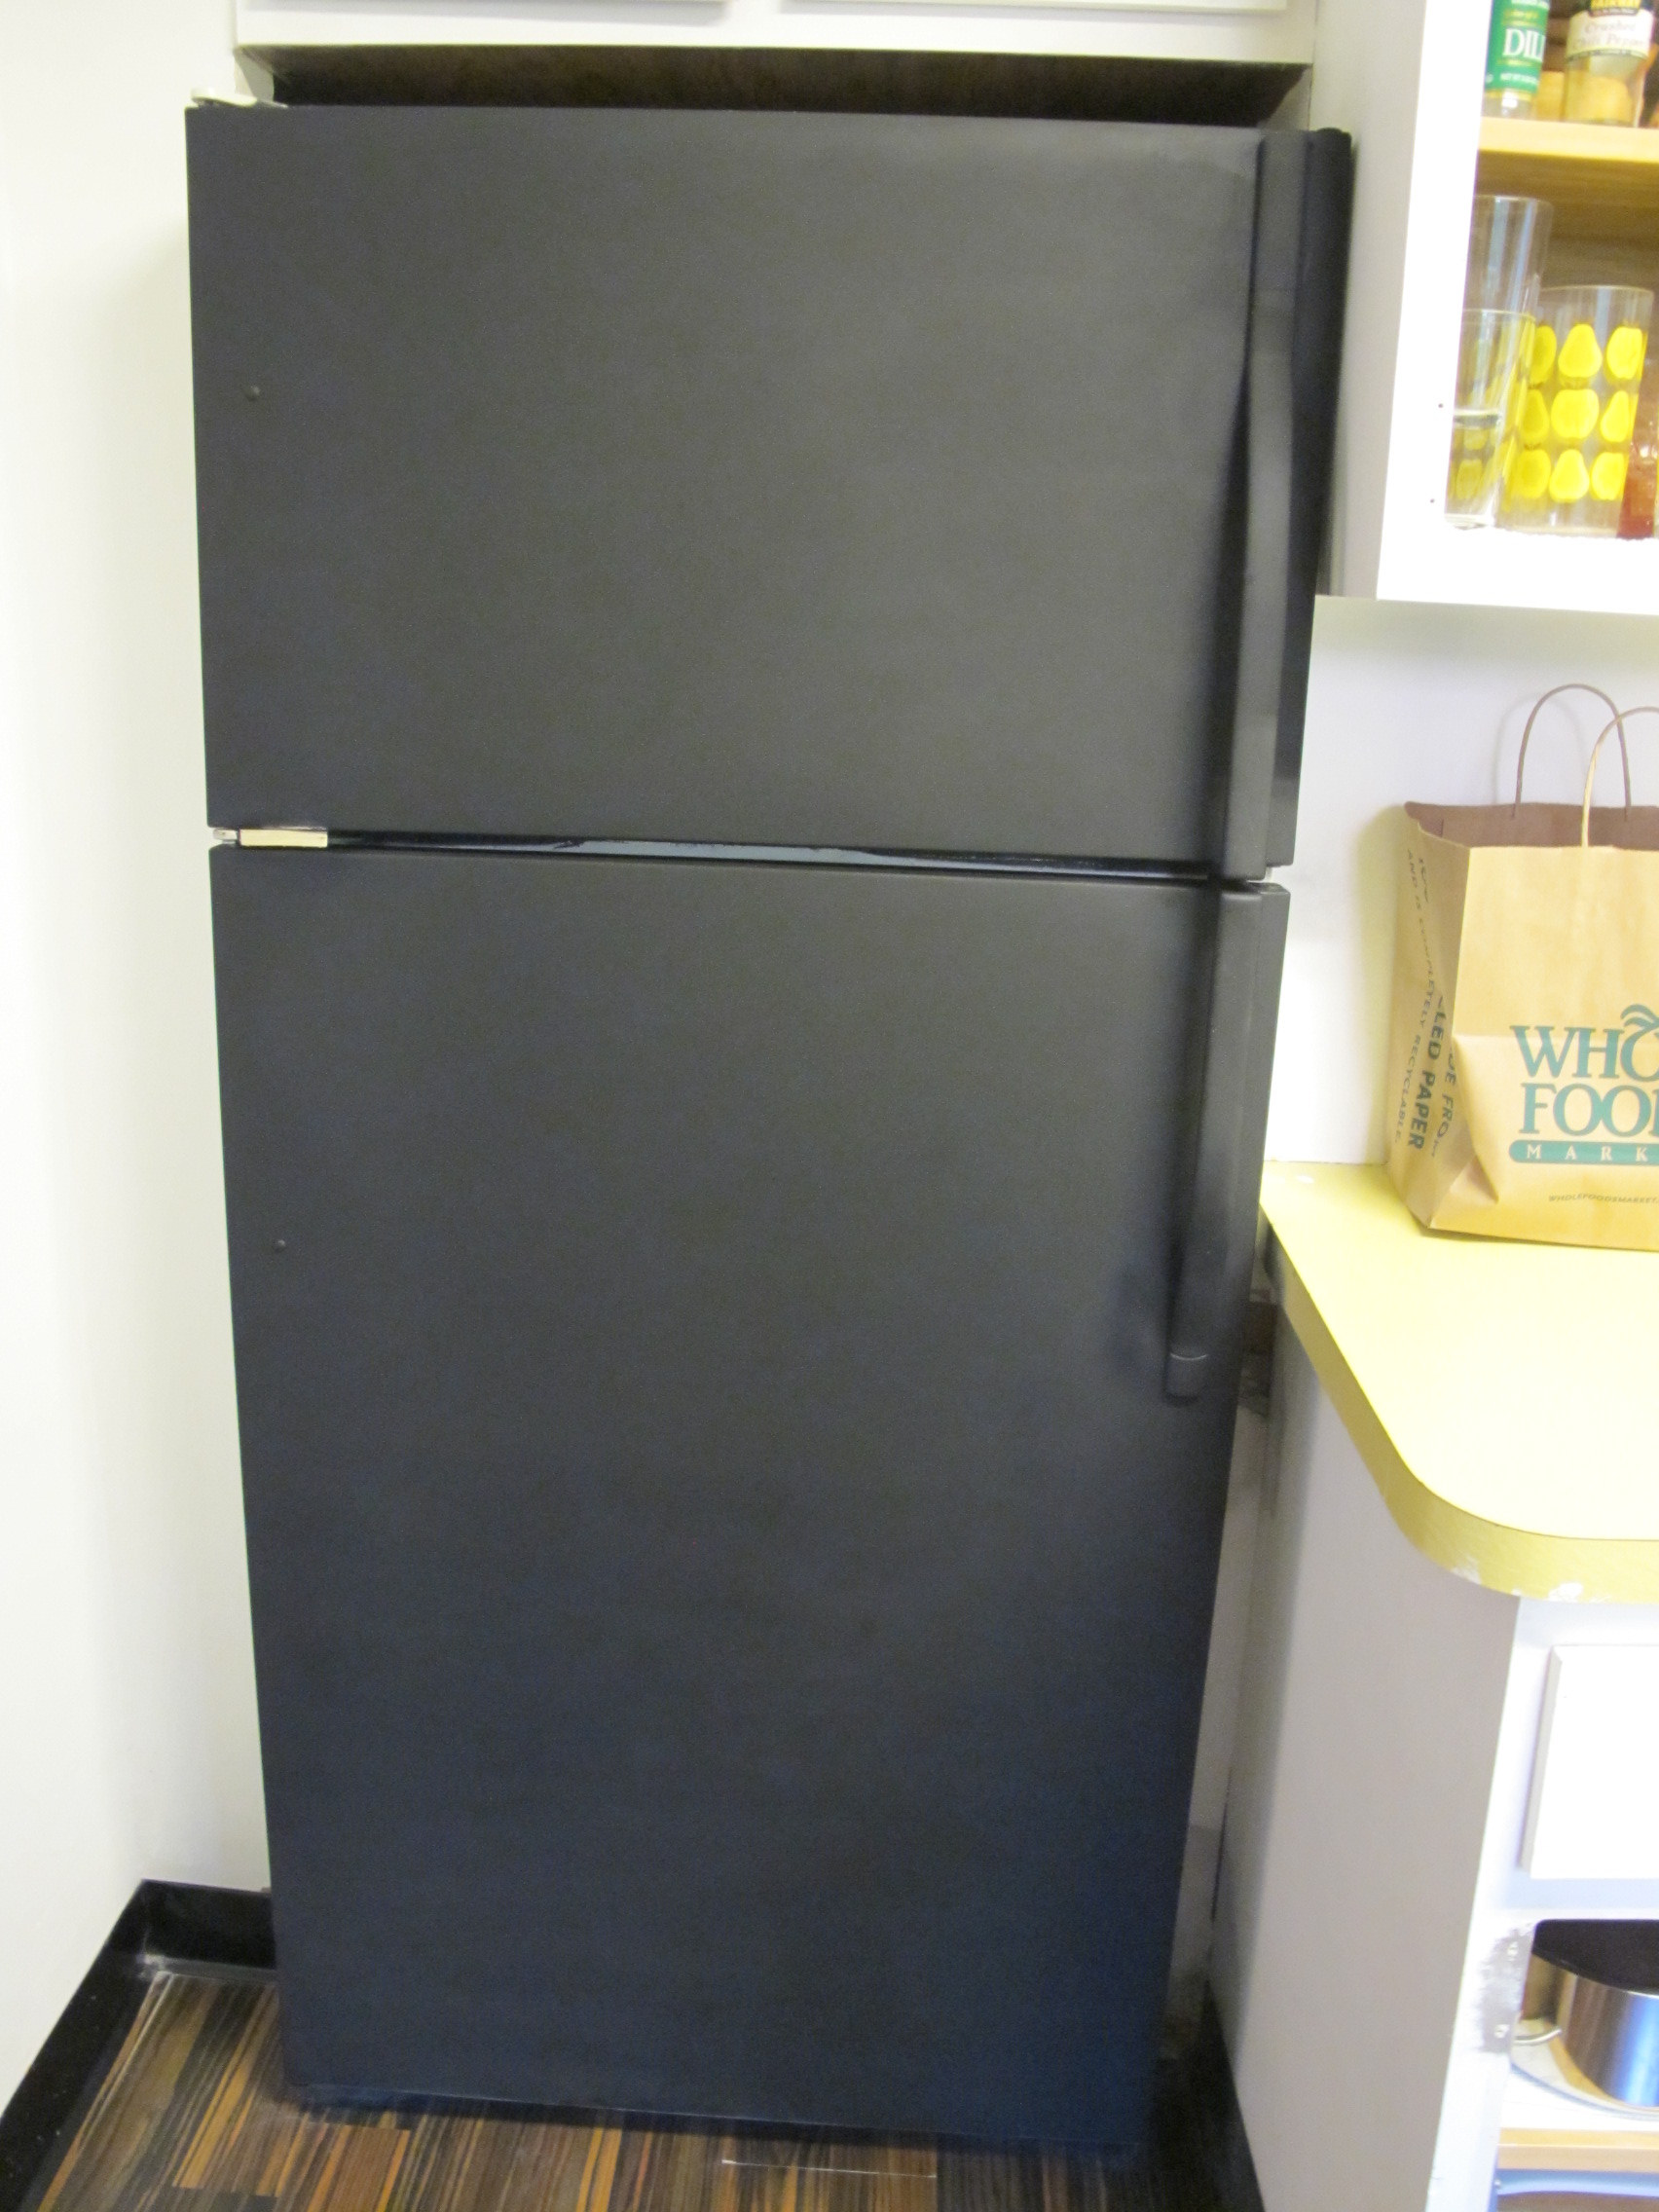
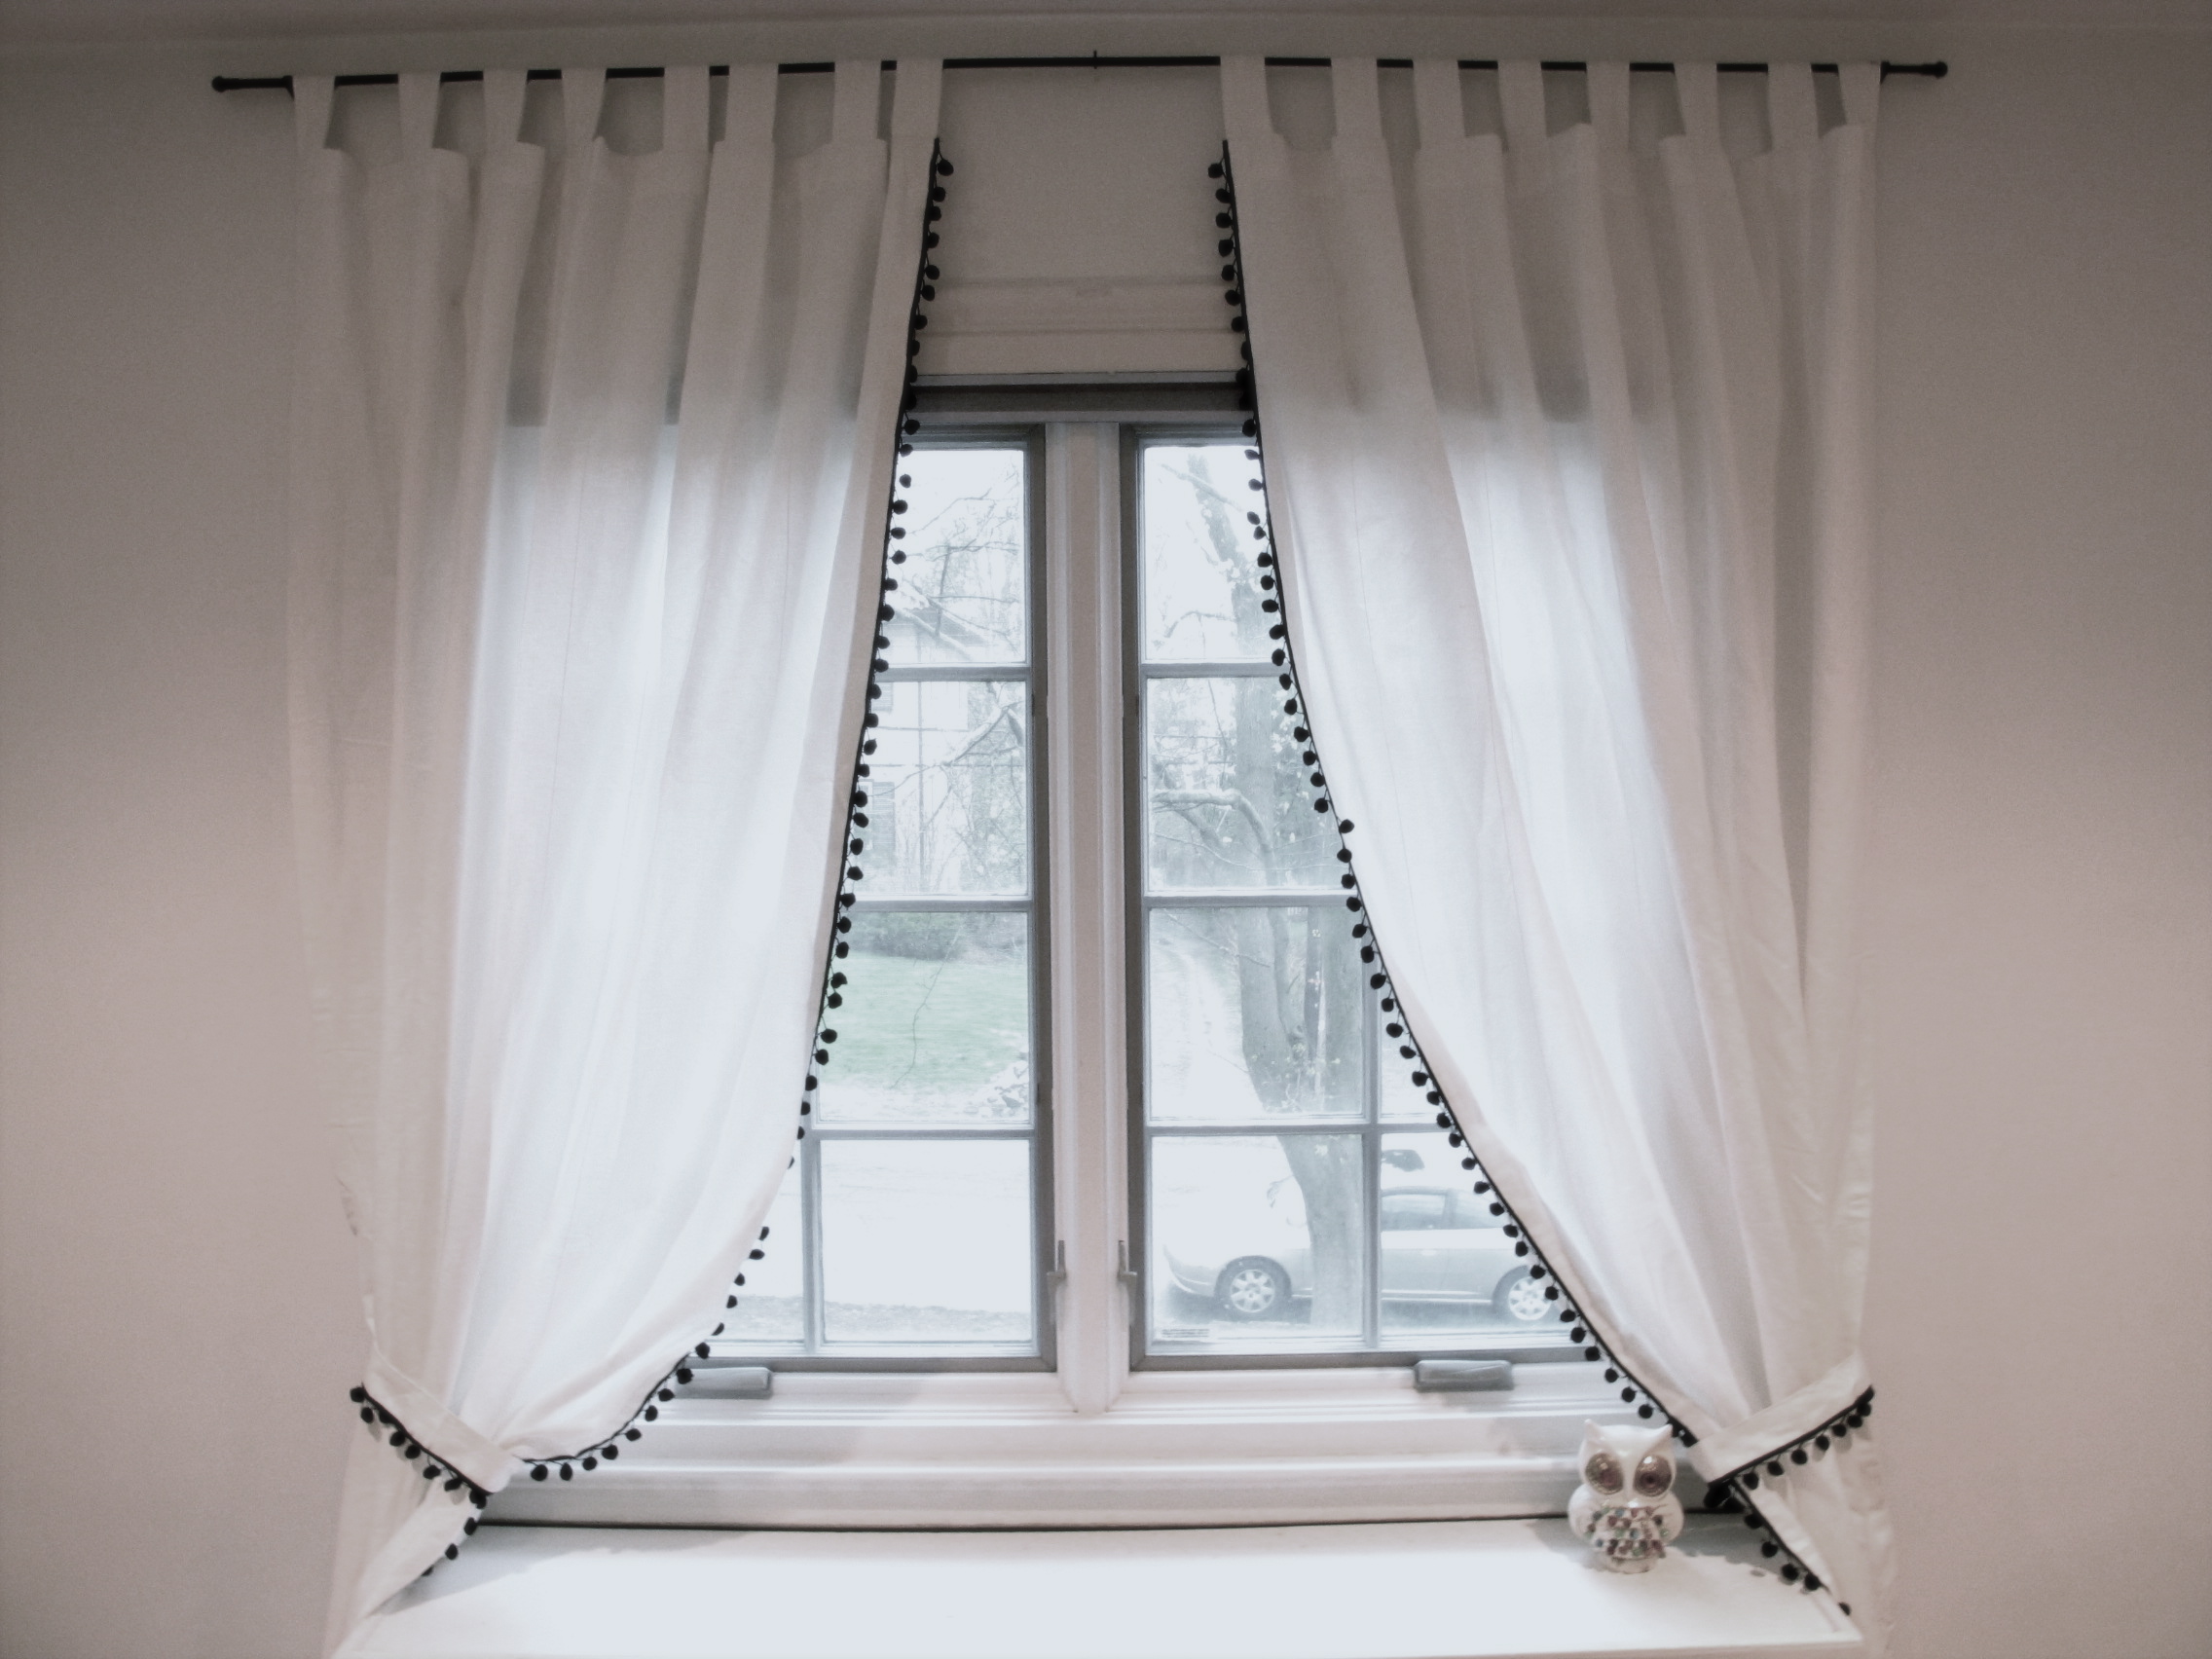
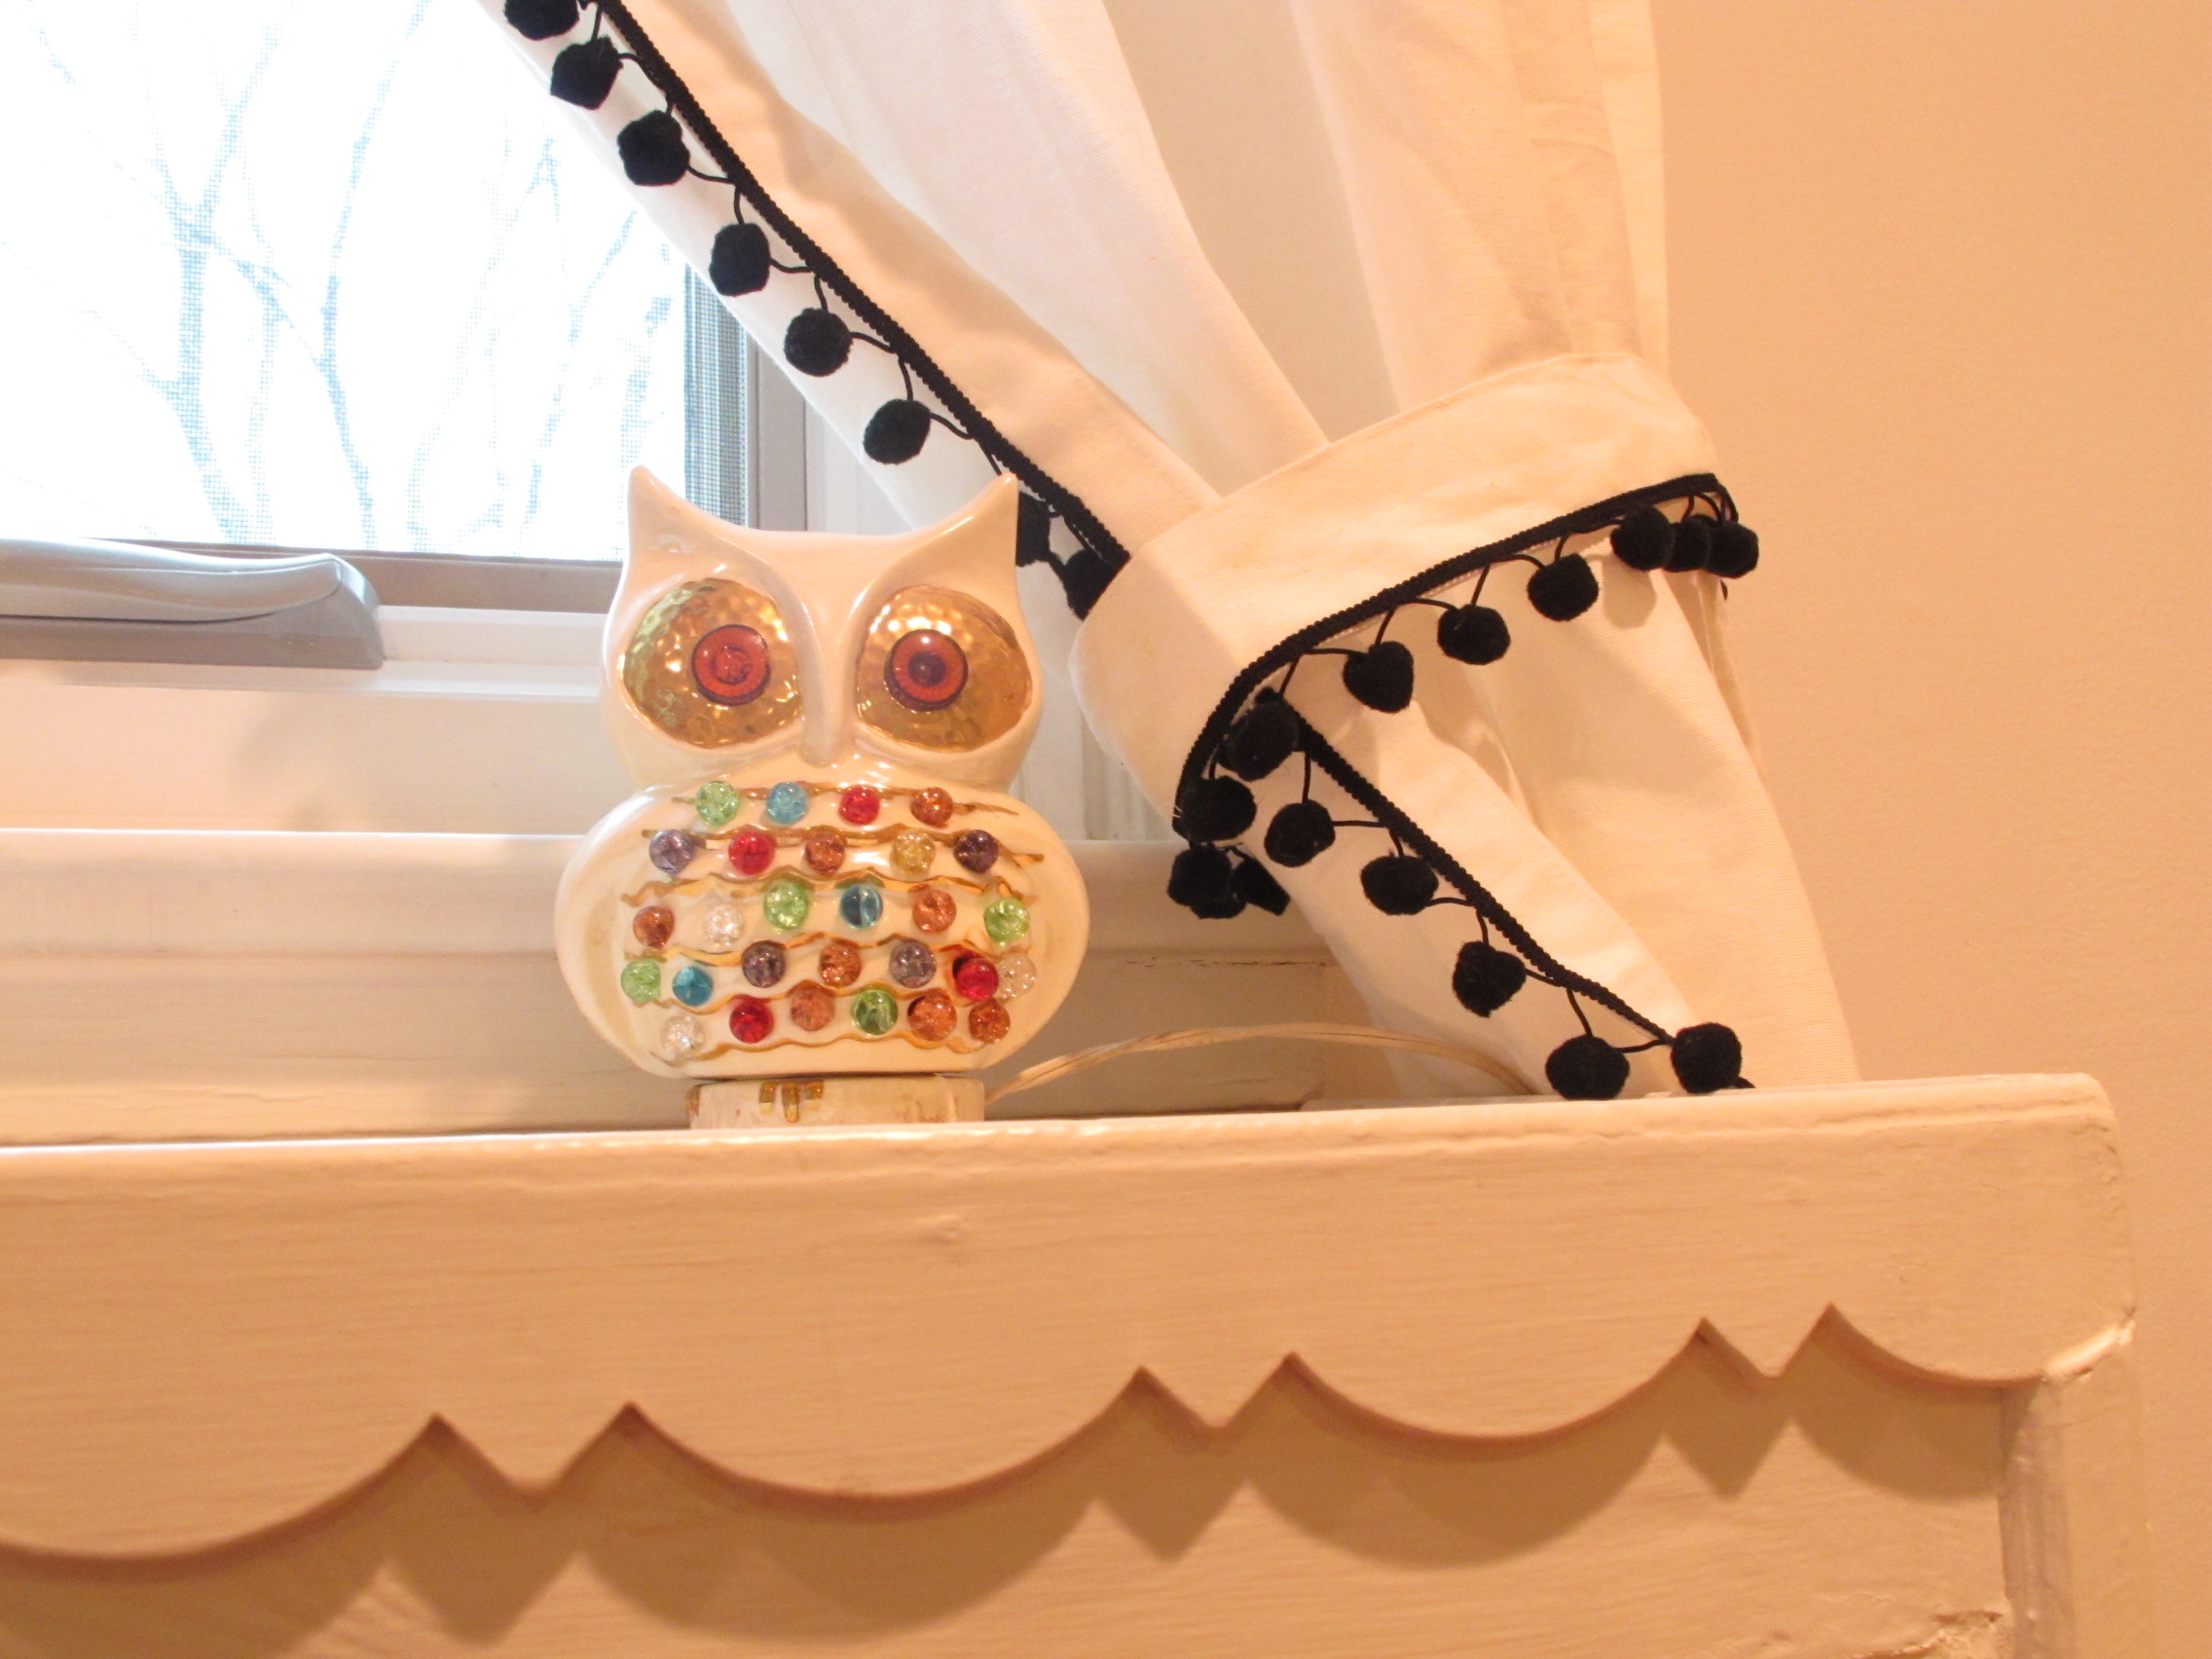
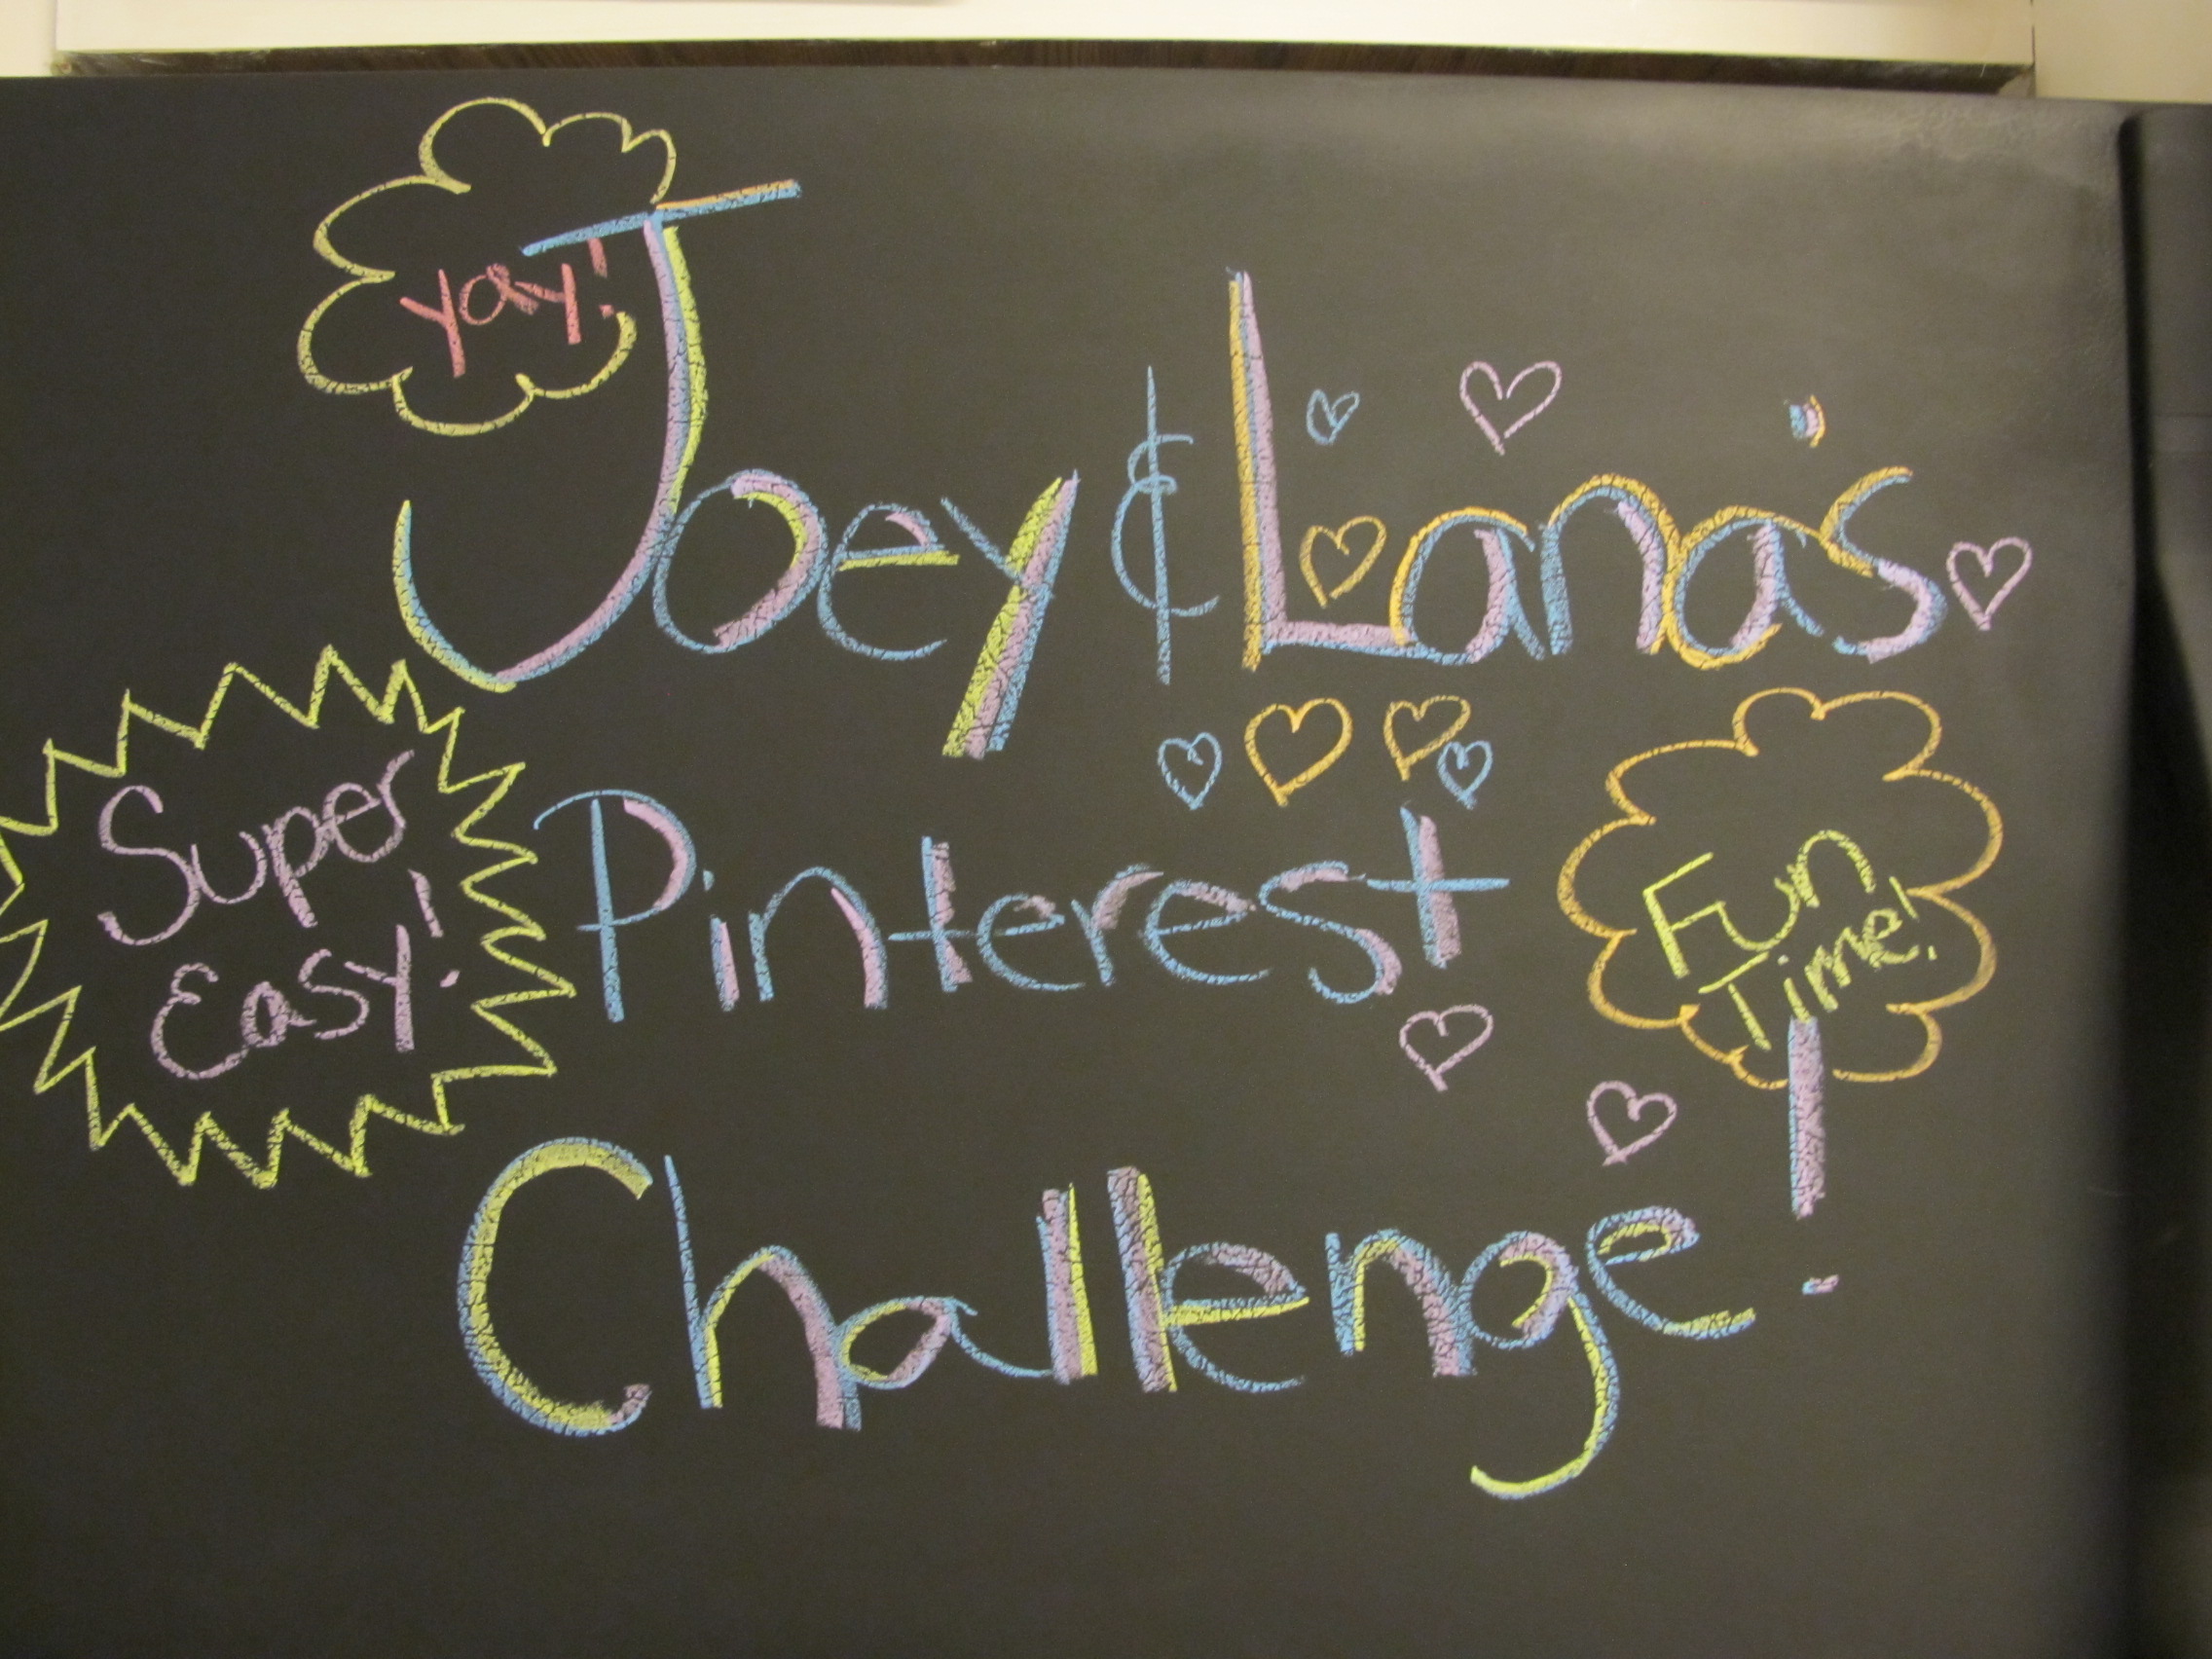
Perty neat, eh? It was scary to do, we aren't going to lie. But we love it! It's unexpected and totally fits in with what we are doing to the kitchen. Plus we get to be silly on our fridge!

So there was our challenge, and mission is accomplished! What did you do? Leave a comment to share your accomplishment! Also, don't forget to check out the other hosts of the Pinterest Challenge:

Sherry from YoungHouseLove.com Katie from BowerPowerBlog.com Emily from StyleByEmilyHenderson.com 

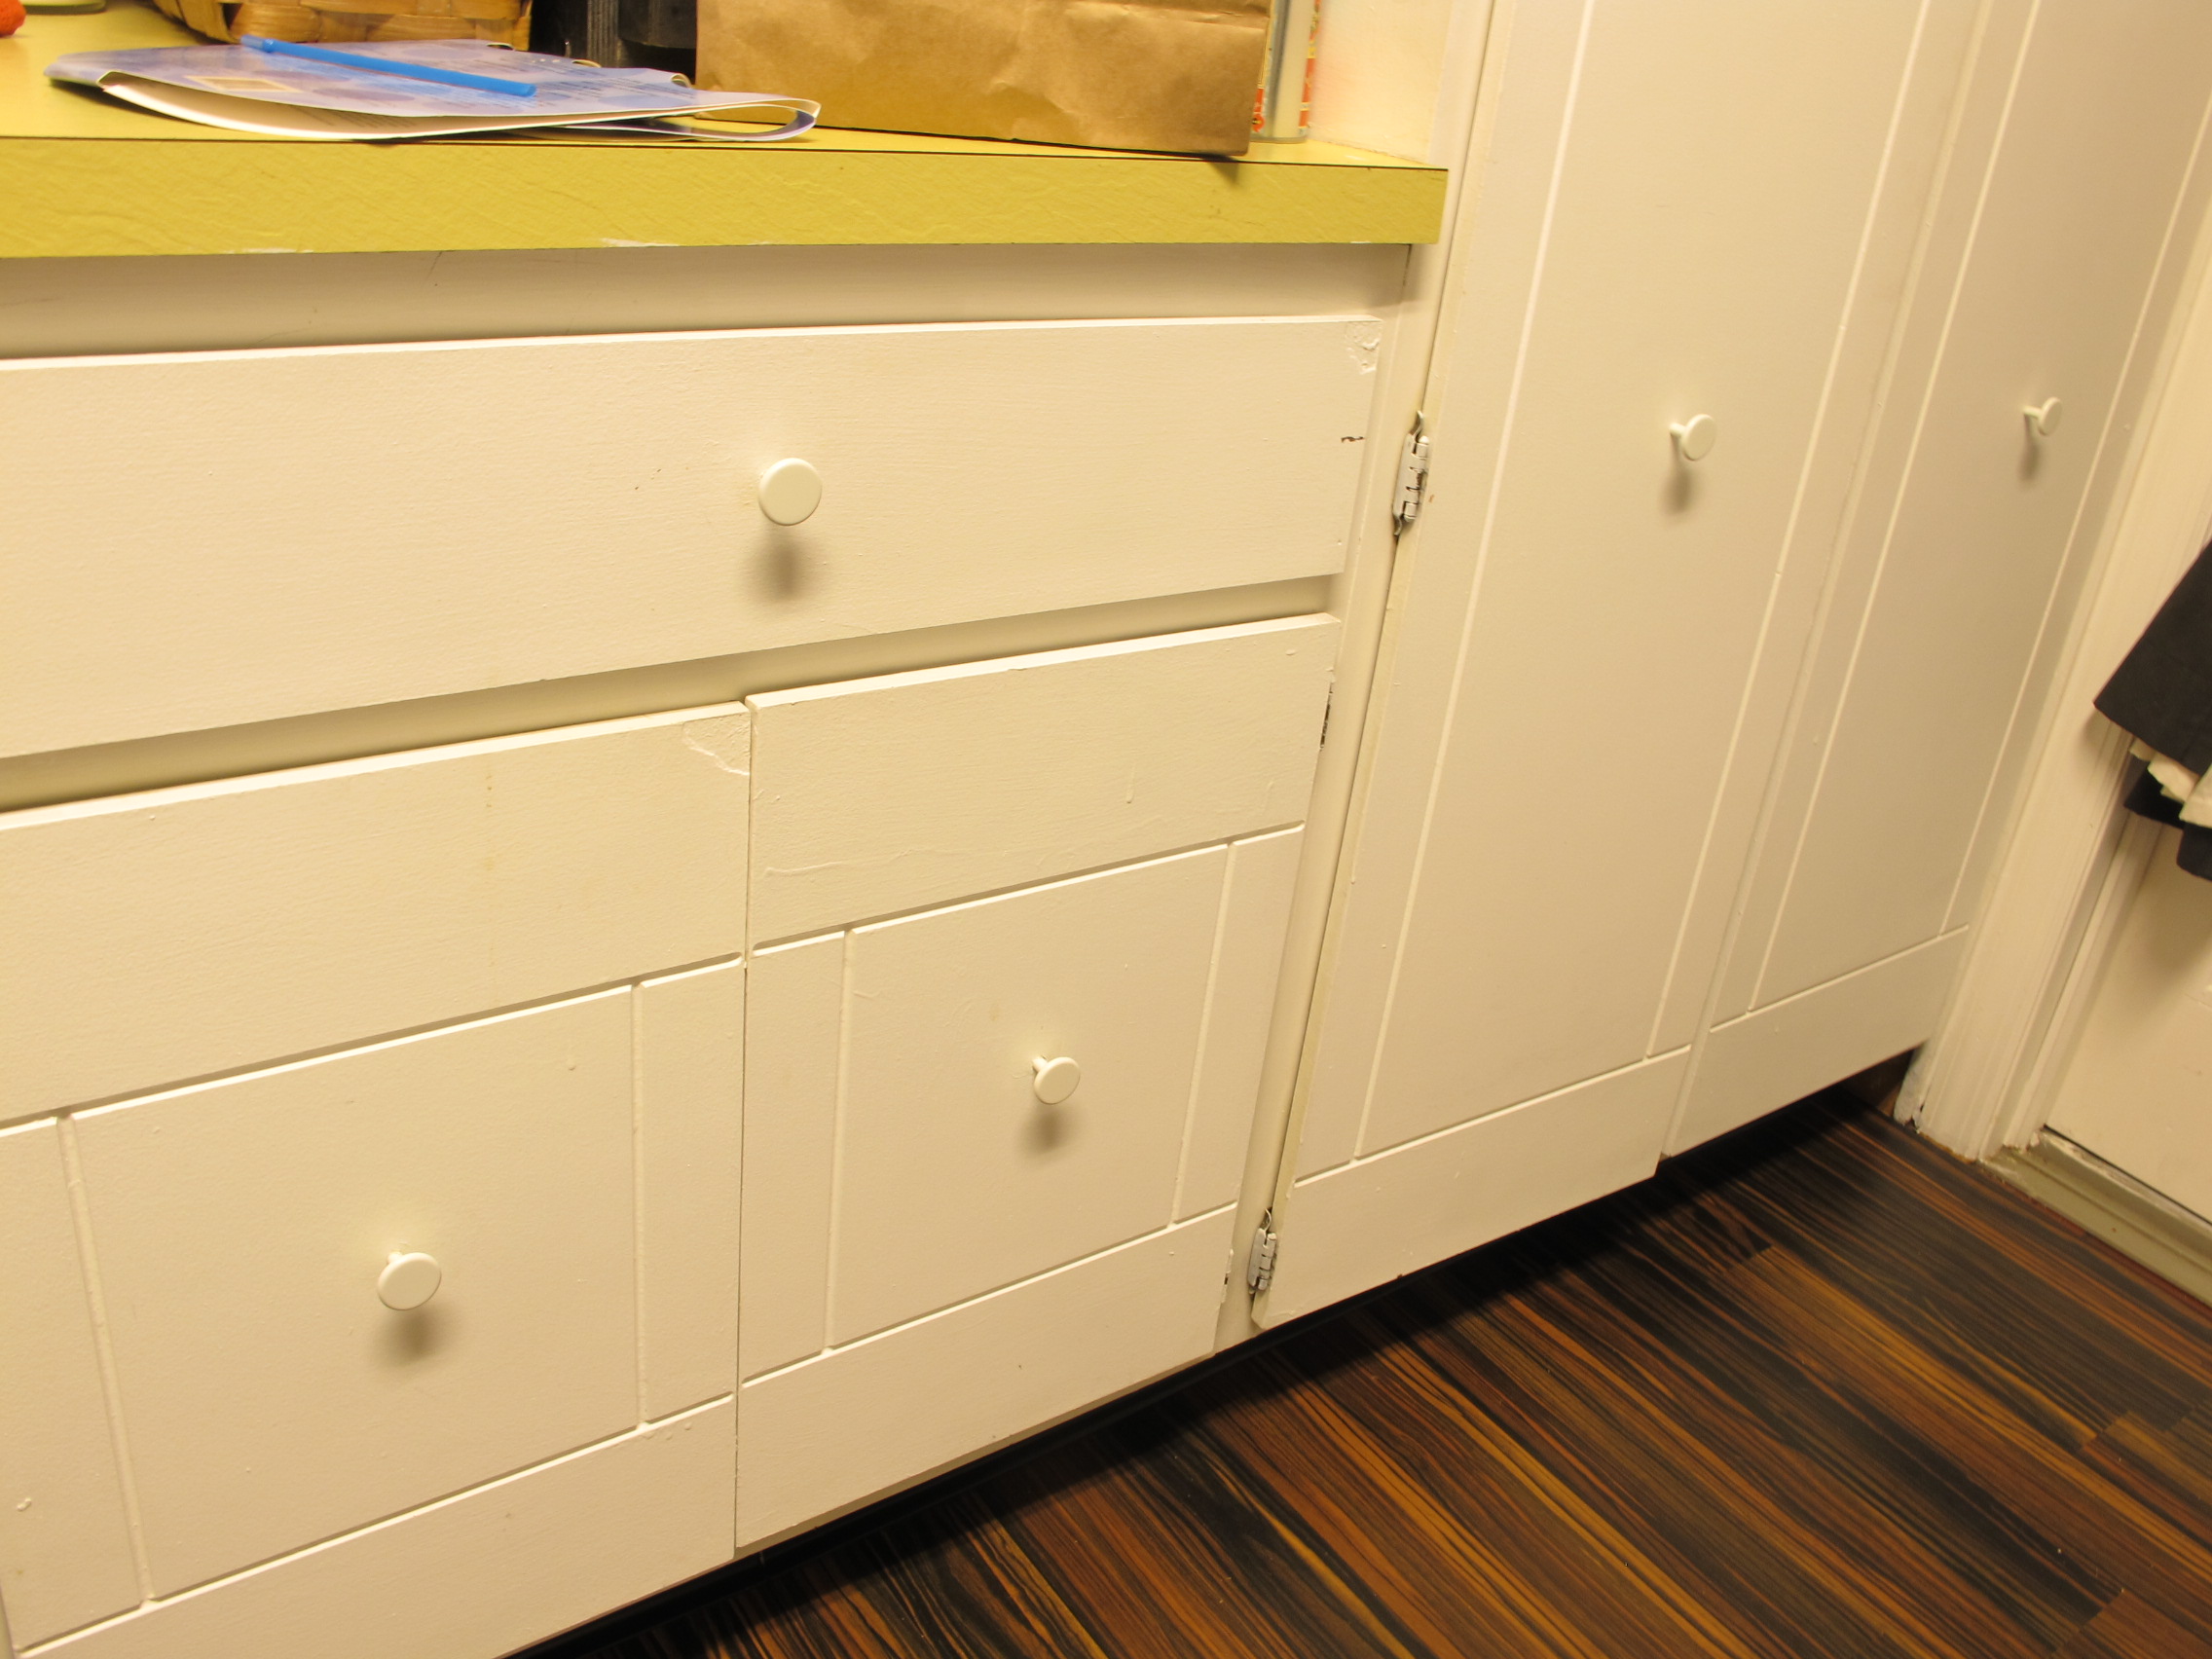
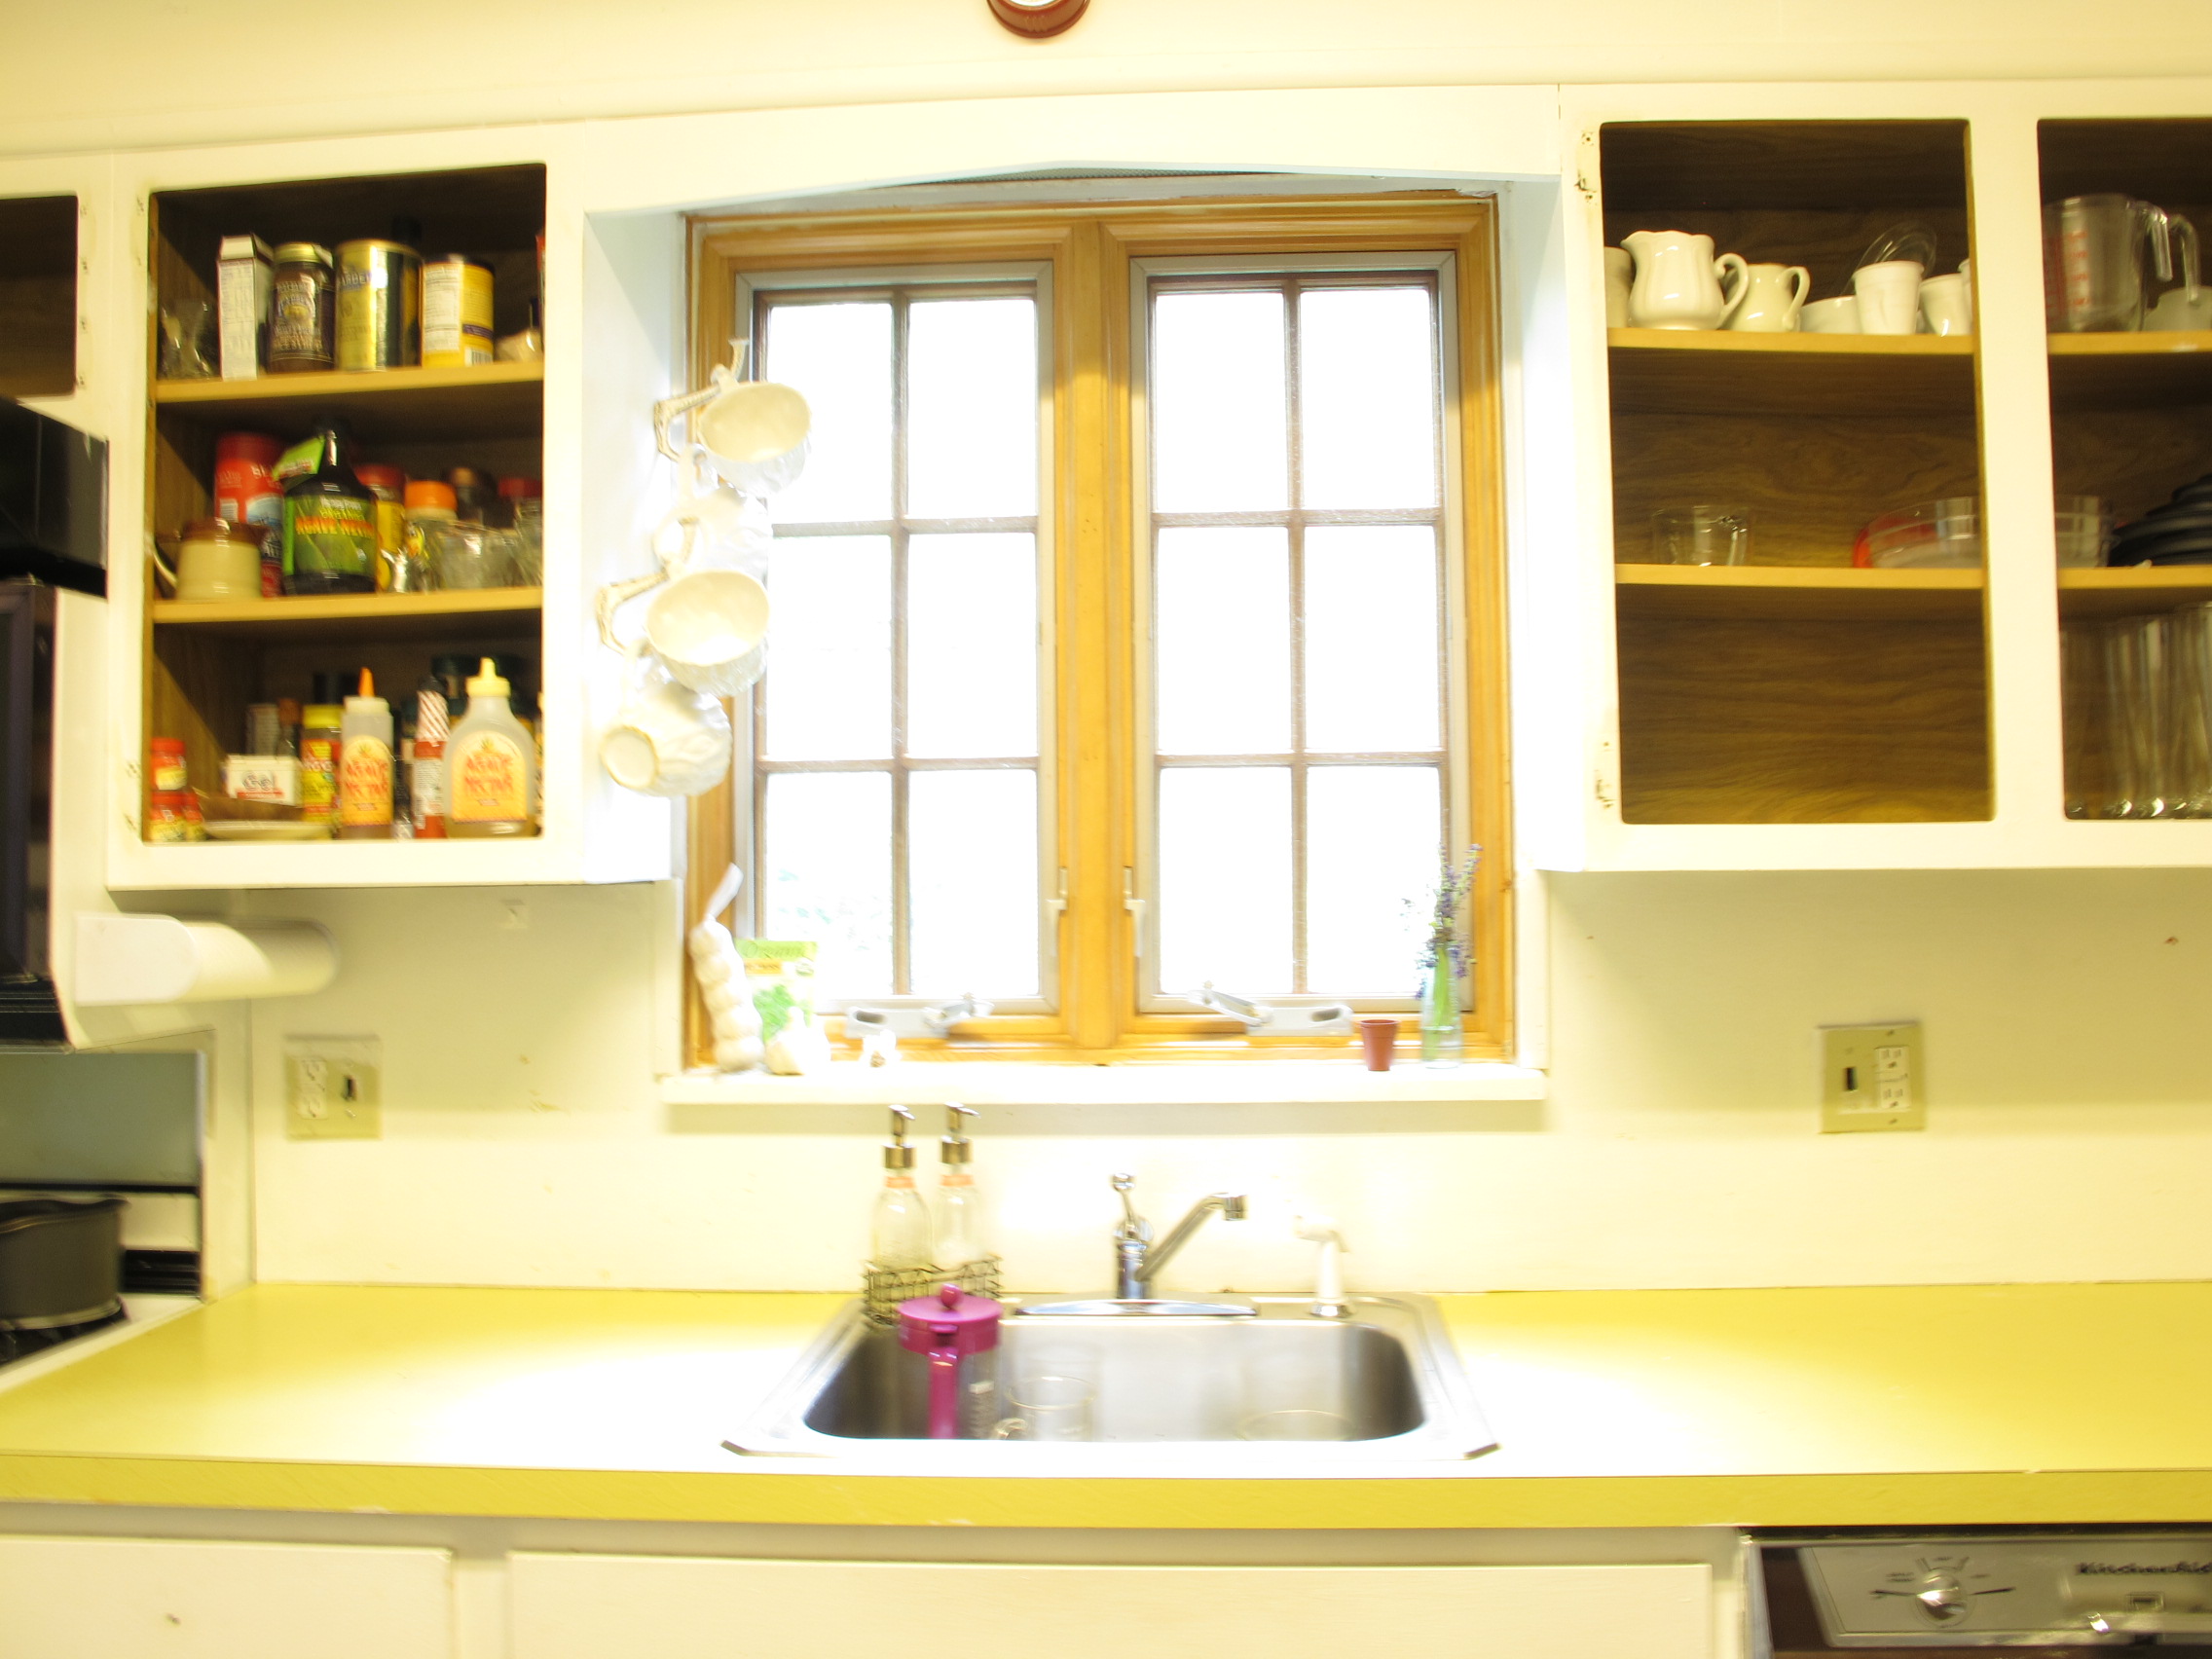
Don't forget to check back for more kitchen DIY projects! We are finalllllly almost done DIYing our cabinets, have some killer plans for built in storage, and are about to install our backsplash and counter tops. Eeeesh, so much to do! But for now, link up and share what you did for the Pinterest Challenge!!


Tuesday
Jun072011

The Kitchen is Brining Us Down - Again.

Mornin' Lovlies! Having fun in the sun? It's been beautiful, we can't help but have a smile on our face and find excuses to spend more time outsite the past few days. So much time Porkchop got a little friend he brought home with him. We didn't approve, so we kicked him out stat. A tick does not belong in our home. Poor pup, he has a tiny scab where the tick was trying to dig into him. El groso for sure. Want to know about something else gross? Our kitchen!

You are totally jealous of our first ever invented dishwasher. We can tell. We have heard so many times that the kitchen sells the house. What were we thinking when we bought this place? The kitchen is the worst part of the home, the most expensive to fix, and used the most (except the living room). One of the first things we did, way back when, was paint the cabinets. Major fail. We used matte paint. Don't do that. You'll have a heck of a time cleaning them if you do. We also covered up the horrid plastic stick on floors with a quick Ikea fix, which has served well as a long-term-temp.

Then, Home Depot was having a promotion to have someone come over and check out your kitch to see what it would cost to resurface your preexisting cabinets. Sounded like something we needed, so we said "sure".  So a nice gentleman stopped by a few days later and we went over our options, and for the cheapest resurface (remember, these are not new!) it would cost....get this....TEN THOUSAND DOLLARS. Um.....no thank you. It cost that much to have someone paint the ouside of our whole house.

So back to the drawing board. Think. Think. Think.

See those grooves? Those are super 50's. I think that's that last time someone updated this kitchen. Sinse we aren't going 50s, the grooves have got to go. So, Joey had an idea.

He told me to take those bad boy's off the hinges, he wanted to fill them in with wood putty, then repaint them....He was thinking. The kind of thinking I like a lot. A bit of love and labor can save you a ton.

So after some brainstorming of what we could DIY, here is what we cam up with.

  • Wood countertops from Ikea
  • Pulls from Home Depot
  • DIY Cabinets, resurfaced
  • New Farmhouse sink

....and we will call it a day for now. Unless of course you lovely people think those yellow counter tops are just too amazing to let go of.... :)

We will keep you posted and show you how the cabinets turned out, and share the (hopefully!) successful story of how to DIY this yourself and keep your 10K! We will also walk through the backsplash replacement, and counter installation. Also if we invent a magic want to make this archaic stove go away, we will share that too!

Monday
Apr182011

Perfect Pom Pom Curtains + Giveaway Winner!

Happy Monday Lovelies! Hope the weekend treated you blissful! It's been a bit cold and rainy here in New York, not exactly what we were hoping for this weekend. We apologize for the lack of posts last week. It's been quite busy to say the least! I suffered from a migraine earlier in the week, and it set us back big time. Look how backed up we are with a weeks worth of sourcebooks and magazines.

Losing a whole day took three days to make up. Whew! Don't forget to check back tomorrow for a *very special Spring Giveaway*! Want to know who won the amazing custom art piece + limited edition Des Artiste Tee Shirt?


Now on to more good stuff! Remember when we were chattin' about the kids room, and those beautiful pom pom curtains which cost a pretty penny?

After much research and seeing high price tag after higher price tag ($150-$550!) we decided to make a few pairs of these for the kids room. I thought it was going to be super simple. Sew some pom poms onto some curtains, and voila! Cheep and chic for the kids room. Well let me be honest. It was as simple as just sewing some pom poms on some curtains. However working those little pom poms with the sewing machine was almost nightmare-ish. I had to stop about every foot to readjust, it took a while to do.

I bought some awesome white curtains on the cheap at Ikea (a PAIR for $15!), and ten feet of vintage black pom poms on ebay, and got to work.

Even with the complications of sewing, it was super worth it. We now have one valance for the kids room, plus one finished set of curtains.


So all in all we spent:

$15 for the SET of curtains from Ikea X 2

$5 for the rod (we spray painted black, but it will be hidden by the valance) from Home Depot X2

$10 for the 10 feet of pom pom's

Total: $50 for both window ($25 per window)

Can you say, SCORE!

The valances cost about $10 per yard of fabric plus scrap wood, so if you really want to get technical per window: about $40 per window. This makes it 80 bucks for the totally custom window dressing for the whole room. We did way better in this room, considering the livingroom cost a lot more. Whew! Don't feel so bad about that anymore! 

Have you gotten away cheap with some window dressings? Please share! Something unique you came across of have? Dish! We have a lot of rooms to tackle before Winter!