Related Posts Plugin for WordPress, Blogger...

                   Follow Me on Pinterest


photo cards


OpenSky

Freckled Nest - Design by Kelly Ann

Home & Garden Blogs
BLOG DIRECTORY
Online Marketing
Home Improvement Blogs - BlogCatalog Blog Directory

Entries in DIY Projects (36)

Thursday
Feb242011

Parisian Circus, I love you so!

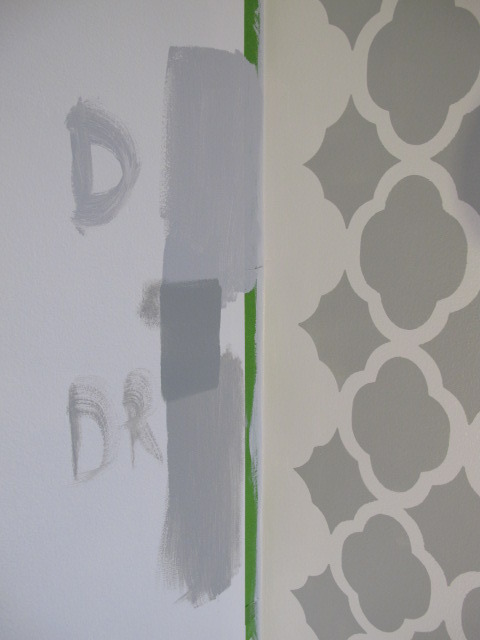
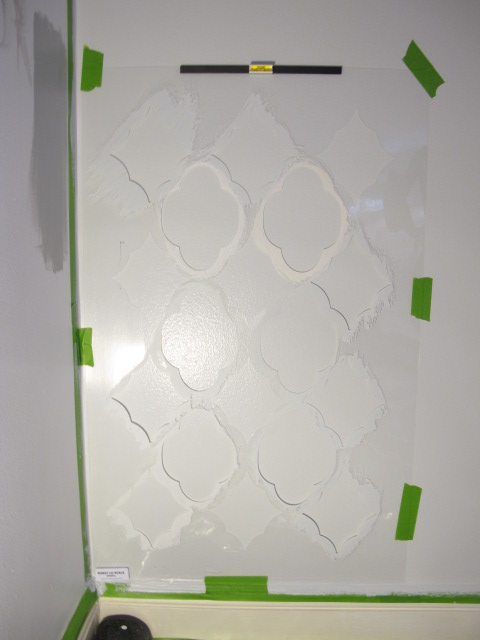
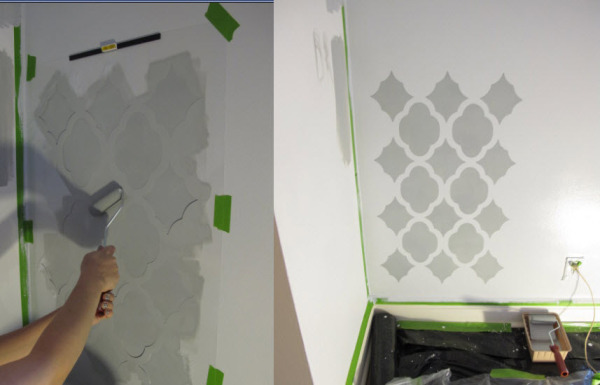
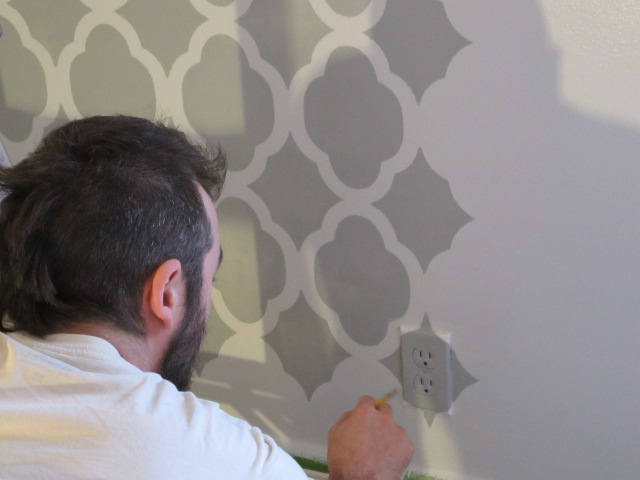
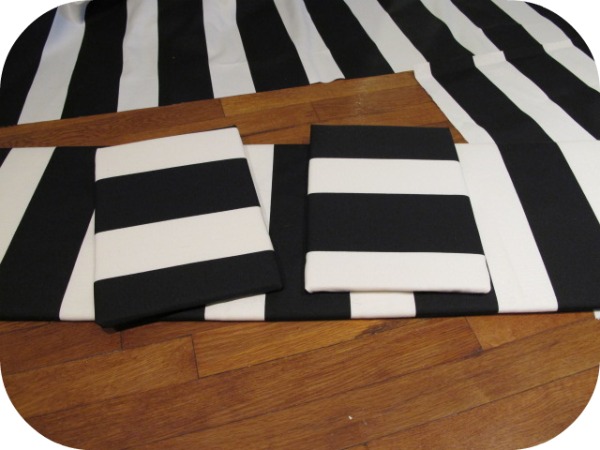
Hey there fellow DIY friends! We hope your week is treating you well! A few weeks back I spoke about mixing black stripes in with the Rabat stencil we just did on our Master bedroom wall. This made me toss and turn every night for days on end. How am I going to make this work? I realized I was forcing it, and it was going to look that way. So I did the smartest thing I could, I decided our child's room would be "Parisian Circus", and I would live in an "adult room".  Now what to do with $200 worth of gorgeous fabric we bought at Mood? Fear not my friend, a little black and white magic!

So with the pretty fabric I decided to make some window valances in the kido-s room, because it will look amazing with the mural Duane is painting and I can still do my Circus!

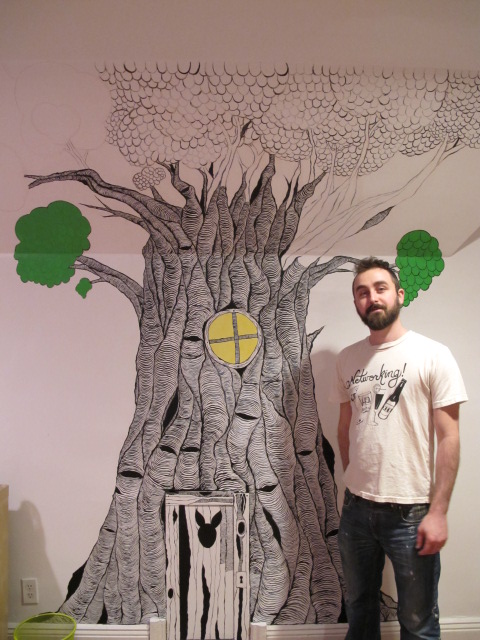
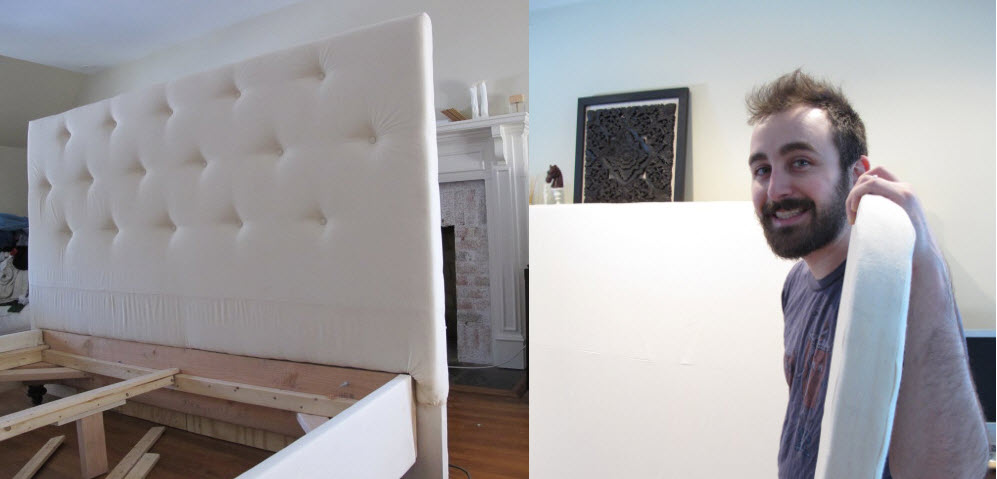
Pretty spot on, eh? That's Joey with the almost finished mural Duane started earlier for us last year. If we ever move, that wall is coming with me. Slanted or not - I am cutting it out!

I decided to try out the whole foamboard valance tutorial I have seen on a few blogs. Now I don't know if I am DIY impaired, but I followed those instructions, and wound up a bit confused. Now I loved the idea of using foamboard - non-permanent, lightweight, east to work with....er so I thought. 

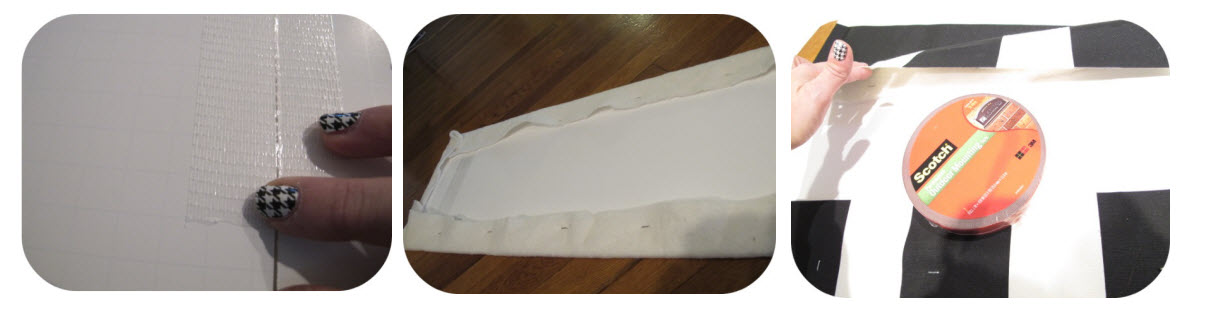
I taped the foamboard in place with duct tape. Check. Stapled some batting to the foamboard. Check. Wait - the staples started falling out. Hmmmm...So I grabbed the Permanent Scotch mounting tape. That worked pretty well. Added the fabric. Check. Then after I kinda handled it for a moment it felt...flimsy. Joey was like "What did you expect? It's foamboard!"


    Then a few moments later we wound up with this....

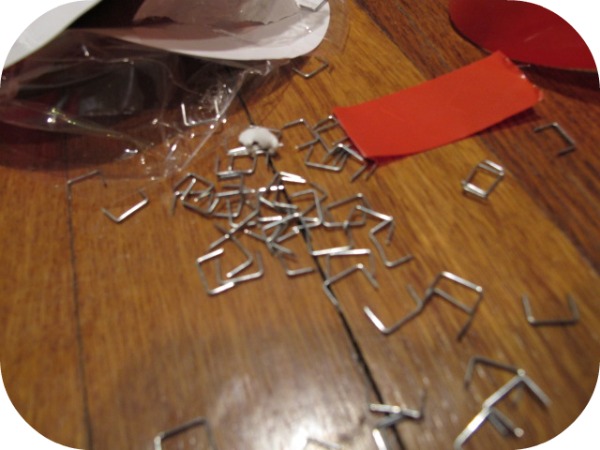
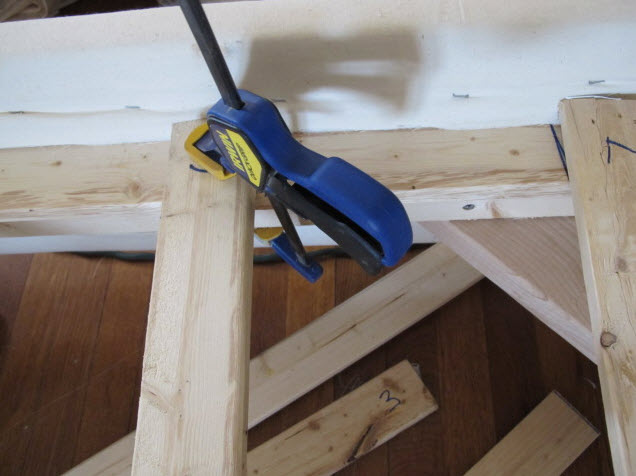
Pop, pop, pop - the staples came right out. Aight' they didn't go "pop", but that's what it felt like! So I turned the the almighty handyman Joey and was like "Hey babe, can you help me do this right?" and of course he did lickety split!


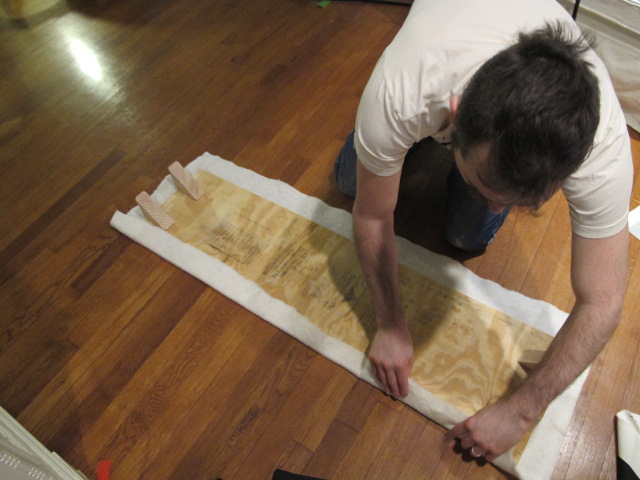
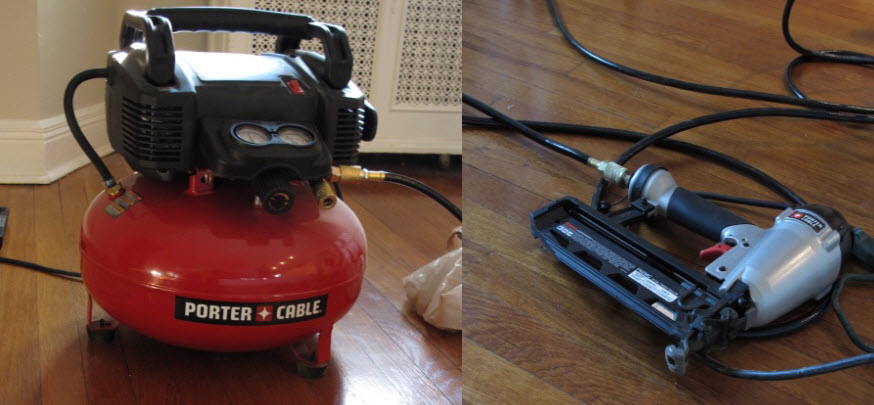
 Here I am happy to be using a nail gun on the wood valance. I was pretty happy everything was staying in place. 

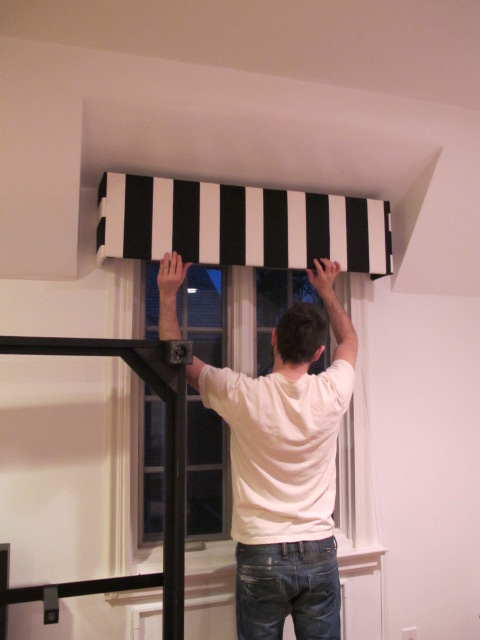
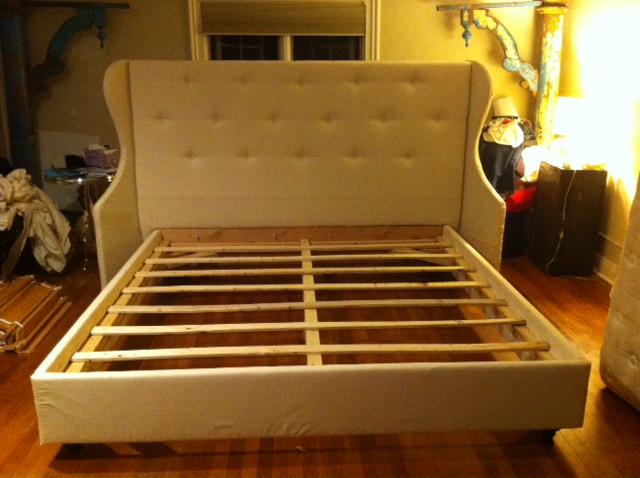
So this is what we wound up with. I am SUPER happy with the final result. I have TONS of fabric, so the internal debate is to make the curtains out of the same fabric, or just do striped valances?

What are you thoughts? Would striped curtains + striped valance be a whimsy Parisian Circus statement? Or use another fabric under the valance? Do tell!


Monday
Feb212011

We fell in love with stencils this weekend!

Follow my blog with bloglovin

Yep. That's us. Totally pooped. This weekend was very much dedicated to our bedroom. Joey really took over getting the stencil complete while I did chores and errands. As I sat down to post this, I noticed a week has gone by since we last updated all you pretty people. The guilt kinda got to me and then a remembered a phone call I had with a fellow blogger/best friend just a few days ago. We are working women (and she's super preggo!) and have very high demands on our time. Any given week, I dedicate 55+ hours to a client. Not to mention I run a fashion company. Even though it's seasonal, we do a lot of work during the Winter to prepare for the Spring. And I like to cook, so homemade meals are very important to me on a nightly basis. You get the point. I can go on and on about how busy we are. The truth is, if there isn't anything worthy to blog about when it comes to the house, I am not going to waste anyone's time with "filler" posts. There, I said it. Please don't hate me for it. :)

So onto some exciting progress! I mentioned a bit ago we were pondering paint for the master bedroom. We finally nailed down a paint combo and got to work. Cumulus Cloud, meet Winters Day.

Let's back up and bit here. We decided to do a stencil on one wall and then do a solid color on the remaing three walls. When we wake up in the morning, the stenciled wall is the wall which we will face. Perfect! We did a lot of paint combo testing before we were sold on this combo. Both colors are care of the Martha Stewart Collection we found at Home Depot. I think we went through about 20 samples before we fell in love. Now, I am not going to lie. We were scared to death to stencil grey on the wall being we never stenciled anything in our lives. But we did it slow and followed the directions perfectly - and it was so worth it.

We bought the Rabat Allover Large Stencil over at Cutting Edge Stencils along with some tools. I am going to highly recommend them! If you wind up with one of their awesome and super reasonably priced stencils, I suggest grabbing a clip-on stencil level, as we found it very useful, even with our sloped walls.

So after you read your instructions, and have tools in hand, take a deep breathe! You can do it! We started slow and took three days to complete because we wanted to make sure everything was super dry before we went on to the next step.

This is the hardest part. Well, not physically hard, but lining up your stencil and making sure it's level will set the tone for the rest of your work. This is not the time to rush. Make sure it's positioned perfectly before you start to paint! Ready?...

Exhale. See, not so bad. Now simply line up your stencil before you repeat. Make sure all your work is dry before you do this. It was pretty time consuming, like I said, but as the pattern grows on the wall, it becomes very rewarding!

Joey kinda had his own Michelangelo thing going on. :) It was all pretty consistent until we got to a plug. Joey sorta free-handed over the plug to keep the pattern going. Other than that, we didn't really reach any major bumps.

Needless to say, we are now stencil fans! Brainstorming where else we can use stencils, color combos, and maybe even stenciling a floor, or furniture...ahhh! Too excited about stencils. Yea, we are nerdy. We can't wait to show you what this wall looks like when complete....

Have you stenciled something? Know of an awesome trick to stare? Please let us know!


Thursday
Feb102011

TRUE VALUE BLOG SQUAD CHALLANGE - A BED FIT FOR A KING! The Final Chapter!

Drum roll please!!!! The day has come where we are actually sleeping on our brand spankin' new King size bed we made from scratch! I can't believe we finished this massive project. I cried. I actually cried the moment it was complete. Half out of pure frustration of the time it took, and half because I am so proud Joey was able to make the most beautiful bed! Behold (along with the glorious mess we made) the bed!


Now, this bed is HUGE. I'm not kidding or exaggerating. It's massive. See the pillars behind it? Those are 7+ ft. tall. We had to inch it over into position, 3 inches at a time. It's very rewarding to have finished, and we want to share how we completed this project!

We wanted some dark wood feet, so we bought raw feet from True Value and just stained them. A lot of the prep work for the bed can be found here, here, and here, including the feet. After they were stained we added them to the body Joey constructed.

For Christmas, I got Joey some new tools, which came in very handy while constructing the bed. The compressor I got him is super portable and he loves all the attachments you can get. For the bed the nail gun got used most.

After attaching the feet, all that was left to do was assemble the whole darn thing. First we attached the headboard, then attached the wings to the "back" of the headboard. We used the nailgun to secure the back to the headboard and some hinges to secure the wings. As you can see, we were super excited to see it all coming together.

To keep the mattress sturdy, we nailed down some "ladder" pieces to support the mattress. We used clamps to make sure it was all straight. We also numbered the pieces so when we reassembled, we knew it would be a perfect fit.

We would like to say it was easy, but it wasn't. It was in challenge, but it is also an awesome reward. We made a bed from scratch. Our biggest DIY furniture project to date! We got exactly what we wanted, except now - we need to find a King size mattress we agree on! Let's check her out one more time!