


TRUE VALUE BLOG SQUAD CHALLANGE - A BED FIT FOR A KING! The Final Chapter!
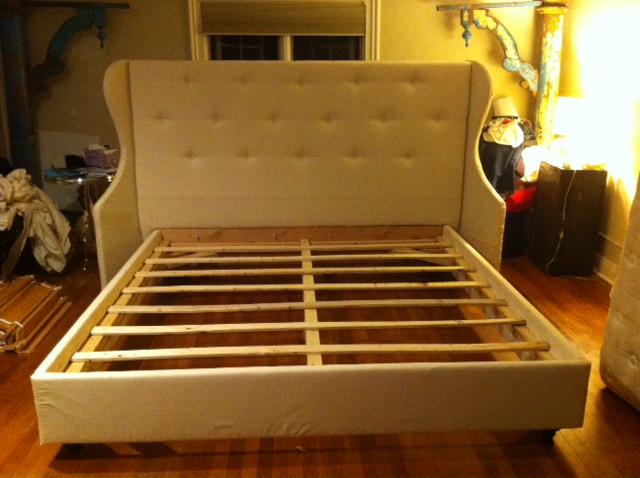
Drum roll please!!!! The day has come where we are actually sleeping on our brand spankin' new King size bed we made from scratch! I can't believe we finished this massive project. I cried. I actually cried the moment it was complete. Half out of pure frustration of the time it took, and half because I am so proud Joey was able to make the most beautiful bed! Behold (along with the glorious mess we made) the bed!

Now, this bed is HUGE. I'm not kidding or exaggerating. It's massive. See the pillars behind it? Those are 7+ ft. tall. We had to inch it over into position, 3 inches at a time. It's very rewarding to have finished, and we want to share how we completed this project!
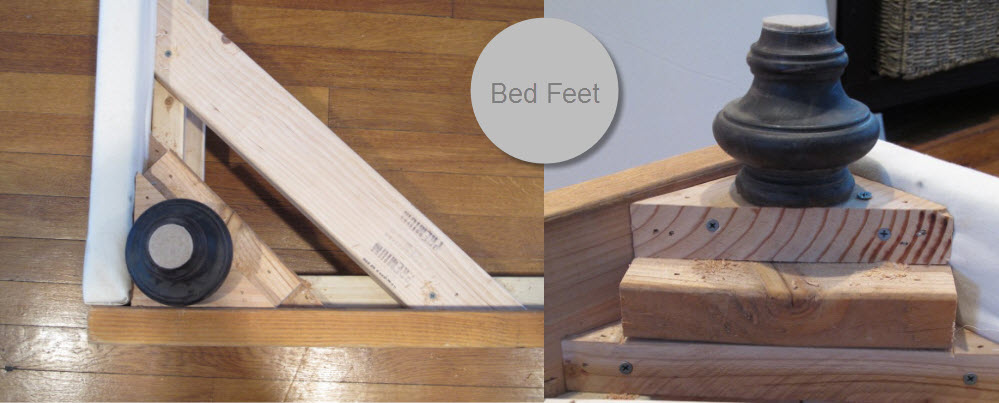
We wanted some dark wood feet, so we bought raw feet from True Value and just stained them. A lot of the prep work for the bed can be found here, here, and here, including the feet. After they were stained we added them to the body Joey constructed.
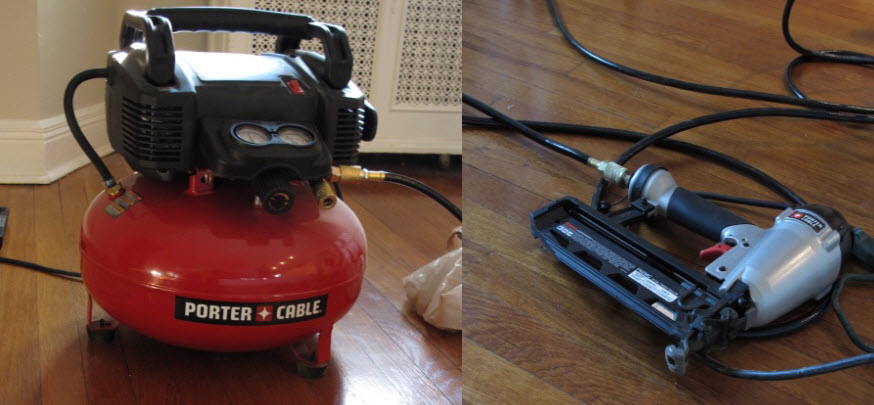
For Christmas, I got Joey some new tools, which came in very handy while constructing the bed. The compressor I got him is super portable and he loves all the attachments you can get. For the bed the nail gun got used most.
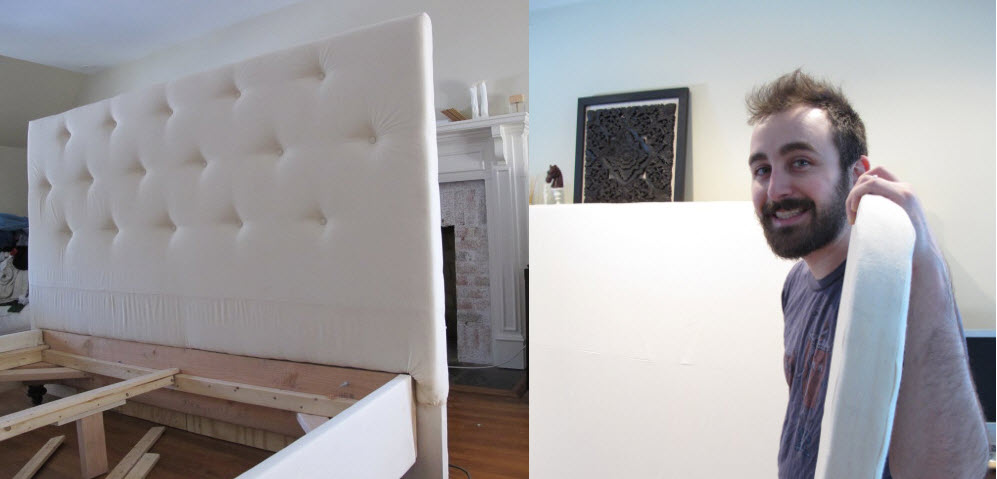
After attaching the feet, all that was left to do was assemble the whole darn thing. First we attached the headboard, then attached the wings to the "back" of the headboard. We used the nailgun to secure the back to the headboard and some hinges to secure the wings. As you can see, we were super excited to see it all coming together.
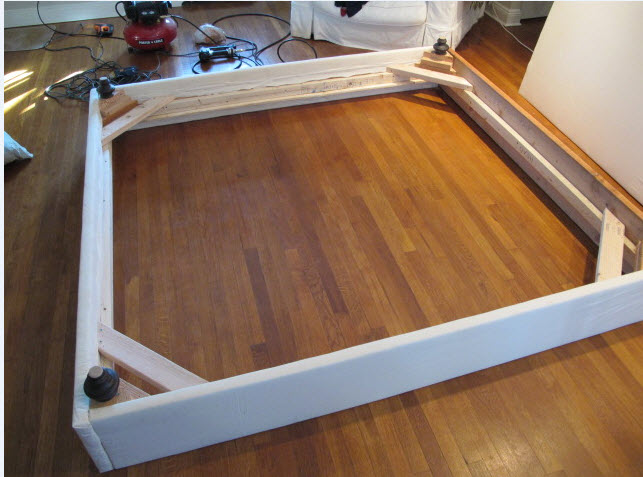
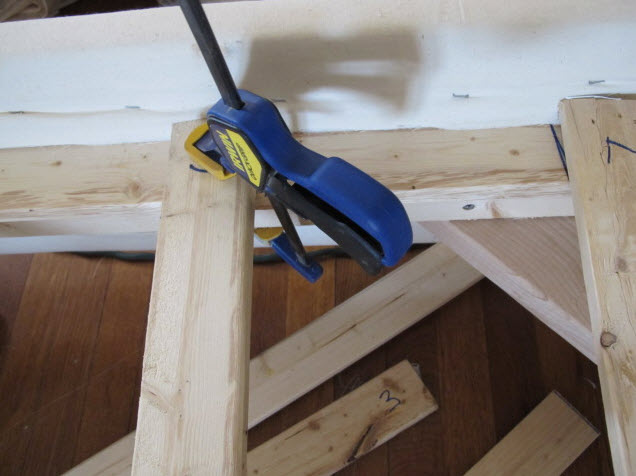
To keep the mattress sturdy, we nailed down some "ladder" pieces to support the mattress. We used clamps to make sure it was all straight. We also numbered the pieces so when we reassembled, we knew it would be a perfect fit.
We would like to say it was easy, but it wasn't. It was in challenge, but it is also an awesome reward. We made a bed from scratch. Our biggest DIY furniture project to date! We got exactly what we wanted, except now - we need to find a King size mattress we agree on! Let's check her out one more time!
 Joey and Lana Make a House a Home
Reader Comments (9)
LOOKING GOOD!! Can't wait to see it all made up! Lol.
Shannon {aka}|design
Looks great! I can't wait to see everything come together.
that is amazing! i'm in awe. i want to make myself a headboard, but i'm not sure if i have the guts to make a whole bed--but thanks to your tutorial, i'm sure i could if i wanted. good job.
@Justine You can do it! I am sure of it! If you do a headboard, please share! Thanks for the love!
@Melinda @Shannon We are 1/2 way done! Can't wait until it's all complete and we can share! Thanks for reading <3
I'm so happy for you guys!! It looks AMAZING!
I wish you hadn't had such a hard time with it... my hubby & i are less than handy... but maybe one day we'll eb able to tackle this. Do you have a final estimate on how much it cost you?
Thanks so much.
@amy thanks so much for the kind words! joey and i were never very "handy" living in the city all those years - it never seemed worth it. have faith - i am sure you can do it! it cost about $450-$500 total, including the vintage fabric. if you don't have any tools, it's going to get more pricey for sure. keep in touch and let us know if you tackle this!
Amazing! Love the headboard!
@kathy i see you are poking around today! thanks so much! it was a labor of L-O-V-E !