


Table Flipping at it's Finest
Joey hard at work in his man cave
A few weeks back, Joey and I headed over to Build it Green in Queens. We packed ourselves up in the mini-van and took a 15 mile road trip south to explore and learn about What BIG had to offer. When we entered, we were instantly overwhelmed by it's massive size and selection (about 5,000 doors, anyone?). After snooping around and planning a million and a half new DIY Projects, we calmed down, and found the wood, hidden way in the back, behind the building, sat down, and decided exactly what we were going to do next.
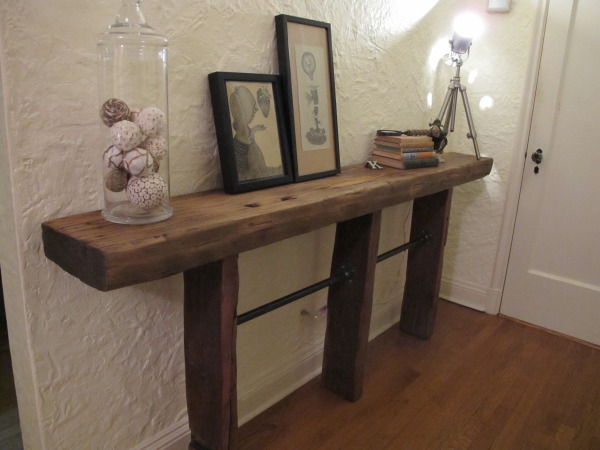
This wood looks like it came from a mill and had the charm we wanted to add to our foyer. We really searched far and wide for a long, high table with no luck, hence we DIYed ourselves through our own. Here is what we did, how we did it, and what it cost:
DIY Table Check List:
9 ft piece of wood - $20
7 ft piece of wood for legs - $20
"L" shape welders metal - $6
2, 2 ft Pipe - $20 ($10 each)
"decorative" metal pipe brackets AKA floor flanges - $16 (for 4)
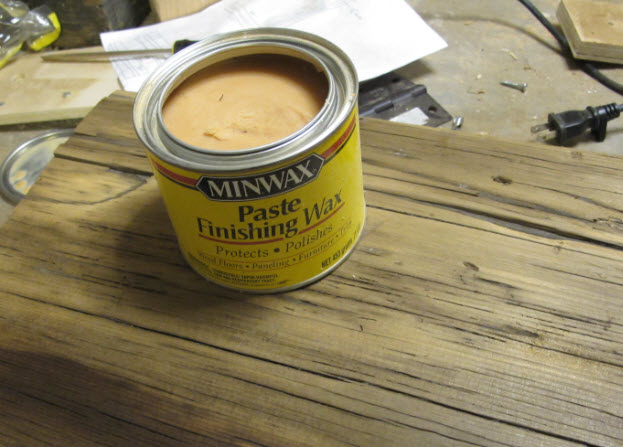
Minwax Finishing Wax Paste - $13
Wood Screws - $10 for a huge pack #8 1 inch screws and #8 1 1/2 inch screws
Total for 84 inch custom table: $105
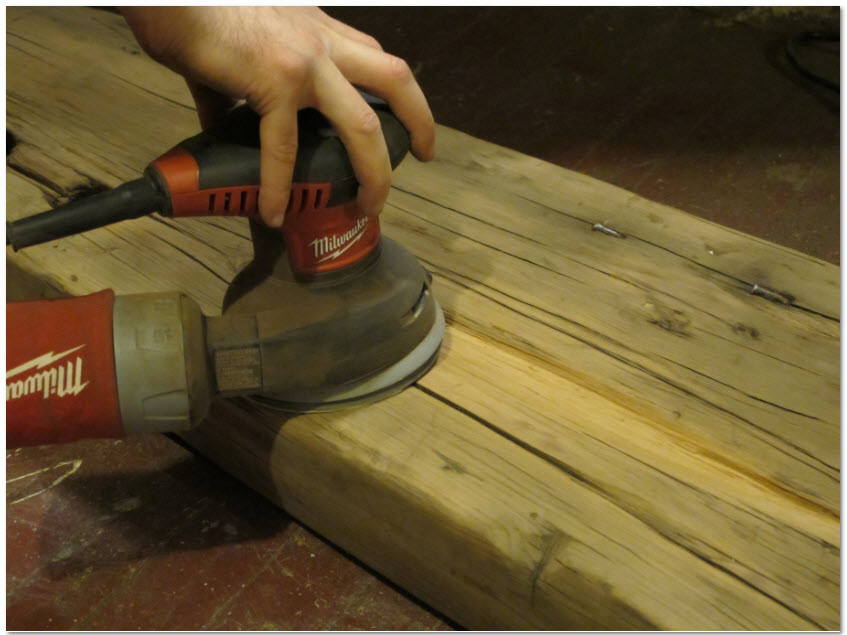
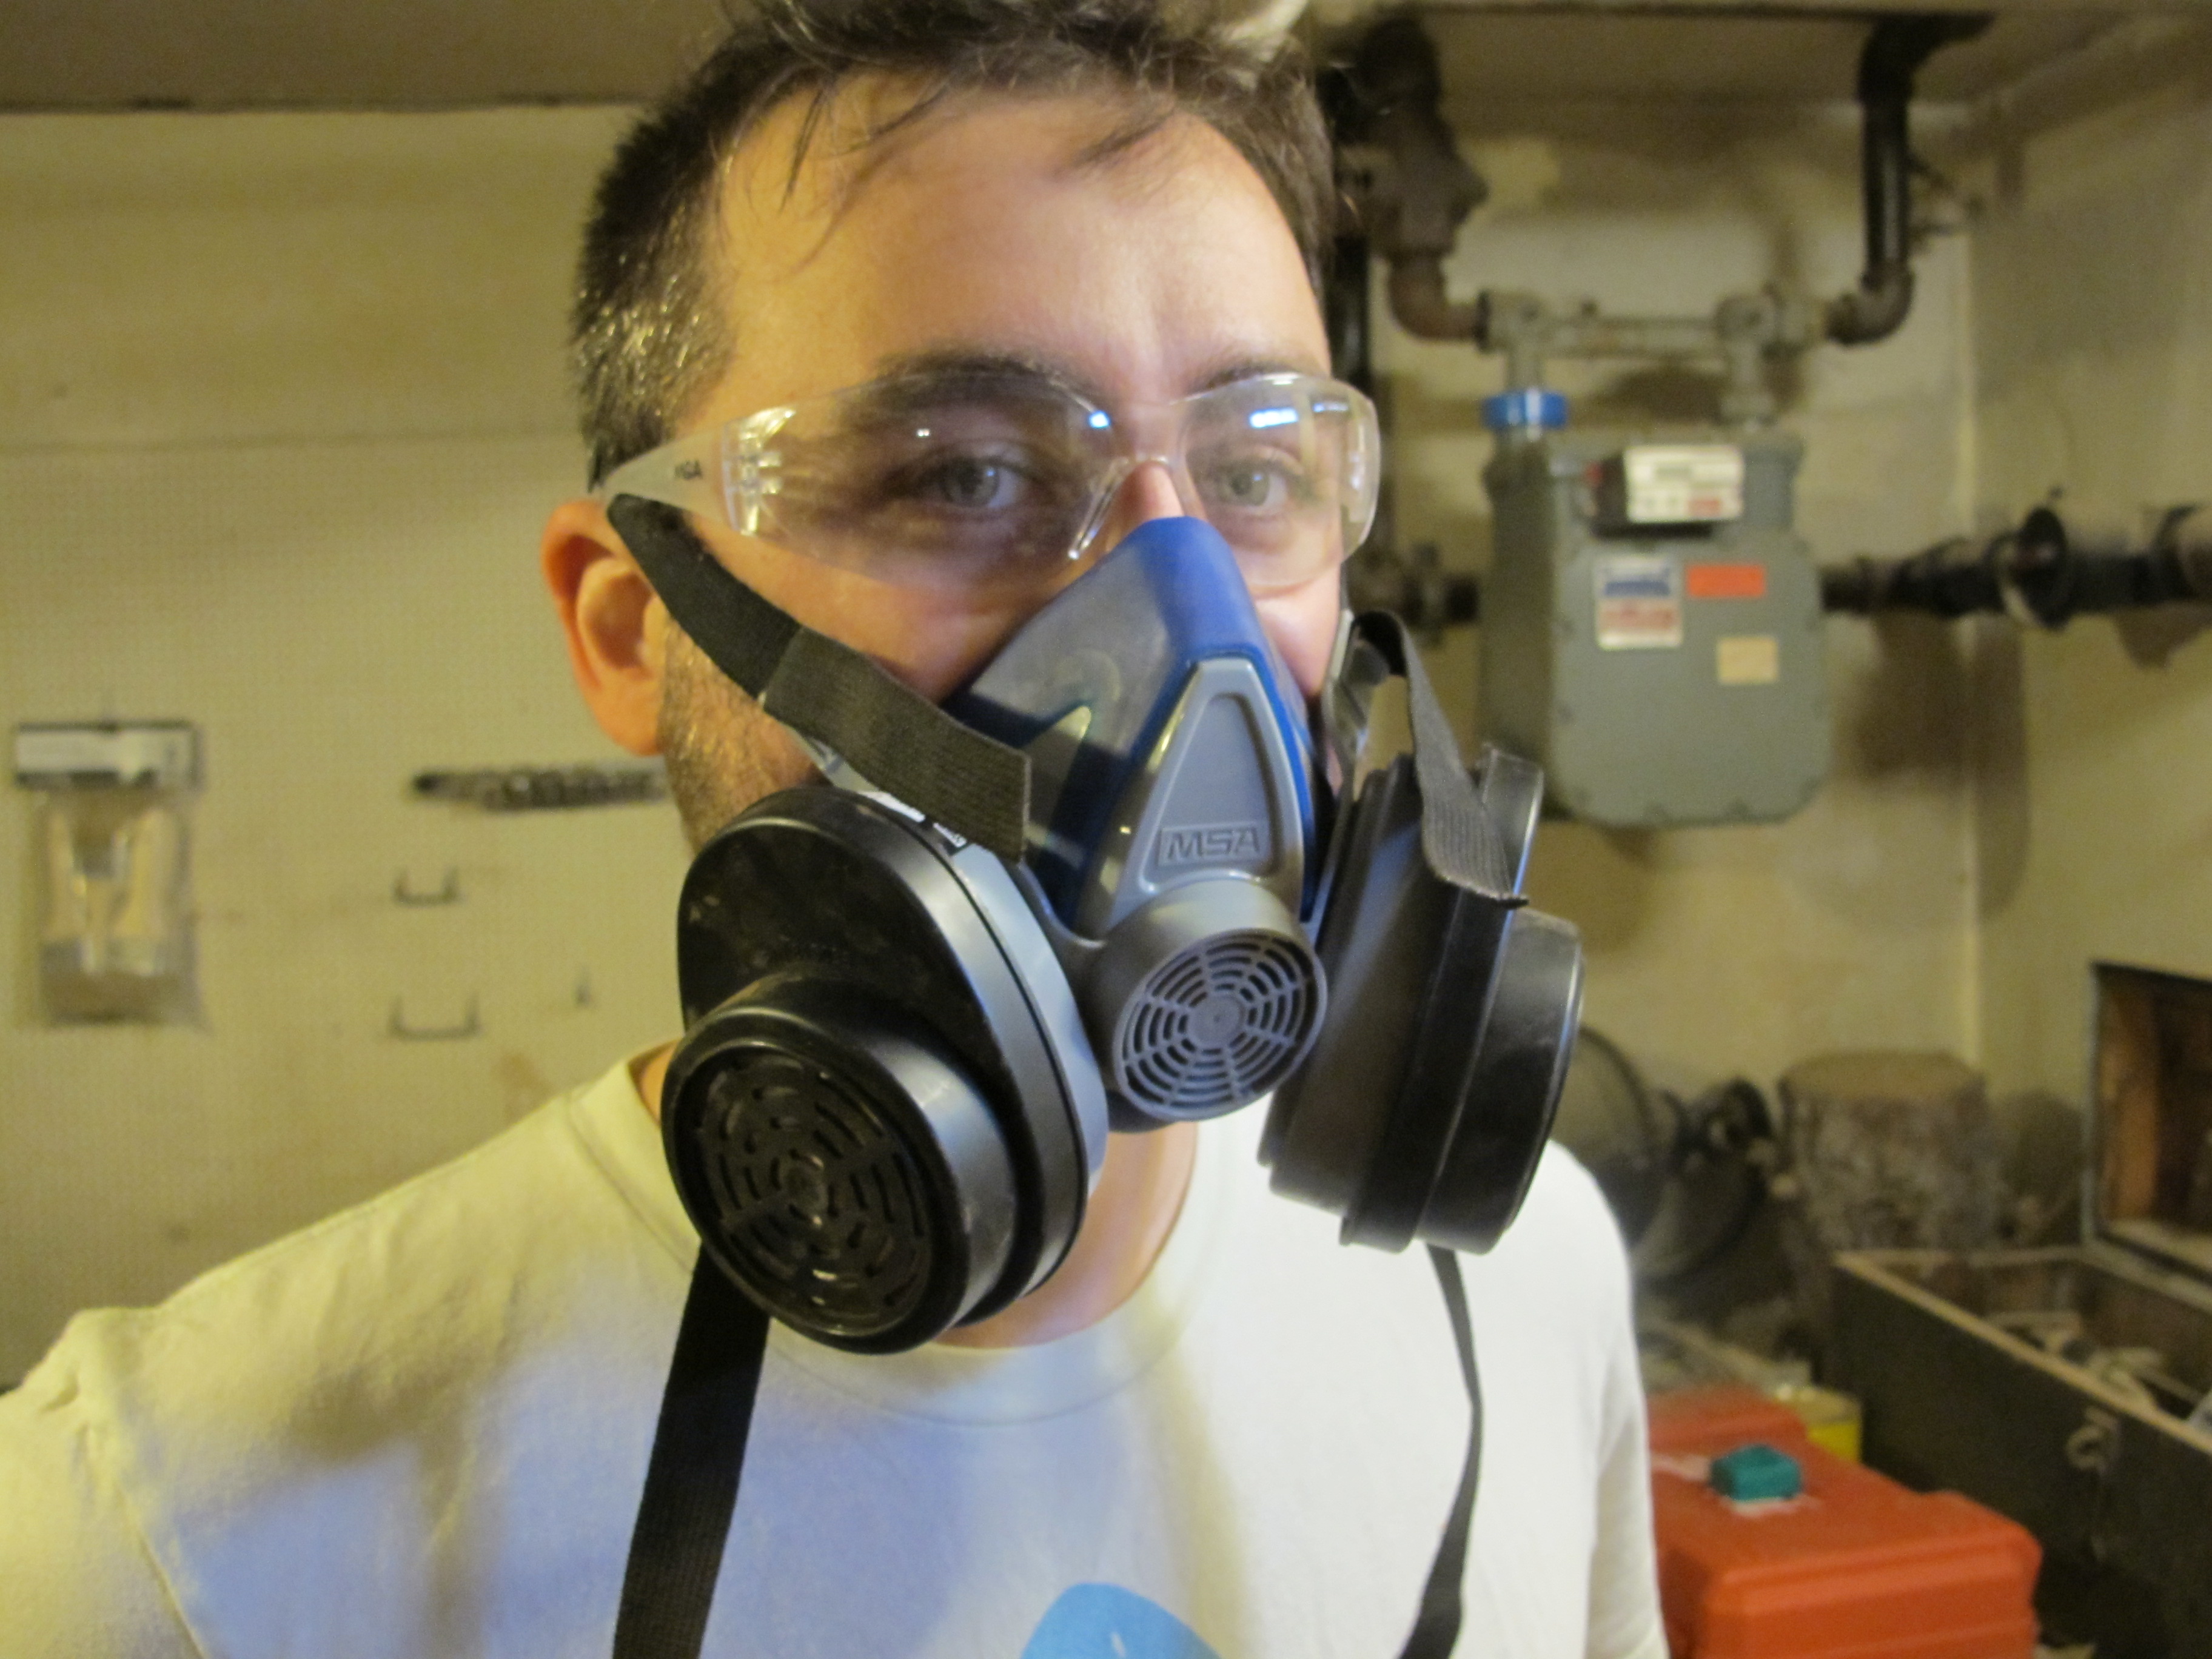
Most of the labor involved was sanding the old wood down to a state of beauty and smoothness. Joey spent hours upon hours with a hand sander getting the wood smooth and removing unattractive oddities. This part is so important for a smooth to touch and professional look. This took hours upon hours and many resporators until we found a professional grade one we were happy with. Check out Joey sporting his new look (notice the new hair cut we DIYed too?!).
After the wood was cut to size and sanded, we took the Minwax paste and rubbed it on all the wood (table top and legs all around) to give it that super professional feel. While it dried, we proceeded to prep the hardware.
Joey Custom Making "L" Brackets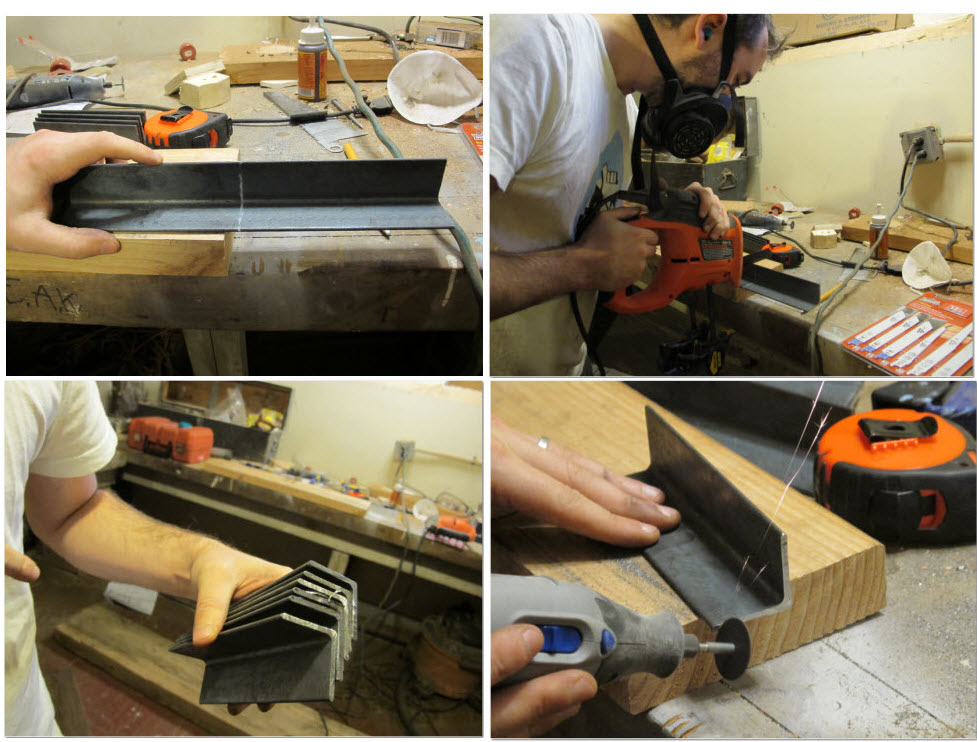
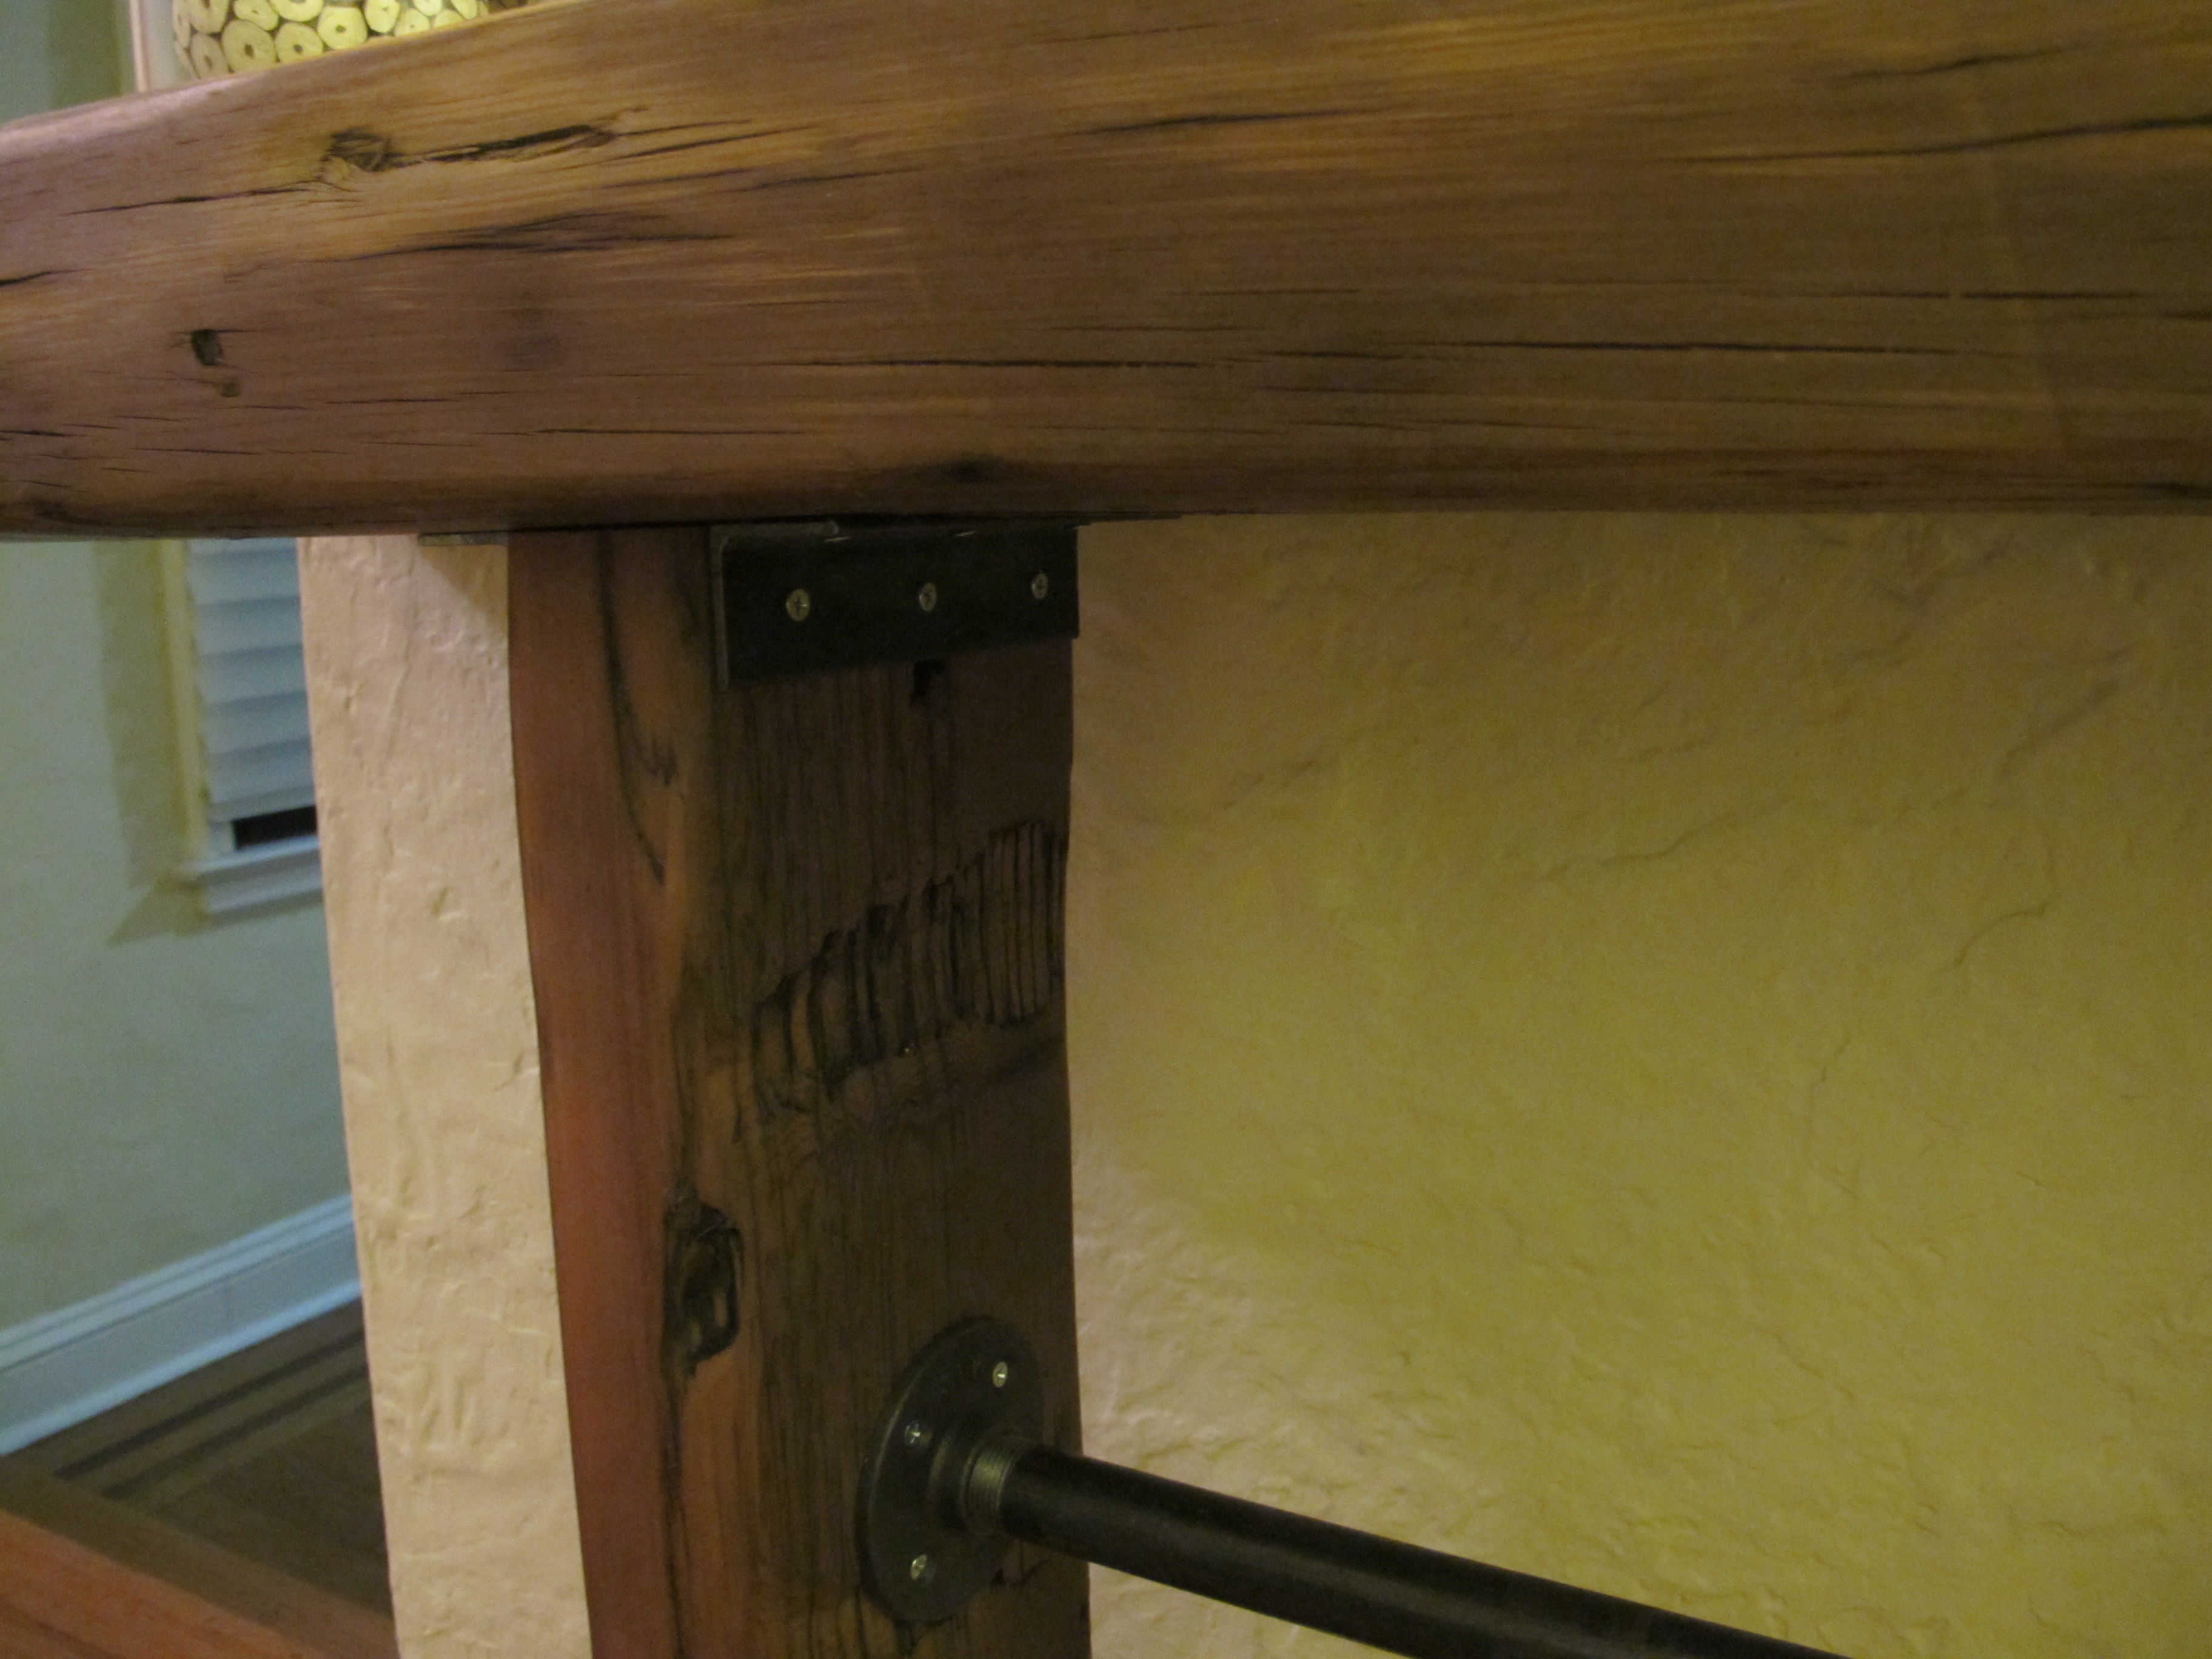
We scoured the hardware store for quite a while and could not find "L" brackets with an old-world and worn feel. We decided to make our own. In the welding section we found these long "L" shaped bars Joey turned into custom brackets. They had the finish we wanted on them, it was simply about custom sizing them and poking some holes for the 1 inch screws to go through.
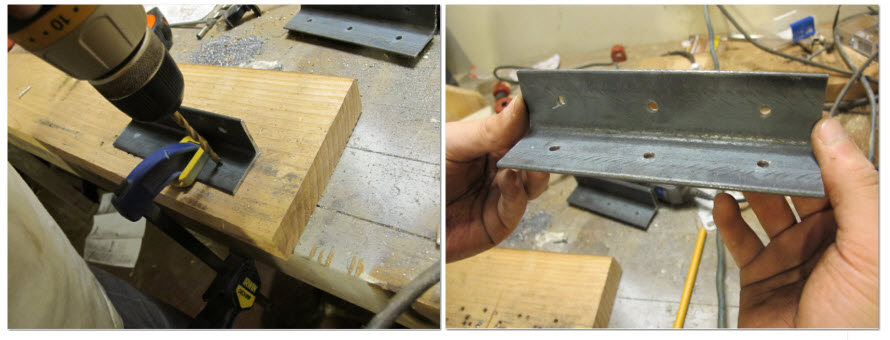
It's hard to tell in the photo, but they have this weathered feel to them. The brackets are hidden in our design, but when we do something, we want to stay true, through and through.
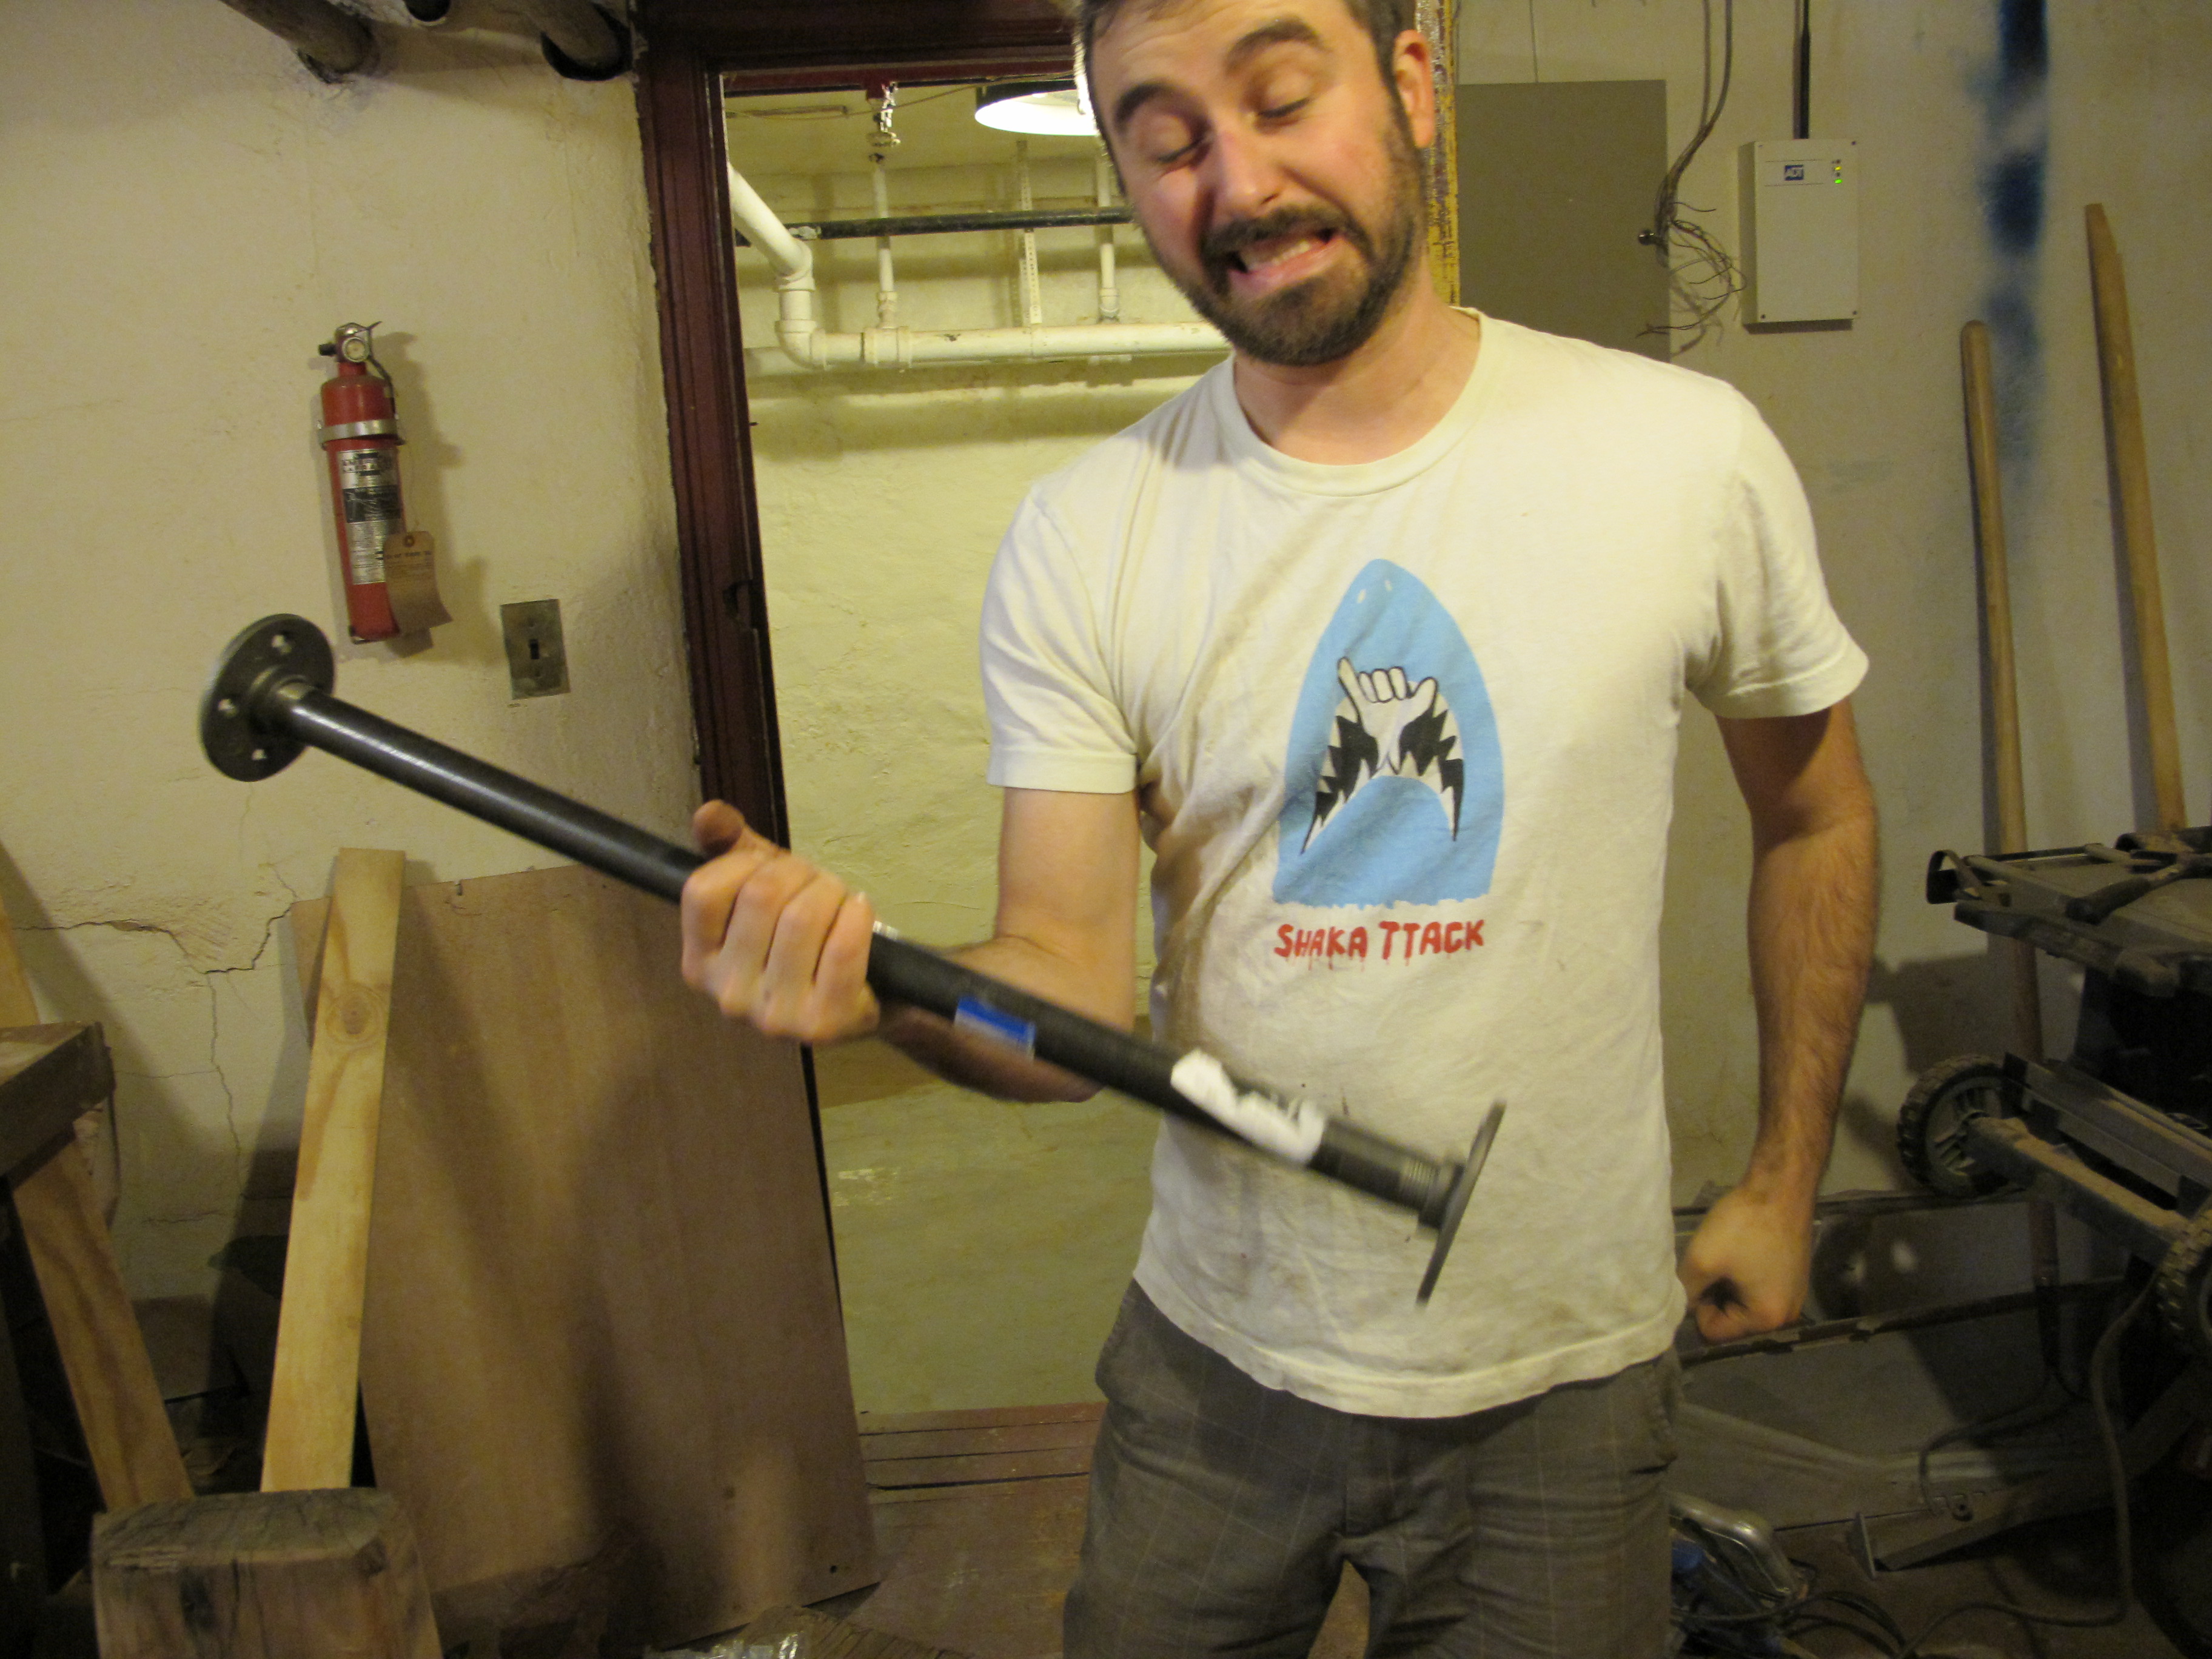
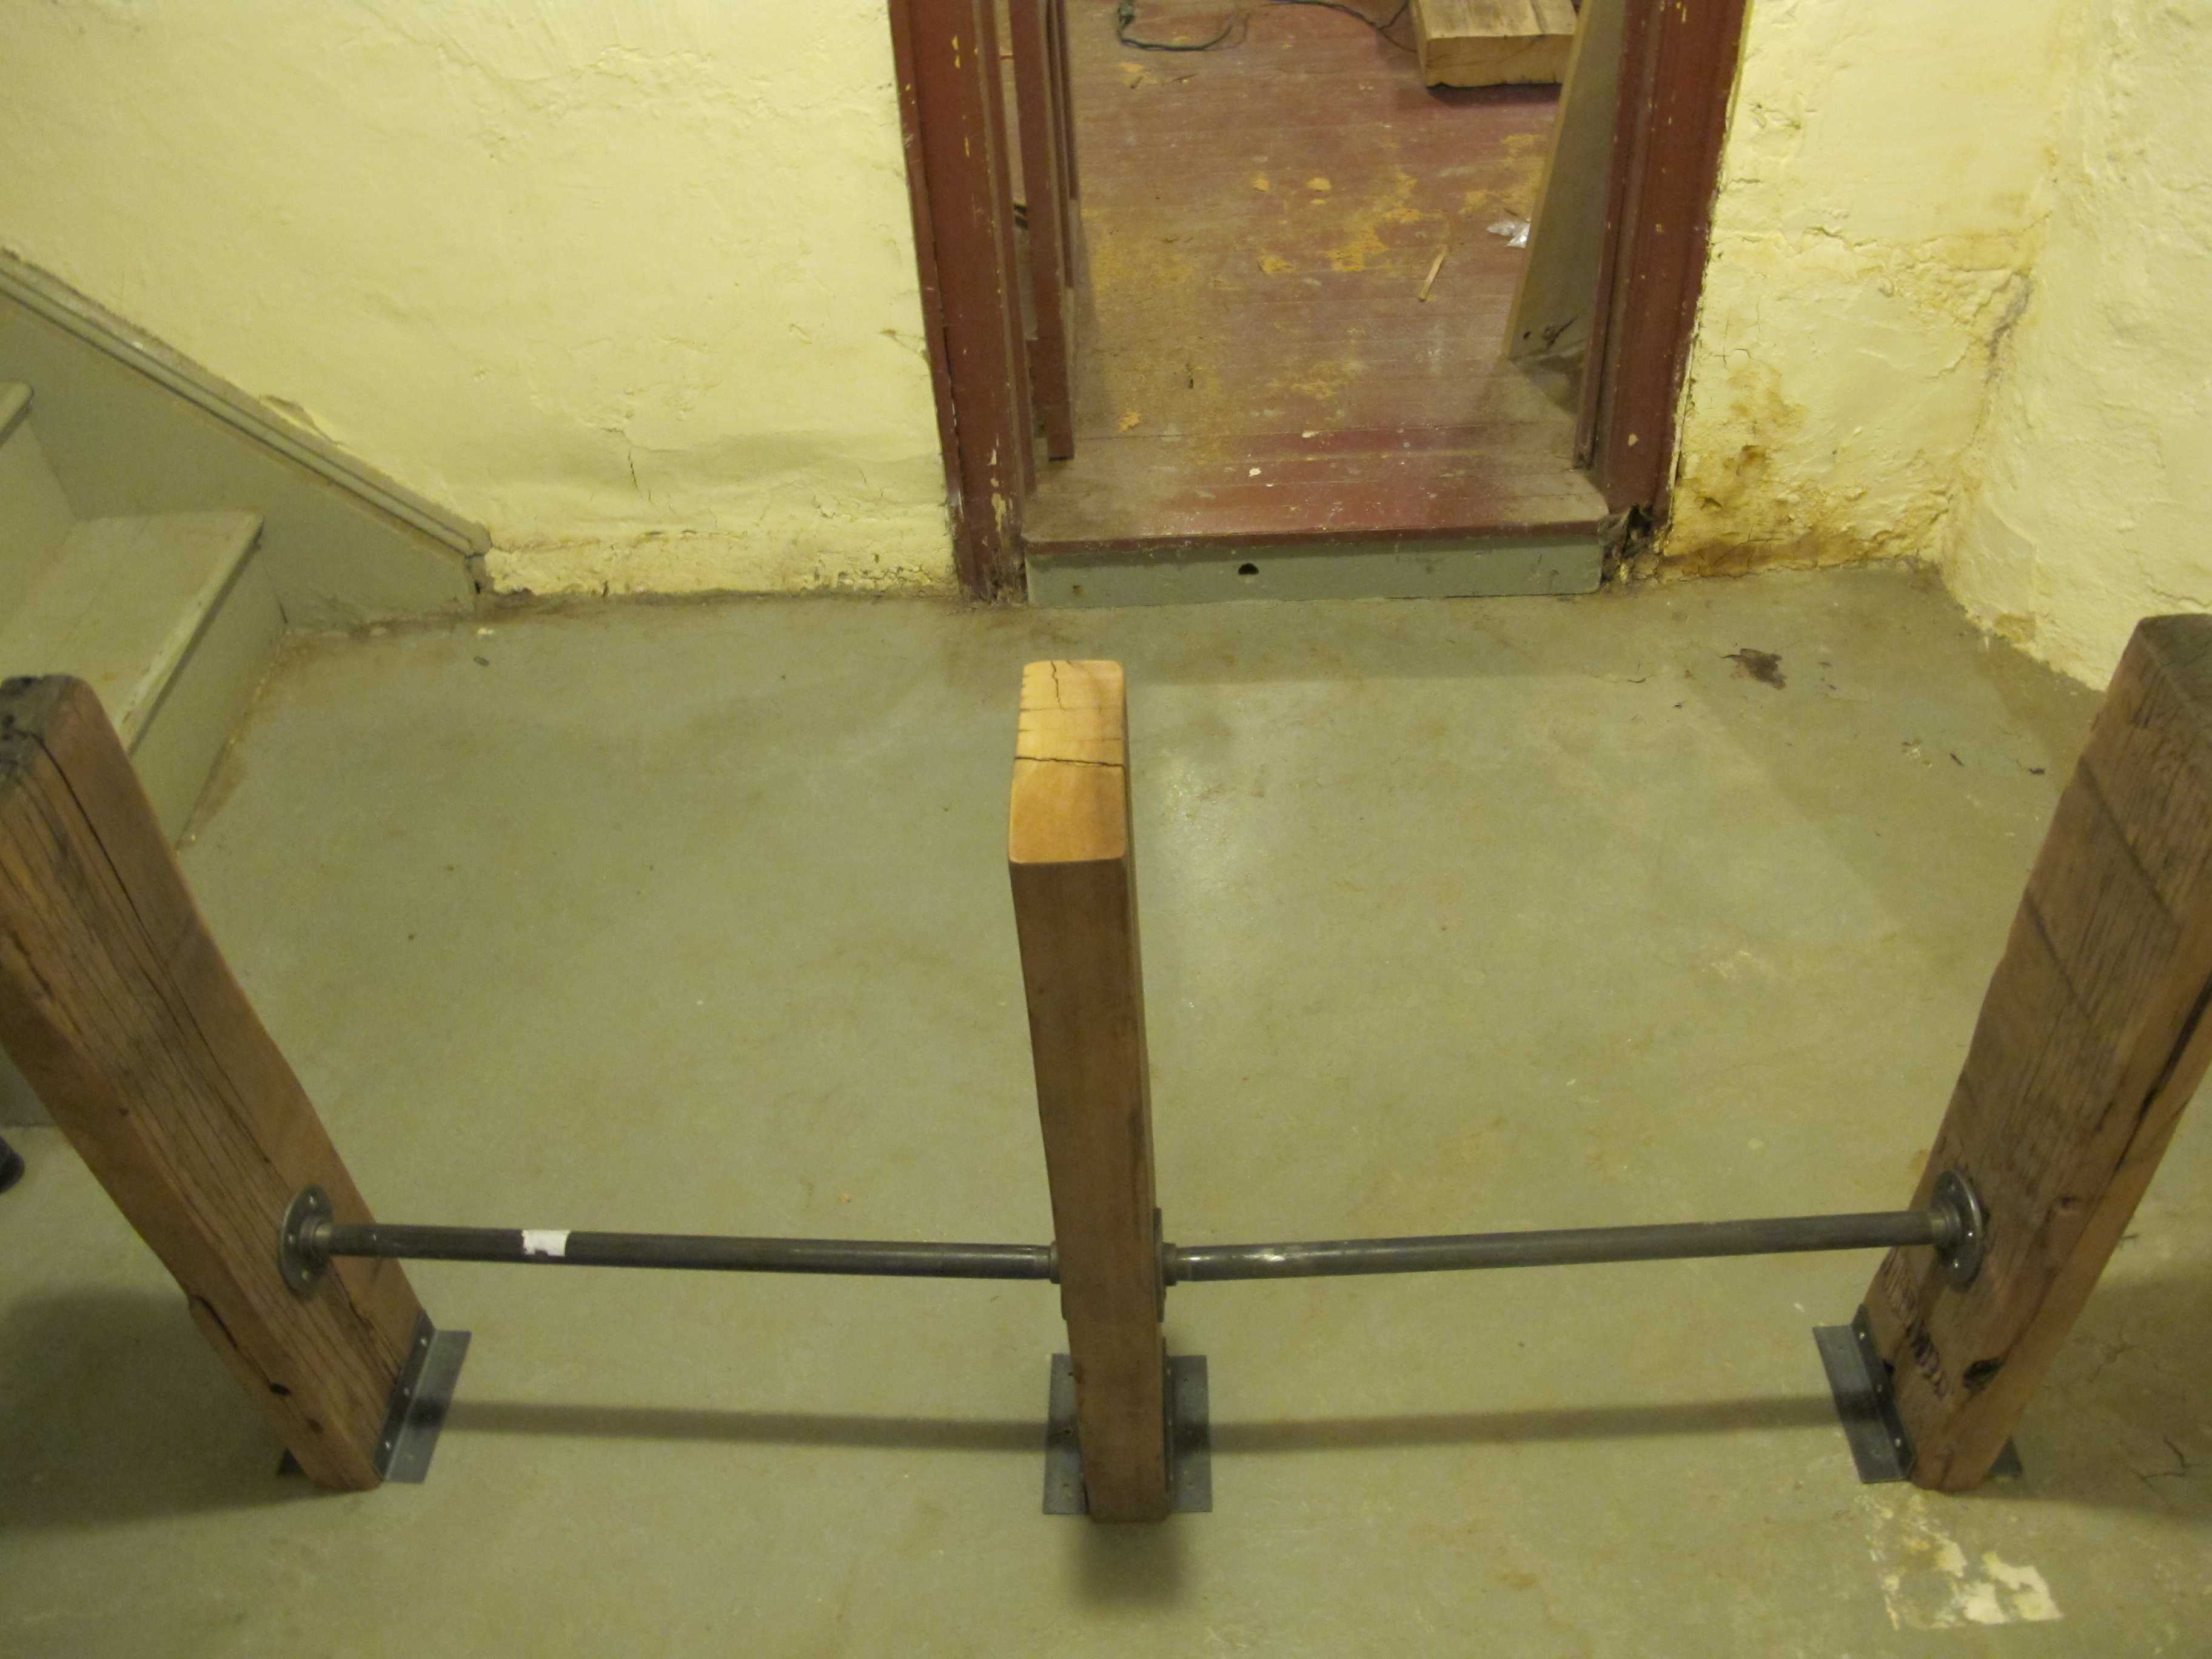
We also snagged up some weathered looking pipes to give the table support in the middle because it was a bit tall, 34 inches to be exact. We wanted to add a little architectural interest with the hardware so we picked up four floor flanges to screw the pipes into instead of just running the pipes through the legs.
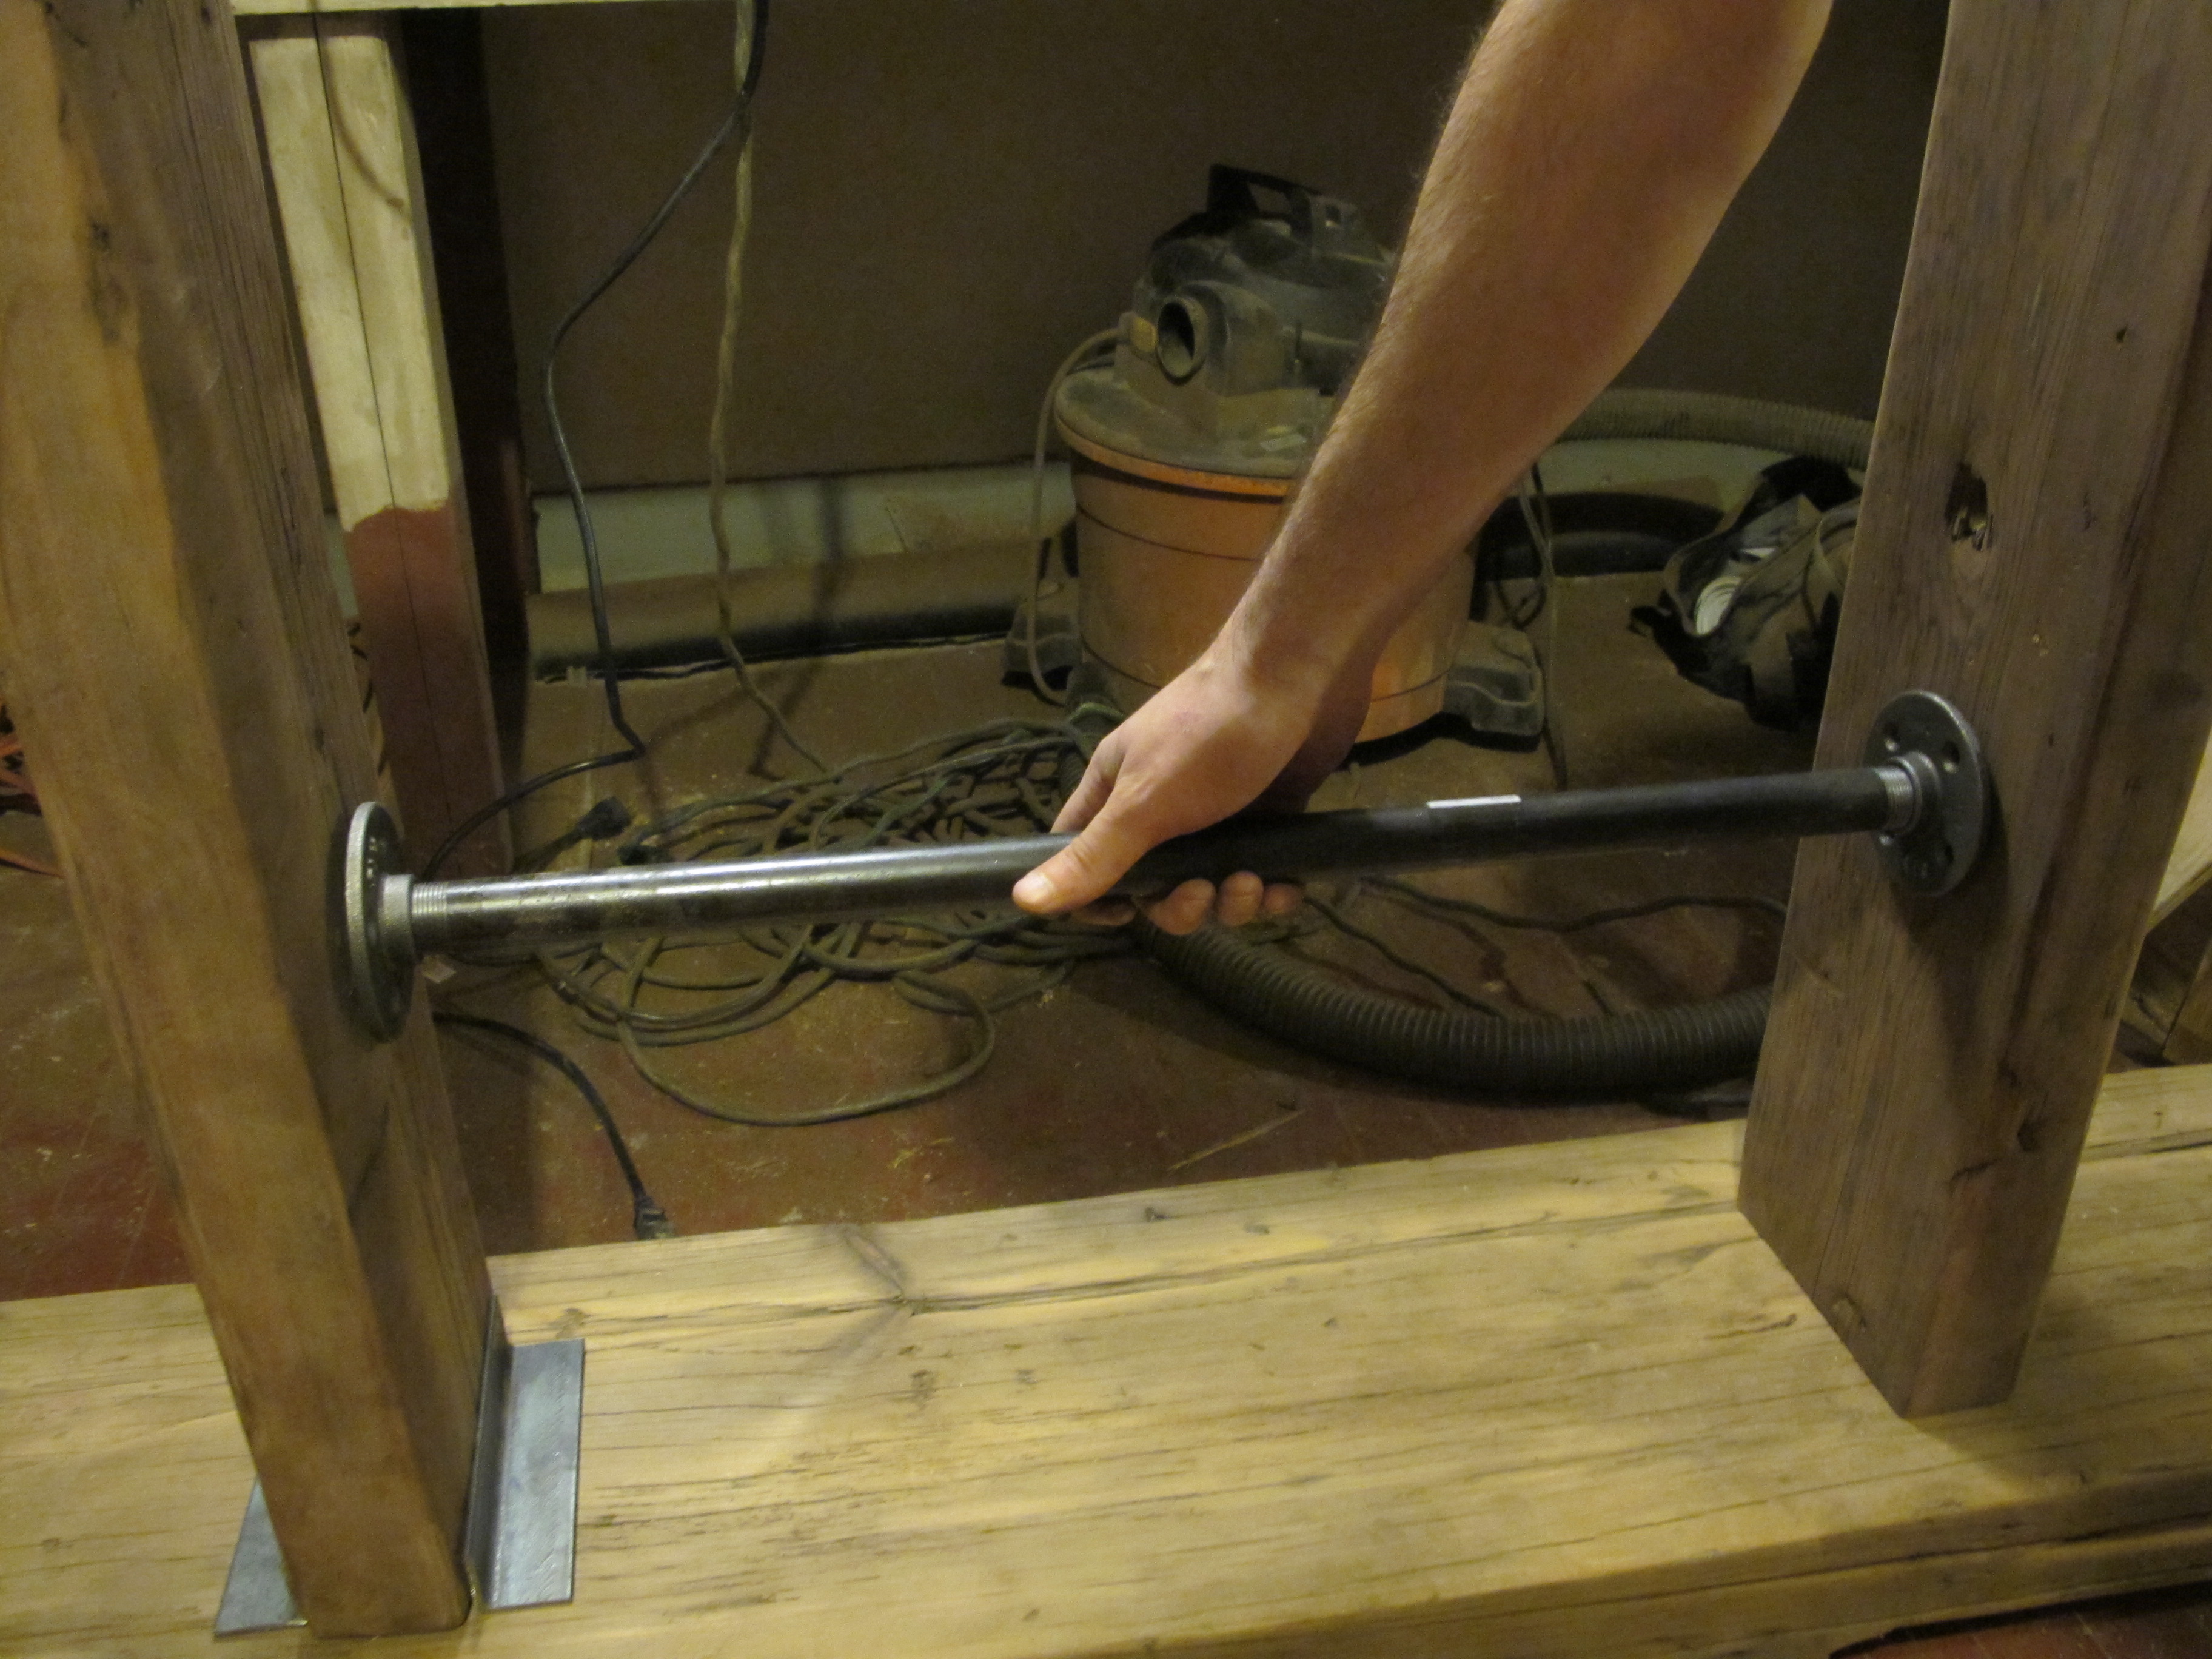
We attached the legs with the pipes after the finished dried and brought the finished legs and table top upstairs separately to attached them in the hallway. This was a rather large piece of furniture, so we assembled it this way to avoid it not fitting in a door or up the stairs. The 1 1/2 inch screws were used to attach the table top to the legs.
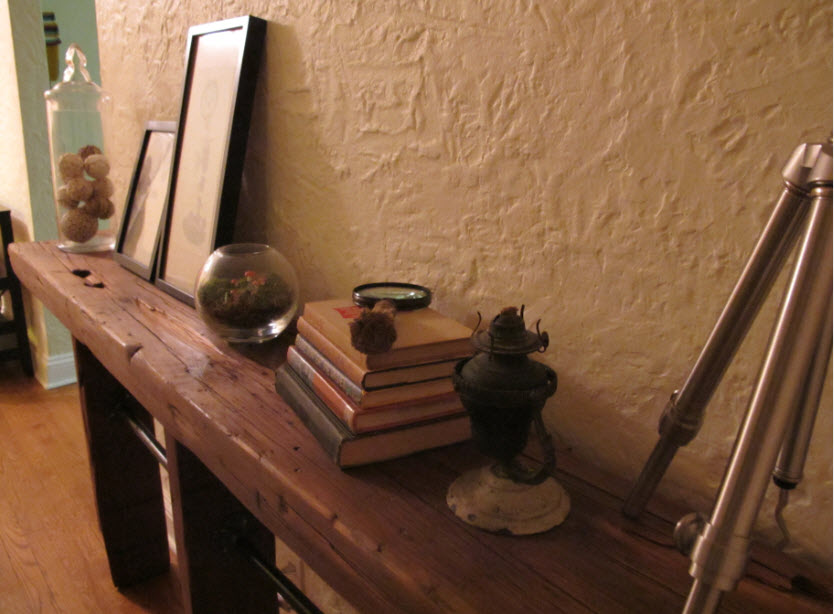
This is what we did Halloween night! Not a single trick-or-treater in sight (and a pound of candy I now have to deal with). We are super excited and proud of our new piece and are inspired to use this wood in my office for custom shelves, and we can't wait to show you. We would have spent about $1,000 on a piece like this, so it feels good to get exactly what we want for just over $100.
Here she is in all her glory:
Have you done a custom piece you are in love with? Please share, we would love to know what you did and how it turned out!
 Joey and Lana Make a House a Home