Related Posts Plugin for WordPress, Blogger...

                   Follow Me on Pinterest


photo cards


OpenSky

Freckled Nest - Design by Kelly Ann

Home & Garden Blogs
BLOG DIRECTORY
Online Marketing
Home Improvement Blogs - BlogCatalog Blog Directory

Entries in quickie (4)

Monday
Mar212011

A Quickie Silver Leaf Project

Happy Monday Pretty People! We hope your weekend was filled with Spring-like sunshine and greatness. It's starting to get a little greener around here lately and it's very exciting to be drawing closer to constant good weather. This weekend was jam packed with a lot of home projects. We got our Timothy Oulton delivery, and are in L-O-V-E with the coffee and console tables!

So, our Neutral-Moroccan-British-Cowboy room is so close to being complete, we can hardly wait! We had some old army trunks which were handed down from Joey's great aunt that we absolutely love. We wanted to give them a little "shine" because they are kinda of large and heavy looking, and we want a little bit of silver in all areas of the room. Here is a quick little guide on how to silver leaf odd shaped angels. Enjoy!
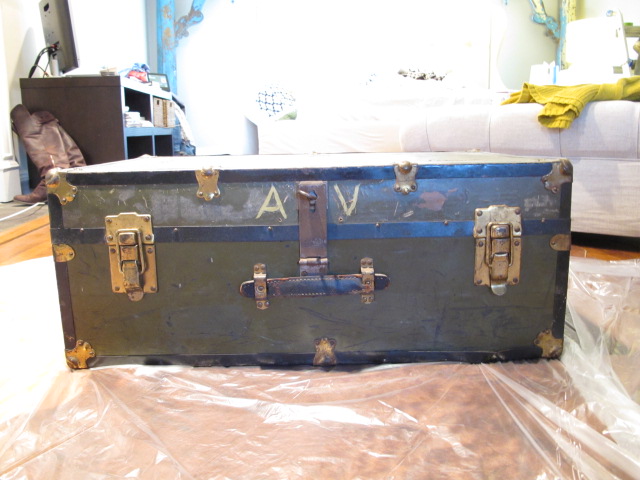
So we started with this pretty standard army trunk. We put down some tarp because leafing can get pretty messy, plus if you decide to use spray adheasive, it can get pretty sneaky and stick to things you do not want to get ruined, ie, new cowhide rug!
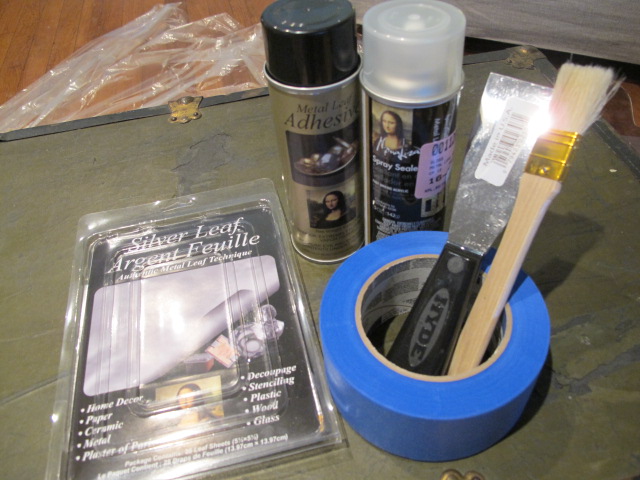
The supplies were pretty simple. I got:

  • 25 sheets of silver leaf (I only needed like, six)
  • painters tape
  • soft brush
  • paint scraper
  • spray sealer
  • metal leaf ahdeasive

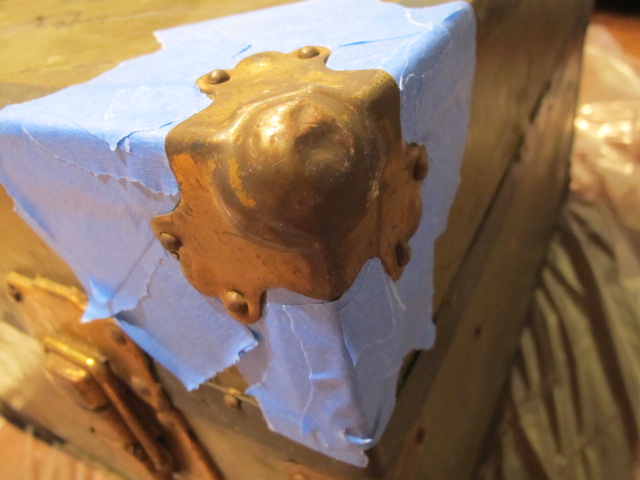
First things first! Prep your space. This is the whole key to leafing these corners, and the most time consuming part. We used painters tape to surround the metal corer we wanted to leaf. We places the tape about three inches out from the actual metal we were leafing, because after all - we aren't perfect with aiming a spray can.

After your space is all prepped, spray the adhesive and wait a few minutes and let it tack up a bit. Then hold your breath, and with a steady hand plap the silver leaf on the tacky surface. We wanted an old and worn look so we used the brush to not only swipe away the access leaf, but to make streaks and worn dimples.
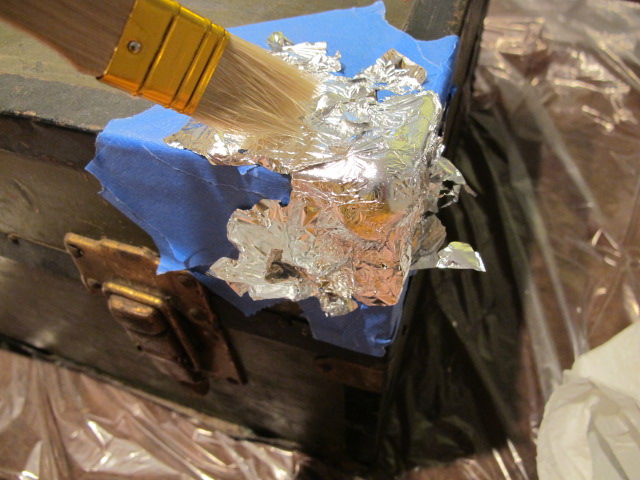
BEFORE you peal off the tape to look at the fruit of your labor, make sure to SEAL your work with spray sealer.  We good?...Good!
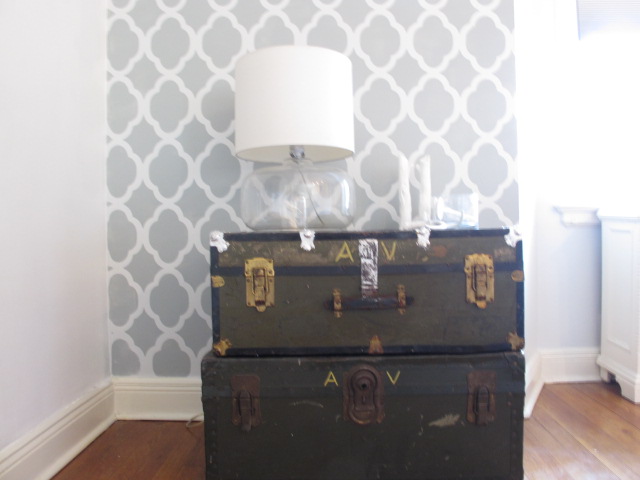
This is how she looks all finished up and placed against our newly stenciled wall! We love her! Now sure if we will do both, or maybe do one strip on the bottom trunk.

Want a peek at what we were up to this weekend?.....
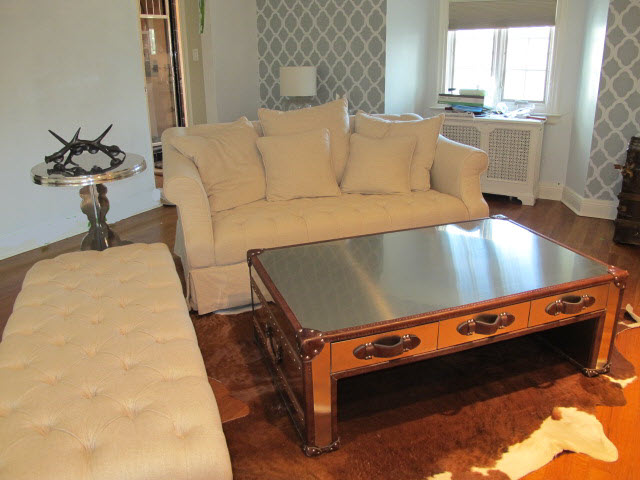
Loving the silver Timothy Oulton pieces!

Turn doilies into a hanging lamp anyone? Check us out at handmadeology.com this week to learn how we did it!

....Any many more surpises coming up this week! Be well, and let us know what you have been doing in your home!


Wednesday
Sep292010

Animal Attraction: Quickie Project

We love some good animal decor. Notice the word "good", emphasized. In a recent episode of the Nate Show, a woman was obsessed with bunny decor, and Emily Henderson (Design Star Winner) saved the day by mellowing out the bunny infestation, and toned down the room to a more tasteful space. Joey thinks we are going the route of overly obsessed with animal decor, but somehow I got him on board with this simple project.

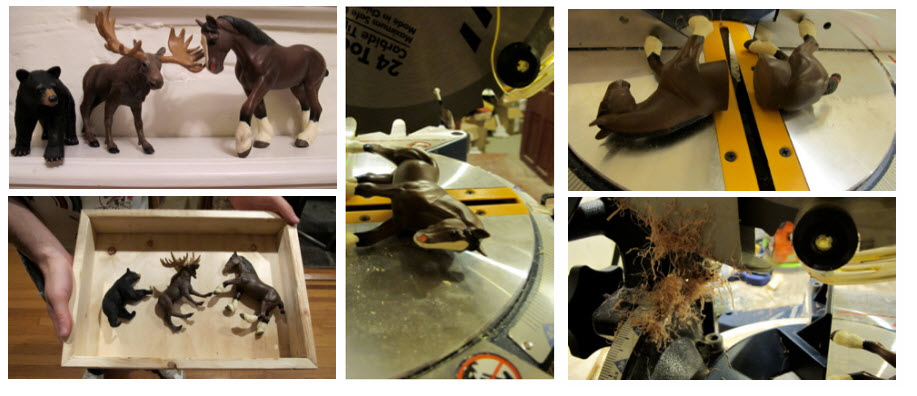
While visiting Brooklyn, we popped into one of our favorite store, Moon River Chattel, and ran around like little children, until we found ourselves in the children section ironically. While inspecting the amazing selection of hand crafted looking toys (yes, we buy stuff for our non-existent child), we notices these little plastic beasts and were brought back to our childhood. "Wouldn't these make great hooks." I said. "Yea, we can cut them in half and mount them to something." Joey replied.

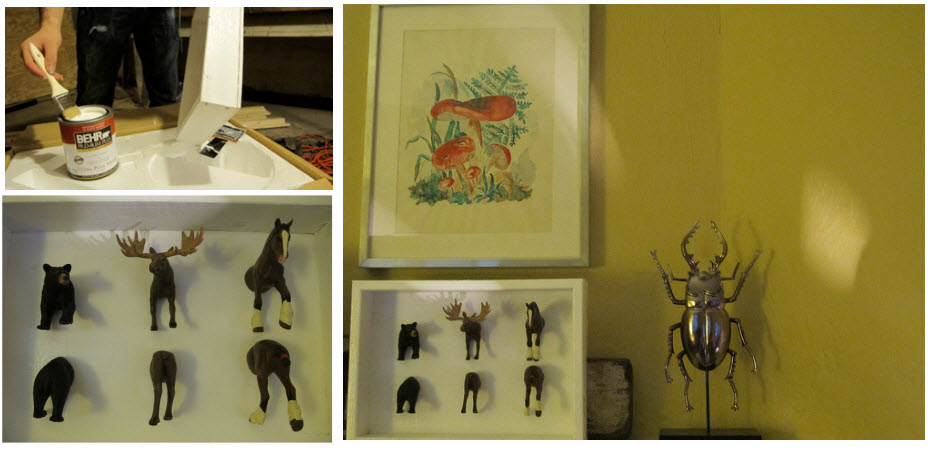
So, we adopted our new friends, gave them a new home, then cut them in half. Though our original intent was to use them as hooks to hand the dogs' leashes, and sweaters, I liked the box Joey made to house them in - and use them as art in my office instead.

Easy peasy. All you need is some wood, paint, glue, and plastic animals to make this happen. We totally plan on popping this in the 'ol kids room one day. Do you have a cheap project you have done? Please share! We would love to know how it turned out!

Monday
Sep202010

Stumped! A Quickie Blog Squad Project

Sorry, I couldn't help myself. It was too obvious of a title for this post, I couldn't deny myself of the pleasure of it's simplicity! 

This is a super easy quick project that costs next to nothing, wont stump you, and will make you smile for sure. Here is what you'll need, how to do it, and what it costs:

Materials: purchased at True Value

A stump: FREE

Wiring, we got ours at Ikea: $4

Lamp Shade (optional): $10

Tools: 1 1/4 " Hole bit: $10

1 1/4" thick metal electrical pipe" $8

Router (optional)

Total: $20-$25

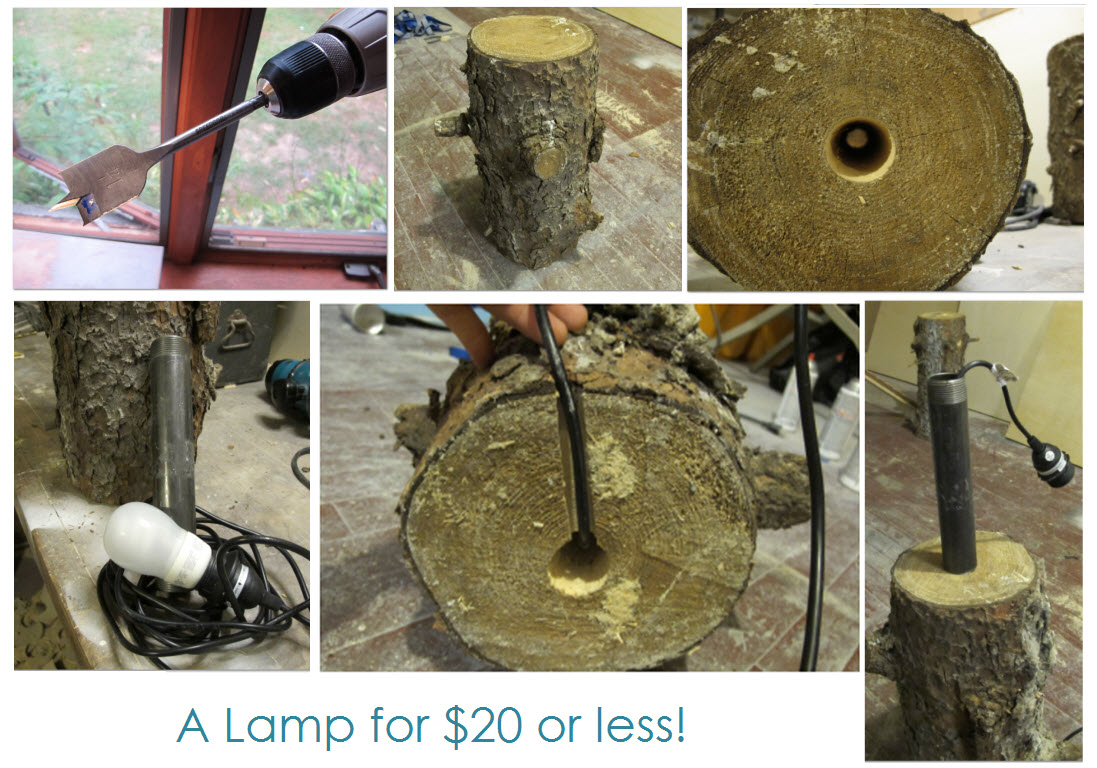
 These photos really do the talking for us! Drill a hole down the center of the whole length of the stump with the 1 1/4" hole bit. Decide what you want to be the top and the bottom of the stump. On the bottom of the stump, rout away space where the cord can fit in so the stump fits flat on your surface. Shove the pipe in the top, and then feed the cord through the top. Add your bulb and lamp shade - and you are set!

You can modify this however you want. We are thinking about spray painting the stump white, or covering the stump in a polyurethane. This stump we placed in the mudroom, and have been playing with other methods for the bedroom and maybe even the kitchen. We decided to work with stumps after a large storm in New York knocked down a bunch of trees and people were throwing them away. Have you found a good use for a stump? We would love to know! We love natural wood, and are trying to create new ways to use stumps in design, beyond the obvious.

Lets get legal: We were one of the 10 bloggers True Value has chosen to work on The Blog Squad , and we are way excited to take on the challenge of showing you exciting DIY projects.  They have compensated us for our time and writing, and provided materials for the projects we have worked on. However, our opinions are entirely our own and we have not been paid to publish positive comments. Did we mention we are excited to show you our DIY Blog Squad Projects?