Related Posts Plugin for WordPress, Blogger...

                   Follow Me on Pinterest


photo cards


OpenSky

Freckled Nest - Design by Kelly Ann

Home & Garden Blogs
BLOG DIRECTORY
Online Marketing
Home Improvement Blogs - BlogCatalog Blog Directory

Entries in diy furniture (8)

Wednesday
Sep282011

Why You Need a Sander + Giveaway!

***This giveaway is now closed!***

Welcome to day #3 of our amazing week of giveaways aponsored by Stack Exchange's DIY and Home Impovement Board! It's a great place to ask and give answers (or snoop at other people's Q&A's, like we do!). Today is a fun one. Another product you don't know you need, until you own it. Remember a bit ago Joey turned a $40 piece of reclaimed wood into our entryway table?
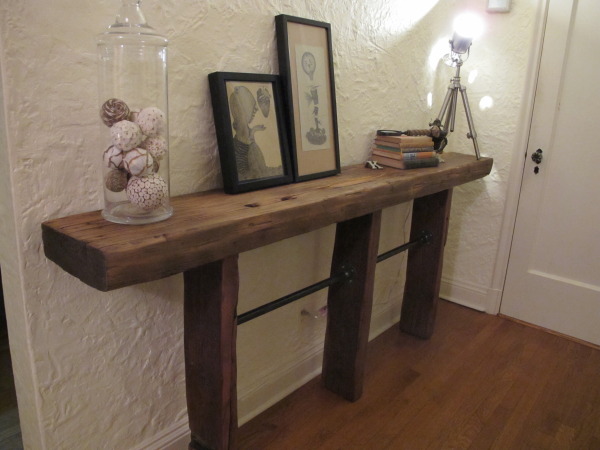
To be honest it was a gross-o piece of wood we weren't sure what to do with until we discovered the power of the sander. Follow me young grasshopper and learn...
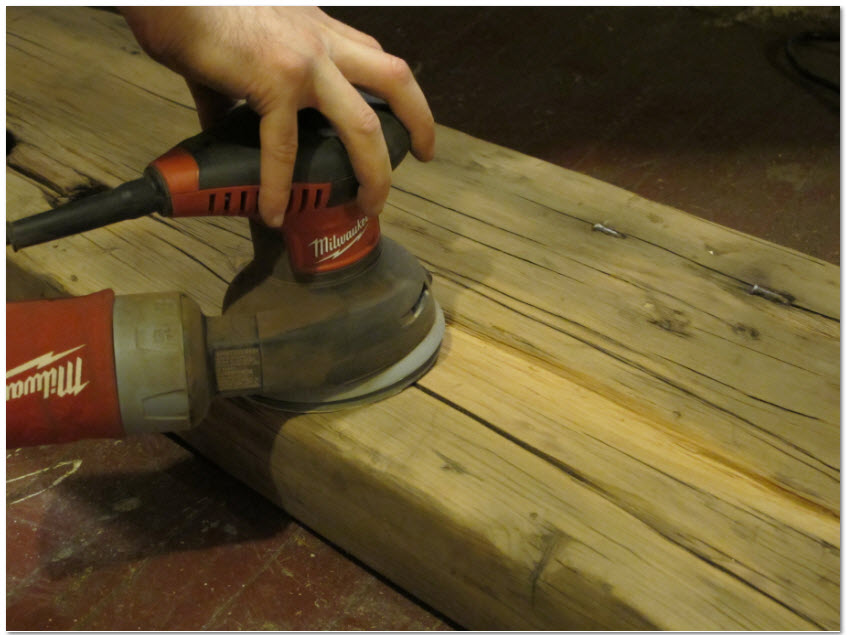
I hope you know I was kidding about the grasshopper thing :).  As you can see Joey turned the gross wood into a gem with some elbow grease and a little wax. We LOVE Milwakee and Makita brands when it comes to tools as you may have noticed. Nothing against the other guys, just seems to last a long time and tends to have quality accessories.

So what's in it for you? A new sander of course! Welcome the one we would have gotten if it had been available when we were in need.

Get your pretty little DIY Hands on this beauty! Also don't forget to check out the "sanders" at Stack Exchange and add your Q&A's to the mix! Seriously! DIY is about community and sharing what you know while learning from others. This is such a great place to share that exchange.

Giveaway info:

  • Prize: Care of Stack Exchange: Home Improvement One (1) Makita 5 inch Random Orbit Sander MSRP $180.00
  • How to Enter: If you got your hands on this baby, what would you use it for?
  • Extra Entry: Tweet: @StackDIY is hosting giveaways all week on @makeahouseahome! Come back and comment that you did!
  • Giveaway Ends: Tuesday October 4th at 9:00pm EST
  • How Many Lucky Winners?!: One (1)
  • Ships to: US Only
  • Also: Please only enter once, with the exception of the extra entry. We select our winners using random.org and will select a winner by October 6th and notify by email, so use a real email address!
Thursday
Jun092011

Be our guest, just not yet....

Hey hey! Happy morning to you! We hope all is well. Today we are venturing into a room in Casa Katsaros which doesn't see a lot of action. Behold, our guest room #1:

I wish I could insert a sound effect here. It would go something like wah wah wah...and followed by sobbing. Our home hosts three guest rooms, one studio, and an office in addition to our master pad. That's a lot of decor that needs to happen. If you missed our awesome ideas for this room, come see! Though many guests have come and stayed a while, all were stuck in an unfinished room. Things have got to change. We had a really great plan, and that just went down the toilet. Let me explain.

Perhaps you are familuar with Young House Love? They did this to their master bedroom in their old house:

With Ikea closets and a creative mind, they made this custom look work, and we wanted to do the same thing! After all, we had those exact closets from Ikea, and had a similar set up in our small apartment bedroom and no real use for them in our new home until we noticed this project.

Up the closets came from the basement, and down they fell in the guest room. Yep, crumbled to bits. Tiny, little, bits. We have moisture damage to thank for that! So instead of buying new ones, Joey decided he better make them. Making them would ensure higher quality (not a diss on Ikea, we LOVE the Ikea), and the ability to customize more. For example, our whack-a-do air-conditioning:

We are also in the progress of making some custom curtains, painting the room up, and filling out the closets with some shelves and curtains to cover up what's inside of them. We also are going to make the top of the closets more custom and built in, while making sure the air conditiong gets to our guests in a pleasant fashion.

We totally love them and think they work well with the room. We want to create a calm and functional space for guests, but also house a lot of storage for extra kids toys, towels, etc.

So there you have it! Step one in fixing up the guest room! Wish us luck! We would love to have this done before Summer fun is over!


Monday
Mar212011

A Quickie Silver Leaf Project

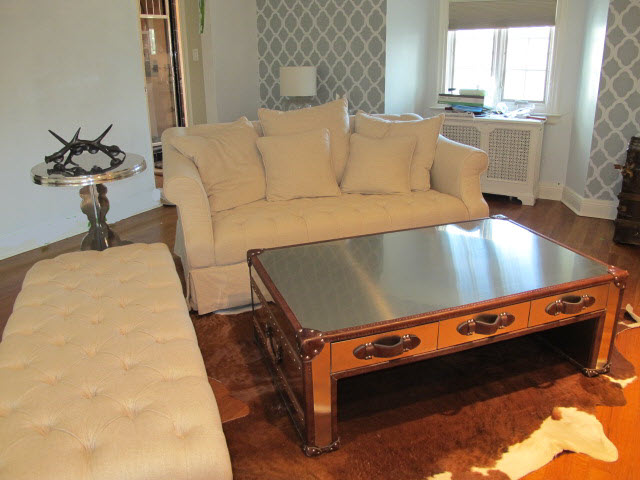
Happy Monday Pretty People! We hope your weekend was filled with Spring-like sunshine and greatness. It's starting to get a little greener around here lately and it's very exciting to be drawing closer to constant good weather. This weekend was jam packed with a lot of home projects. We got our Timothy Oulton delivery, and are in L-O-V-E with the coffee and console tables!

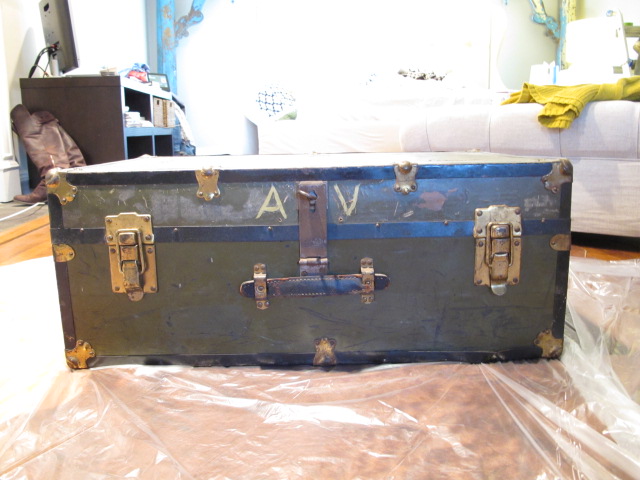
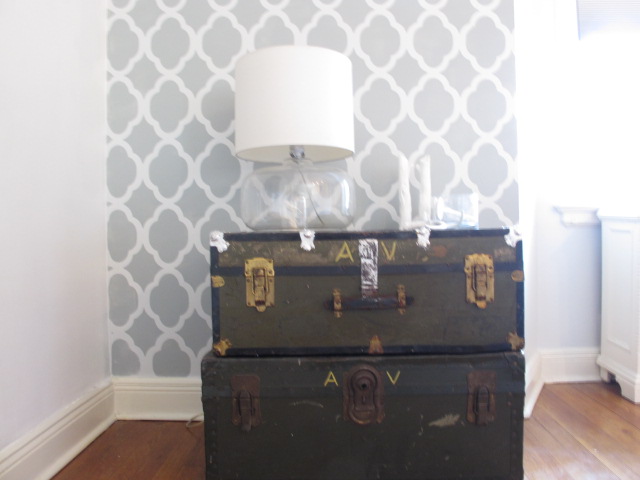
So, our Neutral-Moroccan-British-Cowboy room is so close to being complete, we can hardly wait! We had some old army trunks which were handed down from Joey's great aunt that we absolutely love. We wanted to give them a little "shine" because they are kinda of large and heavy looking, and we want a little bit of silver in all areas of the room. Here is a quick little guide on how to silver leaf odd shaped angels. Enjoy!

So we started with this pretty standard army trunk. We put down some tarp because leafing can get pretty messy, plus if you decide to use spray adheasive, it can get pretty sneaky and stick to things you do not want to get ruined, ie, new cowhide rug!

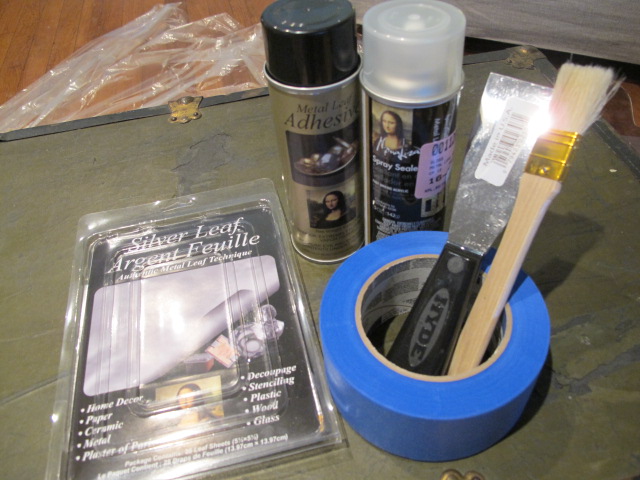
The supplies were pretty simple. I got:

  • 25 sheets of silver leaf (I only needed like, six)
  • painters tape
  • soft brush
  • paint scraper
  • spray sealer
  • metal leaf ahdeasive

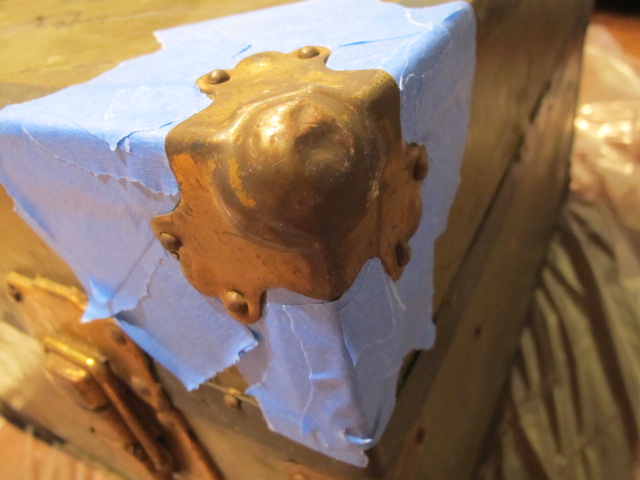
First things first! Prep your space. This is the whole key to leafing these corners, and the most time consuming part. We used painters tape to surround the metal corer we wanted to leaf. We places the tape about three inches out from the actual metal we were leafing, because after all - we aren't perfect with aiming a spray can.

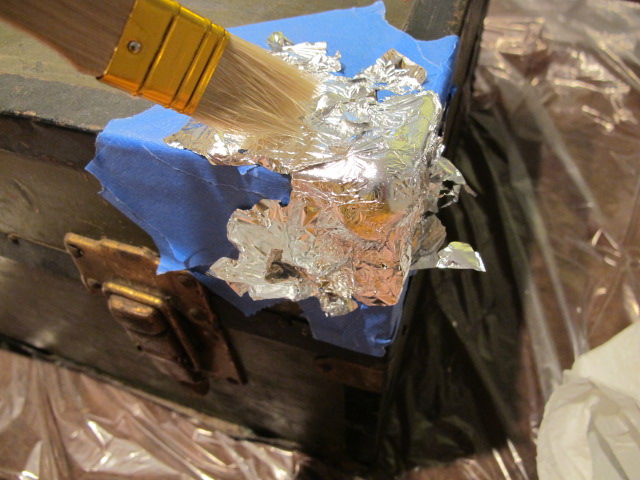
After your space is all prepped, spray the adhesive and wait a few minutes and let it tack up a bit. Then hold your breath, and with a steady hand plap the silver leaf on the tacky surface. We wanted an old and worn look so we used the brush to not only swipe away the access leaf, but to make streaks and worn dimples.

BEFORE you peal off the tape to look at the fruit of your labor, make sure to SEAL your work with spray sealer.  We good?...Good!

This is how she looks all finished up and placed against our newly stenciled wall! We love her! Now sure if we will do both, or maybe do one strip on the bottom trunk.

Want a peek at what we were up to this weekend?.....

Loving the silver Timothy Oulton pieces!

Turn doilies into a hanging lamp anyone? Check us out at handmadeology.com this week to learn how we did it!

....Any many more surpises coming up this week! Be well, and let us know what you have been doing in your home!