Related Posts Plugin for WordPress, Blogger...

                   Follow Me on Pinterest


photo cards


OpenSky

Freckled Nest - Design by Kelly Ann

Home & Garden Blogs
BLOG DIRECTORY
Online Marketing
Home Improvement Blogs - BlogCatalog Blog Directory

Entries in paint (13)

Tuesday
Oct252011

Step by Step. Day by Day.

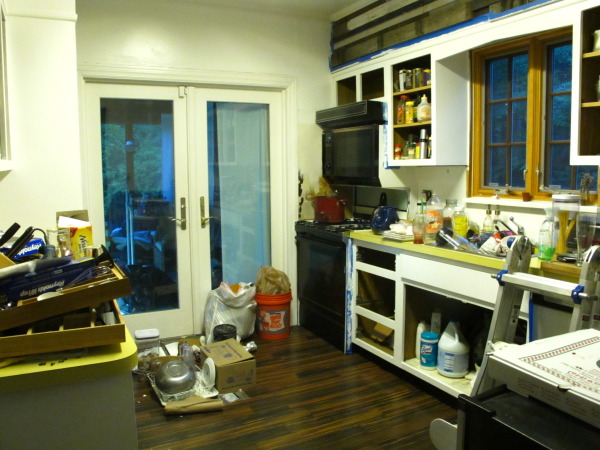
Hi there! Hope your Monday was kind to you! We have been busting our behinds to get things in check and the Kitchen has been the beast of the to-do list. We added some reclaimed wood to add some interest on the window wall, laid down some new floors (temp), and refinished the hardware on the doors leading to the mudroom. We have been in process of refinishing the cabinet doors and replacing the hardware when Joey brought to my attention everything looked a little too white, and drab.

messy

As I looked around our completely horrific mess of a kitchen, it hit me! Resort to the moodboard, something is missing.

kitchenAhhhh, yes. The color! Where were we going to add that red without it screaming retro kitchen or country barn?

red

The door into the mudroom was the perfect choice! With some simple tools and the patience of a saint, we transformed the boring white, into a vibrant and fun focal point.

french

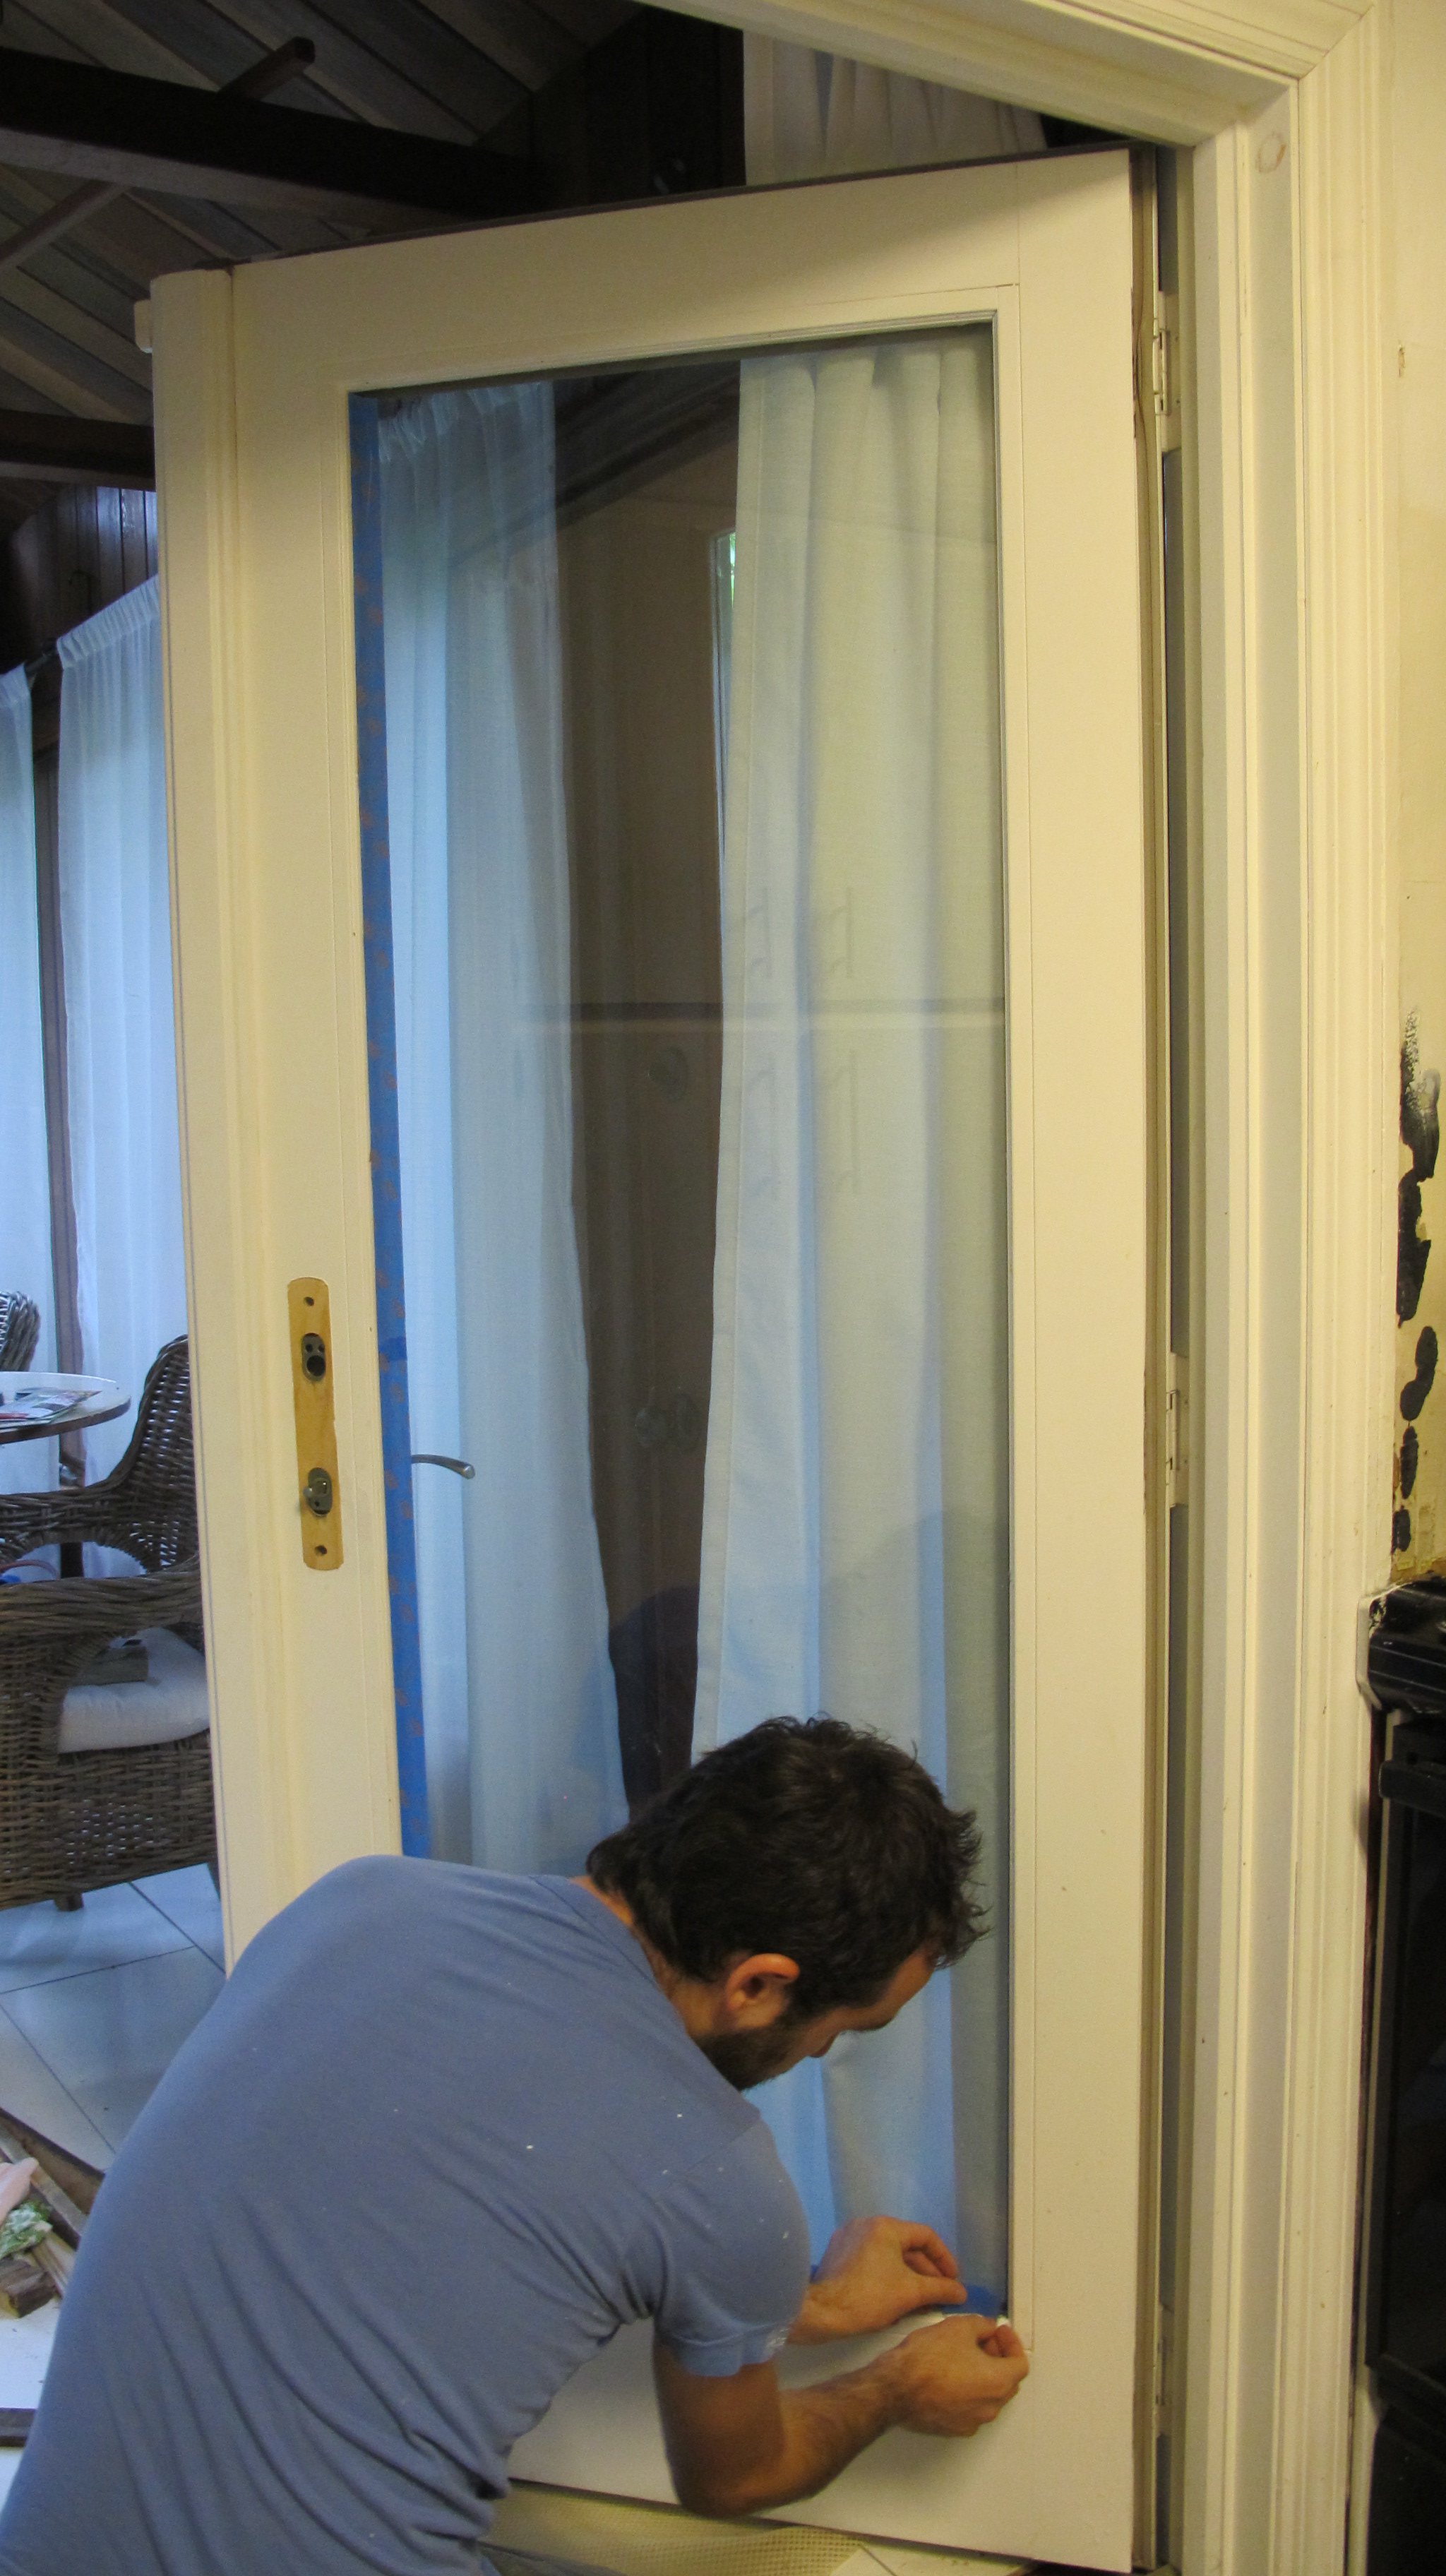
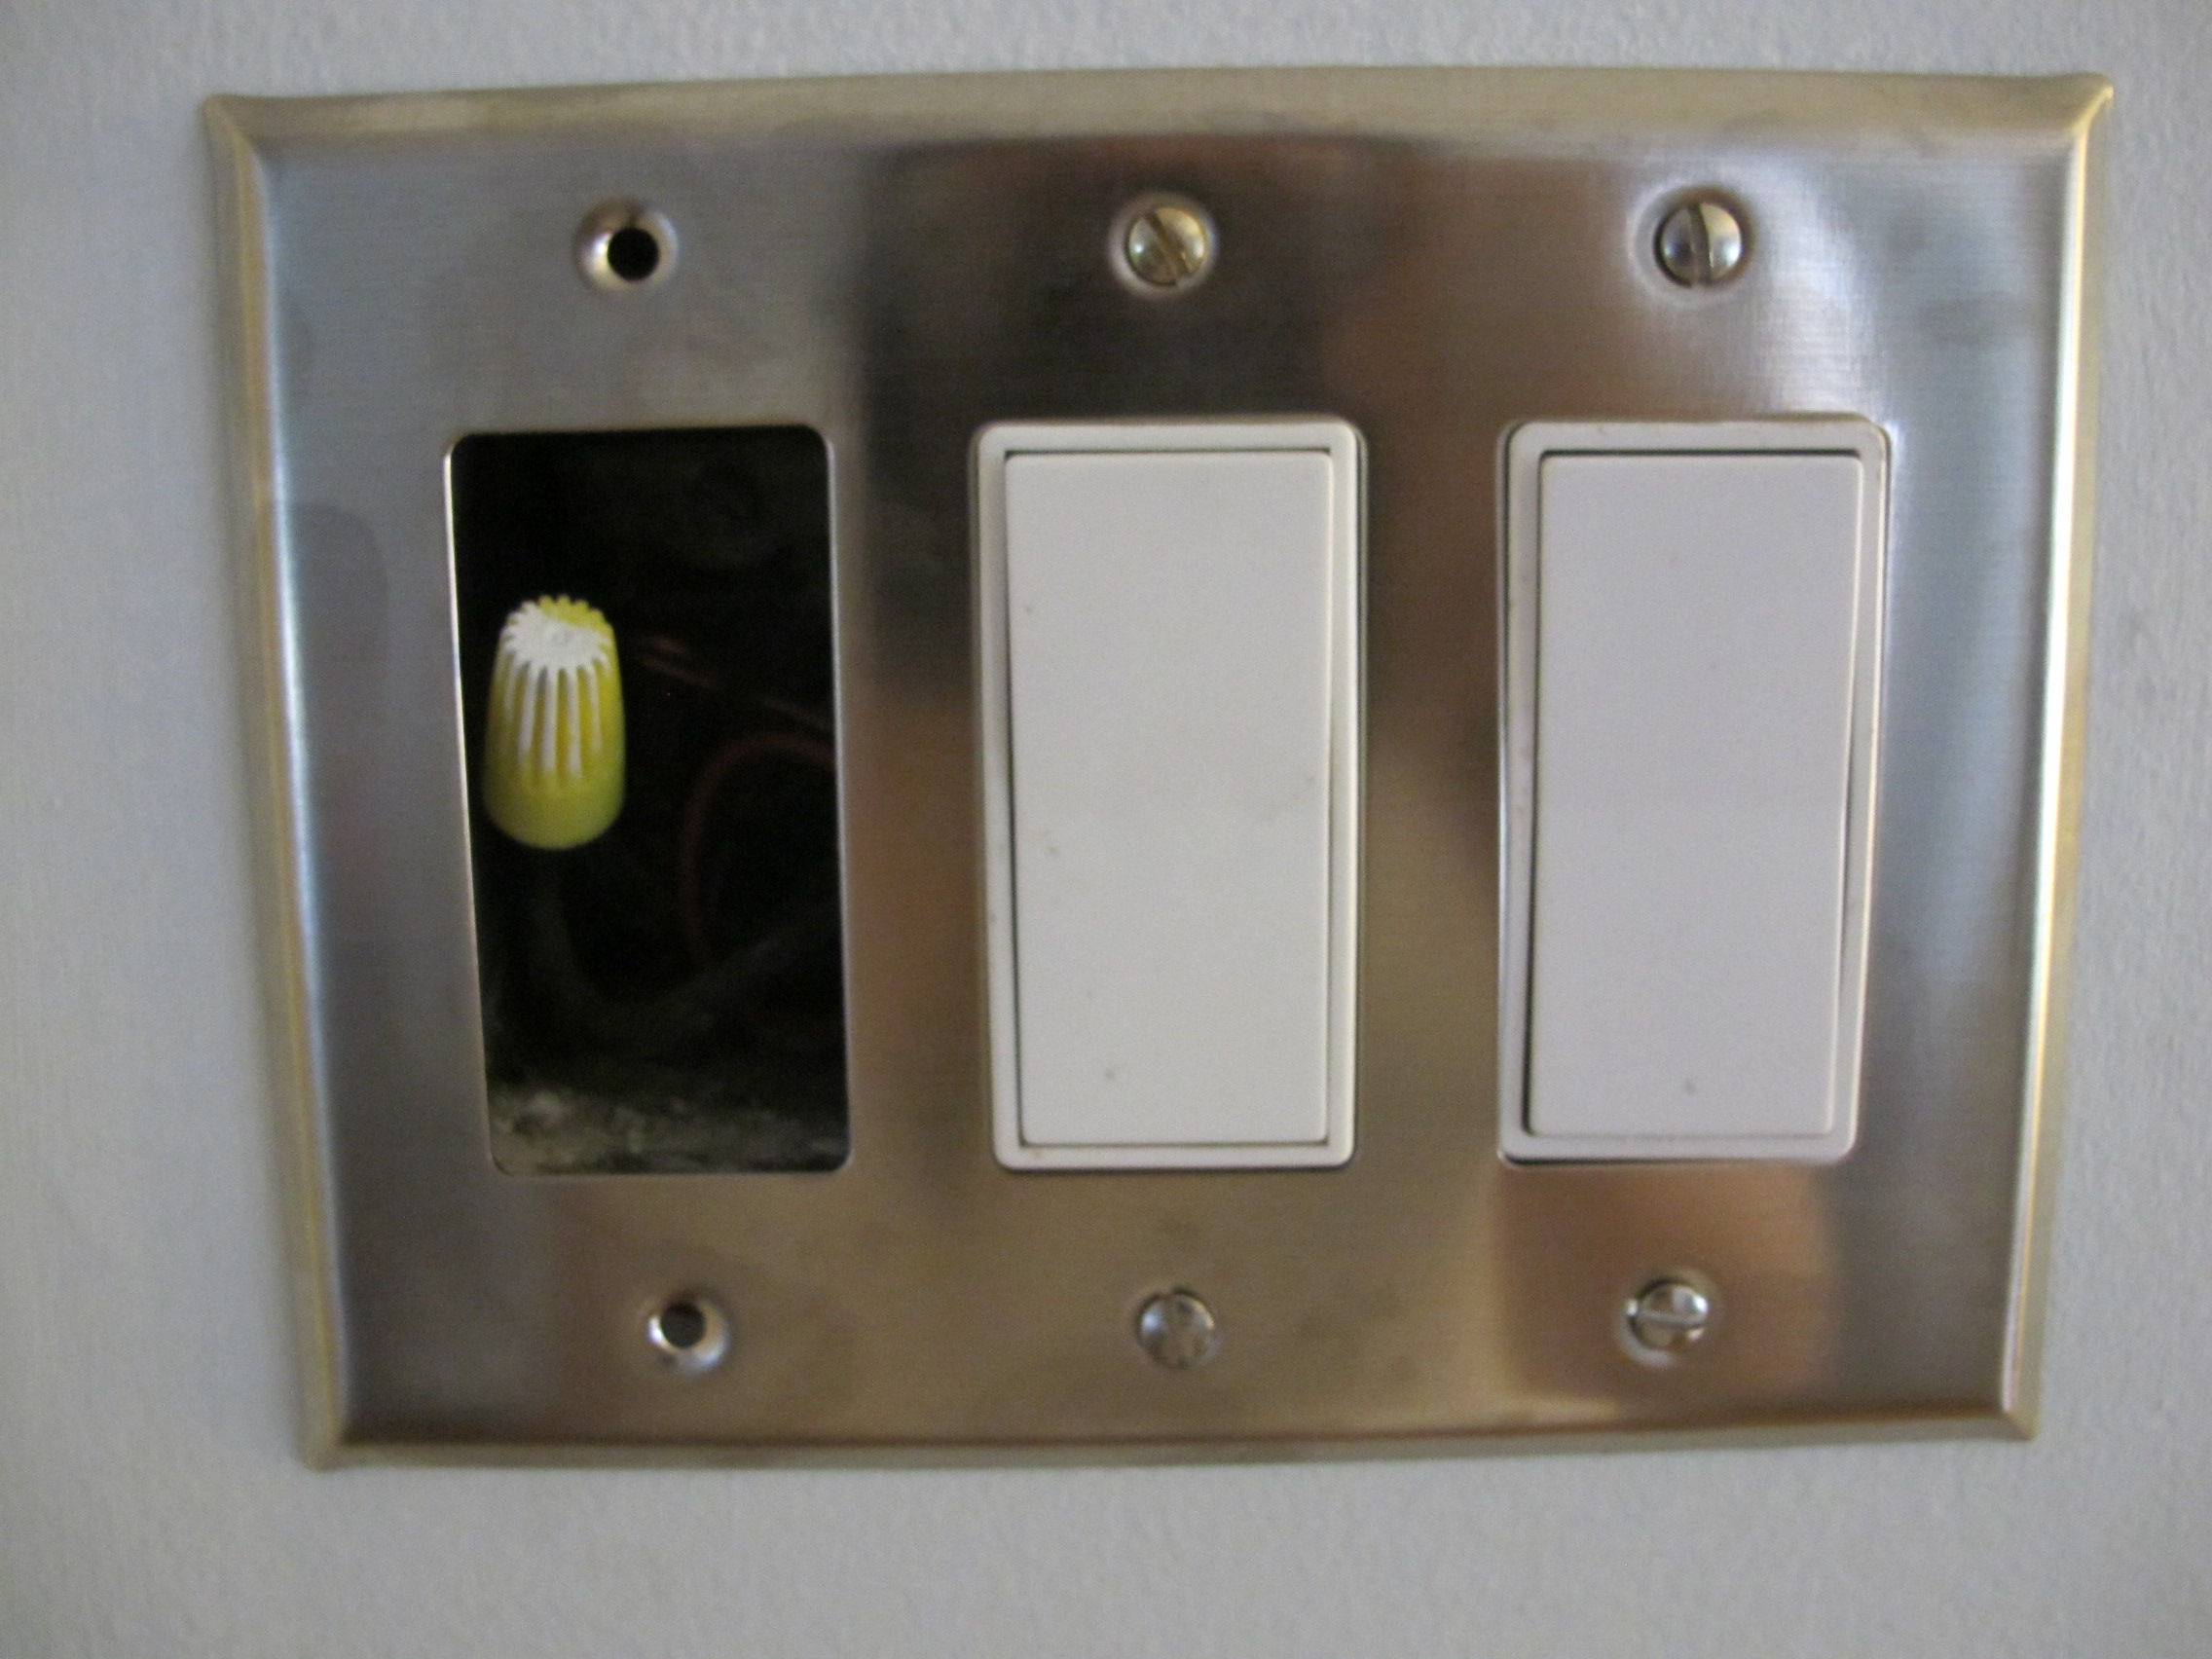
First we taped off the doors to spare the glass any blood like stains.

joey

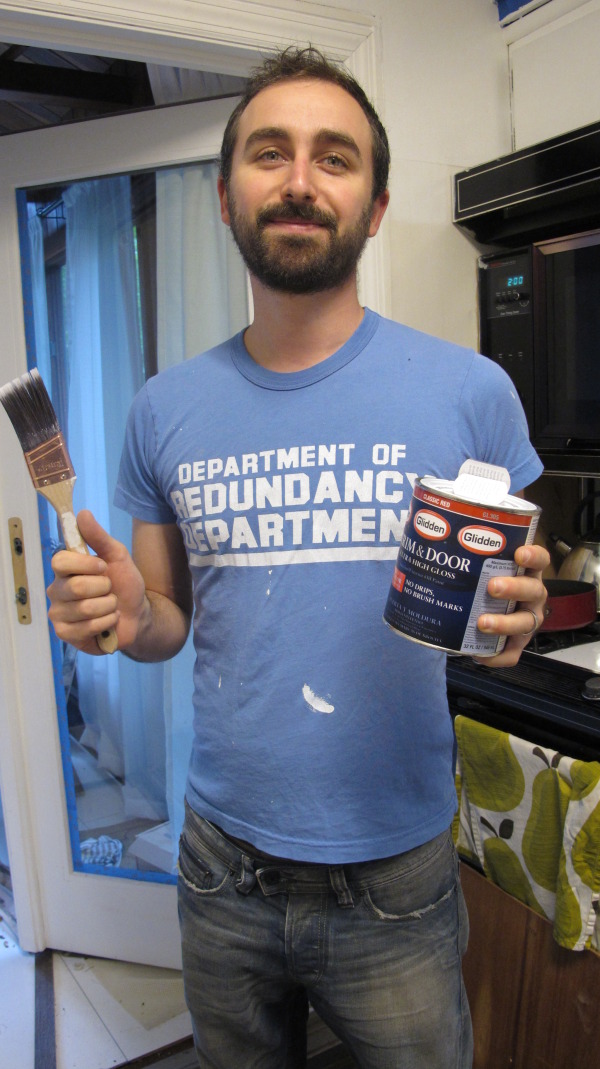
Then we carefully selected the color, Glidden Door and Trim Gel, in classic red. Next was to review a three pack of Purdy Paint brushes. We chose the 1.5" for this project. Gel is tricky when it comes to using a brush again, and we figured this was the brand to test it on.

The process went something like this: Dip brush. Paint. Gasp! The gel and Purdy paint brush combo - awesome call when all was said and done. The first layer of paint on the door looks like someone smeared blood over a white wall. It's really scary until you get that second layer on. It's oil based so we had to wait eight hours in-between. Those eight hours were painful. Oil is a beast to work with.

The paint brush was SUPER easy to work with. Not a single stray brush hair, and it held up to the weight of the gel quite nice. It also cut better than any brush we used before. It took a lot of paint thinner and cloths, but the brush was totally save-able! Even with such thick oil based gel. Pretty awesome. Tomorrow we are going to show you what the brushes look like after oil vs. after latex paint.

dirty

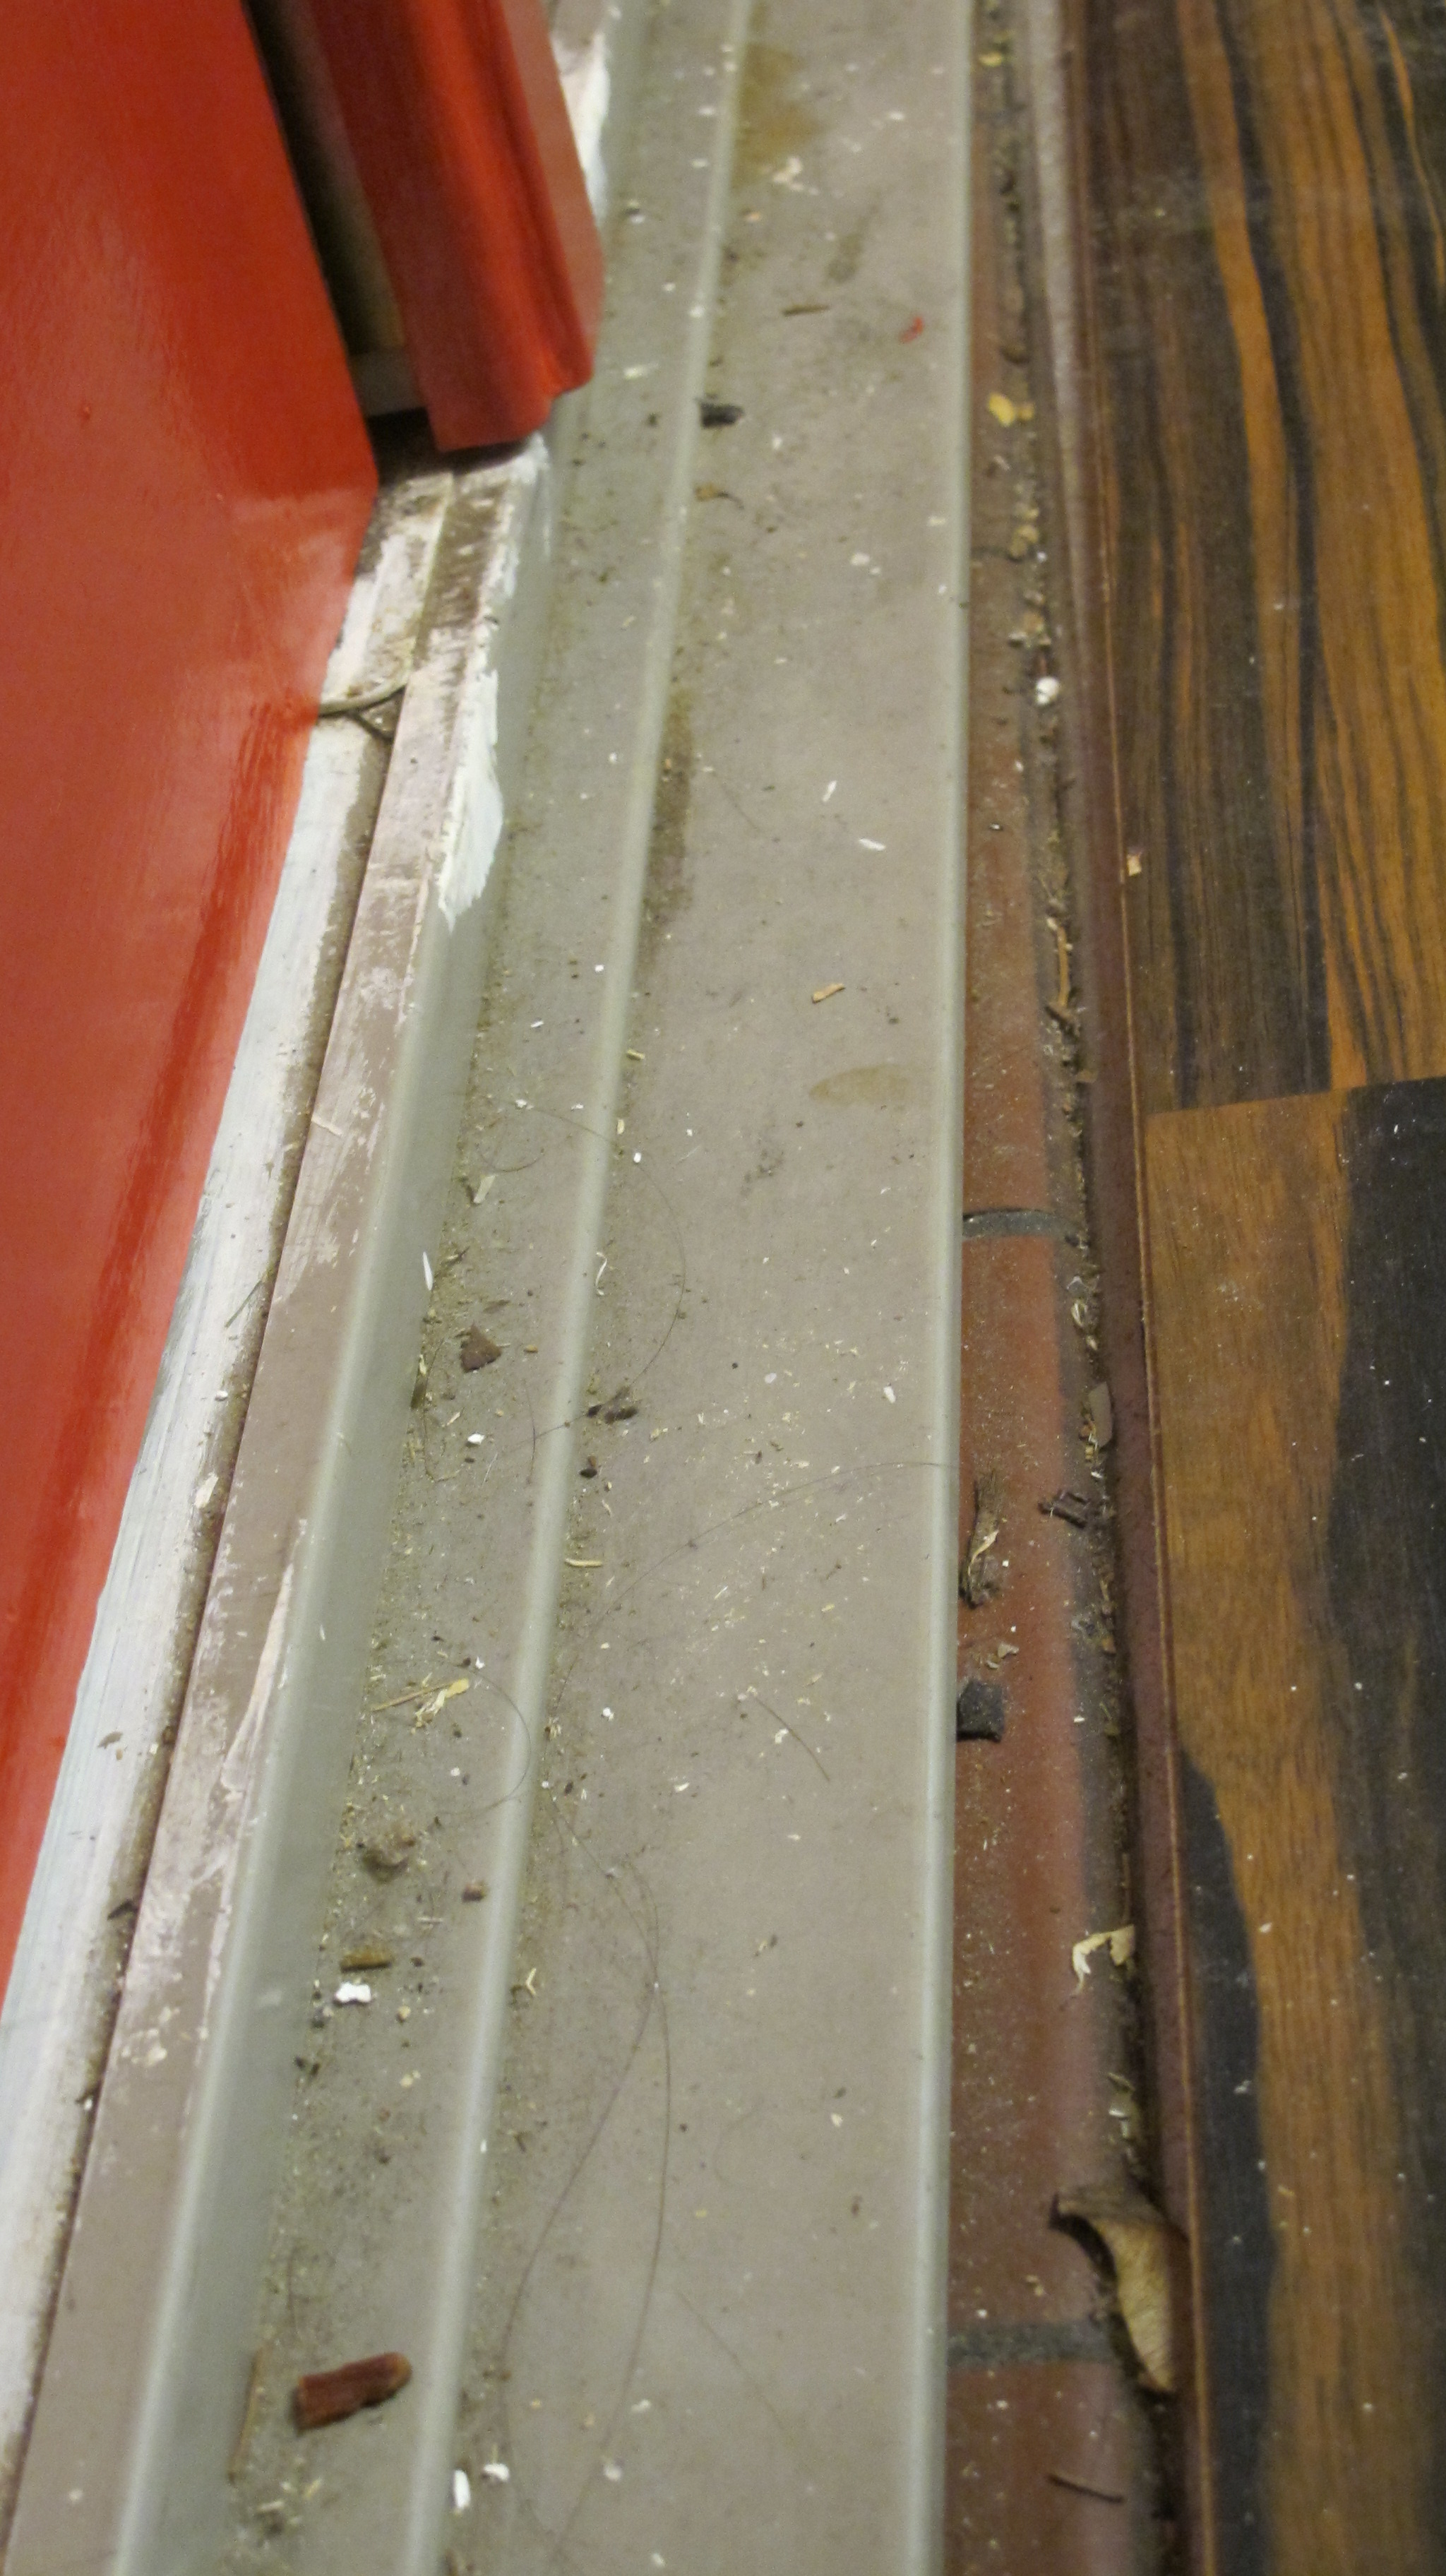
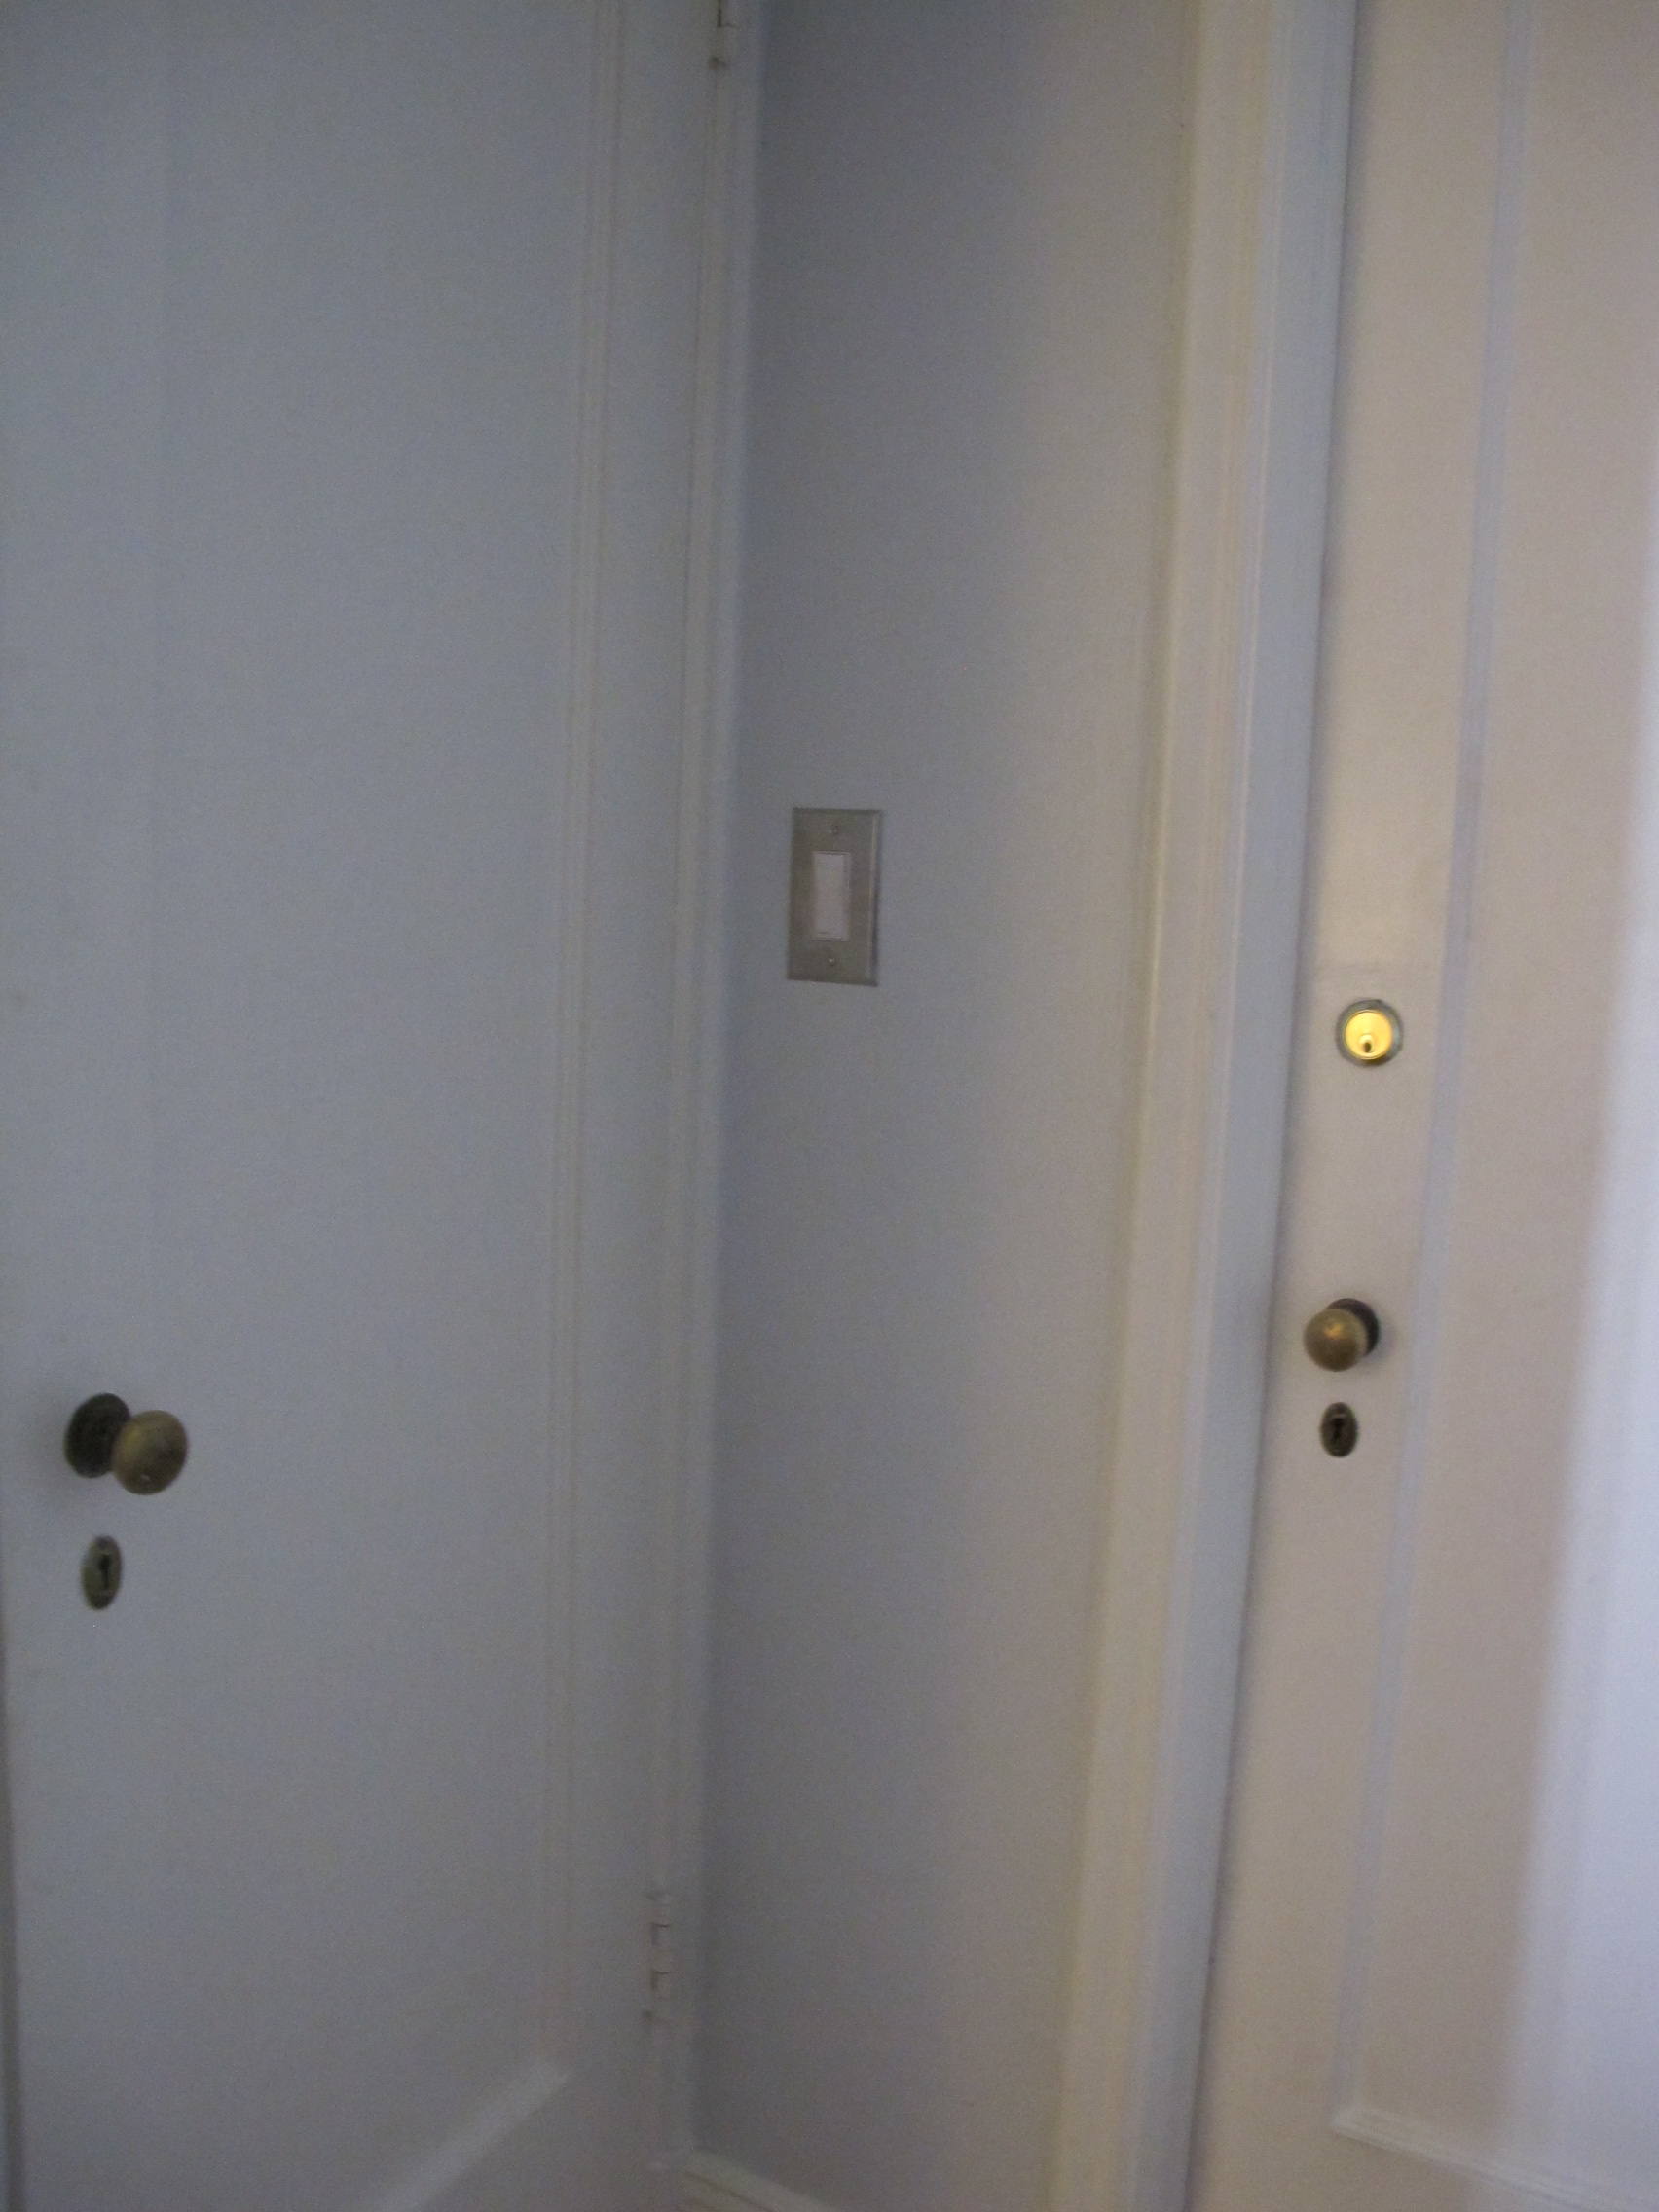
We also had this super gross problem to solve. This is a week of build up. See the mudroom had these tiles before we put the glossy white floors down and it crept into the kitchen a bit. When we laid down the floors in the kitch, we didn't properly merge the door frame with the floors, hence the gross canal build up of life every week.

floor

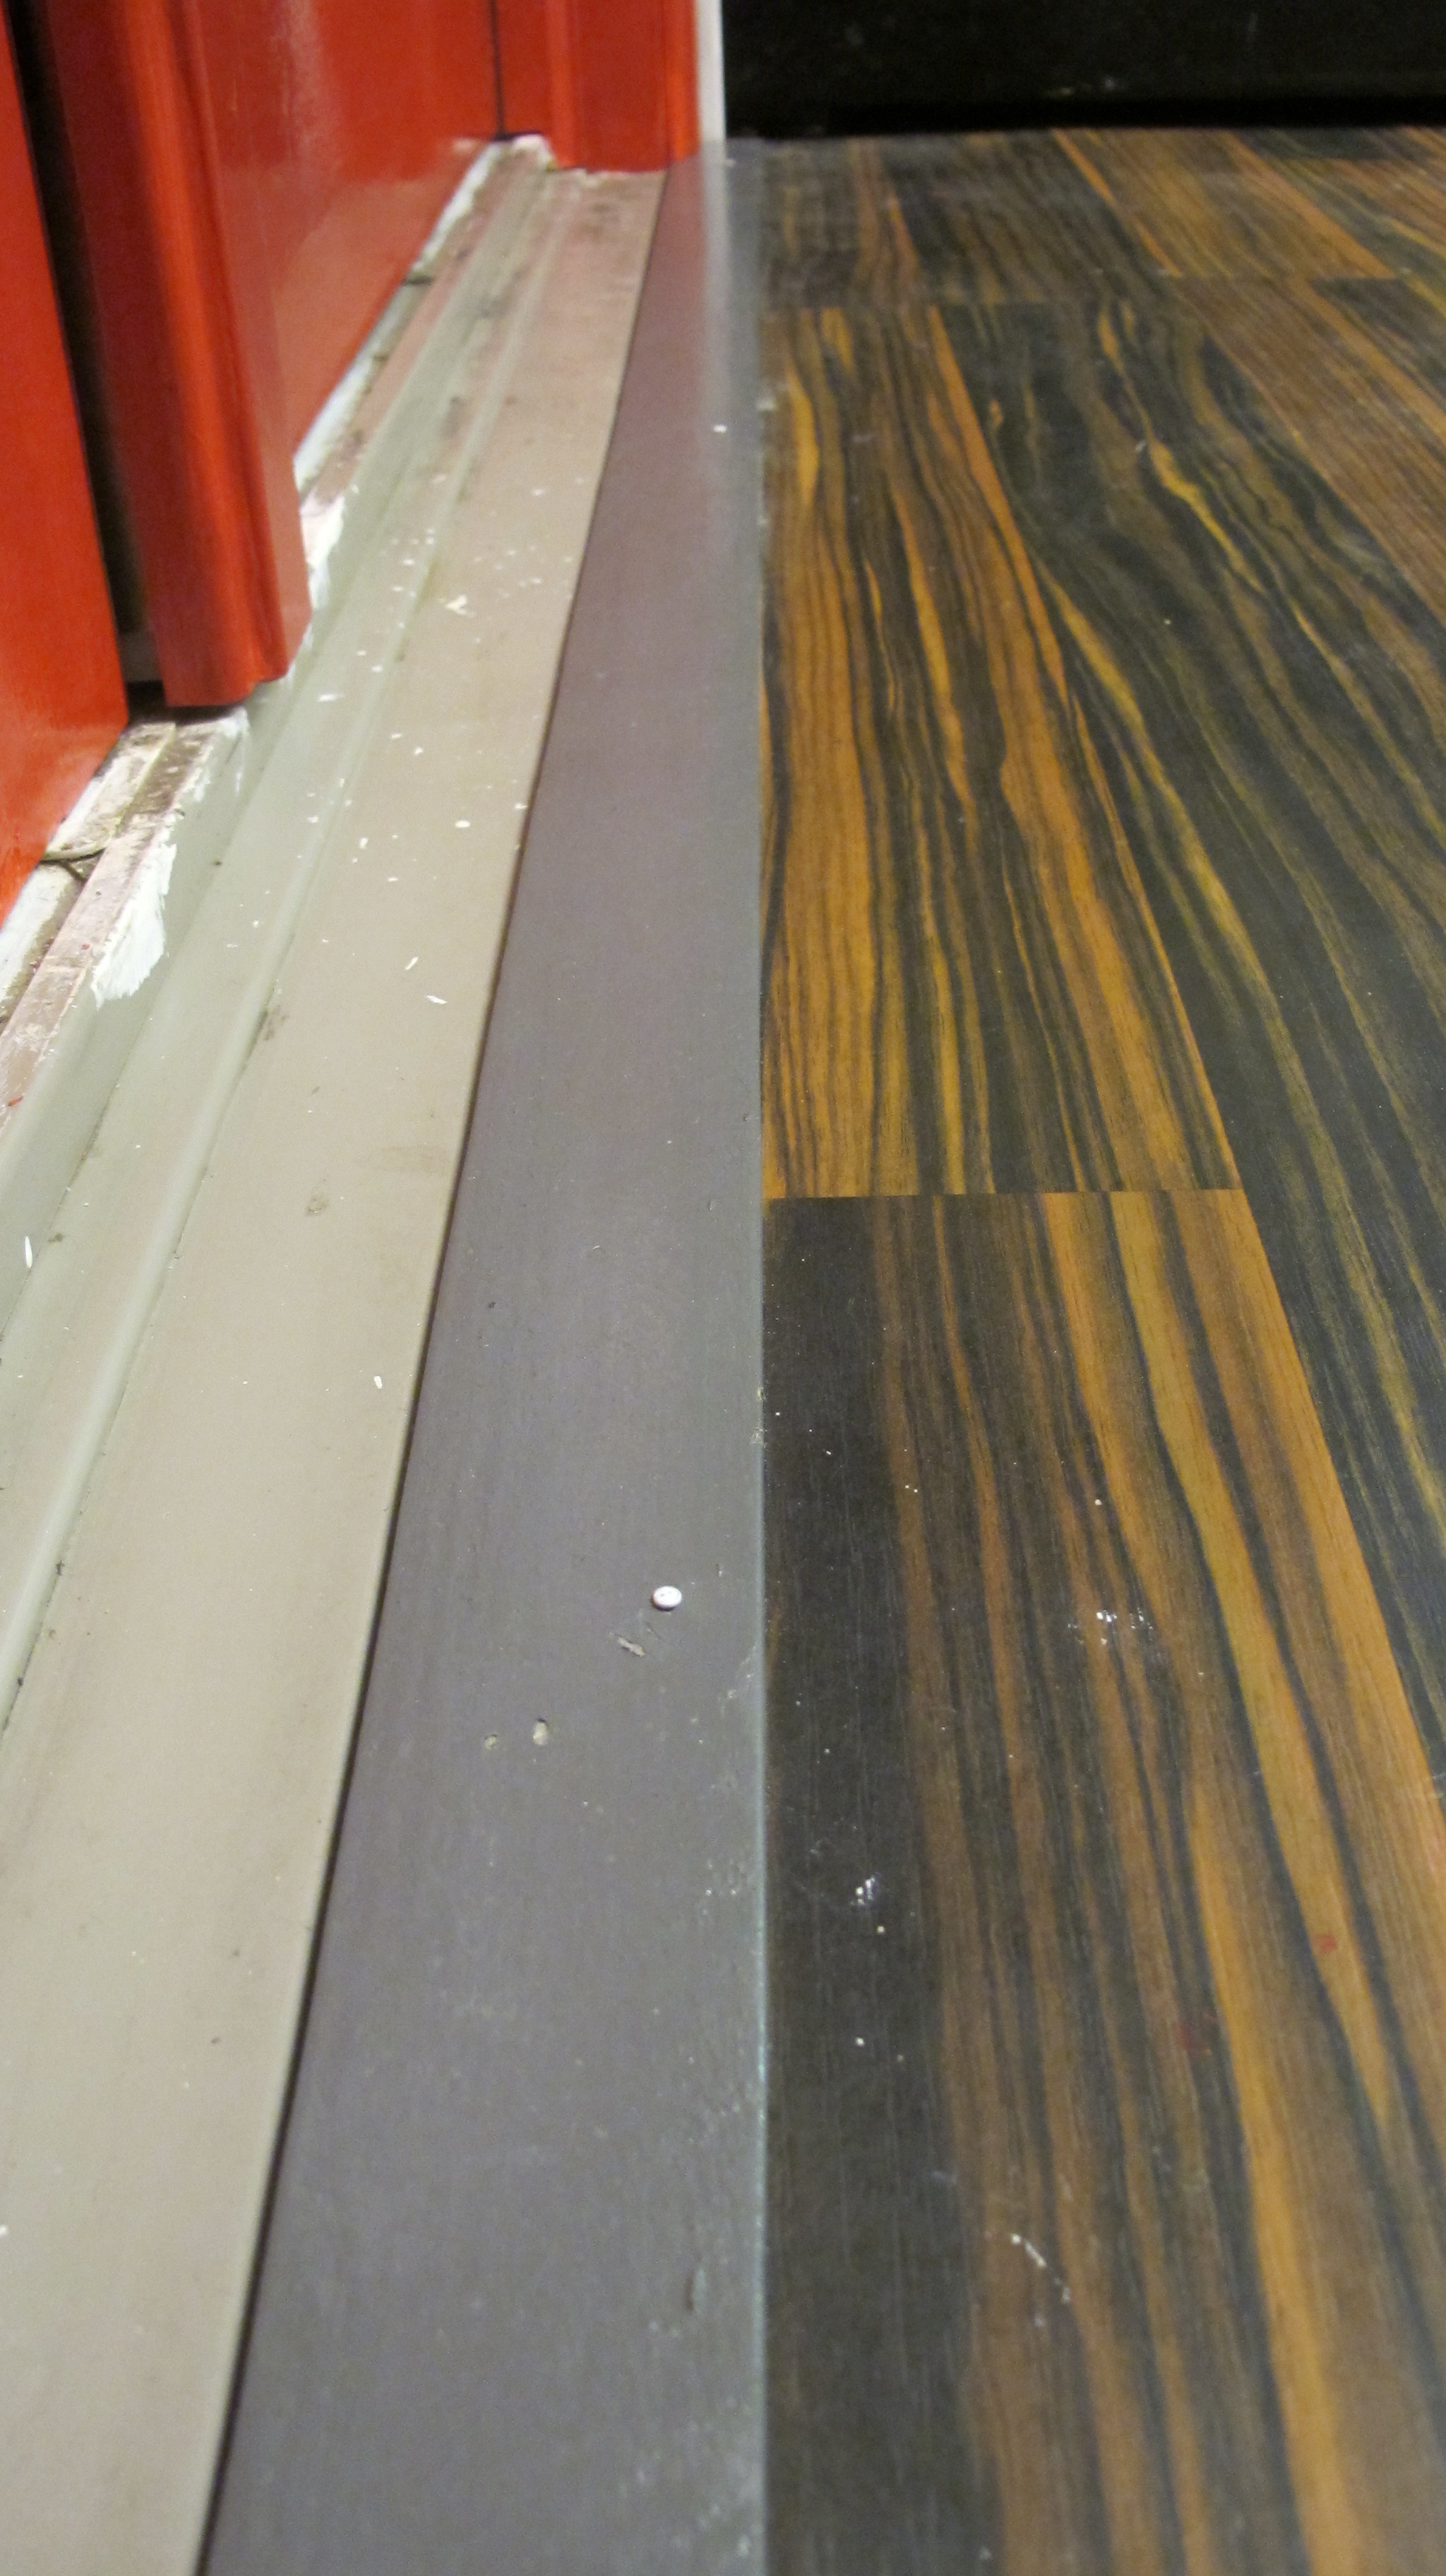
Luckily a simple strip of painted wood solved that problem. We simply nailed it into the floor and made sure the door can glide over it easily. Now for some paint thinner and goo-gone, and the door frame will look good as new!

red

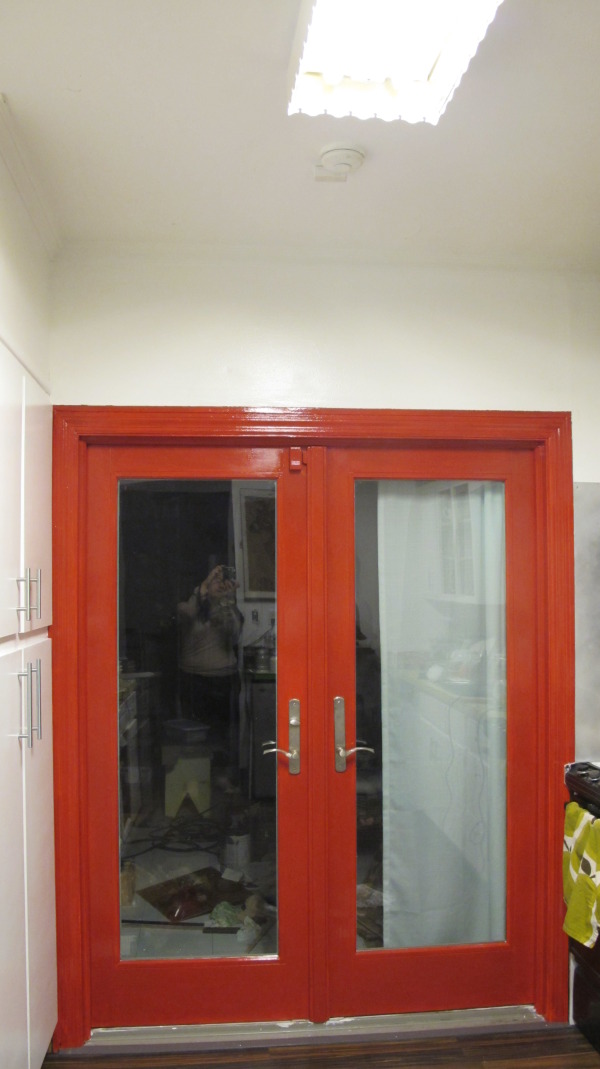
So the door is done and dried and we really dig her. Perhaps this is a step in convincing Joey we should paint our front door something bold and fun! If you look hard at the pictures above you can sneak a peek at the newly finished cabinets we have going on. Yep, we are 70% up! Though the door wasn't technically part of the list, it feels good to add a little bonus to the room. The cabinets on the other hand are going to be the best thing ever to check off! The sink and counters will be here soon! I have the perfect title for that post....


Tuesday
Oct182011

It's Progress Report Time People!

Hi there love! How was your Monday? I spent most of the day painting the downstairs guestroom. It already looks soooooo much better! Lighter, brighter! I would totally share photos, but it's a stencil project, and what's the fun in sharing the first layer? We also started hanging the refinished cabinets up in the kitchen! I do however have some photos to share! After 40 days and 40 nights of rain in the NYC, I finally got some shots of the upstairs guestroom with some sun light. She's done!

When I say "done", I mean shes in a condition we don't dread, and we know some other stuff needs to be done, but we are happy for now. It's totally our POW room. Everything in the house is pretty neutral so far, and it's a pretty random room. See we had a pretty colorful apartment, and I had so much stuff from Etsy and Anthropologie, I just had to make a room to justify keeping some of those prized possessions.

I had some left over fabric from the closet curtains, so I whipped up a little pillow for the reading nook. The chair I grabbed from the garden room and the fan we found ages ago at Elephants Trunk. The chandy is from Urban Outfitters, maybe 4 years ago.

So we are crossing this off the good ol' list! It was awesome to do a room at no cost! The only thing we paid for was the lamp and $100 for the fabric. I am dedicated to getting the next guest room done twice as fast. If you are keeping track, here is where we are at:

1.) Finish the kitchen cabinets (oil polyurethane yellowed, now we need to redo with water based. we were warned).

2.) Finish the curtains in the guest room; I reordered the fabric! Should be here soon! + Finish styling

3.) Greywash fireplace in bedroom

4.) Greywash heater covers in bedroom

5.) *Bonus* Greywash whole closet in master bedroom.

6.) Patch water leak in dining room + paint entire dining room

7.) Patch water leak in foyer + paint entire foyer ceiling

8.) Paint/Stencil downstairs guestroom - 1/2 DONE!

9.) Patch wall in downstairs bathroom

10.) Move couch to Joey's office; two flights of stairs...ugh!

11.) Buy new dishwasher and have it installed

12.) Buy five (yes five!) fans and install

13.) Install backsplash in kitchen

14.) Install counters in kitchen

15.) Purge my closet, big time - Hello Goodwill!

16.) Install light outside we bought two years ago - I know, I know...

17.) Hang pillars in bedroom + finish that window wall

Now that your down reading this, go enter this weeks giveaway!

Tuesday
Aug092011

Shim Shimma

Hello lovelies! We are off to a late start this week, with good reason. My dad turned 70! We took a little trip to celebrate with some family and now we are back home cracking the whip at the good 'ol to-do list! Gotta love the perks of real time blogging!

So, we have been living like this in our master bedroom for months....

Ugh. Not so safe. Not so pretty. I just super hated those plastic off white guards so much. So, We switched out all the faceplates in the room with these...

Mucho better! Notice one of the slots where a switch is supposto live is empty? That's where good 'ol Mr. fan is going to reside - once we finally make a decision on a fan! So for now this one looks a bit wonky, but the rest look super slick!

One thing we are on the fence about it the white switch inside the faceplate. Just don't know how to feel about that yet, but we are super in love the with hearty brushed metal faceplace, no doubt. Now to think about the brass knobs! Some more shimma we added to the room came in the form of spraypaint!

The master bedroom had this tiny speck of pink I just couldn't handle any more. I had to do something about it. I loved the vase that was pink, but I just didn't dig the color for the bedroom

So I lugged her outside while Joey was working on the cabinets for the kitchen, plopped us in the middle of the back yard along with some silver spray paint and foil.

I wrapped the rubber plant in the foil, as to not put stress on her by repotting, the potting back in the pink vessel. She's one of the few plants I haven't killed yet.

Then I simply went to town with the silver spray paint. No prepping or priming, just straight paint on vase action. And it worked. And it looks sooooooooooo much better in the bedroom!

It's not that I don't like pink, I love pink! I just didn't want pink in the bedroom!

So there it is! I am still figuring out what to do with the foot of the vase. I want to think of something unique!

So how was your weekend? Did you add some shimma somewhere in your home?! I want to see.