Related Posts Plugin for WordPress, Blogger...

                   Follow Me on Pinterest


photo cards


OpenSky

Freckled Nest - Design by Kelly Ann

Home & Garden Blogs
BLOG DIRECTORY
Online Marketing
Home Improvement Blogs - BlogCatalog Blog Directory

Entries in True Value Blog Squad (16)

Wednesday
Oct202010

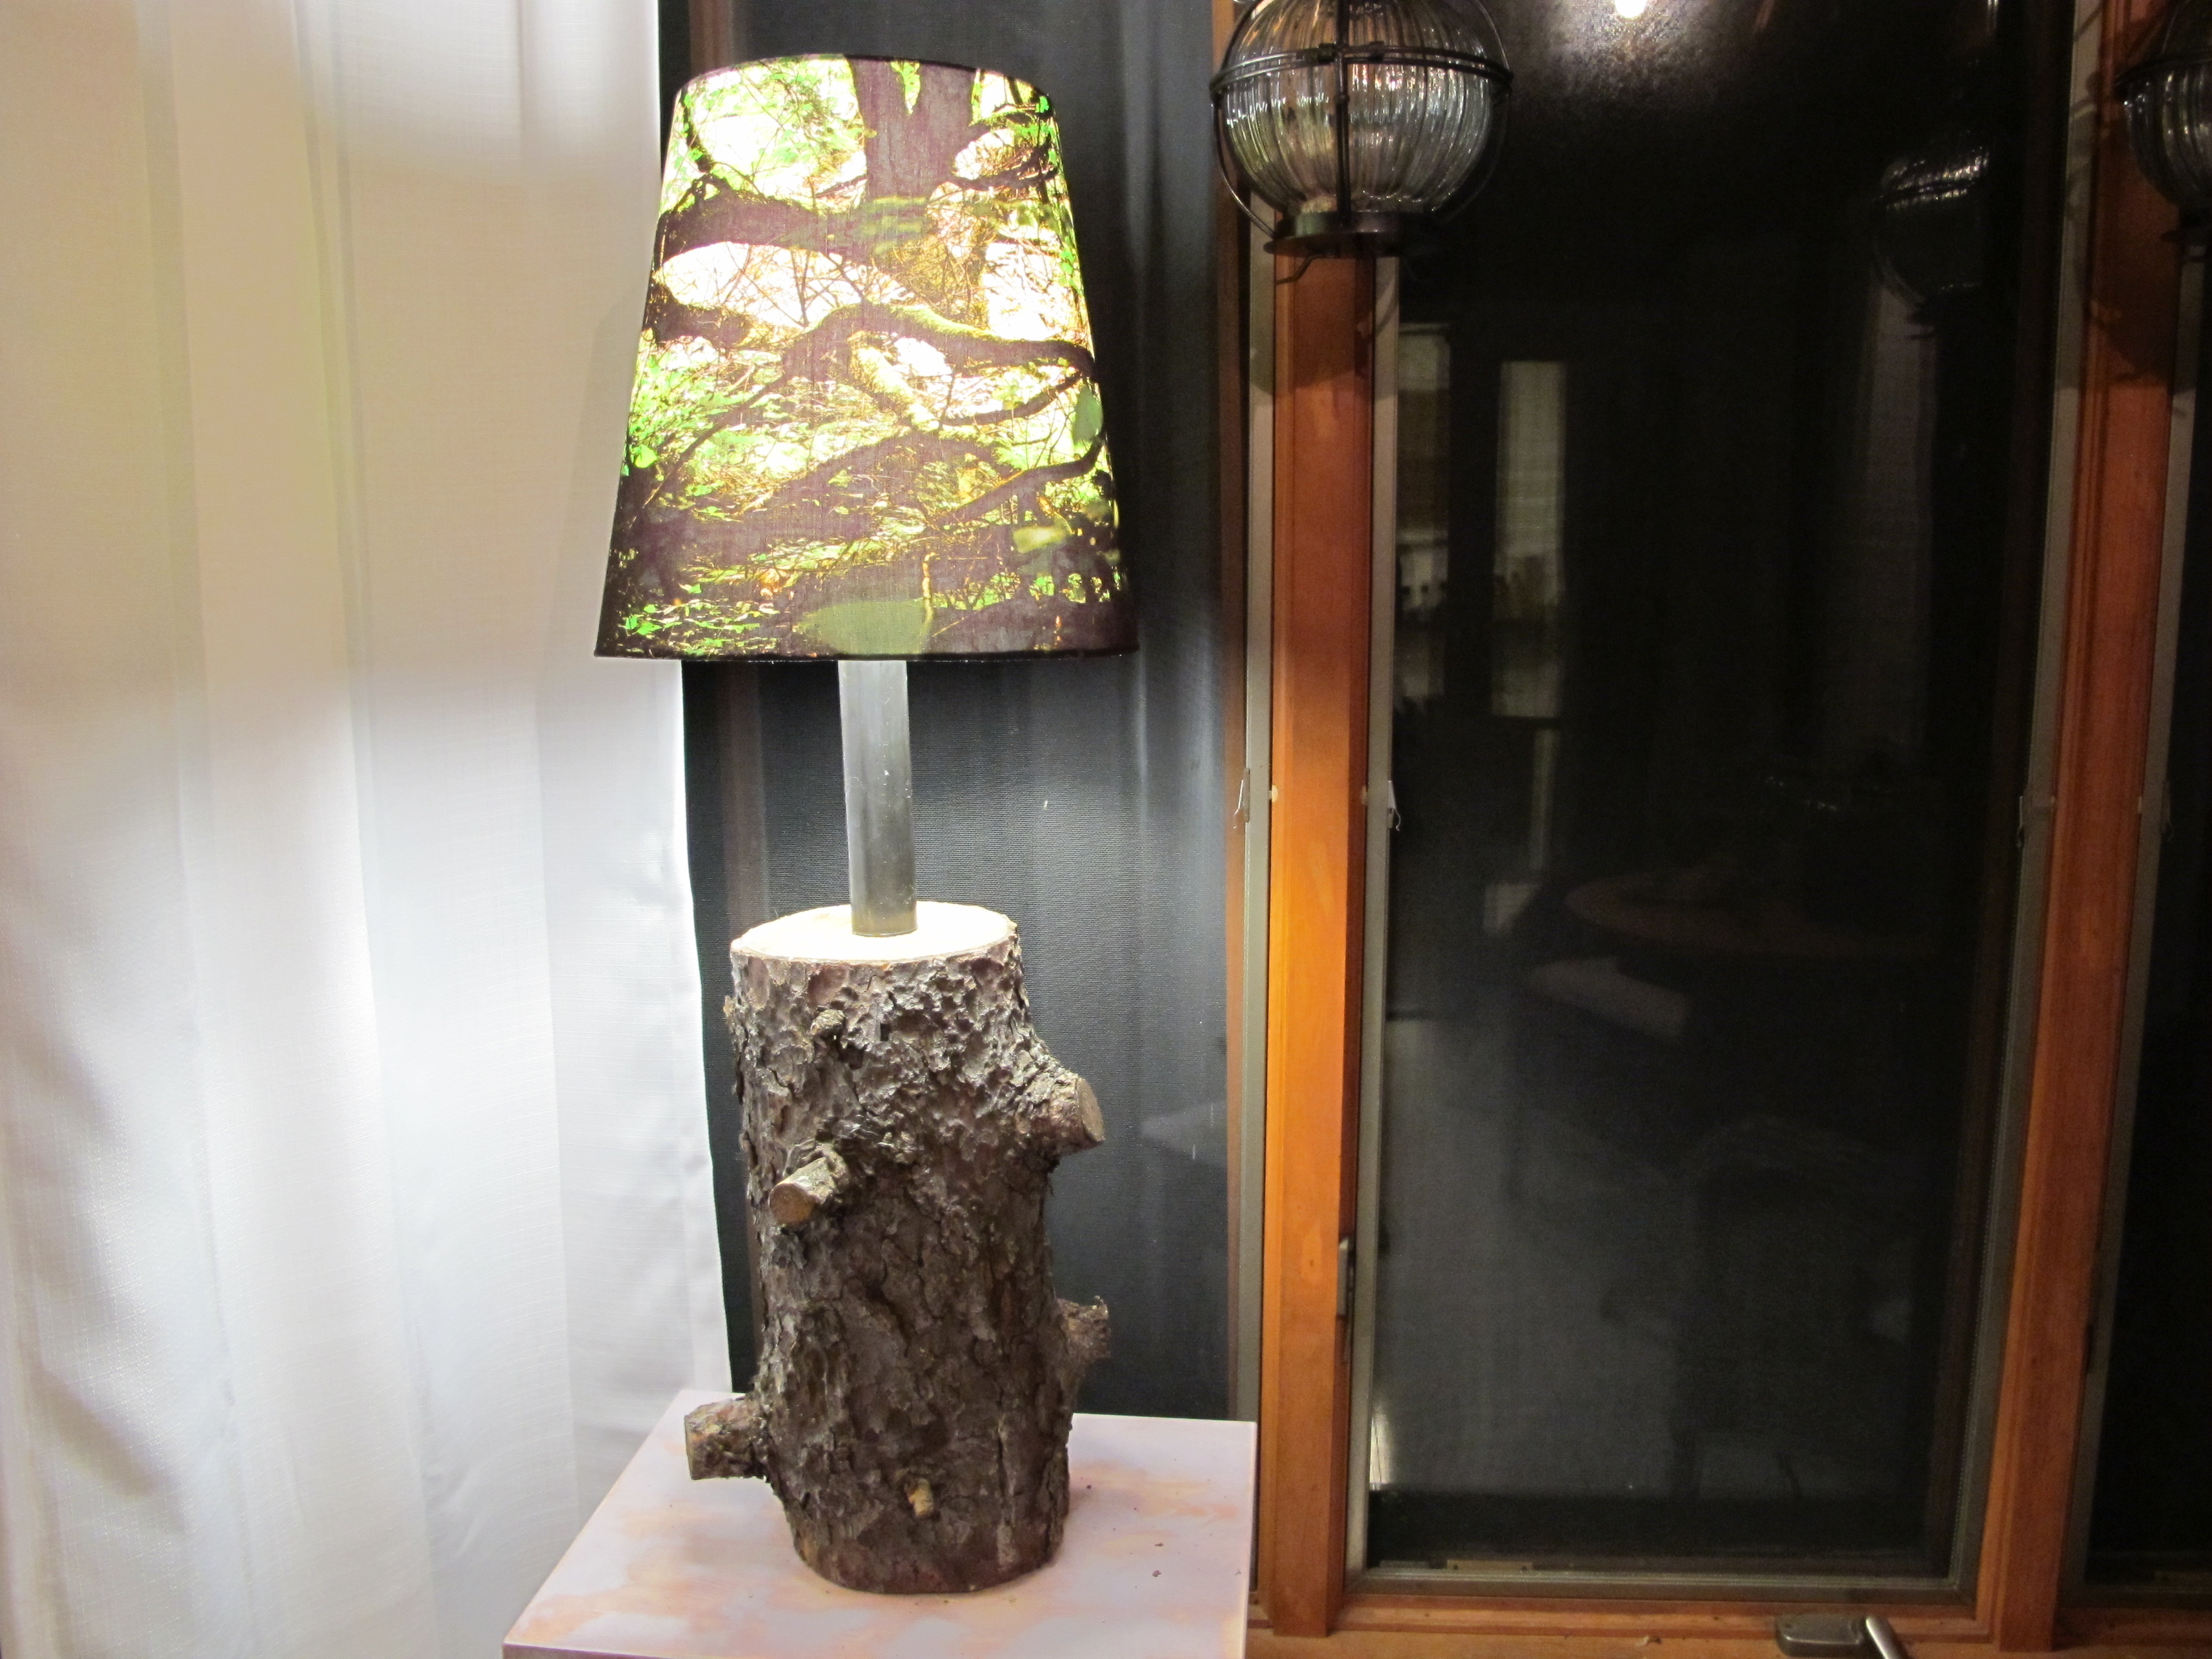
Slap some paint on it: A Quicky Blog Squad Project


Ohhhhh how we love a quick, cheap project!


What do you get when you mix an outdated brass floor lamp and a bottle of XO Rust spray paint? An awesome-up-to-date  floor lamp that can live in any room!

The floor lamp was a hand-me-down from Joey's Amazing Aunt who gifted us all sorts of goodies this past Fourth-O-July! This piece we all collectively cringed at, but I had plans for this dated wonder. 

True Value told us about XO Rust, and we were so excited to try it out. We have a bunch of updates we can't wait to slap this paint on, but first we needed to fix our sad little floor lamp before we battled the elements outside to spruce up the outdoor light covers, which look a little drab. 

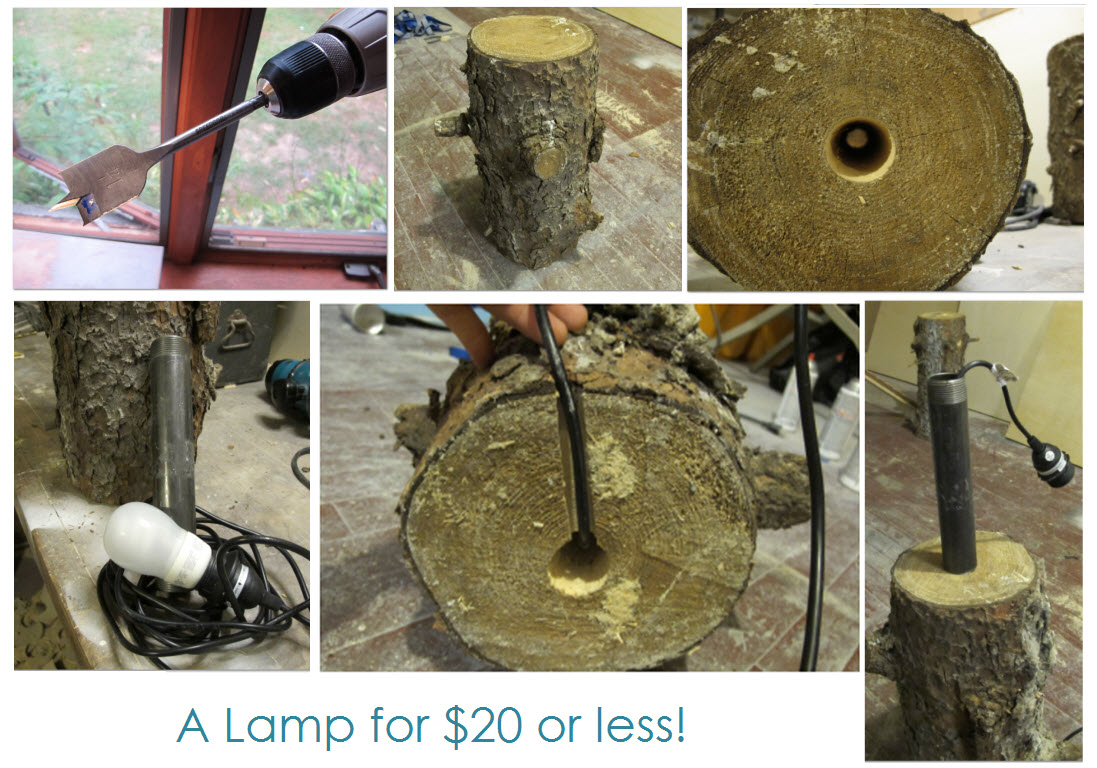
This project is super simple:

Any metal, rusty, brass, or brassy item you want to give a facelift to.

A bottle or two of XO Rust indoor/outdoor spray.

- That's it! The paint has a "built-in" primer - so you are good to go.

Step away from you object! Only a couple feet, and with soft strokes about two feet in length(depending on what you are spray painting, I am using the floor lamp as an example) - spray back and forth! That's it. It was so over the top easy to transform this trash to treasure - I am for sure, newly addicted to this stuff. I will be hitting the junk markets soon - in search of rusty treasures to restore! 

Lets get legal: We were one of the 10 bloggers True Value has chosen to work on The Blog Squad , and we are way excited to take on the challenge of showing you exciting DIY projects.  They have compensated us for our time and writing, and provided materials for the projects we have worked on. However, our opinions are entirely our own and we have not been paid to publish positive comments. Did we mention we are excited to show you our DIY Blog Squad Projects?


Monday
Oct182010

TRUE VALUE BLOG SQUAD CHALLANGE: HOW TO MAKE A SCREEN DOOR - NOT A BORE! PART 2

It's been clear to us we keep many projects running at one time. We could have potentially finished the screen door a few weeks back, for sure, but you know how we love to sit on things and L-O-V-E them before we finalize it. Let's just say, we L-O-V-E how the door turned out! 


This was indeed a labor of love. Our dear friend Duane, sketched out the design, Joey routed it, together we painted it and weatherproofed it with Minwax, spray polyurethane, from our local True Value store (all the products were found at our local True Value Stores, including a True Value lumber yard). The white and darker blue (Royal from Krylon spray paint) is one solid piece of wood cut to size. The light blue scalloped edge was hand painted with True Value brand paint sweetly names Haily's Heart in a 4 oz. sample tub. Here is how we attached the scalloped edge with a seamless look:


Joey sized some little white nails by cutting them in almost half to keep the edge nice and stable. We decided to keep the inside of the door pure white, to compliment the mudrooms serine feeling. It also makes it feel more cohesive and adds a bit of a surprise when you walk outside. 

We can't wait to fix up the backyard entrance and add a new light, some plants, and refinish the stairs and outside of the mudroom. We know this was made to be the Au pair's entrance, and most people would not focus on making it a beautiful space, but I can't help it. It just so happens when you walk out that door you are faced with a raised garden about three feet off the ground. The bushes are wild now and grow raspberries amongst many other things - but picture wild flowers, veggies, and fruits - right outside your kitchen! 


So here she is in all her glory, both the inside and the outside view. We have A LOT of work to do out the outside of the mudroom! for such a tiny space it houses French doors, a sliding screen door and the door displaying the new screen door finishing. 


We would love to know your thoughts! Have you made a bold piece situated on the outside of your home? We would love for you to share your quirky projects with us!


Lets get legal: We were one of the 10 bloggers True Value has chosen to work on The Blog Squad , and we are way excited to take on the challenge of showing you exciting DIY projects.  They have compensated us for our time and writing, and provided materials for the projects we have worked on. However, our opinions are entirely our own and we have not been paid to publish positive comments. Did we mention we are excited to show you our DIY Blog Squad Projects?

Monday
Sep202010

Stumped! A Quickie Blog Squad Project

Sorry, I couldn't help myself. It was too obvious of a title for this post, I couldn't deny myself of the pleasure of it's simplicity! 

This is a super easy quick project that costs next to nothing, wont stump you, and will make you smile for sure. Here is what you'll need, how to do it, and what it costs:

Materials: purchased at True Value

A stump: FREE

Wiring, we got ours at Ikea: $4

Lamp Shade (optional): $10

Tools: 1 1/4 " Hole bit: $10

1 1/4" thick metal electrical pipe" $8

Router (optional)

Total: $20-$25

 These photos really do the talking for us! Drill a hole down the center of the whole length of the stump with the 1 1/4" hole bit. Decide what you want to be the top and the bottom of the stump. On the bottom of the stump, rout away space where the cord can fit in so the stump fits flat on your surface. Shove the pipe in the top, and then feed the cord through the top. Add your bulb and lamp shade - and you are set!

You can modify this however you want. We are thinking about spray painting the stump white, or covering the stump in a polyurethane. This stump we placed in the mudroom, and have been playing with other methods for the bedroom and maybe even the kitchen. We decided to work with stumps after a large storm in New York knocked down a bunch of trees and people were throwing them away. Have you found a good use for a stump? We would love to know! We love natural wood, and are trying to create new ways to use stumps in design, beyond the obvious.

Lets get legal: We were one of the 10 bloggers True Value has chosen to work on The Blog Squad , and we are way excited to take on the challenge of showing you exciting DIY projects.  They have compensated us for our time and writing, and provided materials for the projects we have worked on. However, our opinions are entirely our own and we have not been paid to publish positive comments. Did we mention we are excited to show you our DIY Blog Squad Projects?