Related Posts Plugin for WordPress, Blogger...

                   Follow Me on Pinterest


photo cards


OpenSky

Freckled Nest - Design by Kelly Ann

Home & Garden Blogs
BLOG DIRECTORY
Online Marketing
Home Improvement Blogs - BlogCatalog Blog Directory

Entries in bedroom (16)

Tuesday
Mar152011

Accessorizing the Master Bedroom

Good morning pretty people! We are so excited to be moving along with our bedroom lately (can you tell?!)! The decisions come easier and easier with each new piece we bring in! It's such a great feeling! We put together a moodboard of our neutral-british-moroccan-cowboy theme. Check it out.


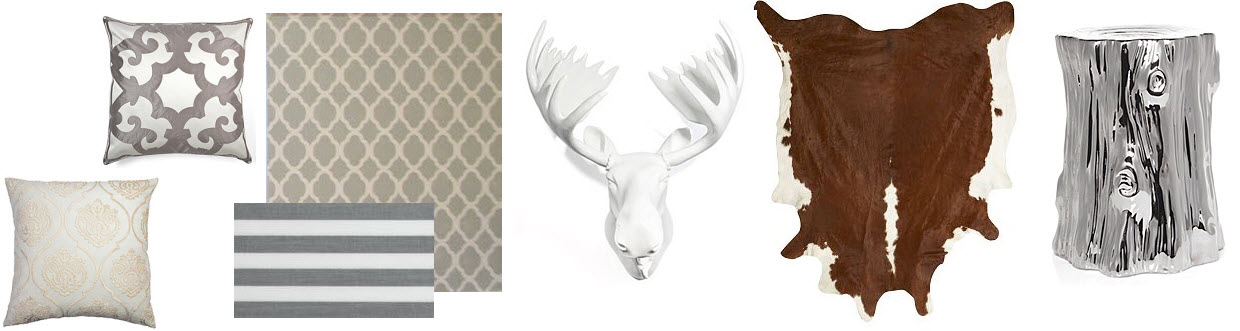
The pillows are from zgalleries.com (don't own yet), the walls were done by Joey just a little bit ago, the striped swatch are sheets from WestElm.com, which just got in last week and the Moose Head was meant for the mud room, but didn't fit, also from Zgalleries.com. The cowhide rug, we just got from ABC Carpet and Home, and that lovely stump is from WestElm.com.

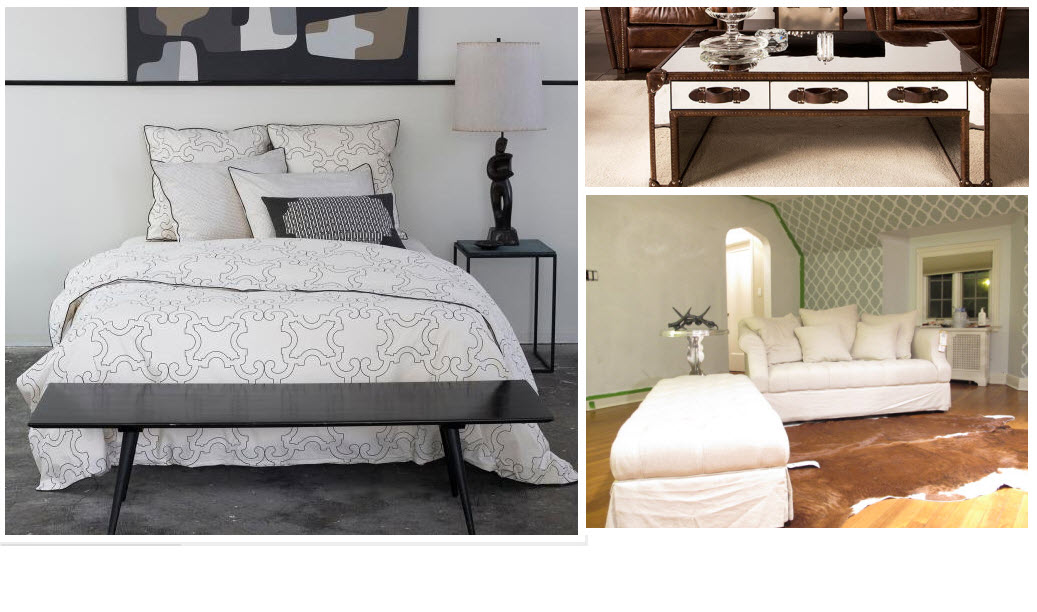
I am very excited we agreed on a duvet, from none other than Dwell Studio, and our shiny little coffee table and matching console table from Timothy Oulton should be here this week! Now we just need to agree on dressing the windows and a rug for under the bed and the rest is g-r-a-v-y. We have some old army trunks we are going to do a little DIY project on and show you how to spruce up your own very soon. We feel super lucky to be getting the master suite we have always dreamed of for much cheaper then one would normally spend. With a little DIY effort and some deal hunting, we have managed to save the following so far:

$1,800 couch we scored for $600

$600 ottoman we scored for $300

$999 cowhide rug we scored for $349

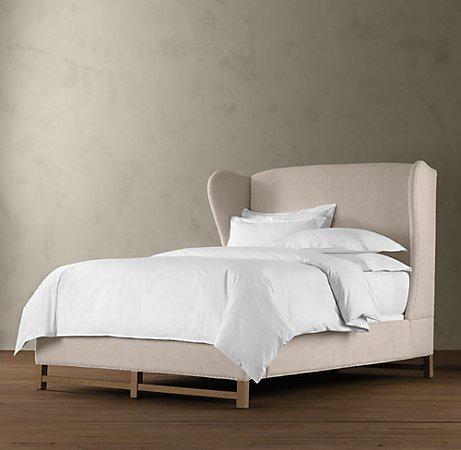
$5,000 bed we loved, we built for $500

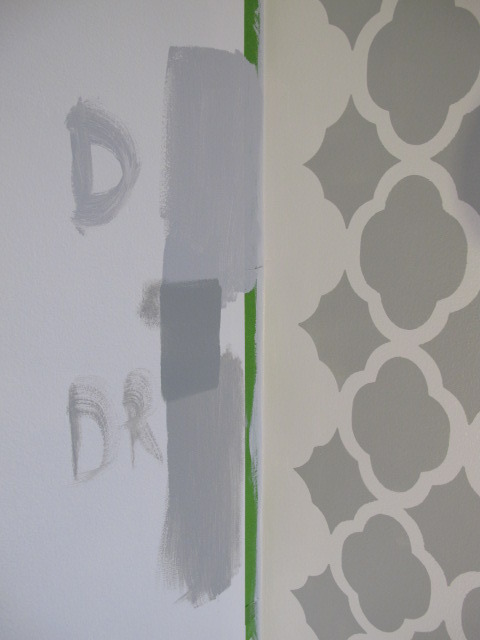
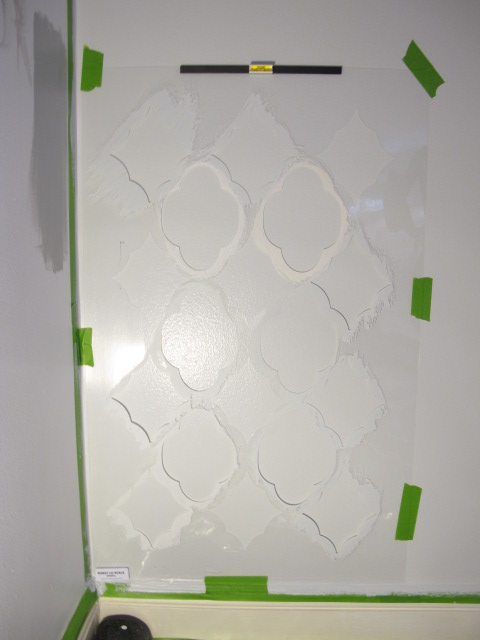
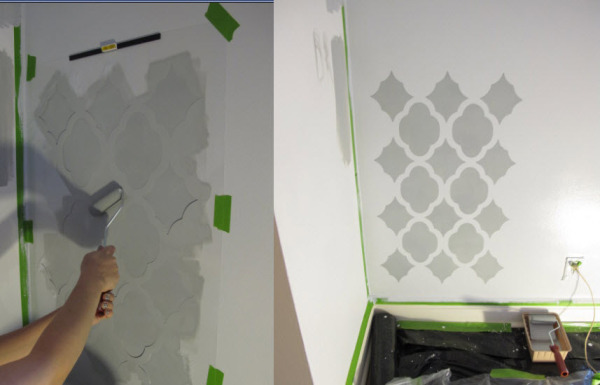
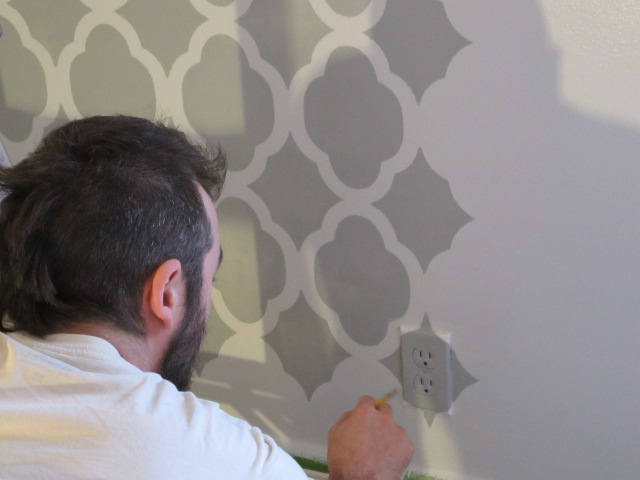
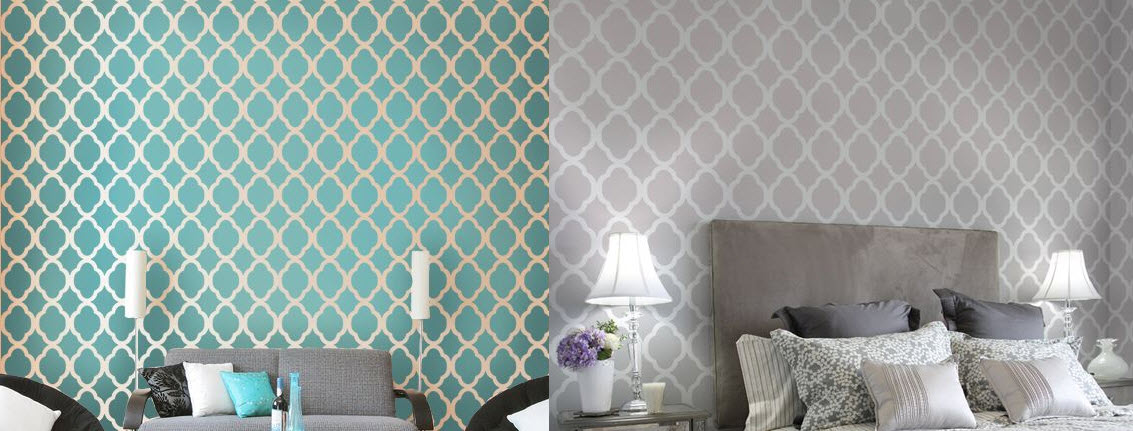
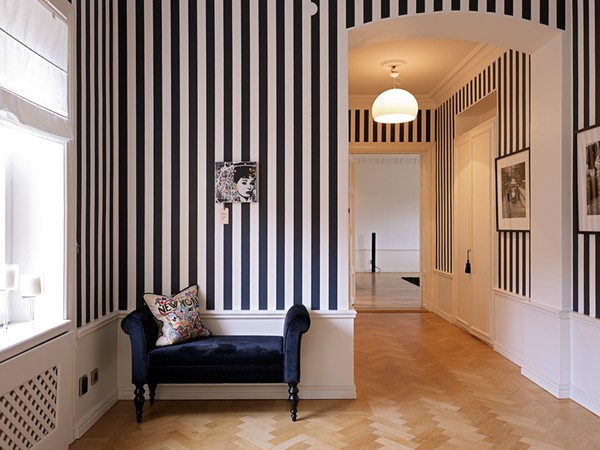
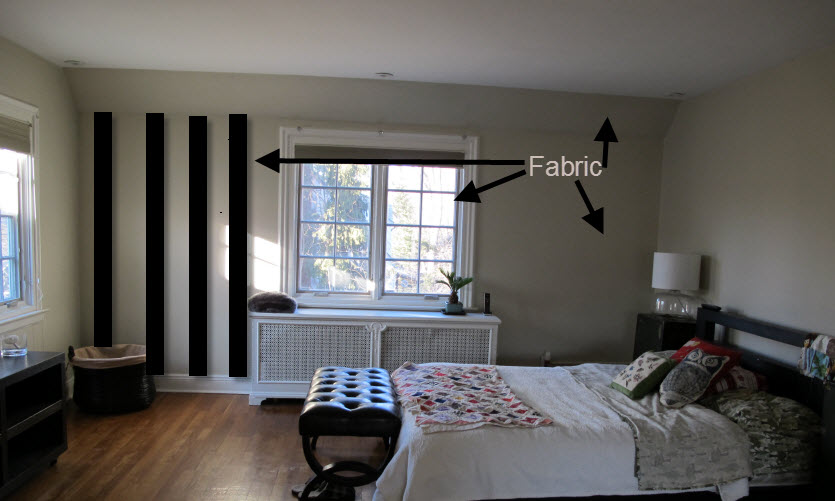
$300 wallpaper we loved, we stenciled for $60

$1,500+ Timothy Oulton Coffee Table we scored for $510

$1,500+ Timothy Oulton Console Table we scored for $710

Trunks were hand me downs $0

We spent: $3,029

We could have spent: $11,699

We have saved: $8,670!

I wish you could see all the happy spread across our faces when we save this much money! When we bought our home we estimated $20,000 per room, and we are super excited to be coming in way under! Have you scored BIG lately? Do tell! We always shop the online sample sales, and sometimes that forces us to wait and really think about how we are going to build a room. If you have any great advice, we (and our readers!) would love to know!

Monday
Feb212011

We fell in love with stencils this weekend!

Follow my blog with bloglovin

Yep. That's us. Totally pooped. This weekend was very much dedicated to our bedroom. Joey really took over getting the stencil complete while I did chores and errands. As I sat down to post this, I noticed a week has gone by since we last updated all you pretty people. The guilt kinda got to me and then a remembered a phone call I had with a fellow blogger/best friend just a few days ago. We are working women (and she's super preggo!) and have very high demands on our time. Any given week, I dedicate 55+ hours to a client. Not to mention I run a fashion company. Even though it's seasonal, we do a lot of work during the Winter to prepare for the Spring. And I like to cook, so homemade meals are very important to me on a nightly basis. You get the point. I can go on and on about how busy we are. The truth is, if there isn't anything worthy to blog about when it comes to the house, I am not going to waste anyone's time with "filler" posts. There, I said it. Please don't hate me for it. :)

So onto some exciting progress! I mentioned a bit ago we were pondering paint for the master bedroom. We finally nailed down a paint combo and got to work. Cumulus Cloud, meet Winters Day.

Let's back up and bit here. We decided to do a stencil on one wall and then do a solid color on the remaing three walls. When we wake up in the morning, the stenciled wall is the wall which we will face. Perfect! We did a lot of paint combo testing before we were sold on this combo. Both colors are care of the Martha Stewart Collection we found at Home Depot. I think we went through about 20 samples before we fell in love. Now, I am not going to lie. We were scared to death to stencil grey on the wall being we never stenciled anything in our lives. But we did it slow and followed the directions perfectly - and it was so worth it.

We bought the Rabat Allover Large Stencil over at Cutting Edge Stencils along with some tools. I am going to highly recommend them! If you wind up with one of their awesome and super reasonably priced stencils, I suggest grabbing a clip-on stencil level, as we found it very useful, even with our sloped walls.

So after you read your instructions, and have tools in hand, take a deep breathe! You can do it! We started slow and took three days to complete because we wanted to make sure everything was super dry before we went on to the next step.

This is the hardest part. Well, not physically hard, but lining up your stencil and making sure it's level will set the tone for the rest of your work. This is not the time to rush. Make sure it's positioned perfectly before you start to paint! Ready?...

Exhale. See, not so bad. Now simply line up your stencil before you repeat. Make sure all your work is dry before you do this. It was pretty time consuming, like I said, but as the pattern grows on the wall, it becomes very rewarding!

Joey kinda had his own Michelangelo thing going on. :) It was all pretty consistent until we got to a plug. Joey sorta free-handed over the plug to keep the pattern going. Other than that, we didn't really reach any major bumps.

Needless to say, we are now stencil fans! Brainstorming where else we can use stencils, color combos, and maybe even stenciling a floor, or furniture...ahhh! Too excited about stencils. Yea, we are nerdy. We can't wait to show you what this wall looks like when complete....

Have you stenciled something? Know of an awesome trick to stare? Please let us know!


Wednesday
Jan192011

Fleshing out the Bedroom

So with the bed 99.99999% almost complete, we are planning our next moves to turn out big 'ol box into a relaxing yet fun and cozy master bedroom. (Don't worry, we will be posting the final and almost finished fruit of our labor as soon as we are complete. The flu really set us back.) There is a funny thing about our home. It is a 1930 English tutor, however on the inside it has this Mediterranean flair in it's arches and architecture. We loved these arches all around our home and in the bedroom, we are going to take a good 'ol college try and work off of them as inspiration. So, when our bed is complete, it will look something like this:


source

I had this fantacy of a very French and elaborate circus with thick black and white stiped walls and fabric draping everywhere - as my bedroom. Tons of nooks and crannies and rugs layered over one another. Then I woke up and realized, I am never going to live in a photoshoot. Plus, if I went all le cirque, how would I bring in those Medaterainian arches I just told you about? So here is what Joey and I are thinkin...

Source

So we bought this awesome stencil over at Cutting Edge Stencils, as well as some test paints to figure out exactly which paint we want to go with. So on three walls, we got ourselves some stencil action going on. Here are some ideas for the paint, so far.


So we have a pretty good plan for the serine, calm, and cool feel we are going for. The shape of the stencil is going to compliment the arches, and the colors are going to keep the massive bed tones down and flow with the space nicely. But what about that crazy French stripy crush I am having? Well, we went to MOOD Fabric and bought 10 yards of the most luscious uphulstry weight black and white striped fabric. Crush stripes with me for a moment?

  source

source

See how beautiful simple black and white stripes can be?! So where is this leading up to? A feature wall of course!

Behold, my awesome photoshop skills. I know, it's a weak point, but words can't do what an image can so, here is an idea of where we are heading with my stripe obsession. Next up, a finished bed and a whole lotta bedroom decor!