Related Posts Plugin for WordPress, Blogger...

                   Follow Me on Pinterest


photo cards


OpenSky

Freckled Nest - Design by Kelly Ann

Home & Garden Blogs
BLOG DIRECTORY
Online Marketing
Home Improvement Blogs - BlogCatalog Blog Directory

Entries in DIY Projects (36)

Thursday
Nov042010

We think it's what you call a "Blogaversary"...

Hello friends! It seems as though we hit a little milestone here in the land of MAHAH. Originally this blog was intended to provide our wedding guests with information and updates about our big day. That was back in July of 2008, when we had planned our engagement party and just wanted to scream from our Brooklyn rooftop "WE ARE GETTING MARRIED!!". Once our DIY Wedding had passed, we got our hands on a house to see if we could unleash our DIY potential. Looks like we were secretly carpenters, fixer-uppers, gardeners, painters, contractors, and crafters after all. In one short year, we accomplished so much we wanted to break it down and share. Hopefully this will act as inspiration to all those who read!


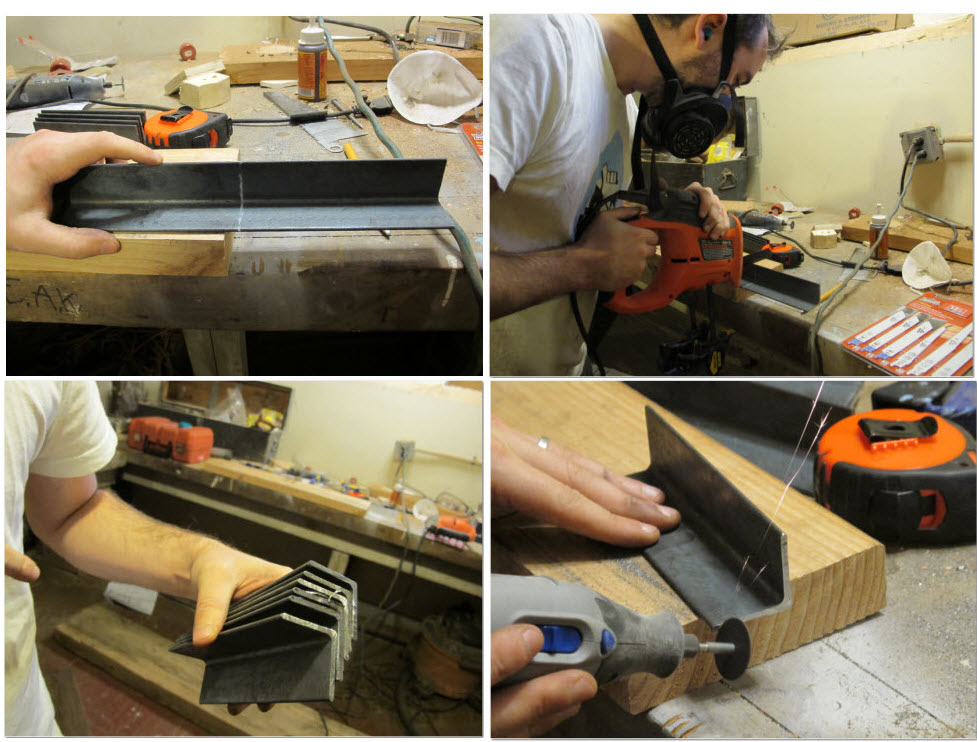
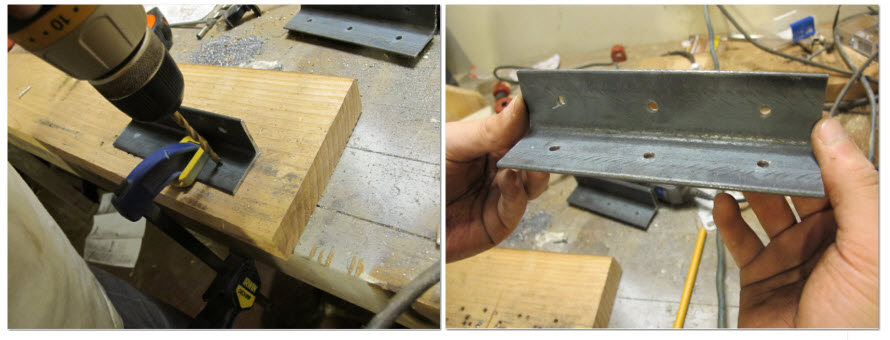
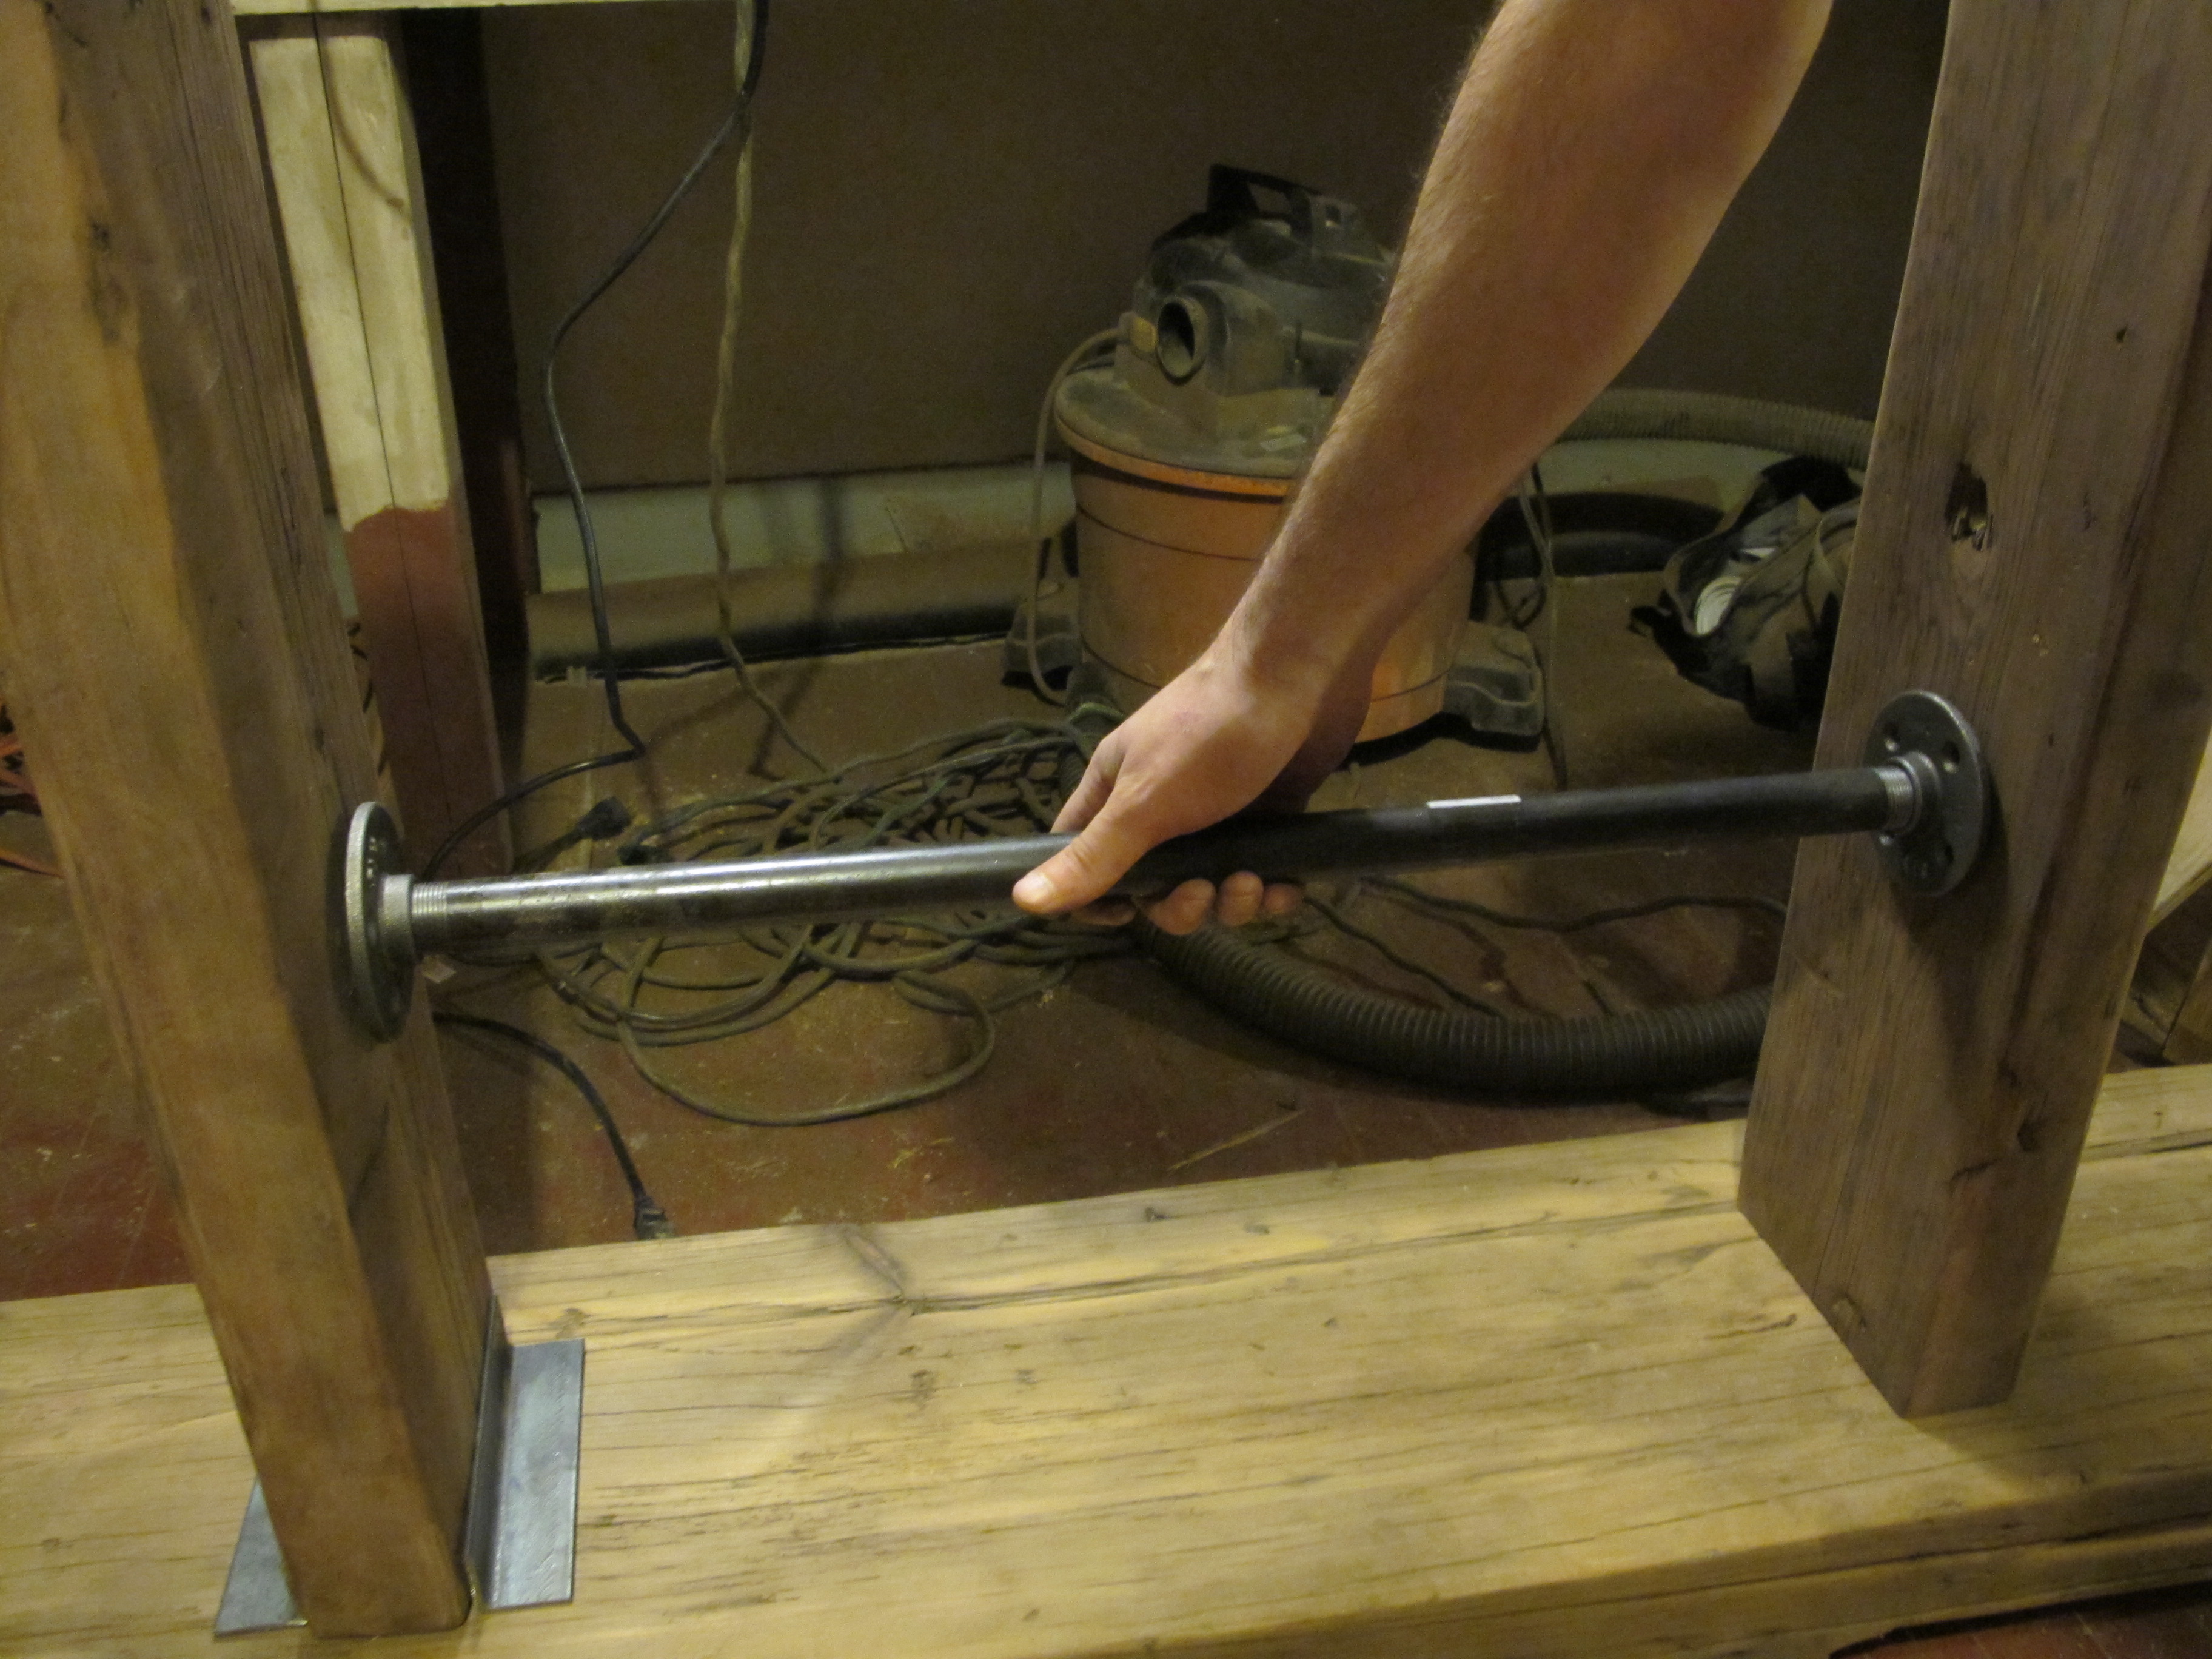
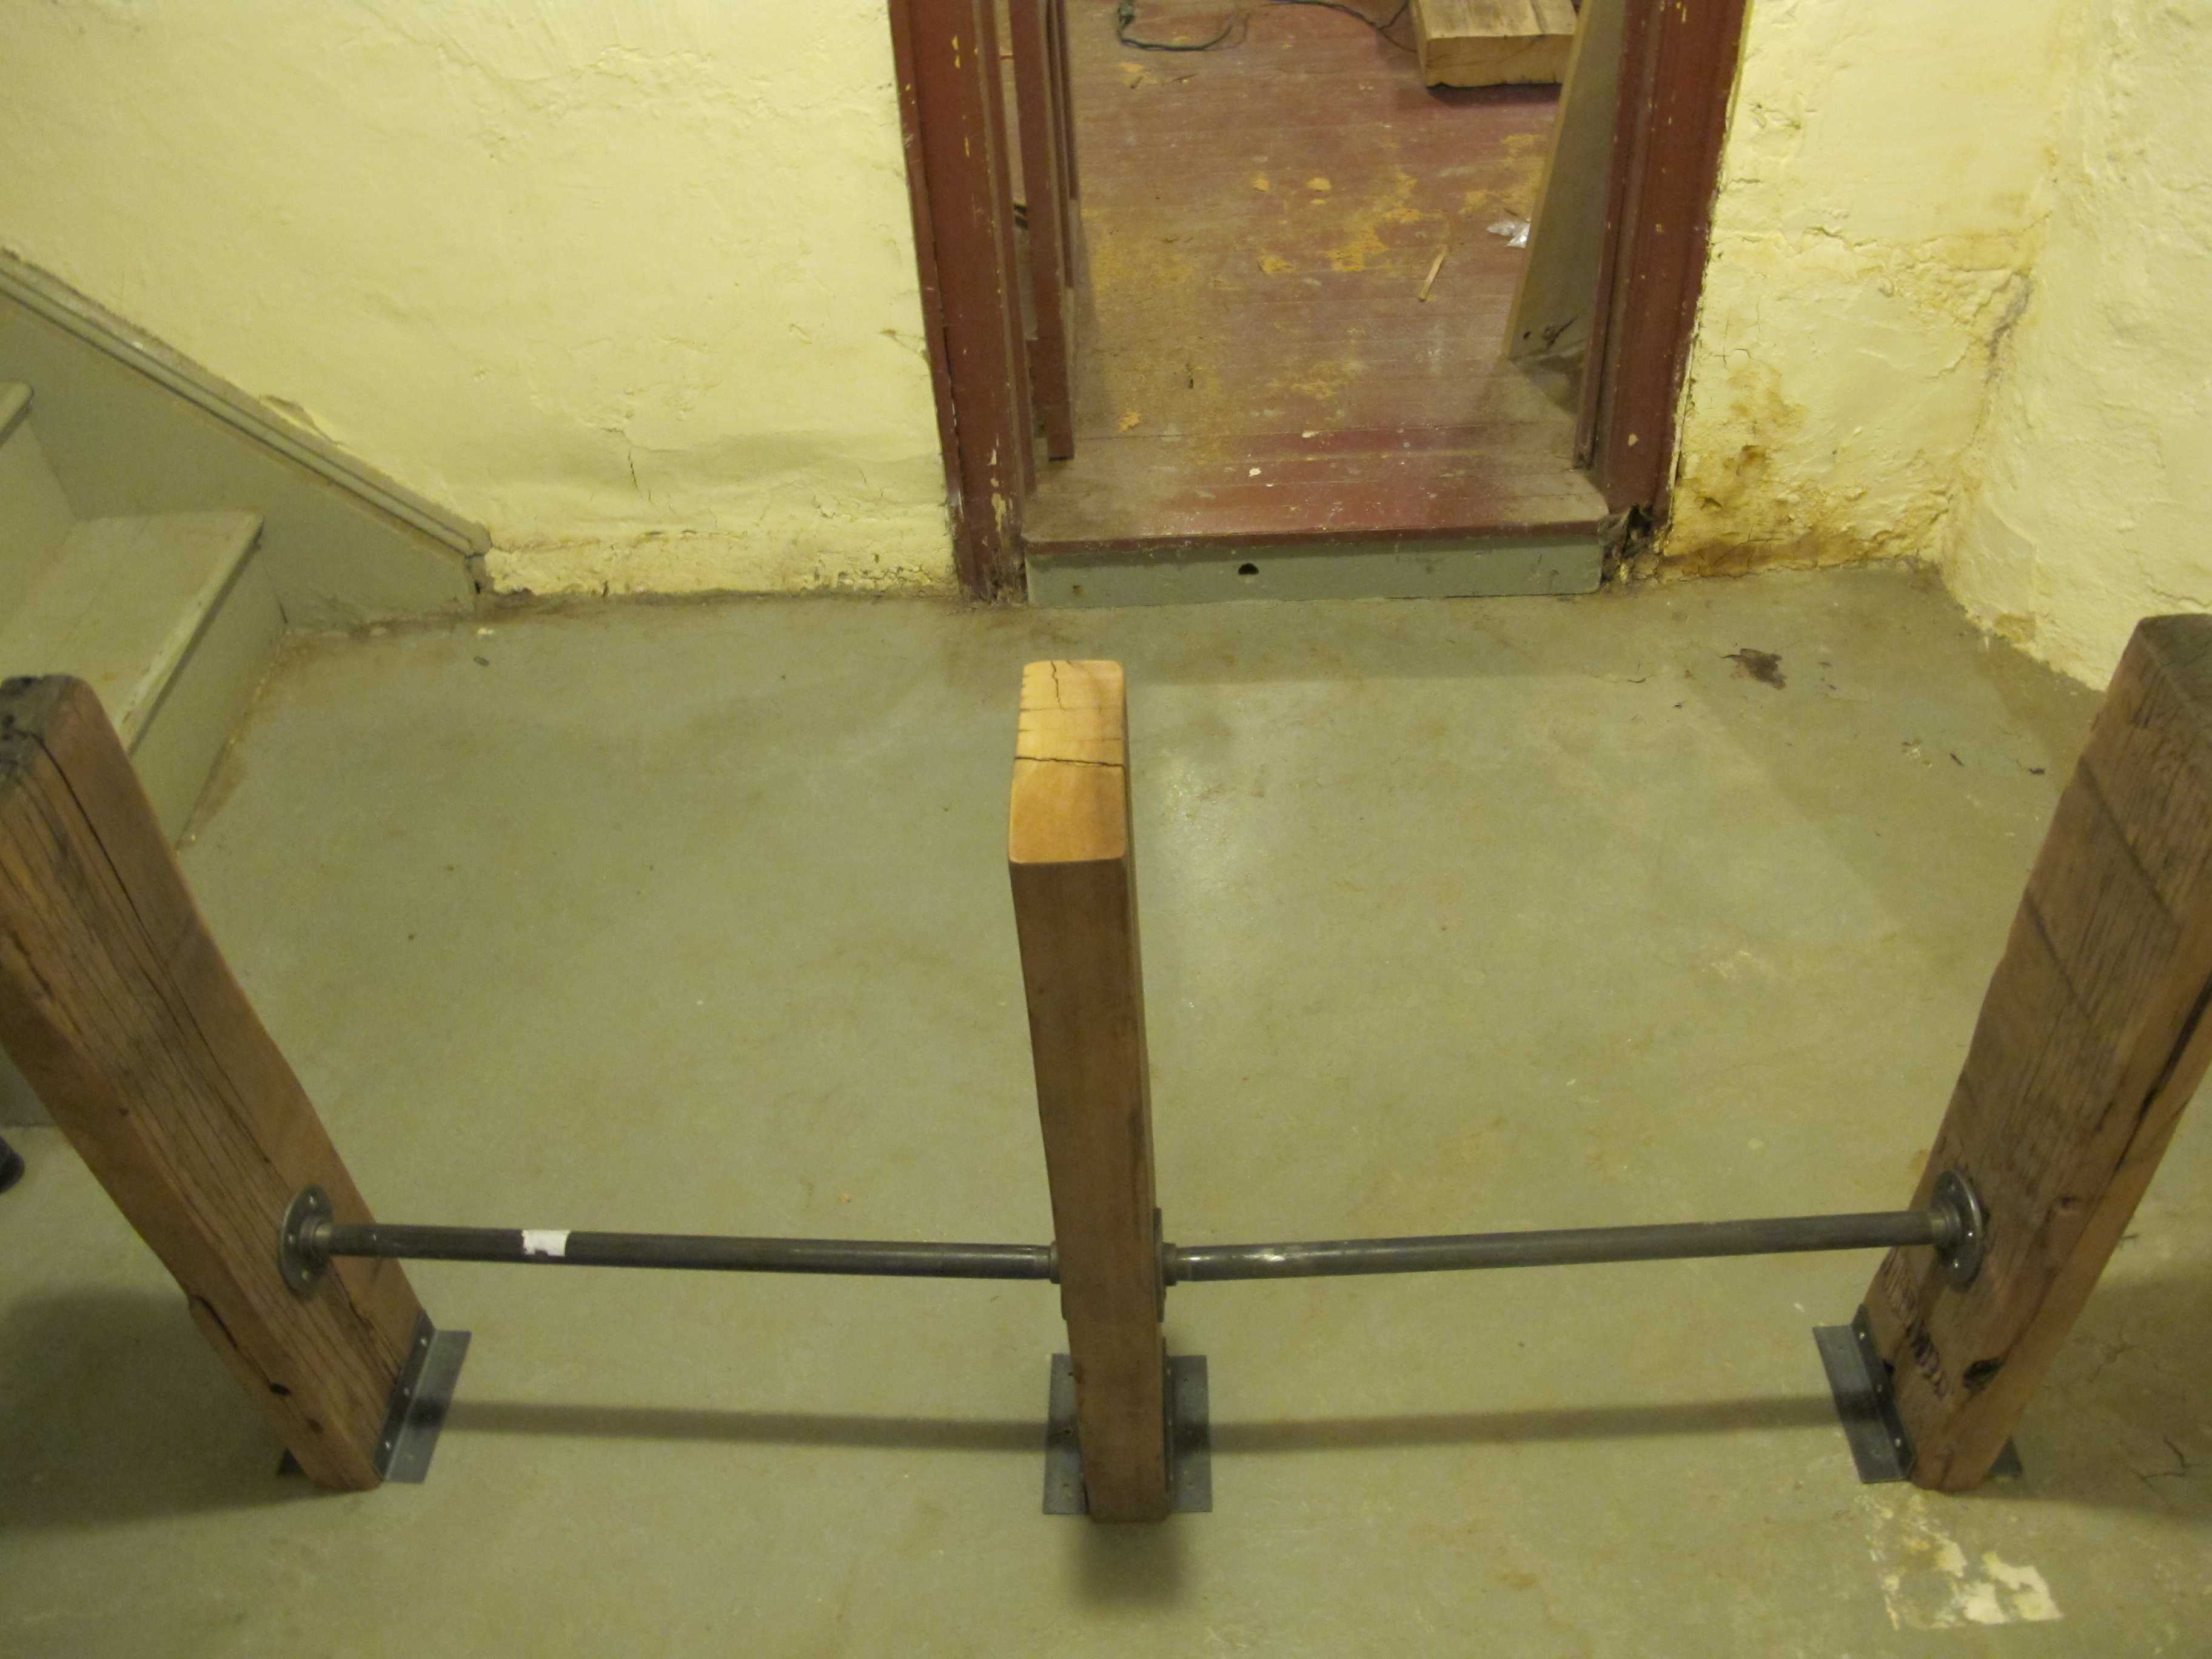
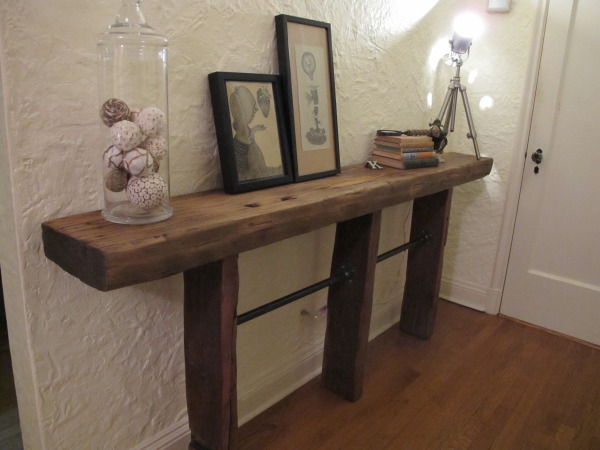
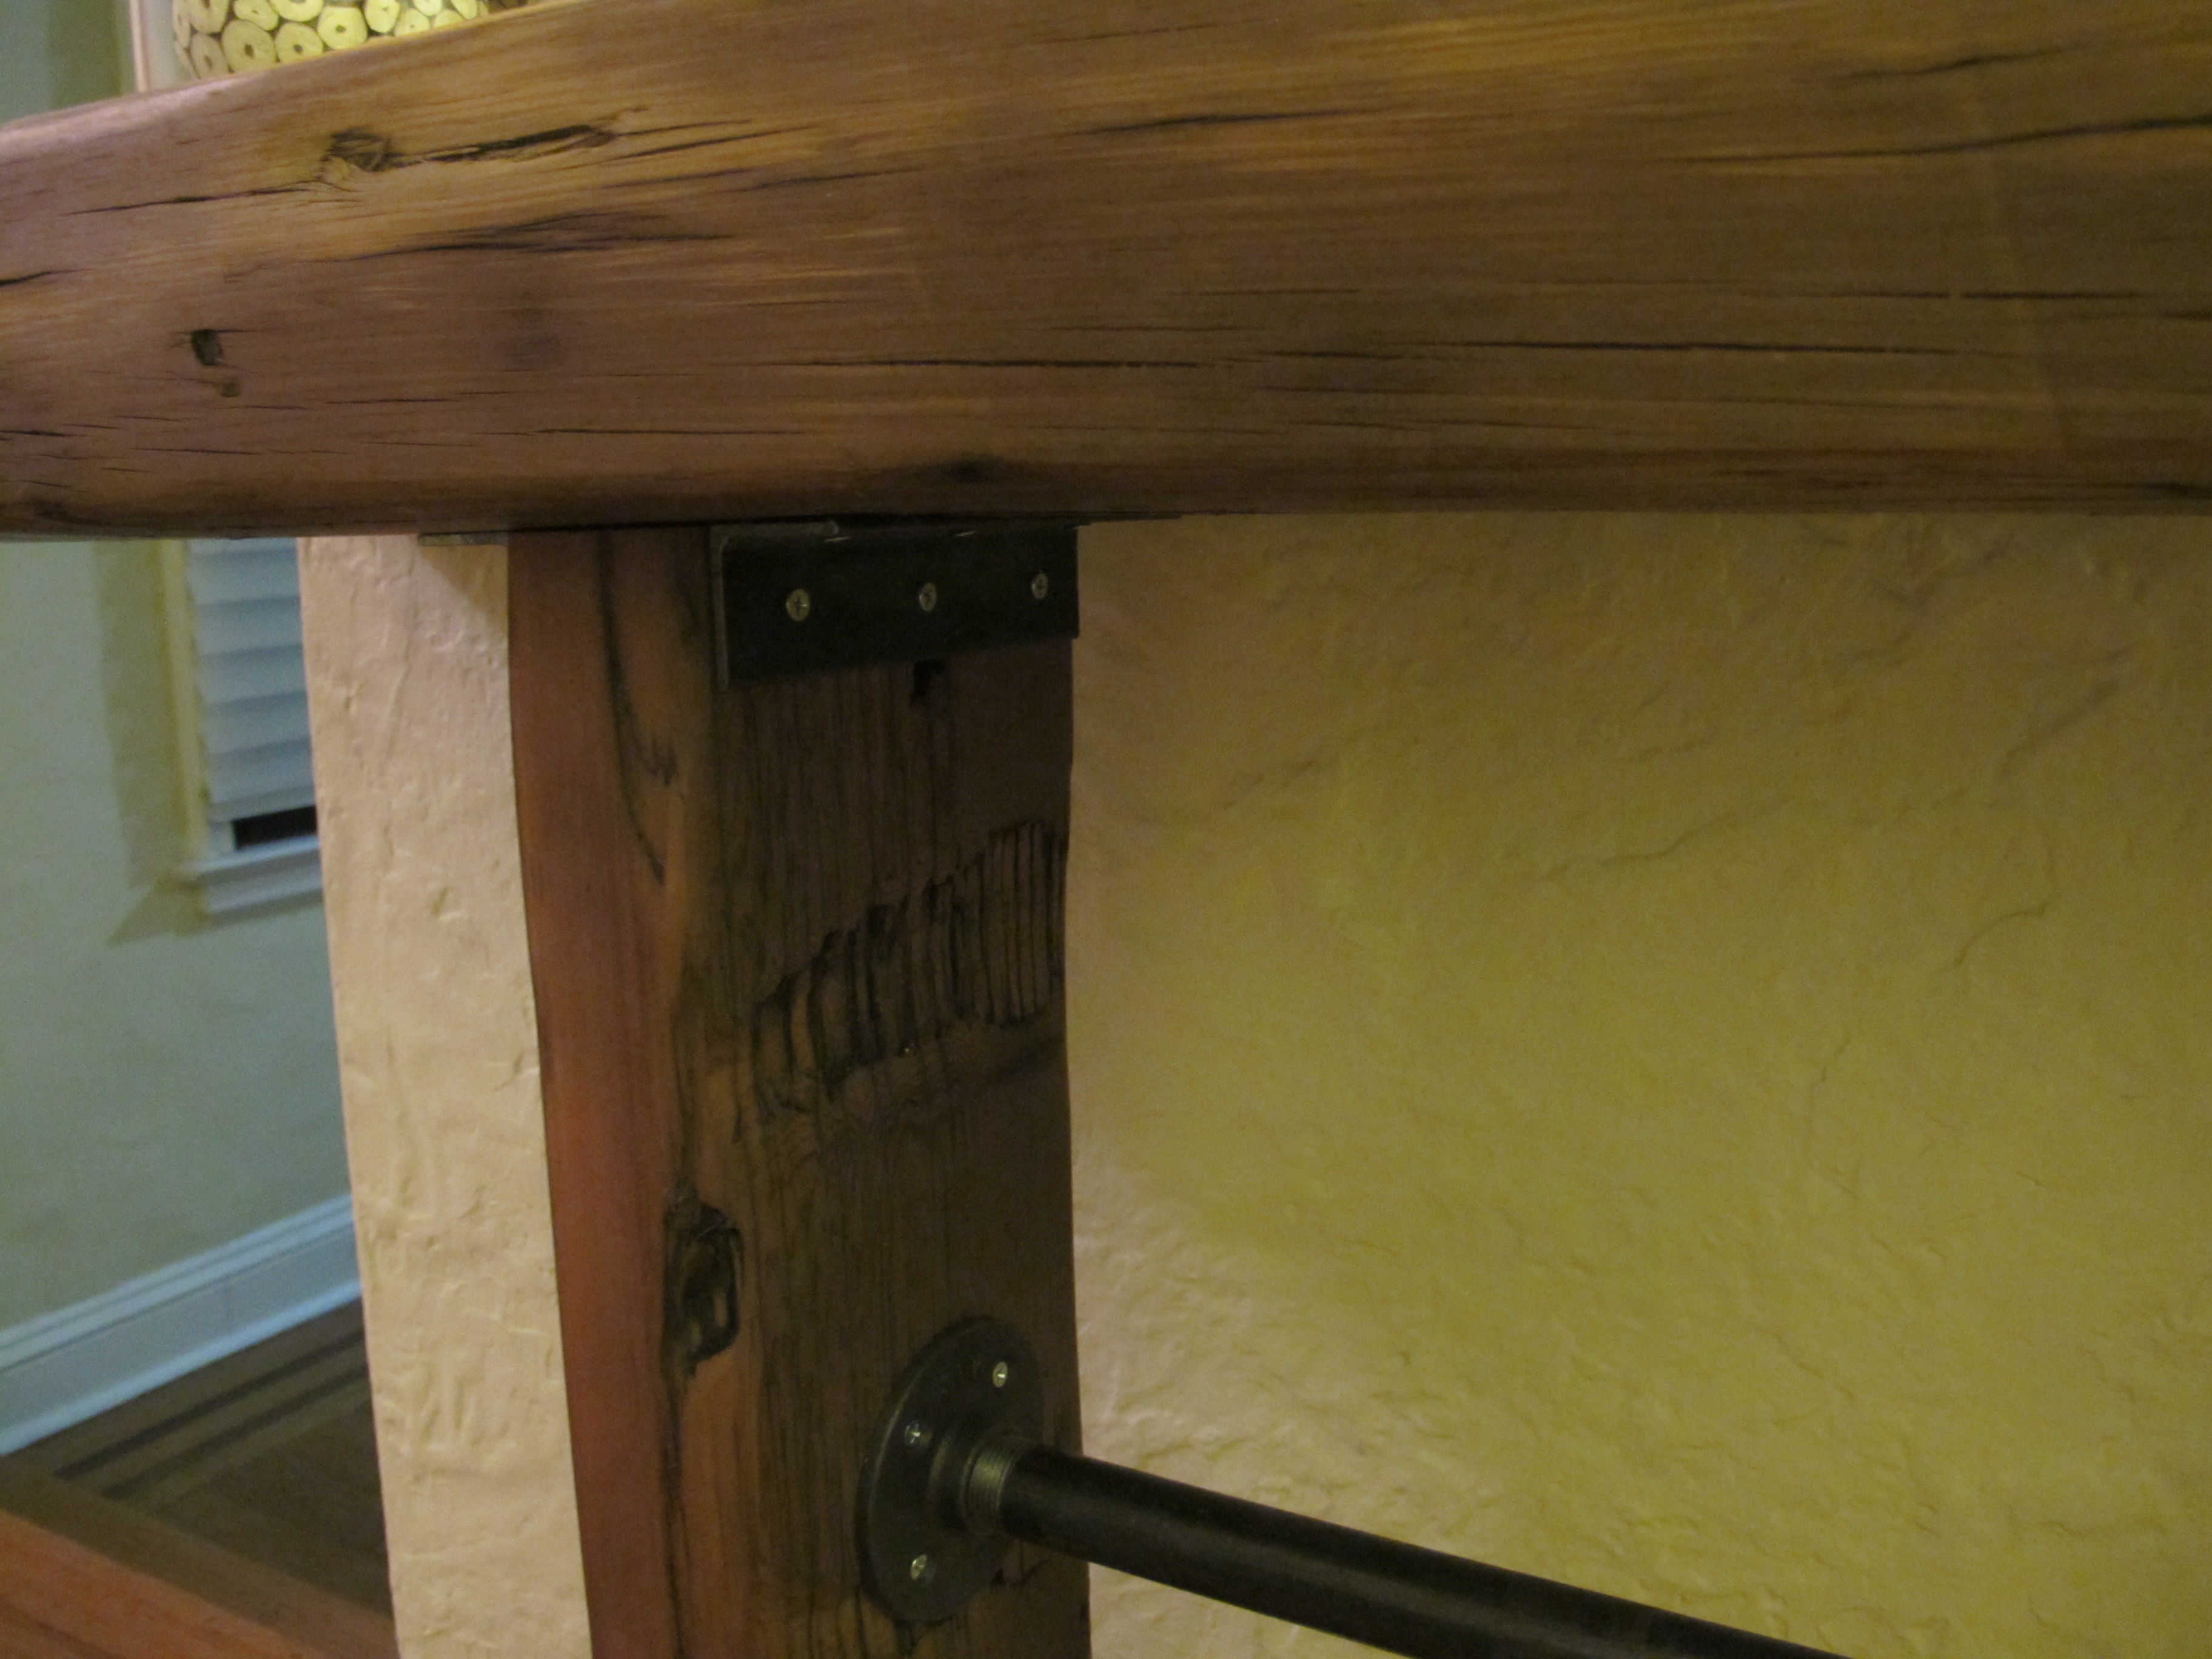
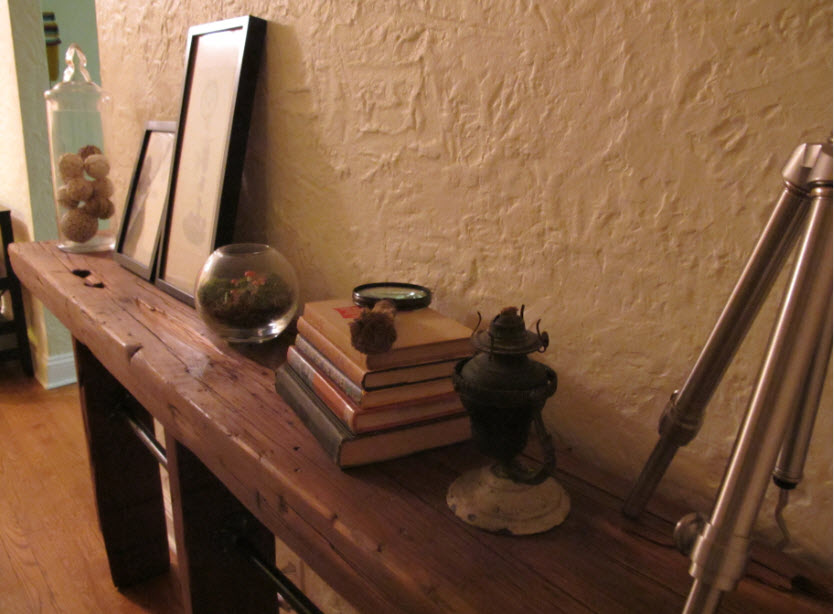
Joey found his inner furniture maker:


Here is the table for the foyer he built, along with a link to how to make your own!


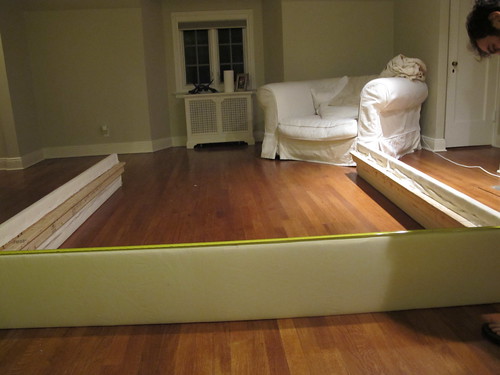
Here is the progress with the massive King Sized Bed we have taken on.

uphulsteredbed1


A'la Young House Love's inspiration, the built in's for the guest room, almost done! - Soon we will reveal! Promise!


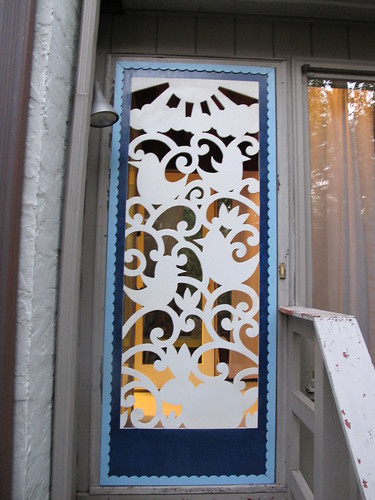
A very cool door, for a very cool room!

livingroom progress 057


Some smaller projects we worked on:


A wreath for every season!


Quick ottoman update (my love of burlap!)


Cozy Couch Pillow


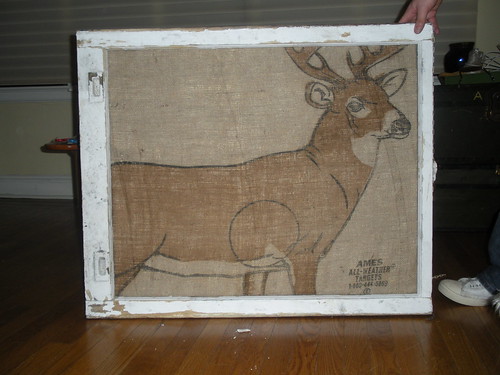
Print Your Own Fabric Bed Pillow


Icky Brass floor lamp transformed into super chic lighting.


Animal Art

house 234


Animal Art 2

116


Stumped: a story of a lamp

IMG_2995


Our mudroom Makeover (yes, we only finished one room)

IMG_2794


If you read here often, you know our decision making skills are hugely flawed. We take a loooong time to pick furniture, and when we can't find exactly what we want, we have a go at making it ourselves. Somehow we accomplished a few fab finds.


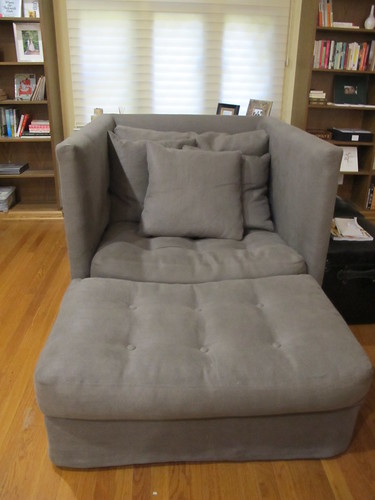
Our love of the oversized chair!

newchair2


India called, they said I can keep their 1880 pillars!
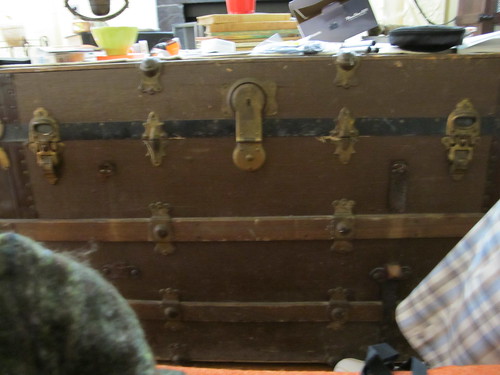
 

Chest obsessed

livingroom progress 008


Also a new desk (I promise to show off soon!), The Ikea chairs in the mudroom, and those amazing pillars circa 1880 from India, we will reveal when the bed is done.


As for numbers, new friends, and all that fun and nerdy stuff, we have mixed feelings to be honest! First let us express, that we didn't start blogging in a dedicated fashion until December of 2009, when we transferred our blogger account over to squarespace. So these stats are from December until this week.


We have made 55,305 new friends this year!

We have had 120,012 pageviews

254 of you have expressed your friendship in the form of a comment

We have receive one piece of hate mail expressing we should "kill ourselves" - ouch

Lana has filled 2 whole composition books with home improvement ideas

 600 of you follow us on Twitter

 We have loaded 1,994 photos onto our flickr account - post home ownership

 1,090 is the cost of our heating bill each month during the winter - boo!

We have made 378 tweets

We have bought 14 throw blankets to keep cozy

Three animals run this house! Rocket VonScience, PorkChop VanderSandwich, and Zoey Frankenstein

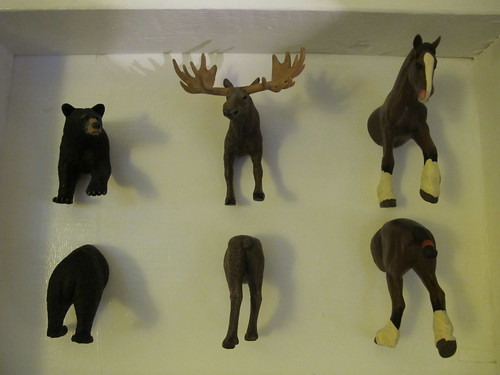
There are six "animal heads" around our home

6,200 is the square feet we must conquer and design


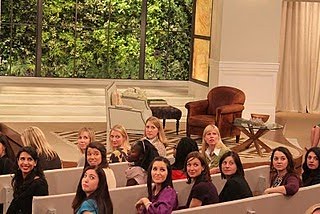
We don't know if our "stats" are good or bad to be honest. We are just excited if one person reads our blog each day. It's pretty nuts all the amazing new people we meet, and get to keep in contact with! I had fun at the Nate Burkus Show with Kate and Cristin:
MeinAudinceLivingLivelier
We are super excited we started the blog, and encourage you to reach out and let us know if you want to see more or less of something. We want to hand out a HUGE HUG and say "Hey You! Thanks for reading our blog!".


Big Love,

Joey and Lana


PS! Keep posted! In the next few days we will be doing a *special give-away* to celebrate all you DIY lovin' MAHAH readers who have kept us movin' along this year!

Monday
Nov012010

Table Flipping at it's Finest

Joey hard at work in his man cave

A few weeks back, Joey and I headed over to Build it Green in Queens. We packed ourselves up in the mini-van and took a 15 mile road trip south to explore and learn about What BIG had to offer. When we entered, we were instantly overwhelmed by it's massive size and selection (about 5,000 doors, anyone?). After snooping around and planning a million and a half new DIY Projects, we calmed down, and found the wood, hidden way in the back, behind the building, sat down, and decided exactly what we were going to do next.

This wood looks like it came from a mill and had the charm we wanted to add to our foyer. We really searched far and wide for a long, high table with no luck, hence we DIYed ourselves through our own. Here is what we did, how we did it, and what it cost:

DIY Table Check List:

9 ft piece of wood - $20

7 ft piece of wood for legs - $20

"L" shape welders metal - $6

 2, 2 ft Pipe - $20 ($10 each)

"decorative" metal pipe brackets AKA floor flanges - $16 (for 4)

Minwax Finishing Wax Paste - $13

Wood Screws - $10 for a huge pack #8 1 inch screws and #8 1 1/2 inch screws

Total for 84 inch custom table: $105


 Most of the labor involved was sanding the old wood down to a state of beauty and smoothness. Joey spent hours upon hours with a hand sander getting the wood smooth and removing unattractive oddities. This part is so important for a smooth to touch and professional look. This took hours upon hours and many resporators until we found a professional grade one we were happy with. Check out Joey sporting his new look (notice the new hair cut we DIYed too?!).

After the wood was cut to size and sanded, we took the Minwax paste and rubbed it on all the wood (table top and legs all around) to give it that super professional feel. While it dried, we proceeded to prep the hardware.


 Joey Custom Making "L" Brackets

We scoured the hardware store for quite a while and could not find "L" brackets with an old-world and worn feel. We decided to make our own. In the welding section we found these long "L" shaped bars Joey turned into custom brackets. They had the finish we wanted on them, it was simply about custom sizing them and poking some holes for the 1 inch screws to go through.

It's hard to tell in the photo, but they have this weathered feel to them. The brackets are hidden in our design, but when we do something, we want to stay true, through and through.

We also snagged up some weathered looking pipes to give the table support in the middle because it was a bit tall, 34 inches to be exact. We wanted to add a little architectural interest with the hardware so we picked up four floor flanges to screw the pipes into instead of just running the pipes through the legs.

We attached the legs with the pipes after the finished dried and brought the finished legs and table top upstairs separately to attached them in the hallway. This was a rather large piece of furniture, so we assembled it this way to avoid it not fitting in a door or up the stairs. The 1 1/2 inch screws were used to attach the table top to the legs.

This is what we did Halloween night! Not a single trick-or-treater in sight (and a pound of candy I now have to deal with). We are super excited and proud of our new piece and are inspired to use this wood in my office for custom shelves, and we can't wait to show you. We would have spent about $1,000 on a piece like this, so it feels good to get exactly what we want for just over $100.


Here she is in all her glory:

Have you done a custom piece you are in love with? Please share, we would love to know what you did and how it turned out!

Wednesday
Oct202010

Slap some paint on it: A Quicky Blog Squad Project


Ohhhhh how we love a quick, cheap project!


What do you get when you mix an outdated brass floor lamp and a bottle of XO Rust spray paint? An awesome-up-to-date  floor lamp that can live in any room!

The floor lamp was a hand-me-down from Joey's Amazing Aunt who gifted us all sorts of goodies this past Fourth-O-July! This piece we all collectively cringed at, but I had plans for this dated wonder. 

True Value told us about XO Rust, and we were so excited to try it out. We have a bunch of updates we can't wait to slap this paint on, but first we needed to fix our sad little floor lamp before we battled the elements outside to spruce up the outdoor light covers, which look a little drab. 

This project is super simple:

Any metal, rusty, brass, or brassy item you want to give a facelift to.

A bottle or two of XO Rust indoor/outdoor spray.

- That's it! The paint has a "built-in" primer - so you are good to go.

Step away from you object! Only a couple feet, and with soft strokes about two feet in length(depending on what you are spray painting, I am using the floor lamp as an example) - spray back and forth! That's it. It was so over the top easy to transform this trash to treasure - I am for sure, newly addicted to this stuff. I will be hitting the junk markets soon - in search of rusty treasures to restore! 

Lets get legal: We were one of the 10 bloggers True Value has chosen to work on The Blog Squad , and we are way excited to take on the challenge of showing you exciting DIY projects.  They have compensated us for our time and writing, and provided materials for the projects we have worked on. However, our opinions are entirely our own and we have not been paid to publish positive comments. Did we mention we are excited to show you our DIY Blog Squad Projects?